
Toy plane is one of the most beautiful gifts that really enjoy the real amateur aircraft. And the creation of an aircraft from candy will appreciate any sweet tooth. In this article we offer to make an unusual toy - a plane from sweets, which can be given to any holiday: Birthday, New Year, February 23 and many others.
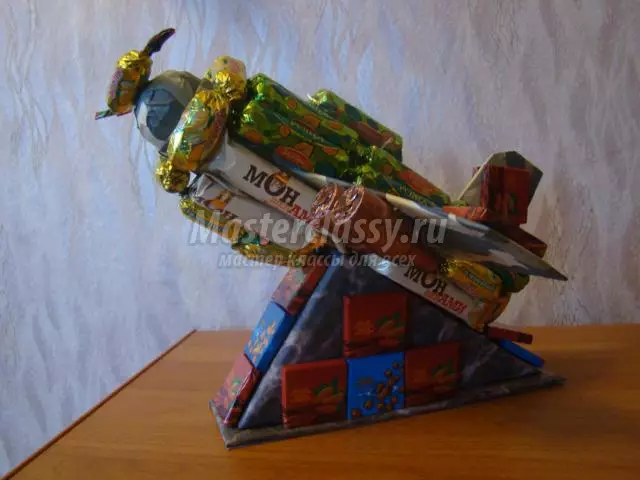

Airplane on the pedestal
The process of making toys on the pedestal can be traced on the example of step-by-step photos with a brief description. Such a gift, we are confident, like a child and an adult, and make it very simple.
To make a plane from sweets, you will need to prepare such materials like candy, box, cardboard, paper, glue, tape, pencil simple, cylinder from paper towel and bottle cover. And from the tools, prepare an adhesive gun, a stationery knife, a ruler.

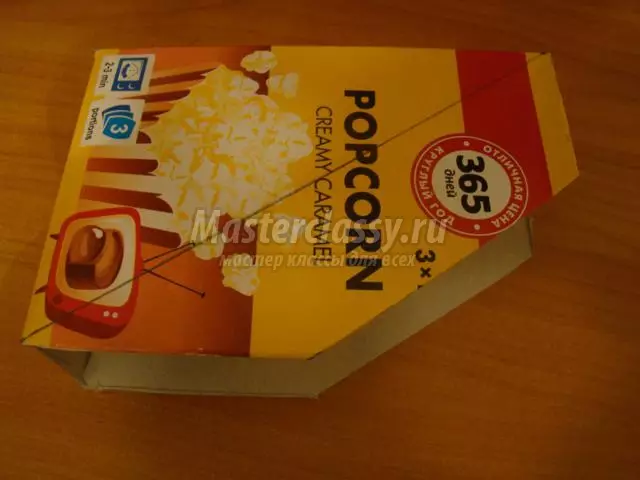
The first step take the cardboard box (in our case from popcorn) and cut the upper and side part. Then make the markup and cut the extra cardboard.
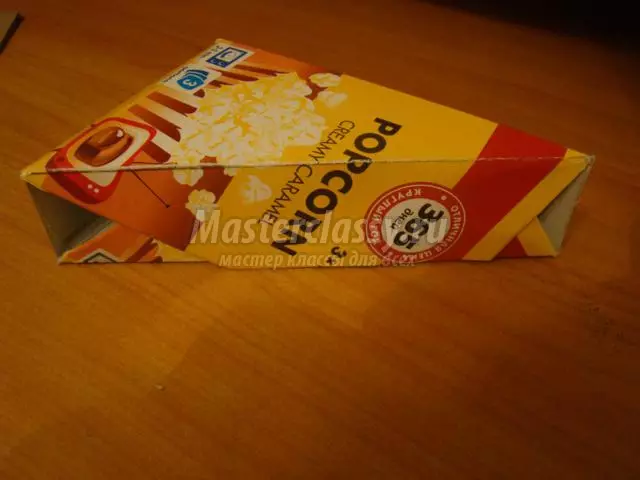
After that, bend the box on the markup and glue the pedestal for the aircraft.
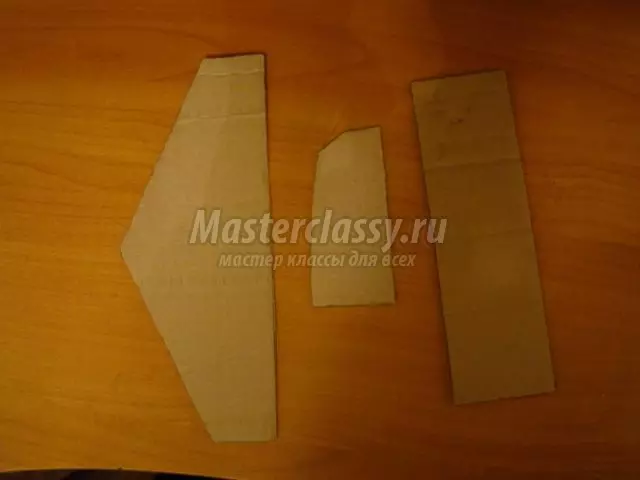
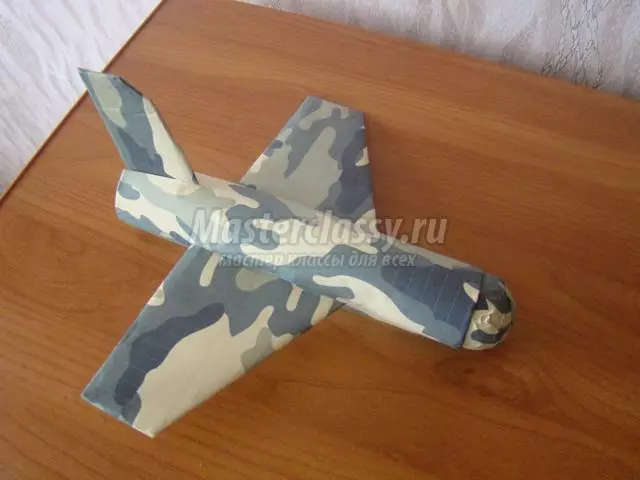
After that, take the cardboard and draw on it the wings, tail and lower part of the pedestal. Scissors cut each detail.
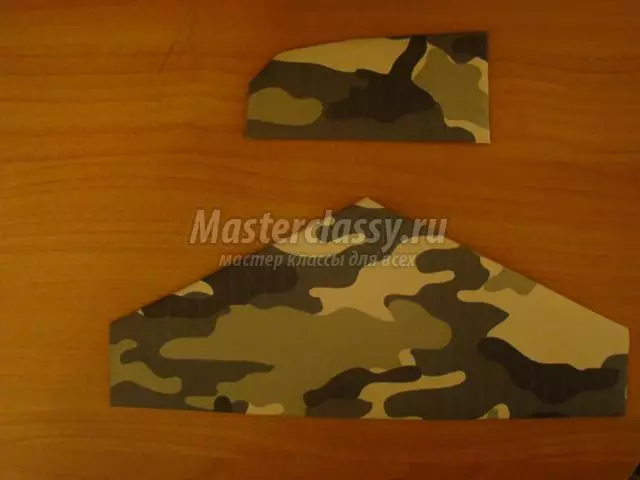
Then take the paper, it can be printed, and you can take ordinary colored paper and cross the wings and tail from two sides of the blanks.
After that, we glue every part of the pedestal and glue with each other.

Take a cylinder from cardboard, cover and puncture these parts paper.
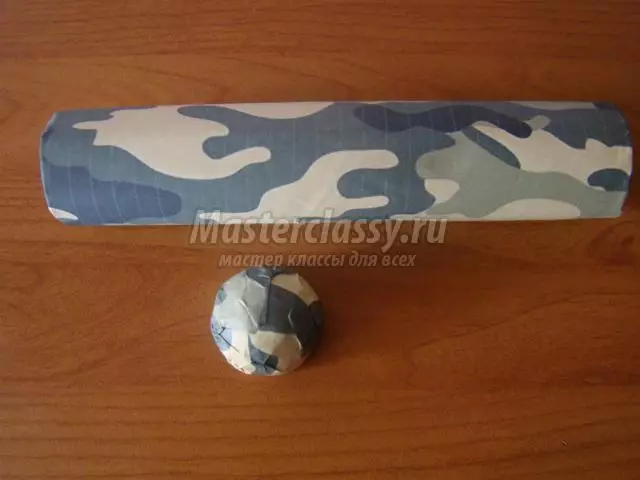
On the cylinder, the pencil is drawing the lines on which the wings and tail will be attached. On these lines, the stationery knife makes cuts for wings, and cut the lines for the tail with scissors.
Article on the topic: How to make a wooden shower at the cottage?
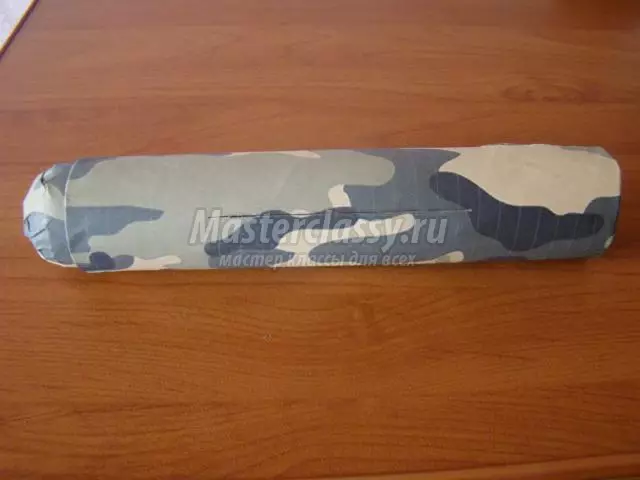
Insert the tail and wings in the toy.
The next step is gluable by candy every detail.
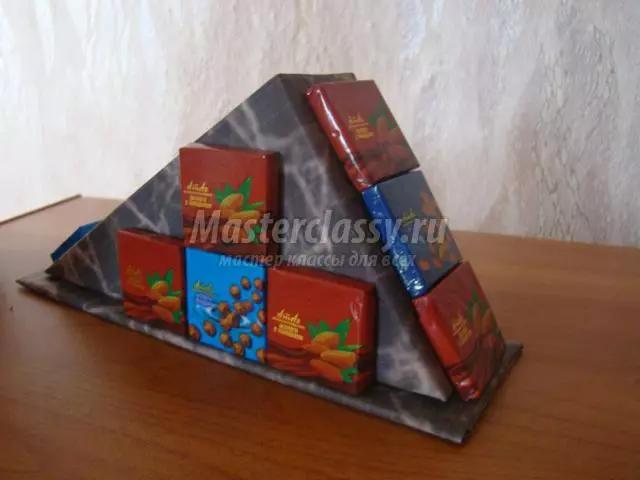
From all sides, we glue with chocolates pedestal with a glue gun.

Candy tails are lined with scotch.
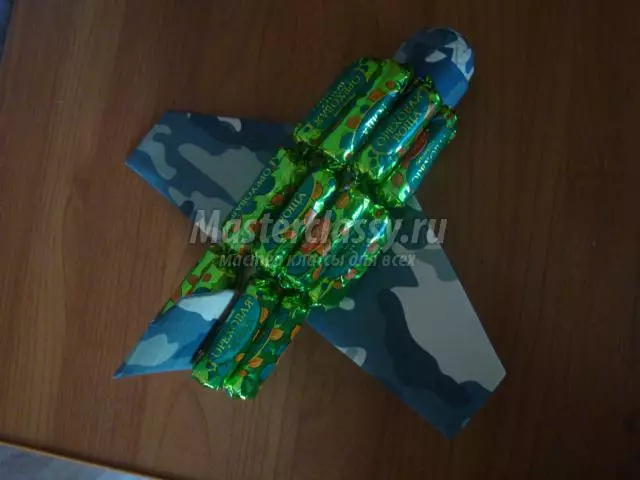
On the top of the aircraft we stick candy.
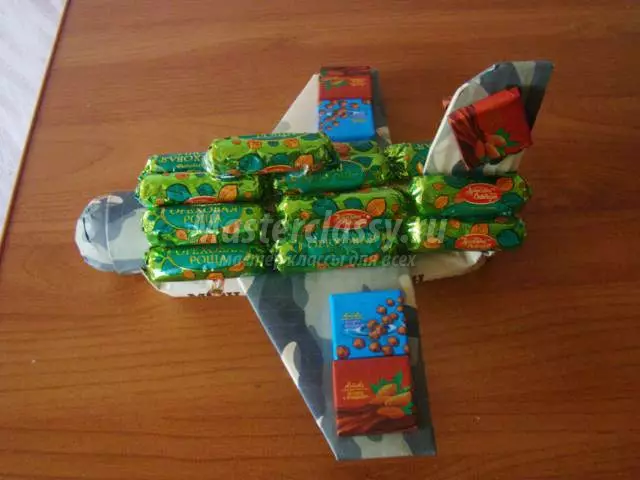
And chocolates glue on the tail and wings.
On the lower part of the aircraft glue candy, as well as glue a row of candy on the cylinder.
From candies, we make a propeller and glue it to the plane. The last step we glue the plane on the pedestal.
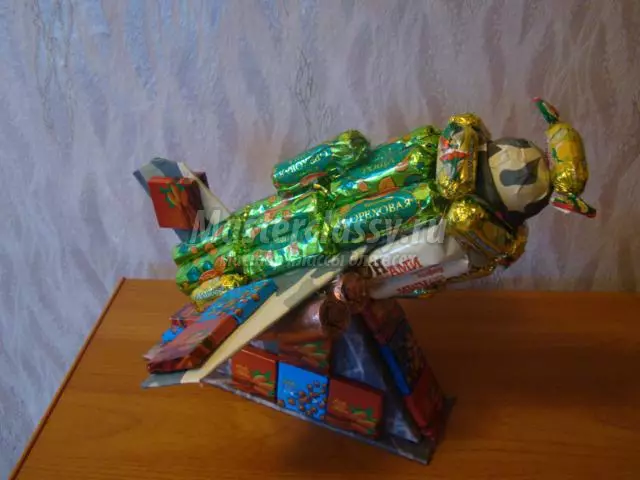
Sweet gift for friends ready.

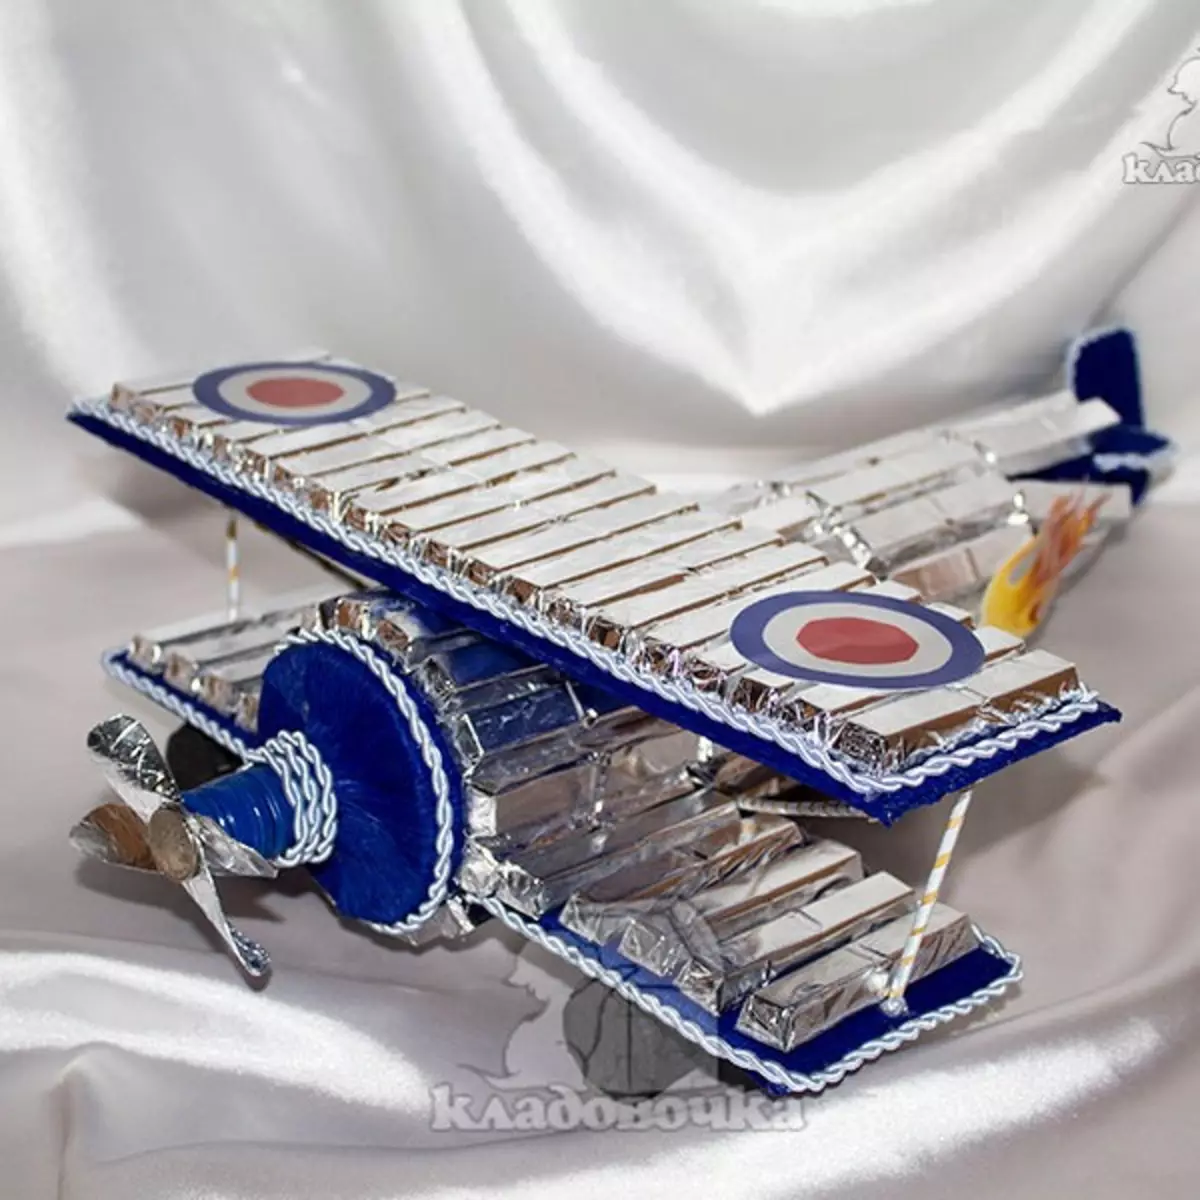
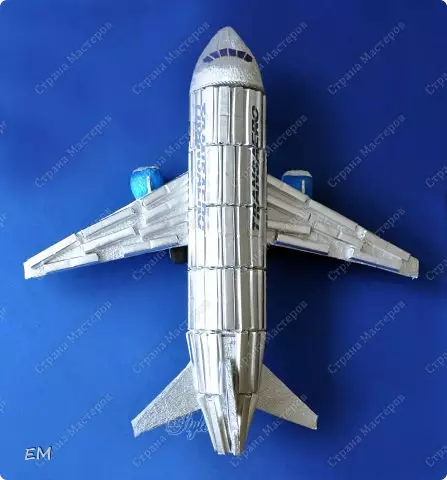
Simple option
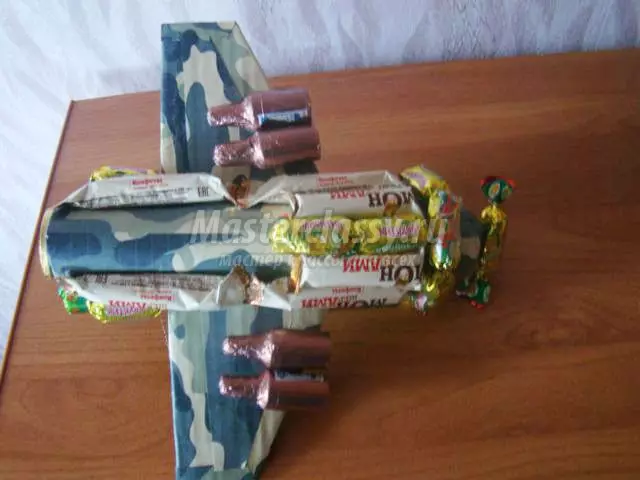
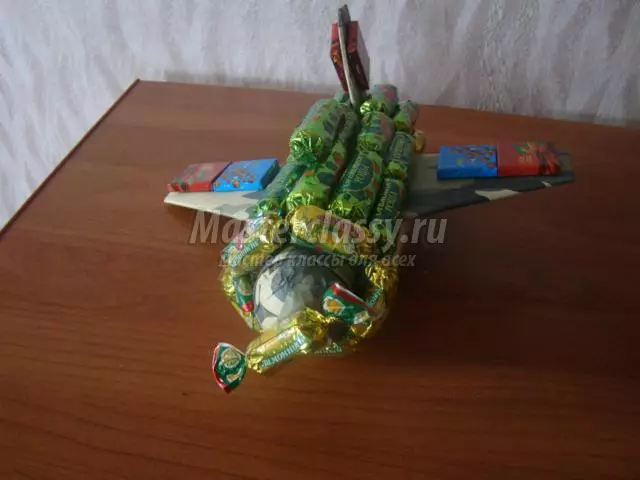
The process of manufacturing an aircraft with your own hands can be traced on the example of a master class with step-by-step photos. All the measurements of the aircraft were measured by the eye, so we won't call you any exact numbers. As a template, take a toy model of aircraft.
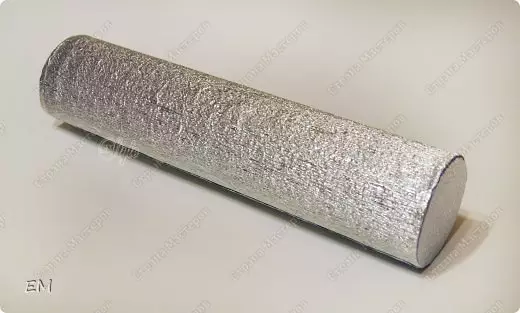
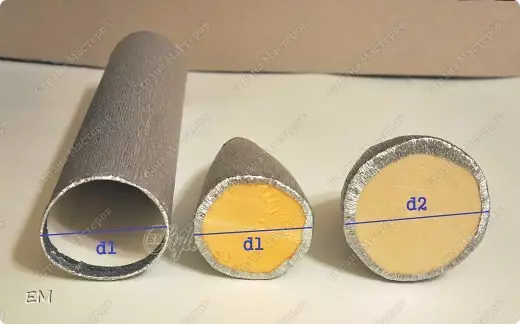
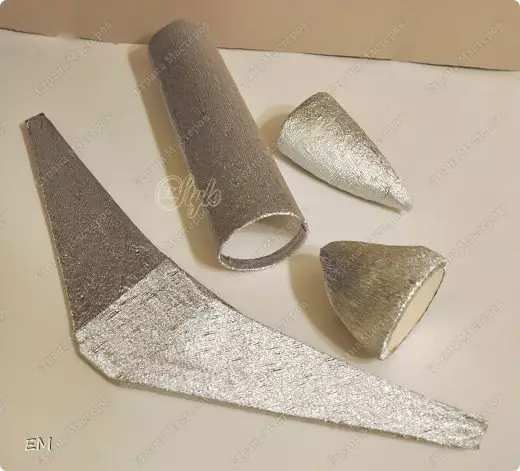
Take the cardboard and measure the length of the aircraft housing. It should take into account that this length does not include the blank of the head and tail. Then twist the resulting cardboard in the cylinder. Prepare everything sweet that you will use and encourage how long the width is perfect. Only after that glue. We also make a billet of the cone, we already attach the bottom, and then we glue this workpiece with corrugated paper metal color.
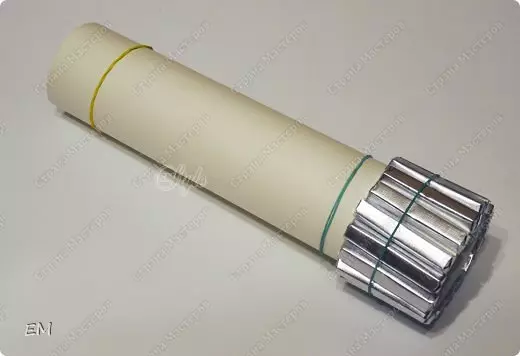
The photo shows how it should happen.
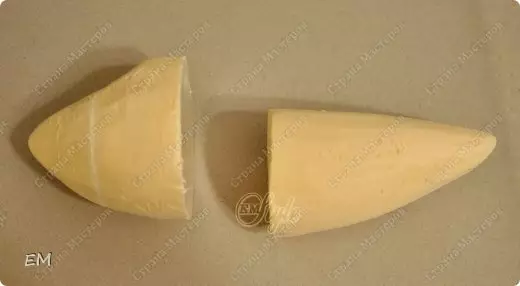
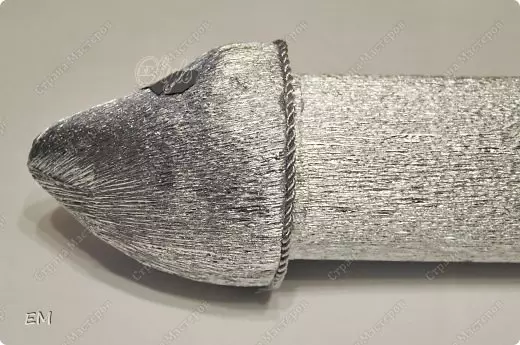
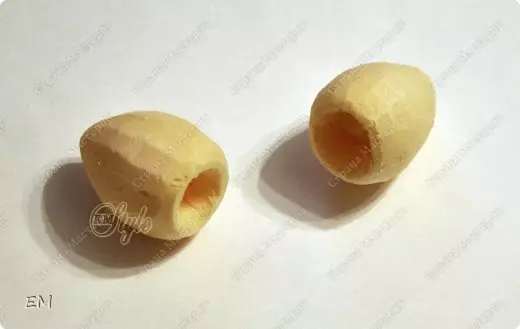
After that, take a piece of foam and cut out the head and tail of the plane. Everybody makes about the eye.
But it is worth take into account that the diameter of the base of the head = the diameter of the cone. And all, because candy will not be glued on the head of the plane. And it is also worth taken into account that the tail diameter is equal to the diameter of the body cone, we will also not stick chocolates on the tail part.
The photo shows that D1 is the diameter of the layout without sweets, but with the number two already with them.
Article on the topic: Kashpo Macrame for flowers with their own hands: how to knit, master class with a photo
After that, the blanks of wings are cut out of dense cardboard, which we glue the corrugated paper of silver color.
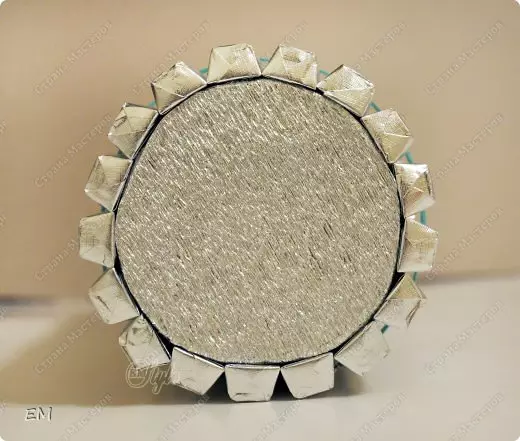
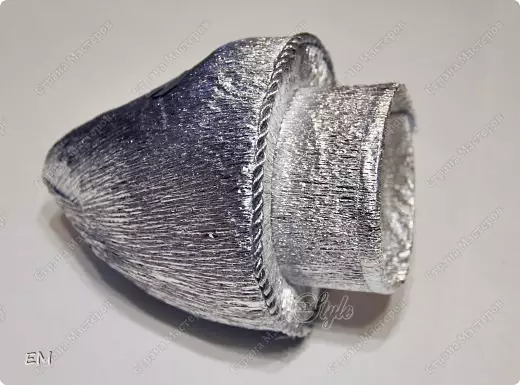
The next step is made the lid, which we will close the cone with gifts. We make a bracelet.

So it should turn out.
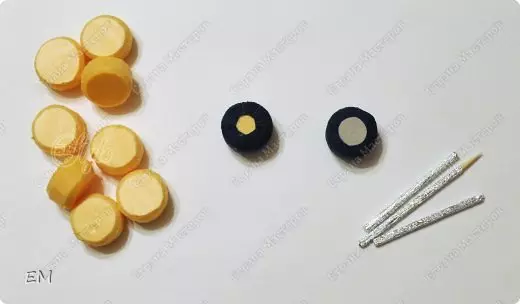
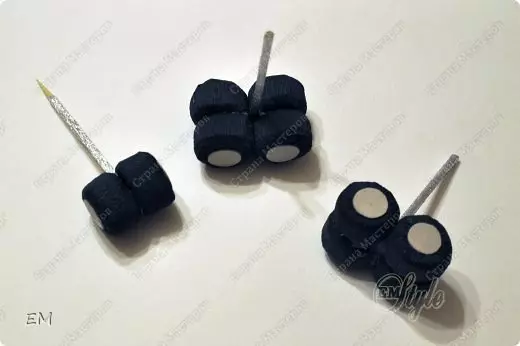
The next step is to cut ten circles out of the fastener, curly corners. Then we glue them with black paper, and on the sides we make gray mugs from cardboard. We make sticks of the axis of wooden speakers.
We combine everything. A pair of chassis with 4 wheels will be behind the plane, and in front of the aircraft there will be a pair of wheels.
Then cut the turbine on your eye, which we are covered with paper.
At this stage, we turned out the billets that we attach glue to each other. And then we glue with chocolates.
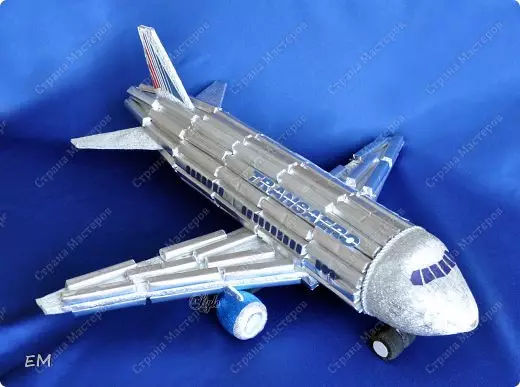
As a result, we had such a beautiful plane from candy.
Video on the topic
We offer to see a selection of video about how to create a plane from candy with your own hands.