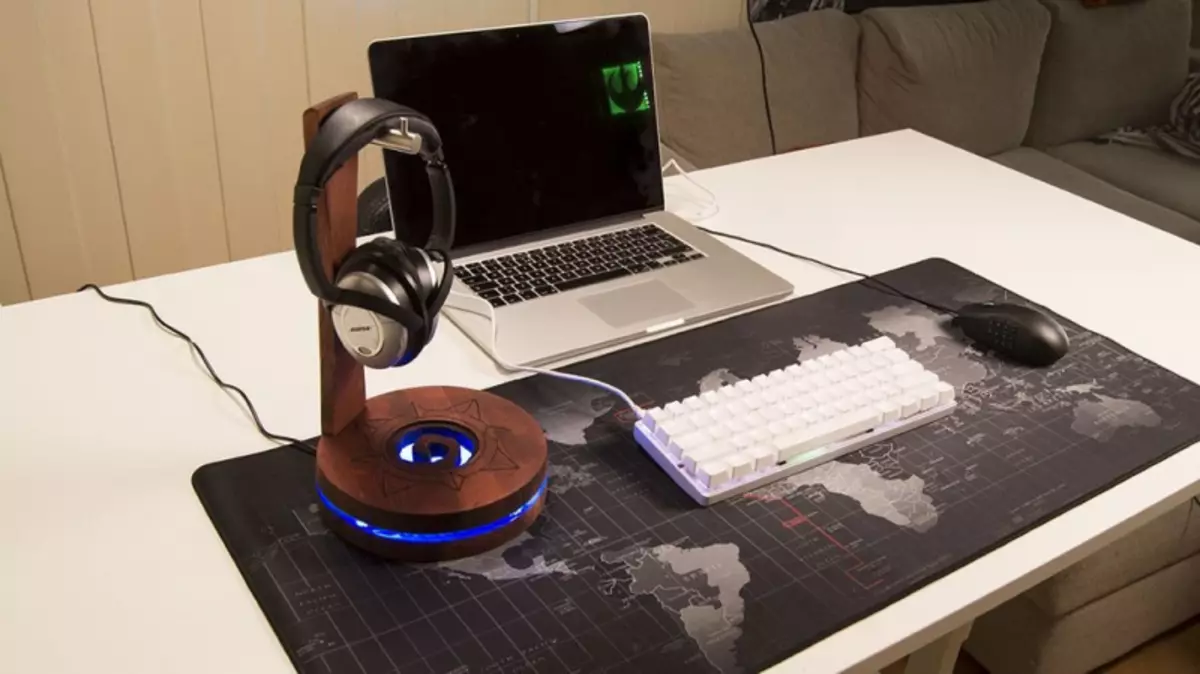
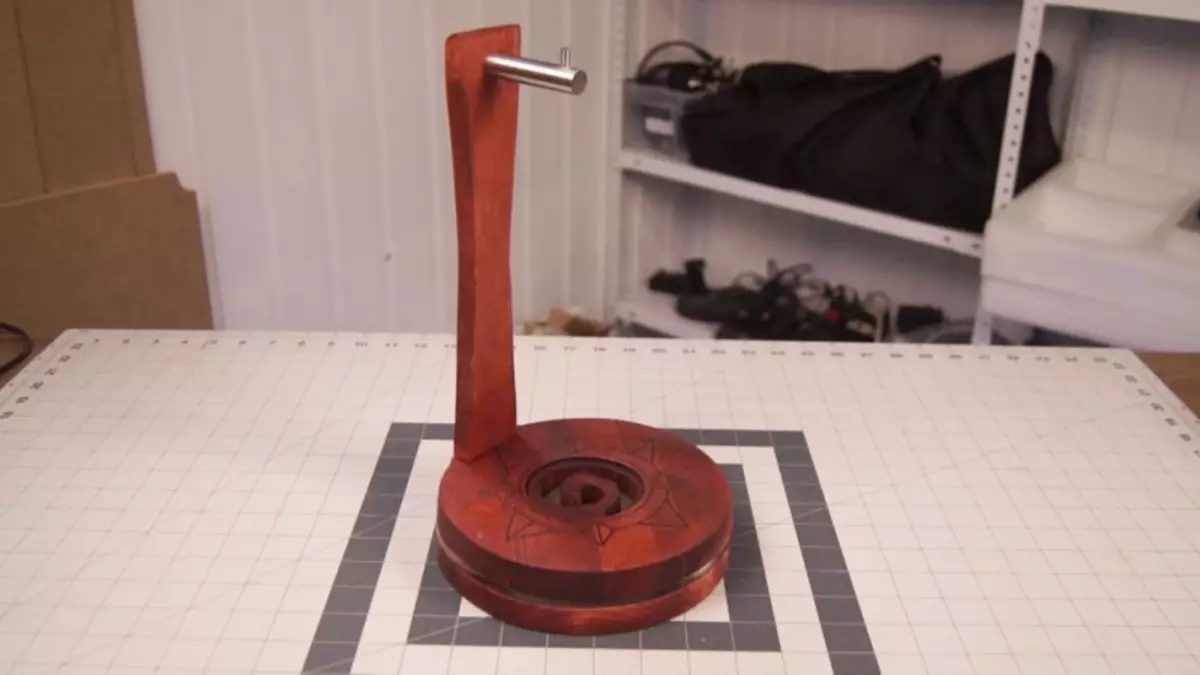
Any Meloman will appreciate this stand in dignity. Stylish, comfortable with LED backlit from USB - it can decorate a computer table without any doubt and allows you to contain the headphones themselves in order and always at hand. We will do it, naturally, will be their own hands.
Materials
To make a headphone stand with your hands, prepare:
- pine board;
- Acrylic glass sheet;
- Metal hook for hanging;
- LED ribbon;
- USB controller for LEDs;
- heat shrink tube;
- paper;
- handle;
- a set for burning on a tree;
- drill;
- plane;
- Lobzik;
- saw
- roulette;
- polyurethane glue;
- Emery paper.
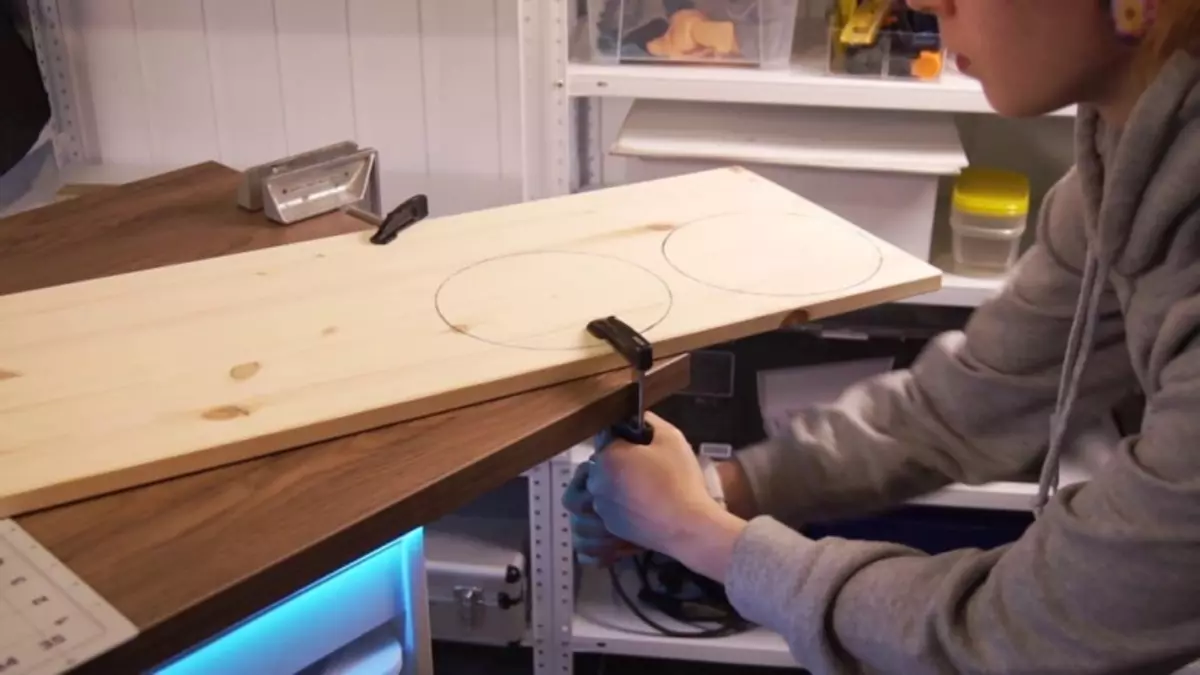
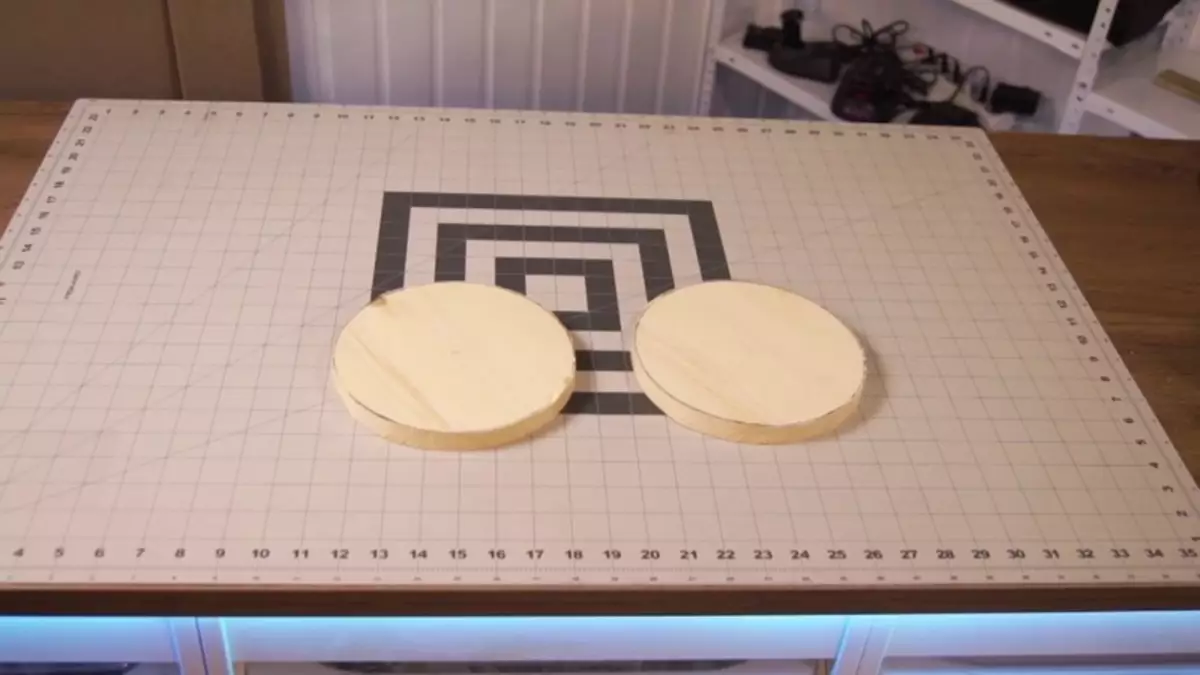
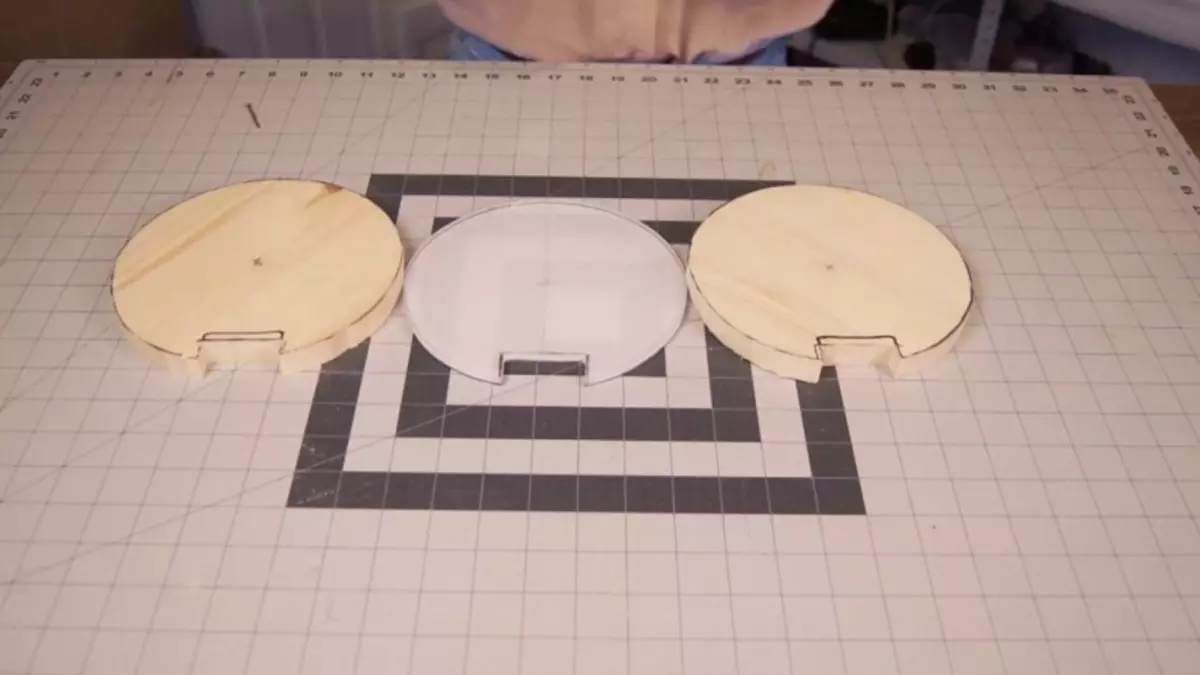
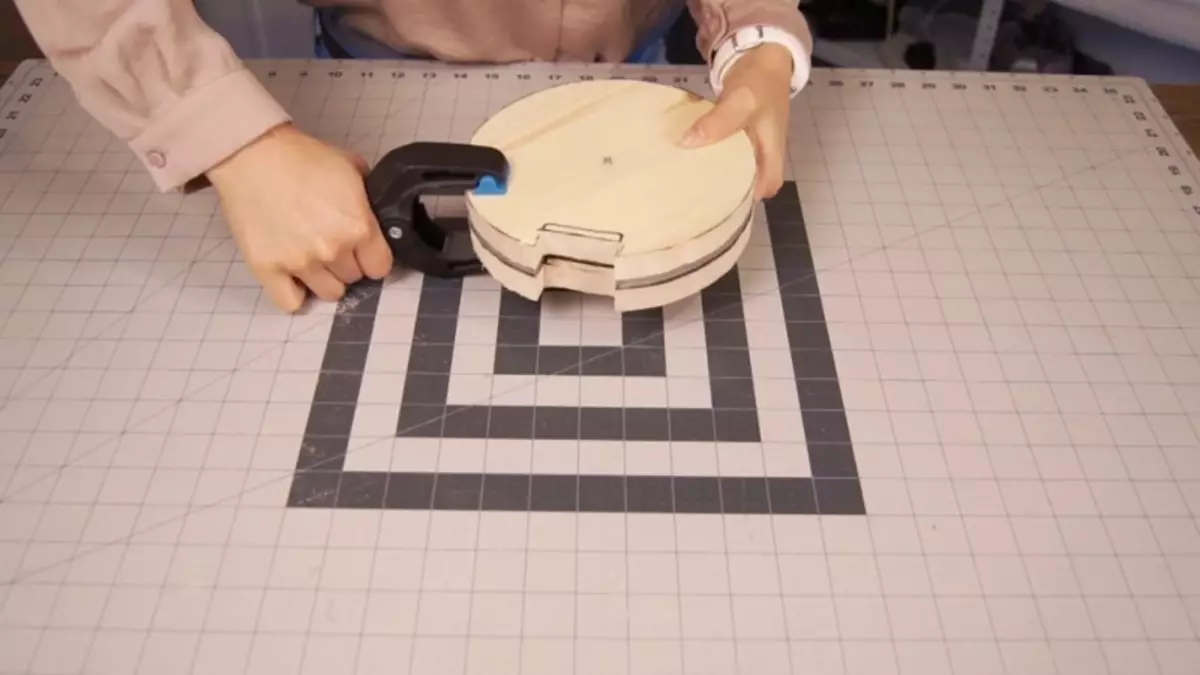
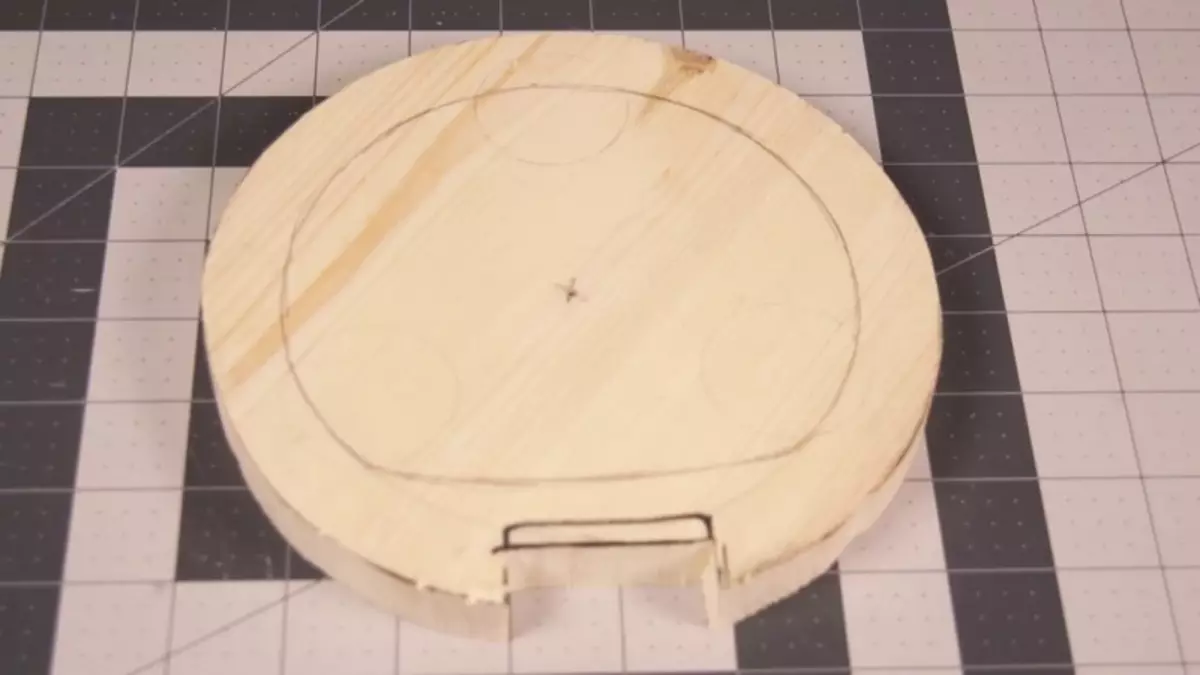
Step 1 . One of the stand elements is its base. We will make it using two wooden parts and one part of the acrylic glass. Initially, we will deal with wood blanks. To do this cut two circles of the same diameter. Do not make the circles too small, since the stand must withstand the weight of the headphones and not tipping over.
In this case, the diameter was 18 cm.
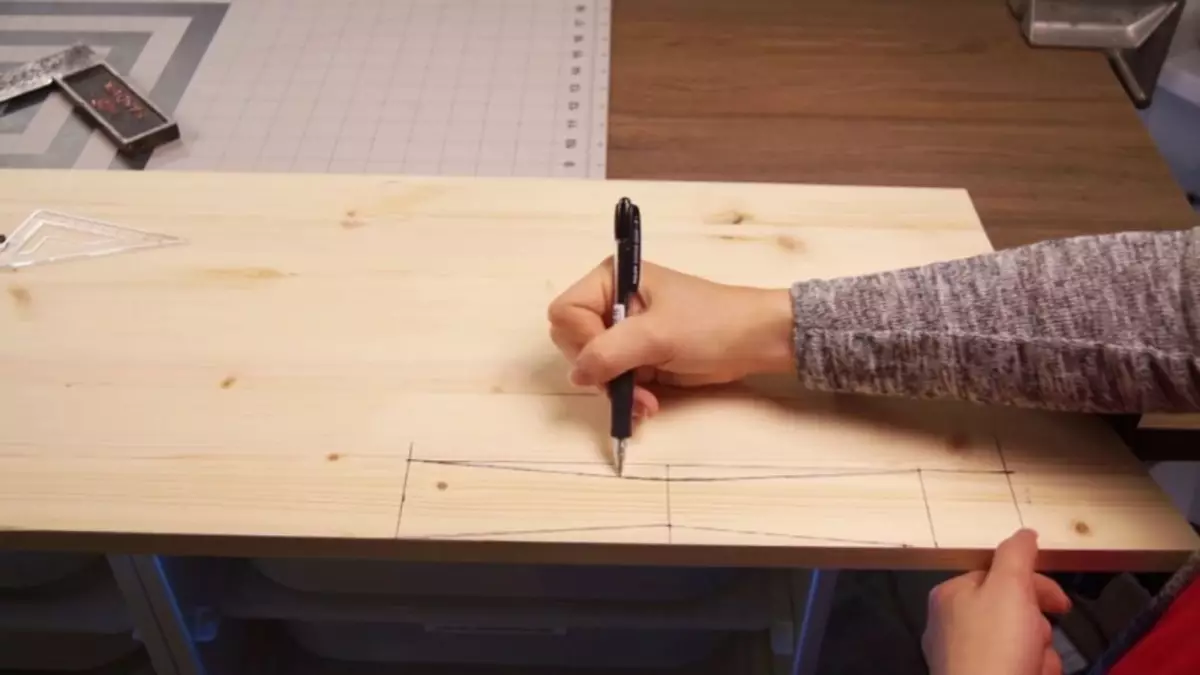
Step 2. . From the same board you need to prepare the rod that will hold the hook for hanging the headphones. As the hook itself, we use the usual hook hanger for the bathroom.
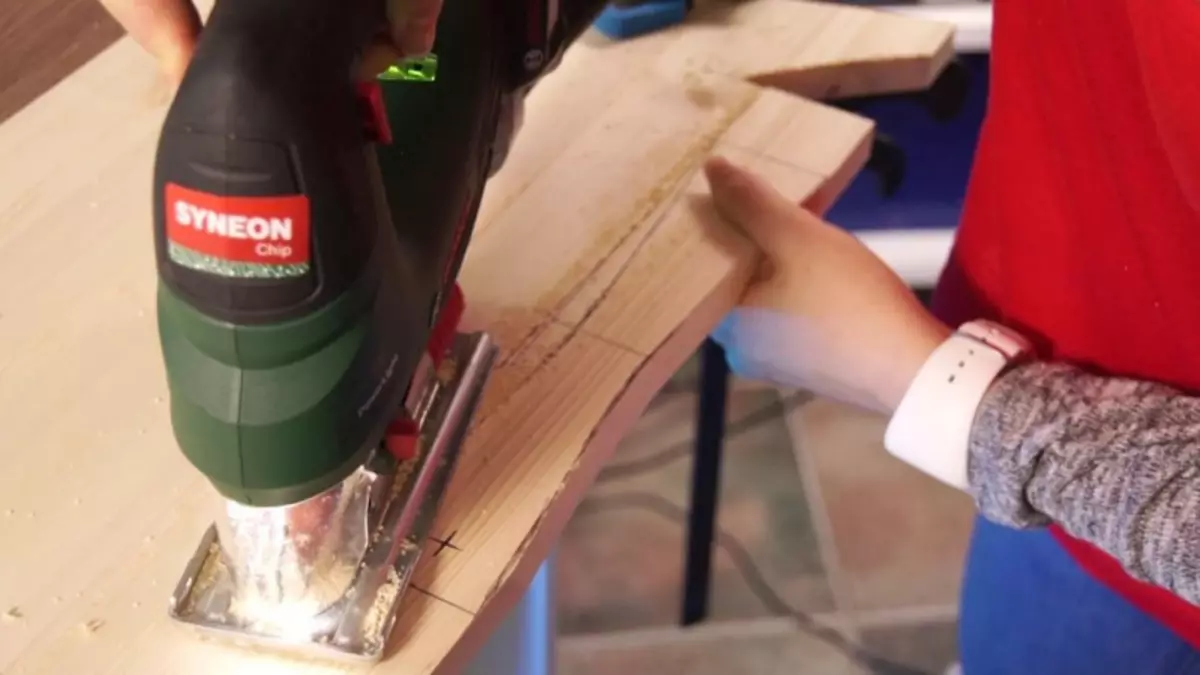
We propose a rod to make interesting in shape, pushing its middle part like an hourglass. First, apply the sketch on the board and after, adjusting it, cut out the jigsaw. Rod parameters: height - 30 cm, width 5 - cm.
Step 3. . Now you need to cut the circle of acrylic glass. A glass cutter is used for this job. The diameter is required as for a wooden circle.

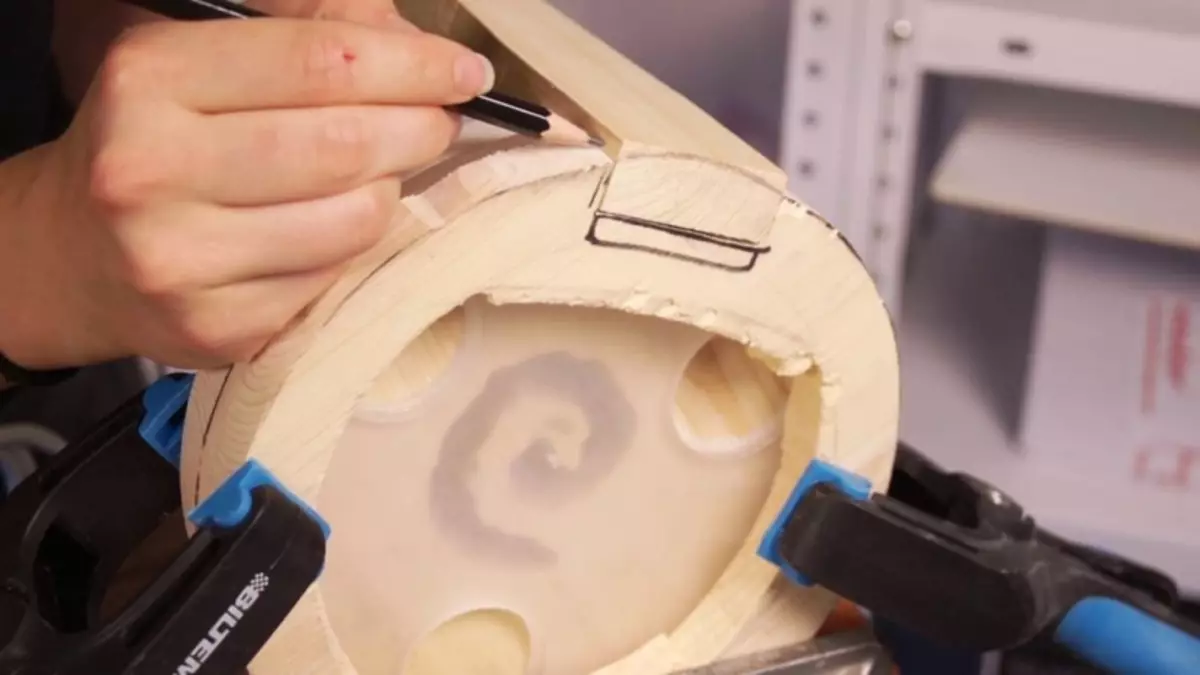
Step 4. . The rod that we prepared will need to be inserted into the base. To do this, you will have to make the appropriate groove in all three parts.
Step 5. . Align the items, check that everything is exactly in sections. Treat the outer edge of the emery paper. For convenience of work and so that during cutting items, the elements did not move, you can bore them.
Article on the topic: Pansies from beads: French weaving master class with video
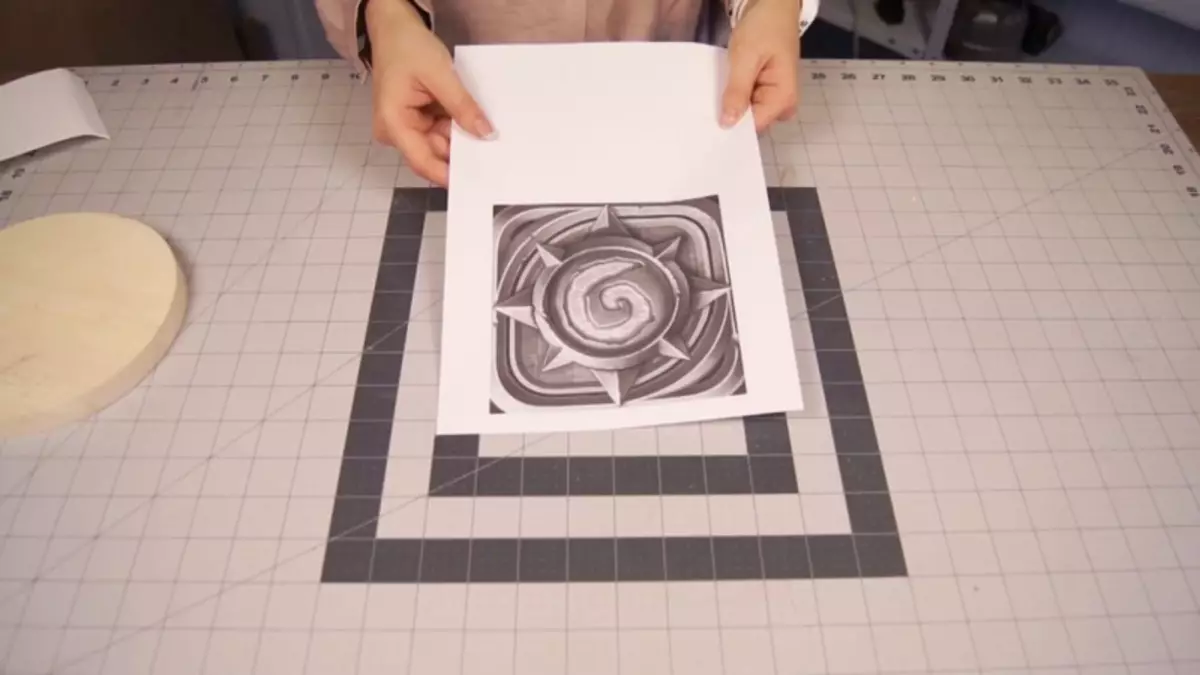
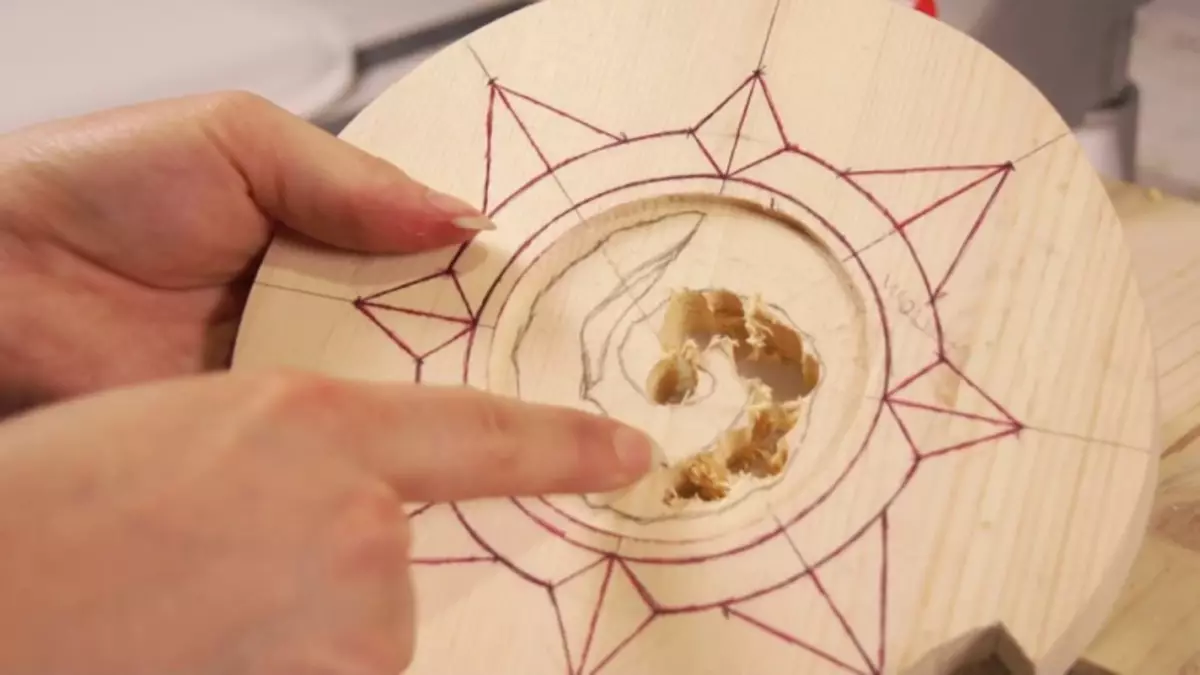
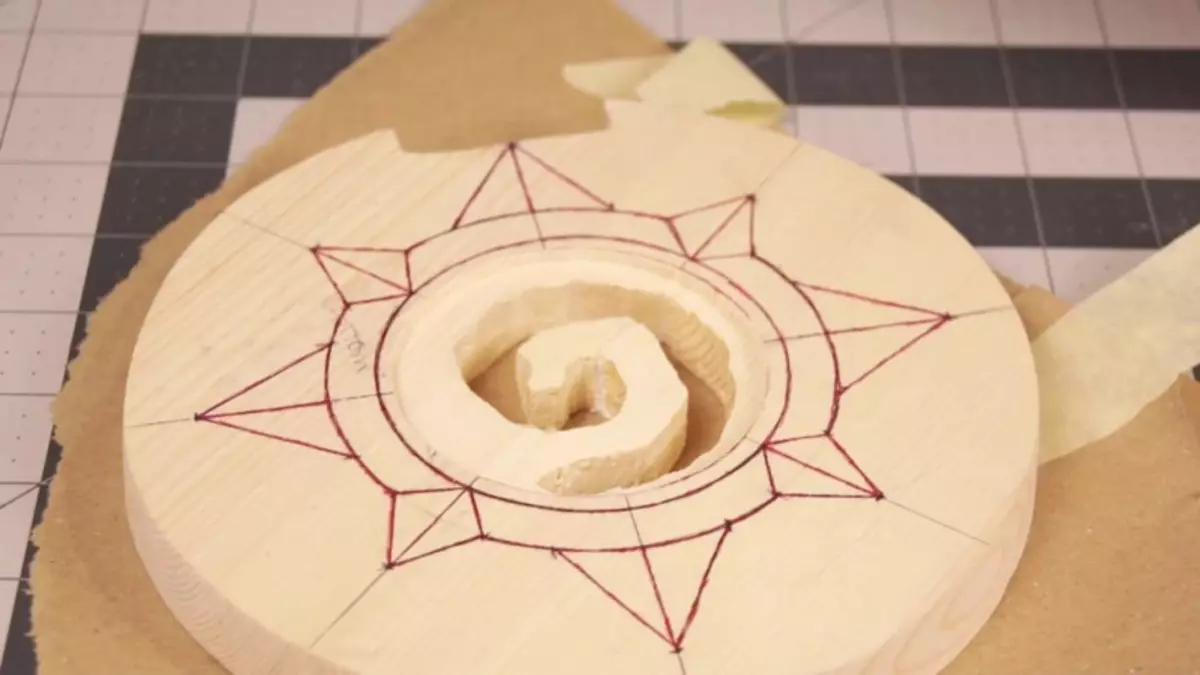
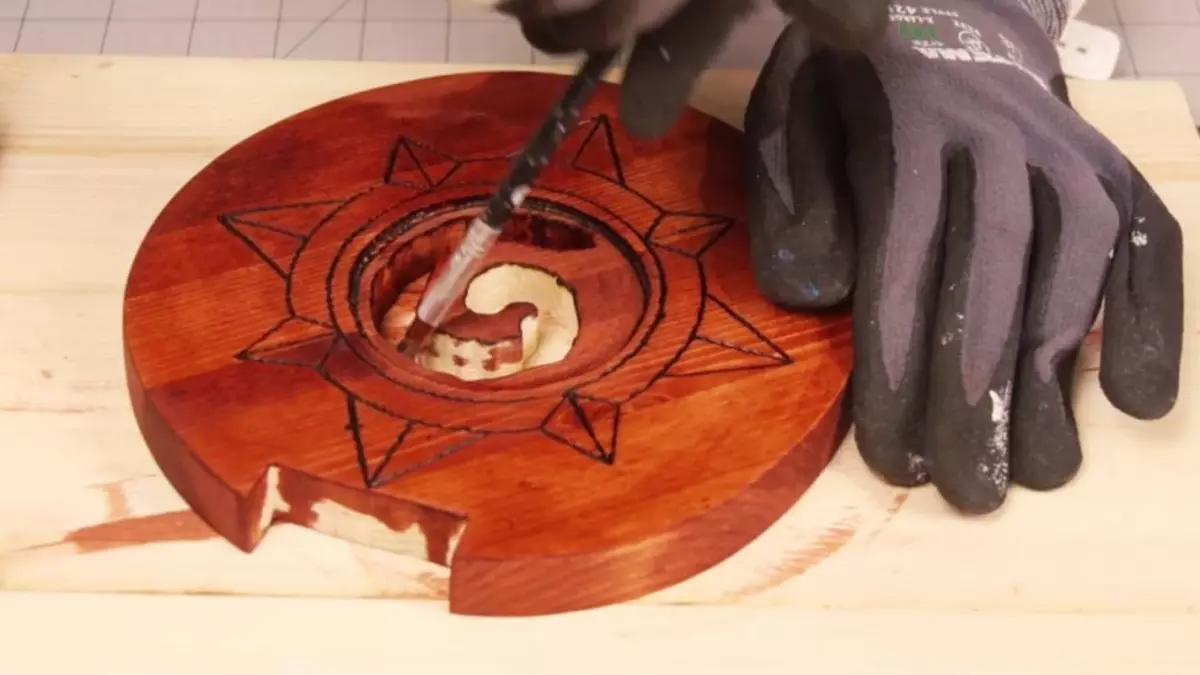
Step 6. . Optionally, you can apply a logo or drawing. Print it, transfer to the wooden upper element. Make a cut, if necessary. You can do it, like we, a drill, a jigsaw or using the CNC machine, in a word, repel from the available tools. Circuit edges for smooth lines Treat emery paper.
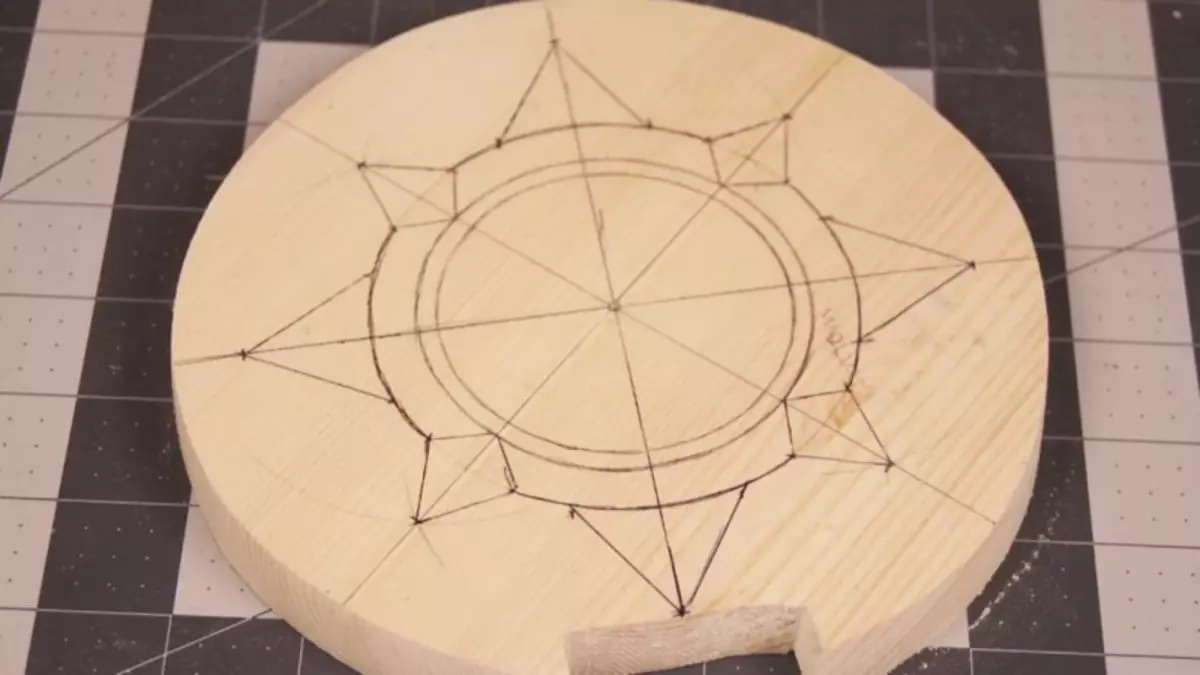
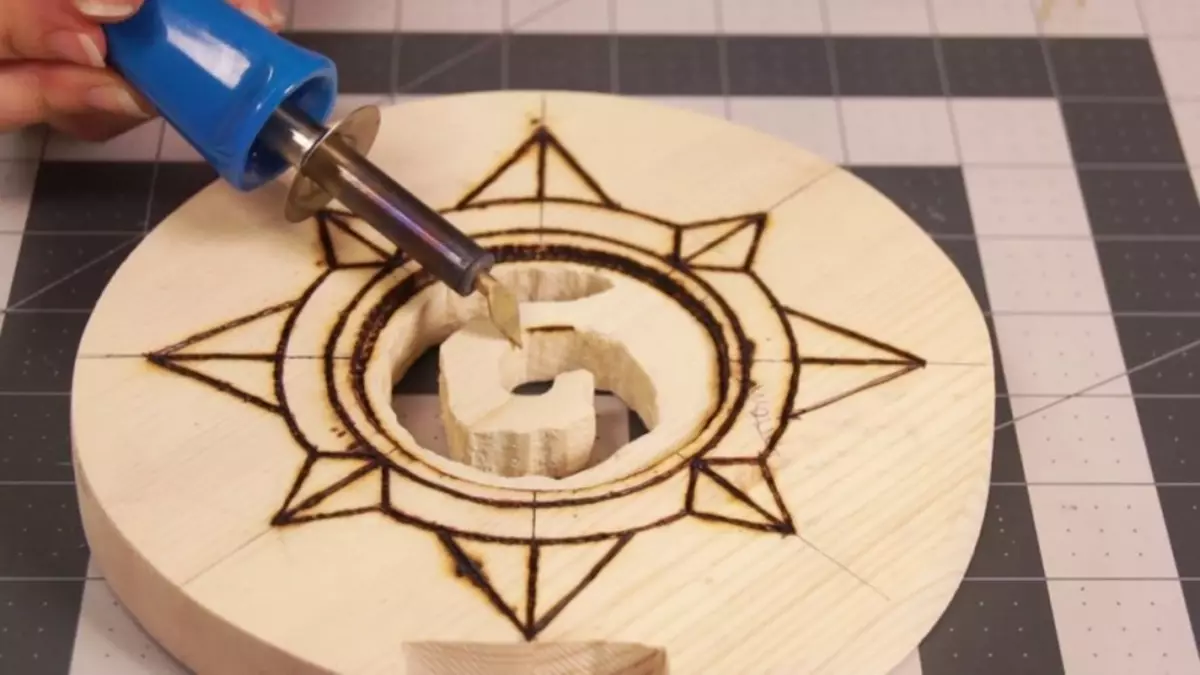
Step 7. . Through the drawing lines pass the wood burning device.
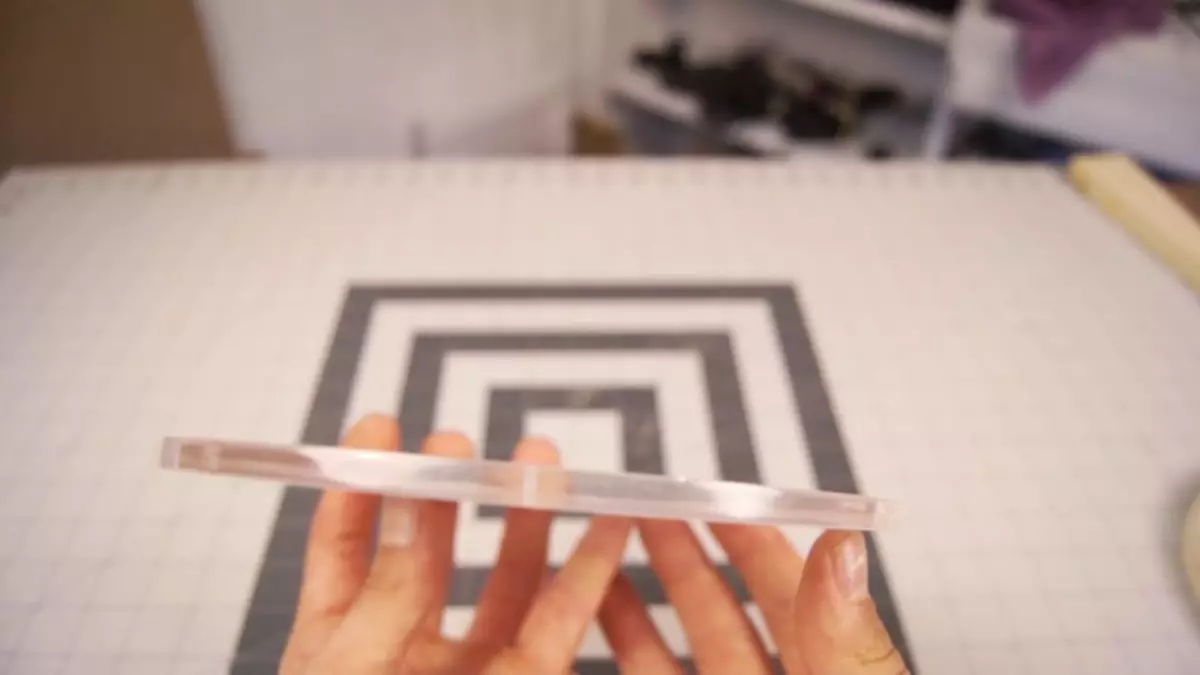
Step 8. . The edges of the acrylic circle cut is also treated with sandpaper. Tools usually leave coarse cuts, and in this case the edge must be perfectly smooth. Use for this paper of different grainability: from small to small.
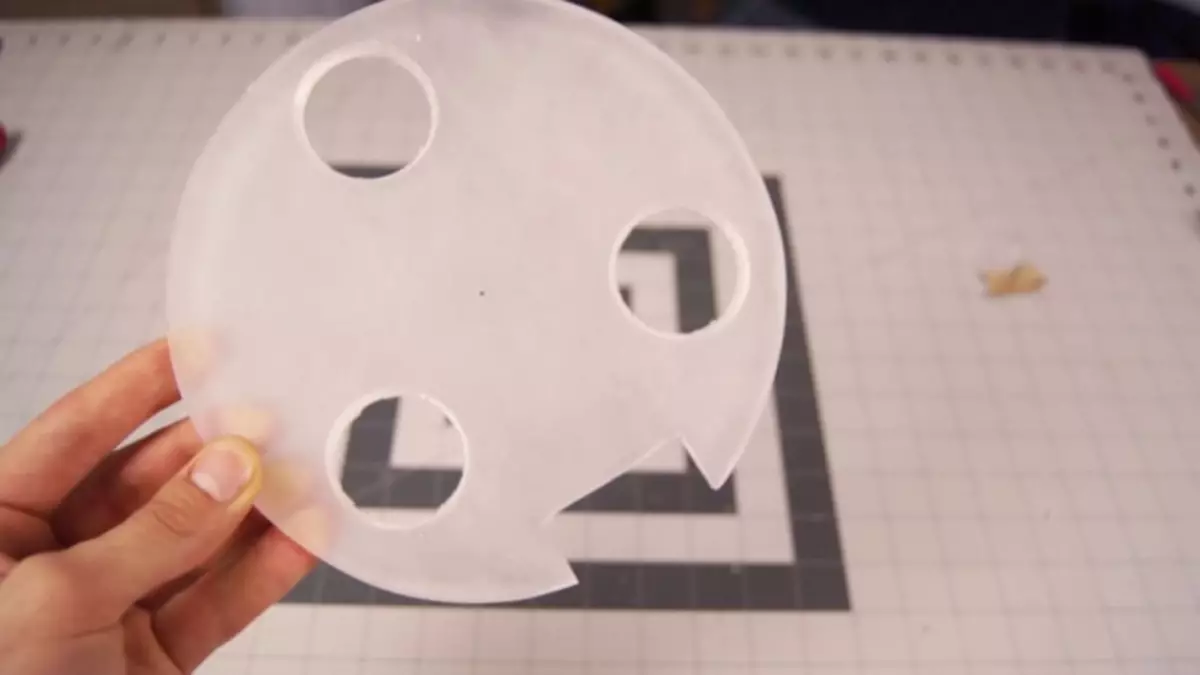
Step 9. . Make in the circle of acrylic three round cuts, as demonstrated in the photo. In them, after we put the LED ribbon.
Step 10. . The circle of the bottom of the base you will need to turn into the ring so that the LED ribbon can be pasted into it.
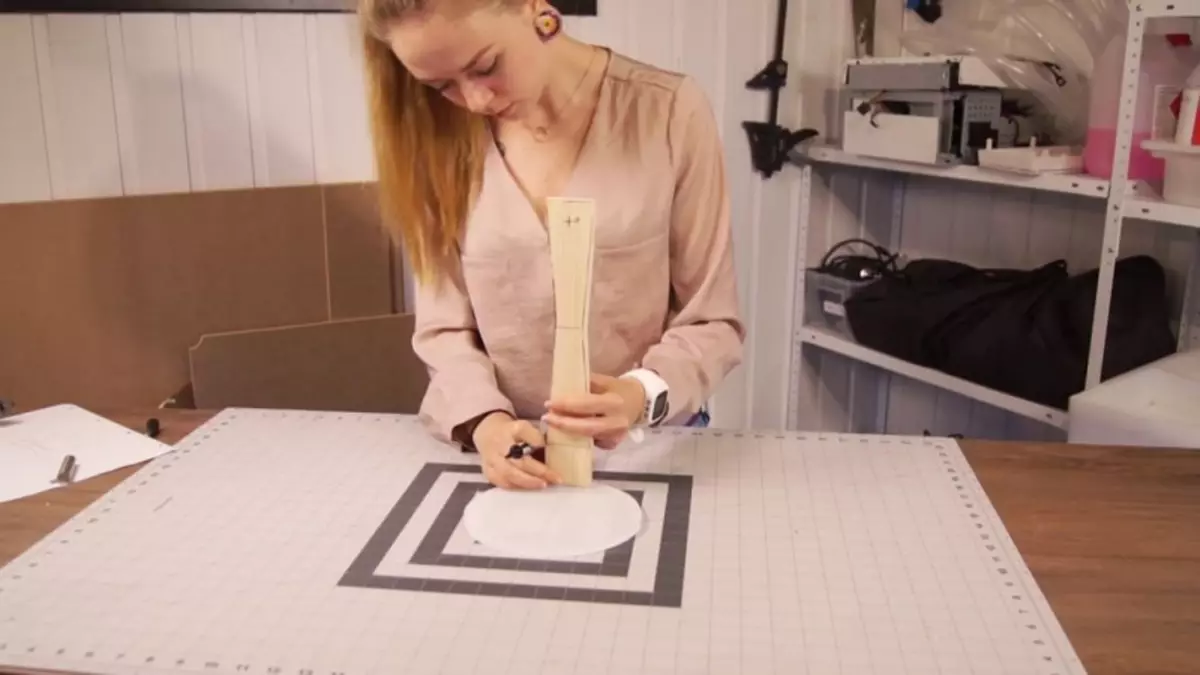
Step 11. . Insert the rod into the stand. The protruding outward part will need to be rounded for aesthetic species.
Initially, you can do it roughly, the plane, and after it is already grinding. In the top of the rod, you will need to drill a hole under the hook for hanging headphones.

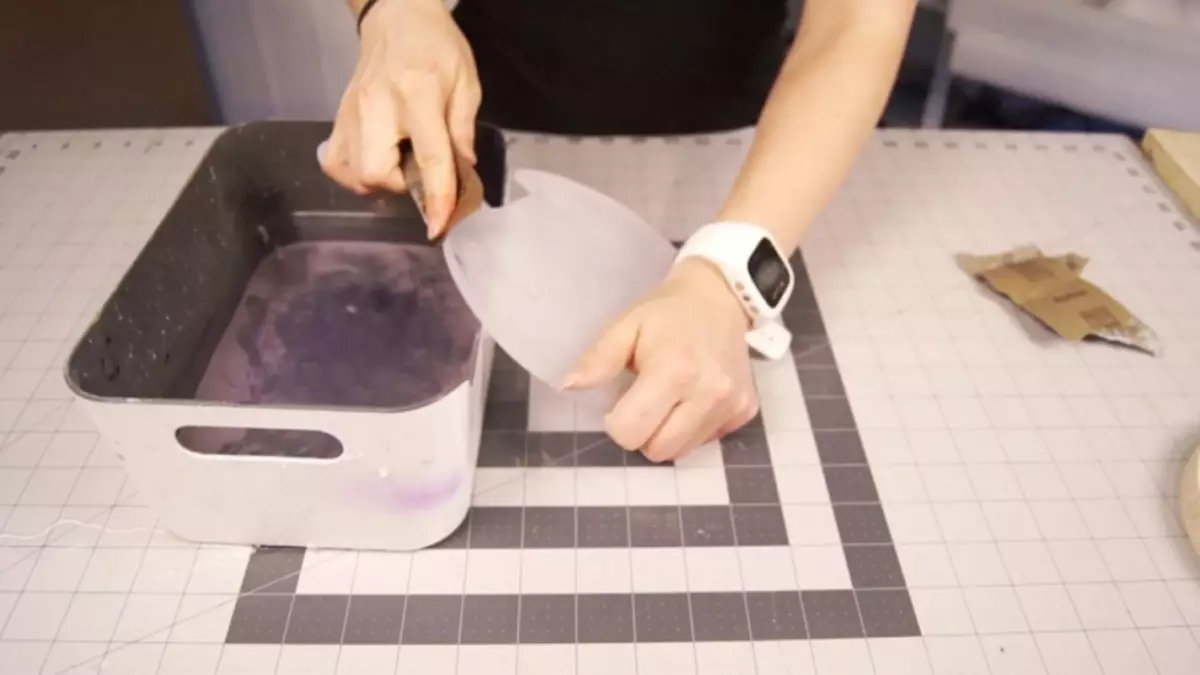
Step 12. . Having done all the workpieces, pick them out again and paint the wooden elements by the mourn.
Step 13. . After it dries, assemble the structure using polyurethane glue. It is better not to use the carpentry in this case, since the acrylic element will need to glue. Glue apply a bit so that the surplus do not get out of the edges.
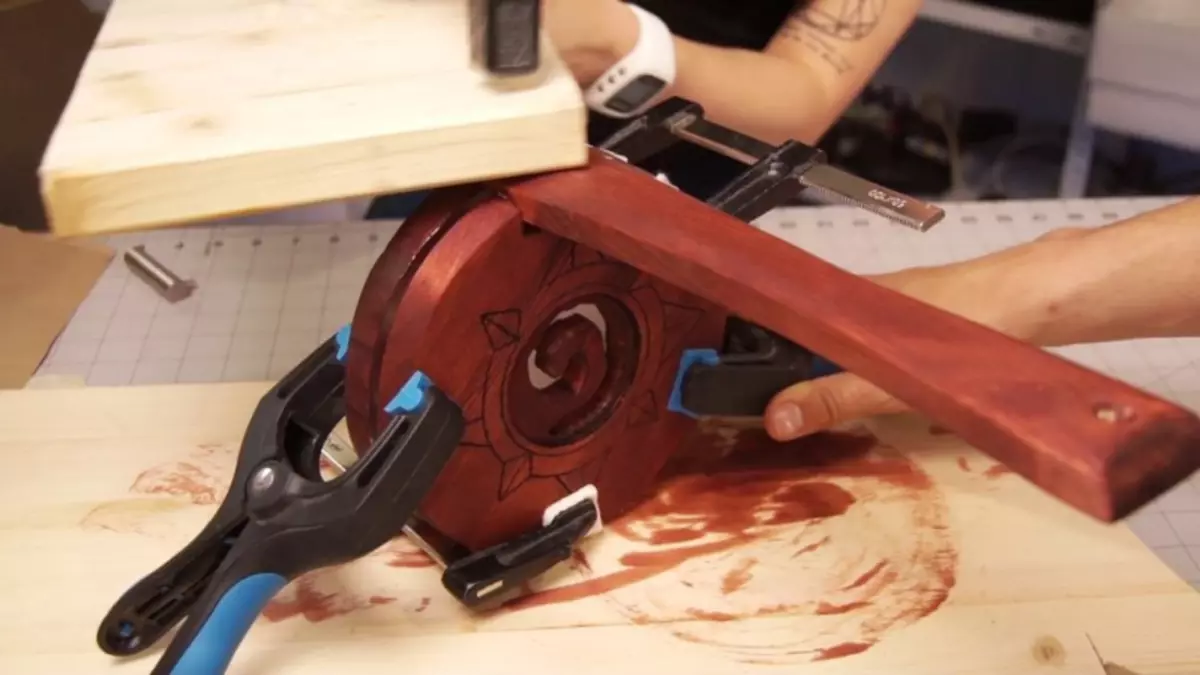
Step 14. . Thoroughly dry everything. With polyurethane glue, the process will take about 4 to 6 hours.
Step 15. . Secure the hook for hanging in the rod hole.
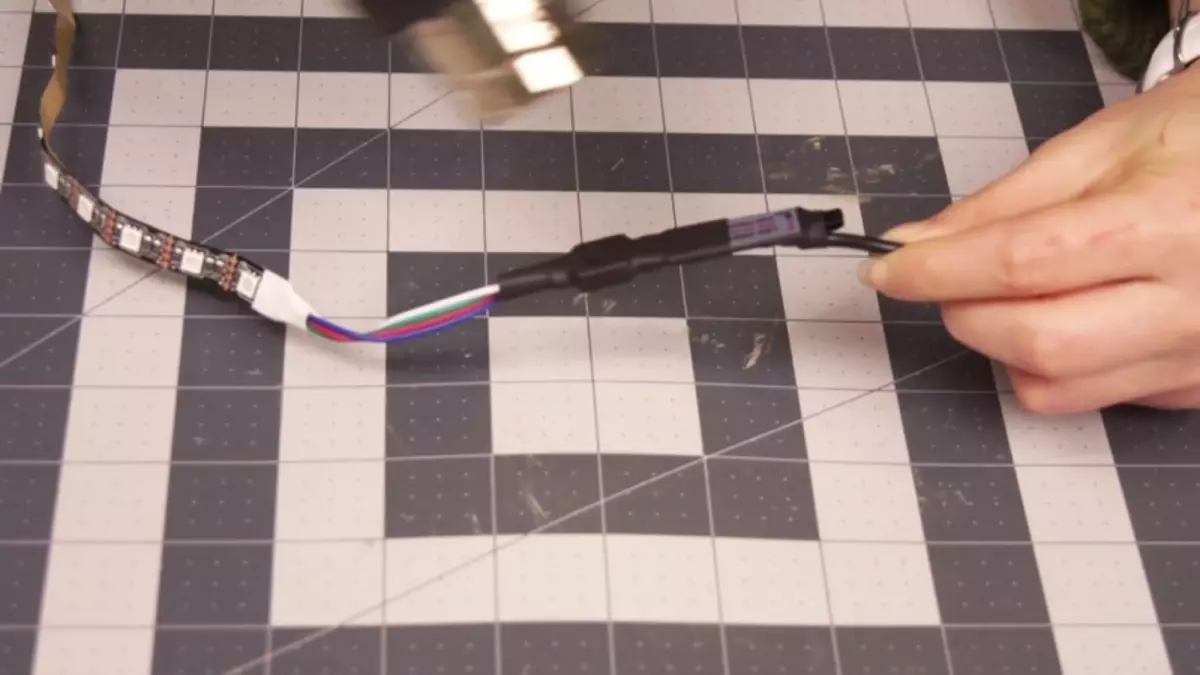
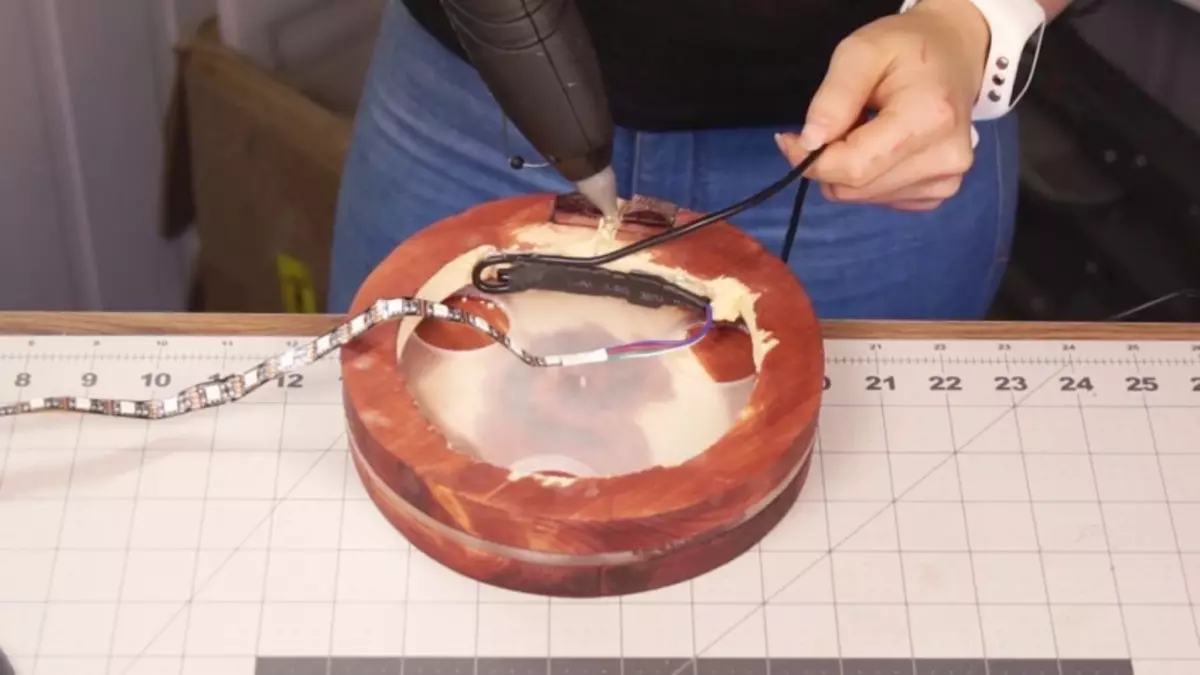
Step 16. . Take the USB controller for LEDs and connect it to the LED tape. Use a heat shrink tube.
Article on the topic: Round coquette crochet: master class with schemes for children's dress
Step 17. . At the bottom of the base, make a groove under the wire.
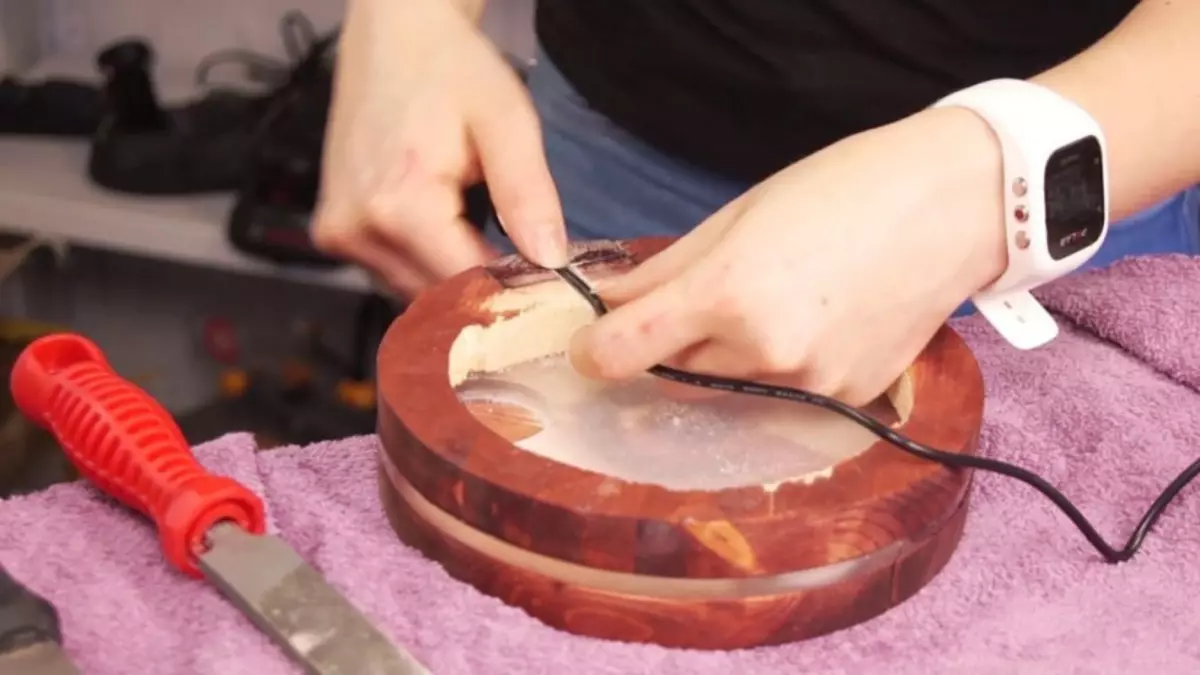
Step 18. . Run the LED tape inside the wooden ring, fix it with hot glue and output the wire out.
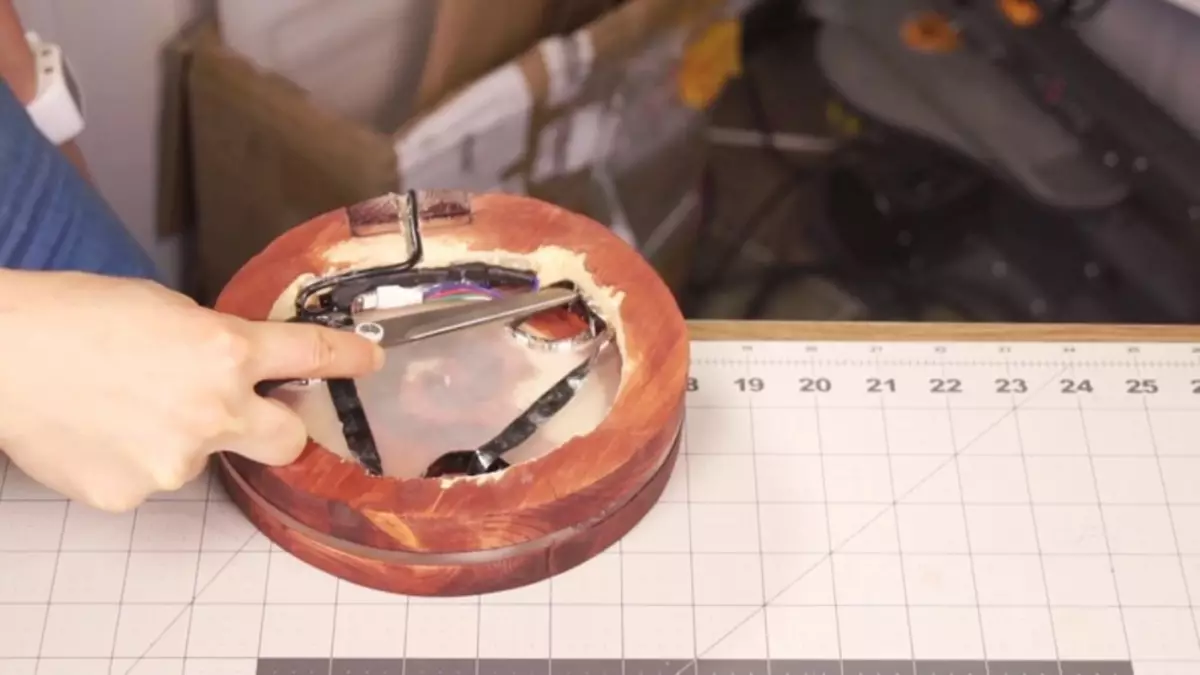
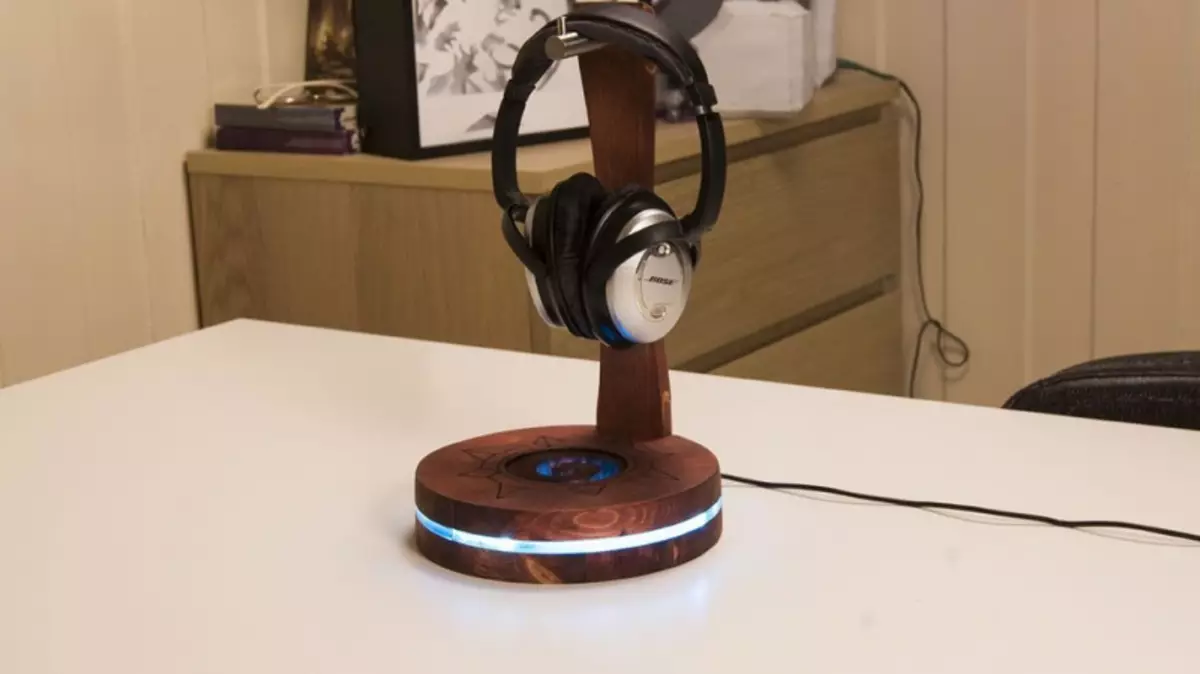
Your stand is ready.