
The comfort in the apartment appreciates every person: both the owner and the guest is much more pleasant to look at the rooms filled with different trifles than on faceless and no memorable "boxes" with a standard set of things in them. So, for example, the kitchen complements cute napples with openwork patterns, decorated bedside tables, decorated suico and even such trifles like candyers. Any sweet tooth will be glad to eat goodies straight from the bag, but much better to present them beautifully. So the person quenches not only hunger on the sweet, but also the need for comfort, that warm, which comes into the soul when he takes a candy from a homemade vase or a cup and reveals her wrapper. This feeling, if desired, will be able to give every mistress if you make a kitchen decoration with your own hands. To help her will be able to this master class on the candlers from the thread. It will even master the one who has never been engaged in needlework.
Simple option
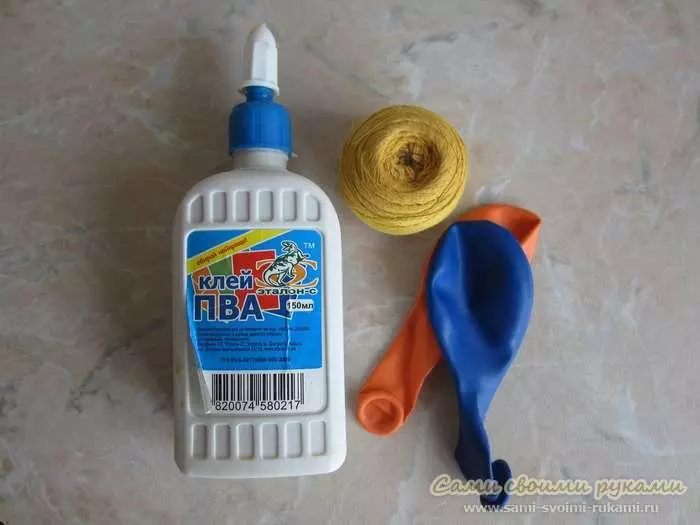
This technique has no definite name, but in my performance it is satisfied. You will only need to be patient and prepare the following materials:
- Two inflatable balls (one of them is reserve);
- Threads. You can experiment with their thickness and color. Look, what kind of result will give a thick thread and what happens with a thinner (one should not be taken too thin, they may not withstand weights and disintegrate). An excellent design solution will be threads in two colors. So it will be nice not only to take cookies and candies from a vase, but also just look at her;
- PVA glue.
Decide with the size of the future candlers, its capacity will depend on it and the number of threads spent on it.
Do not make it too big or small, so it will look empty and not very practical.
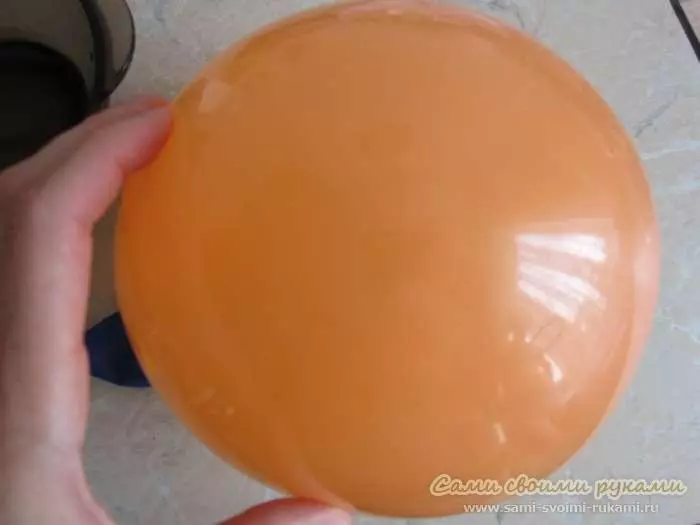
After that, take the air ball and inflate it according to the selected size. Do not forget to tie his tail thread so that it does not go down. If the ball burst in the process, do not worry - for this we took the spare.
Article on the topic: Knitting for children: Scheme of vest and job description
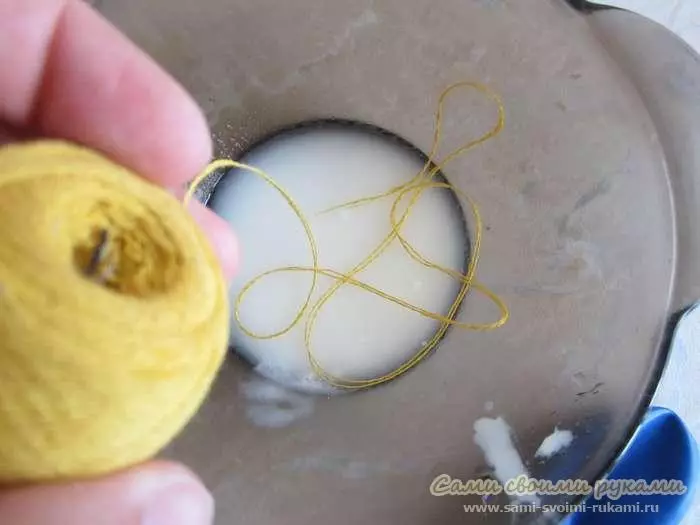
Prepare the glue: a small amount of water in deep dishes, add PVA into it and mix well the resulting mixture.

Turn the thread and lower it into the adhesive solution. After that, it will easily stick together with each other, and, hardening, will create a reliable basis for the candy.
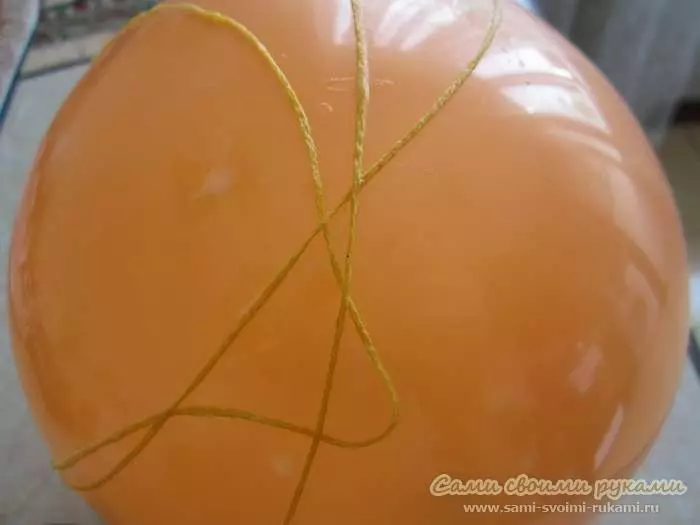
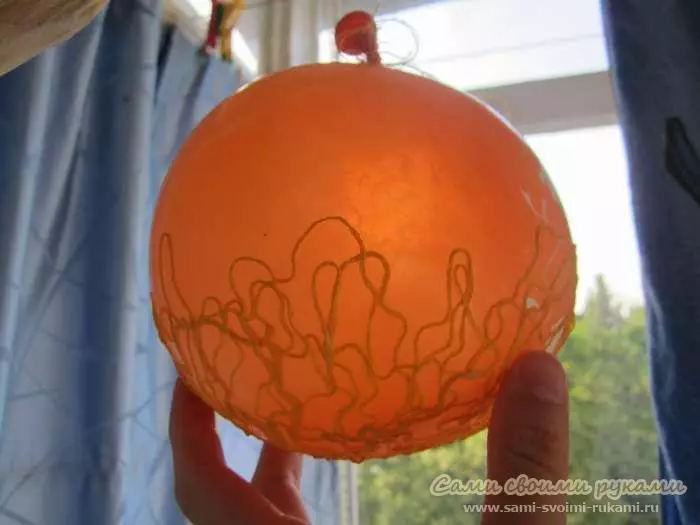
Next, turn the air ball with the prepared thread. This can be made arbitrary way - straight lines, all kinds of bends or loops, everything will depend on your imagination. To make a coffee maker more stronger, overlay the threads to each other in two, three or four layers, you should proceed from their thickness.
The next thing to do is to give threads to dry. To do this, hang the ball behind the tail and leave it in this position for a day. It is important to ensure that the threads do not touch anything, because they are still a sticky, there is a risk of damaging the future candlers during the dug from the random item of the object. Also, if you want the product to dry faster, take care of high temperatures, but remember that the ball can burst from heating, and this is very undesirable to completely dry the glue.
After the day passed and the thread managed to dry, it should be separated from the ball. To do this, you can simply burst it with the needle, or cut the scissors near the tail. This process is extremely unpleasant, but it is necessary in order to be able to use the candlers.

So, the threads separated from the ball, the original decoration of your kitchen is ready. It will add the room of comfort and dilute the weekdays of the sweet tooth in its unusual view that you created with such a reserve of patience. If you wish, you can consolidate the strength of the product, covering it by another layer of glue so that it does not be fed under the weight of the candy.
Article on the topic: Cap in Technique Briham: Master Class with Schemes and Video
In the shape of a heart
Consider another calender, which will become an excellent gift for the second half, especially loving sweets. Also such a product will delight children who love unusual things. It is noteworthy of its heart shape that can show your feelings both to person and to the candy themselves. To create such a candy, not only threads, but also toothpicks will be required. Consider Read more Required Materials:
- Dense cardboard. It will serve for the future product, so it is worth paying attention to its thickness. Cardboard should easily withstand candy disclined;
- Glue "Moment". Instead, you can use any other, which will also firmly connect the bottom with toothpicks;
- Directly toothpicks that will be the basis for the walls of the future candlers;
- Multicolored threads. Do not be afraid to experiment with the number of colors - from their variety of the craft will only be more beautiful, it is only worth thinking about the color combinations and not forget that it is important not to overload a common picture;
- To decorate the candlers, different beads and rhinestones are perfect. They will give the craft finished image.
Prepare Dysheko: Cut for this from the cardboard the heart of the desired size. Be careful and try not to affect its inner side. To facilitate the task, you can use a ready-made pattern and cut on it.
After that, cut all sharp ends of the toothpicks. Try to make them straight and without jar, because they can damage the bottom of the future product.
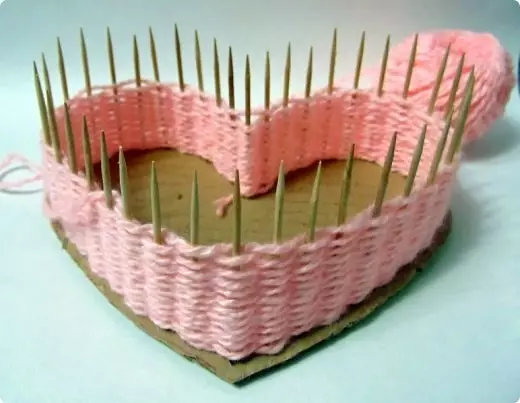
Stick toothpicks vertically on the cut out heart. It is necessary to retreat from the edge of the centimeter, it will give a candidate of durability.

The next stage is the most time consuming - it is necessary to scale the resulting foundation for the walls from the speakers and toothpicks. Make it with zigzags and in the process you can pass the beads for beauty.

In conclusion, reel the cannon, gluing sequins and rhinestones on it. It all depends on your imagination. In any case, the handicraft made by its own hands will certainly please your relatives, close and beloved people.
Article on the topic: Weaving bracelets from colored tubes for beginners with photos and video
