Bracelet - decoration on hand in the form of a ring made of various materials. Translated from the French "bracelet" indicates the "wrist", indicates the place of wearing an accessory. In this material you will learn how to properly create the basis for the bracelet.
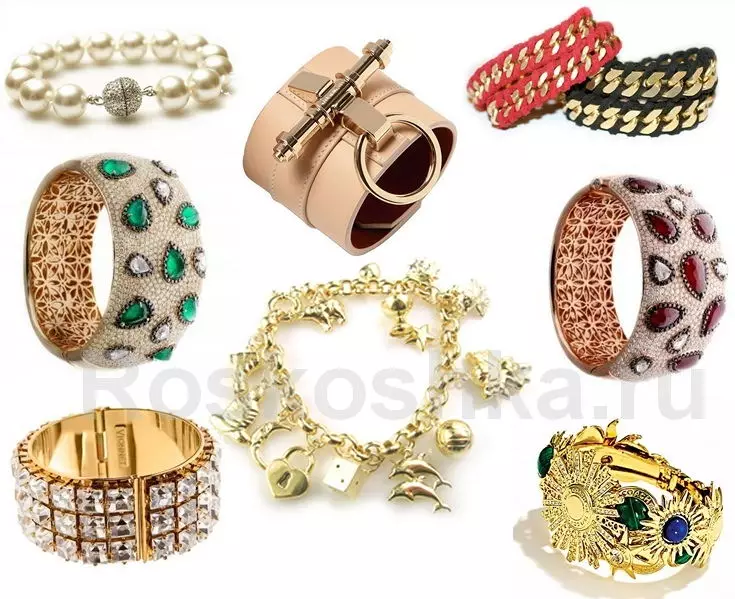
The history of the bracelet has several thousand years. He deserved special respect in ancient Egypt. And in Europe, fashion for bracelets came only in the second half of the nineteenth century and reached its apogee. Nowadays, the accessory is in great demand. Its popularity is explained by the fact that with the help of the bracelet, it is possible not only to emphasize their own individuality, status and temper, but also to create a new image or supplement the existing striking accent.
Nothing emphasizes the uniqueness as the accessory made by his own hands. Create your unique image using a man-made bracelet.
Base of plastic
The base of plastic is the easiest and most economical option for the bracelet. To create it, we will need:
- plastic bottle;
- scissors, sheet of paper;
- iron.
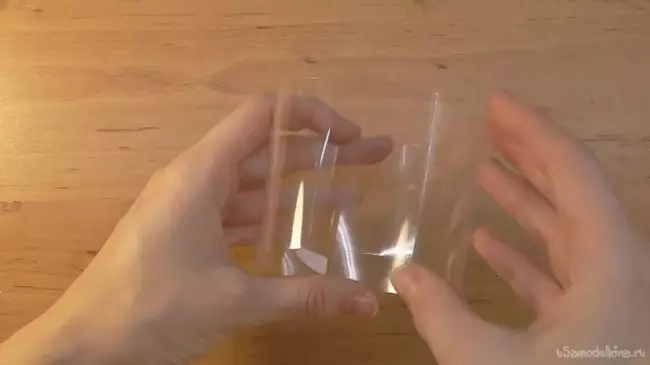
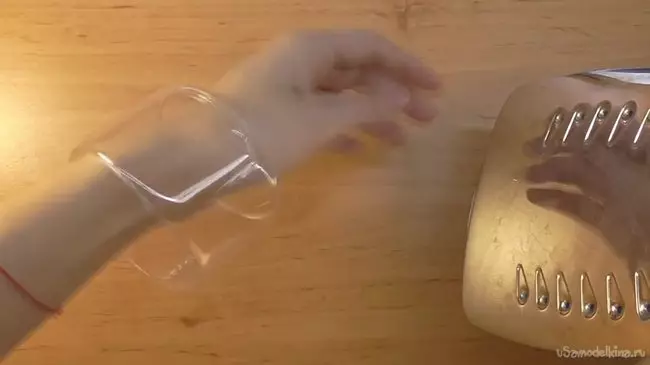
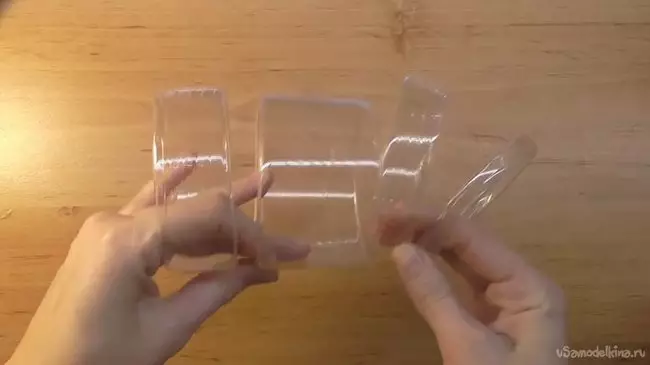
- We will start work. For the manufacture of the base, we will need only the middle part of the plastic bottle. Therefore, cut off from it the neck and bottom.
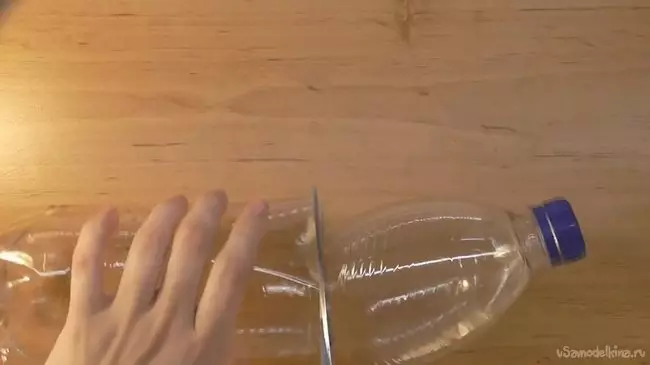
- From the resulting workpiece, apply the rings of the desired width. The width of the base depends on your idea.
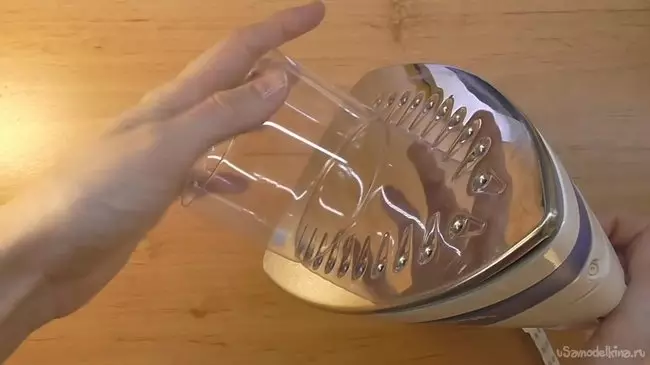
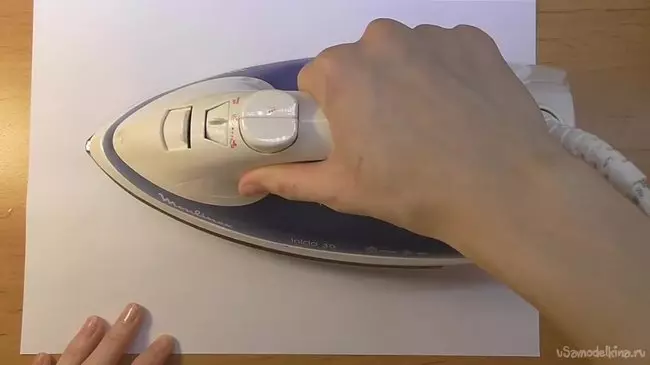
- The edges of the resulting rings should be smoothed, use the iron. At the preheated sole, we apply our cassette and press it for a few seconds. Smoothing, thus, both edges of the future bracelet.
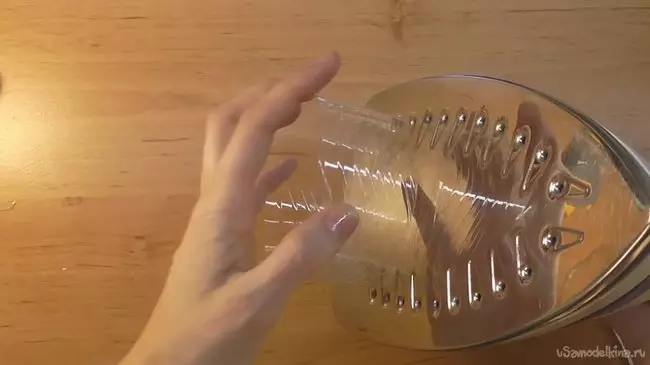
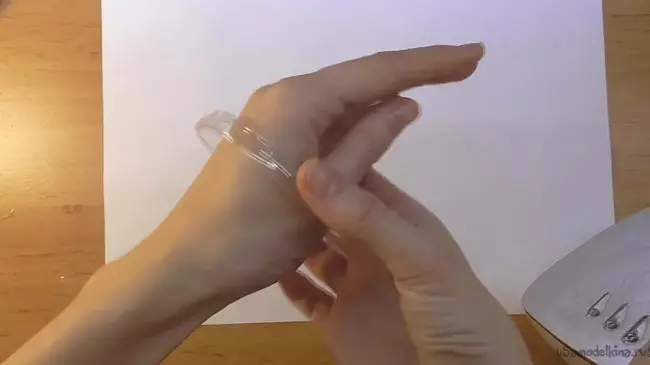
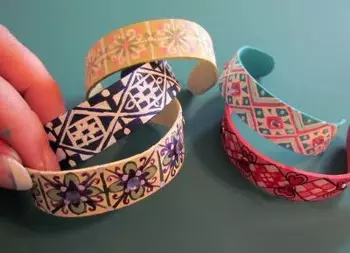
Wide base for bracelet is ready.
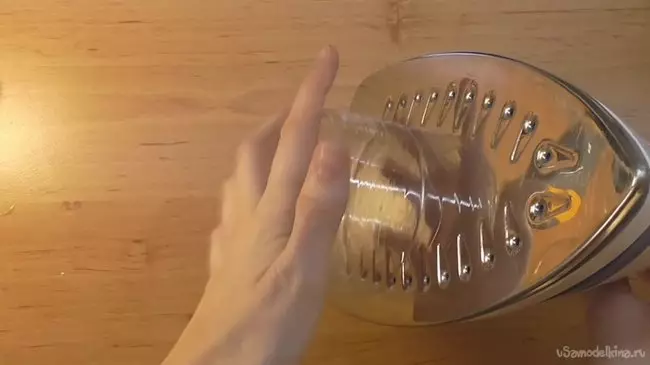
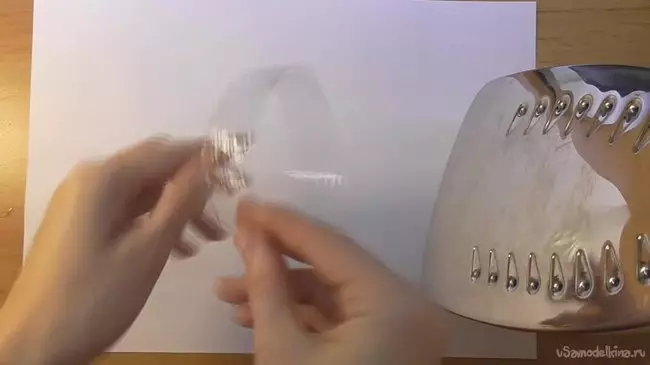
- To make a narrow bracelet, you should use a piece of paper. Cut a narrow ring, put it on a sheet of paper and press to the workpiece, in turn, turning the workpiece.
Thus, it is possible to make the basics for bracelets of different widths.
Article on the topic: Application from autumn leaves for children 1 class with their own hands with photos
You can decorate such foundations in different ways, for example: cover with cloth, leather, ribbon or threads, plane beads, beads or rhinestones. It all depends on your desire and fantasy.
More information on the creation of plastic bases for bracelets can be obtained from the video below.
From polymer clay
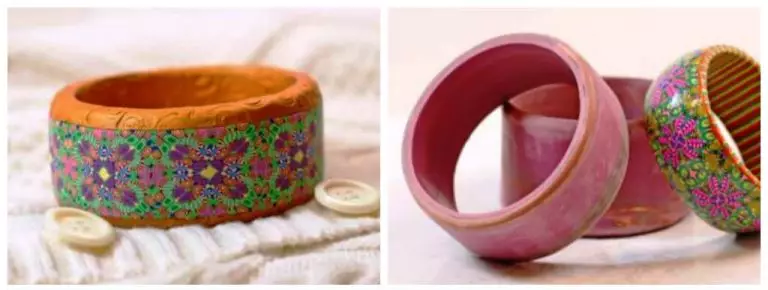
We offer you another way to create the basics for polymer clay bracelets. We need:
- Polymer clay (you can use the remnants of the material from previous crafts);
- knife;
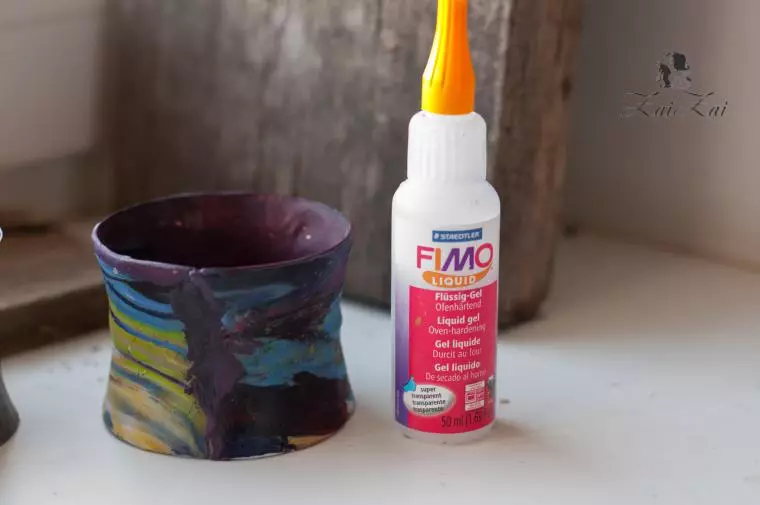
- FIMO-GEL;
- Metal bracelet.
- We take the remains of clay and roll it up to the desired thickness, about 3 mm. If you have a special paste-machine for clay rolling, plastic test, then use it to roll out the material.
- Now we need to give the form of the future bracelet. We use the metal base. Carefully stuck the clay bracelet. Cut a blank knife.
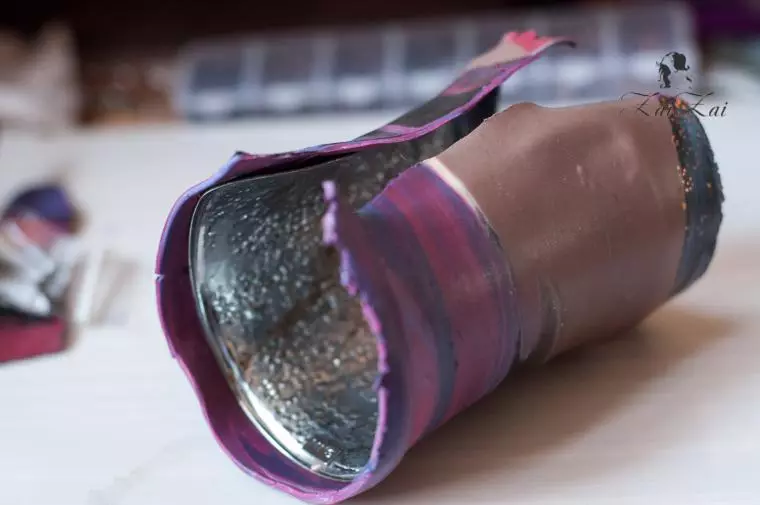
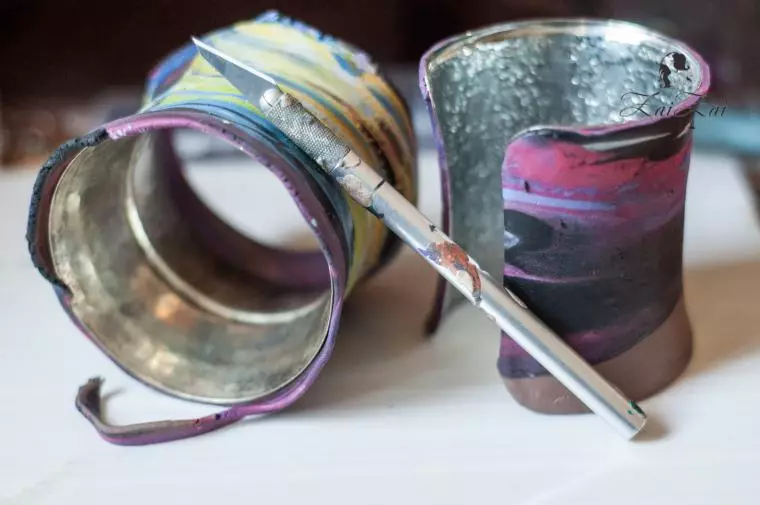
Closed bracelets should be cut along to make it easier to remove them from the form.
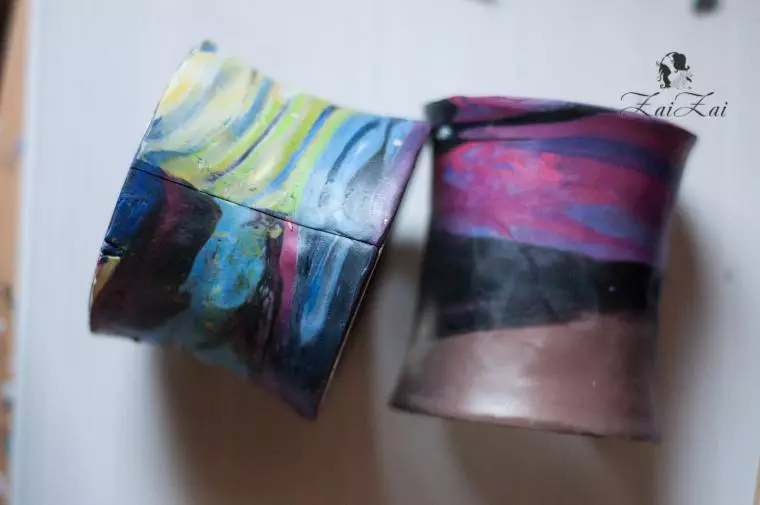
After the foundations are ready, you should send them to the oven for 30 minutes to bake. Before sending a closed bracelet to the furnace, you need to smear the seam of the FIMO-gel, then close the bog clay.
Ready.
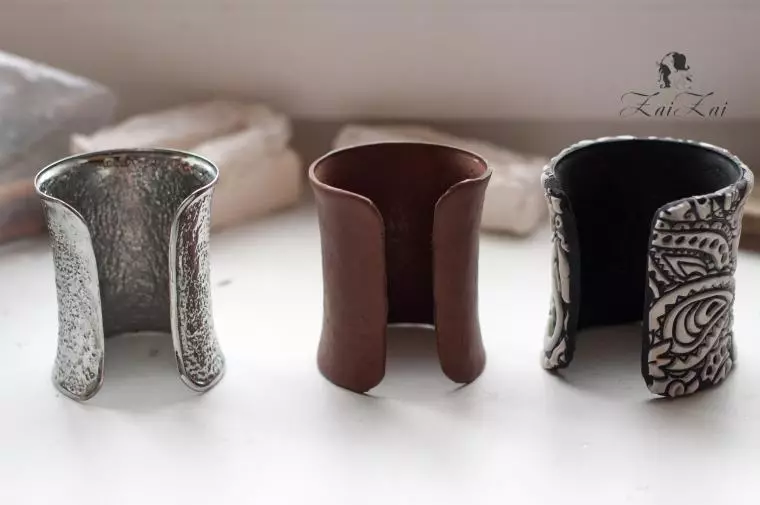
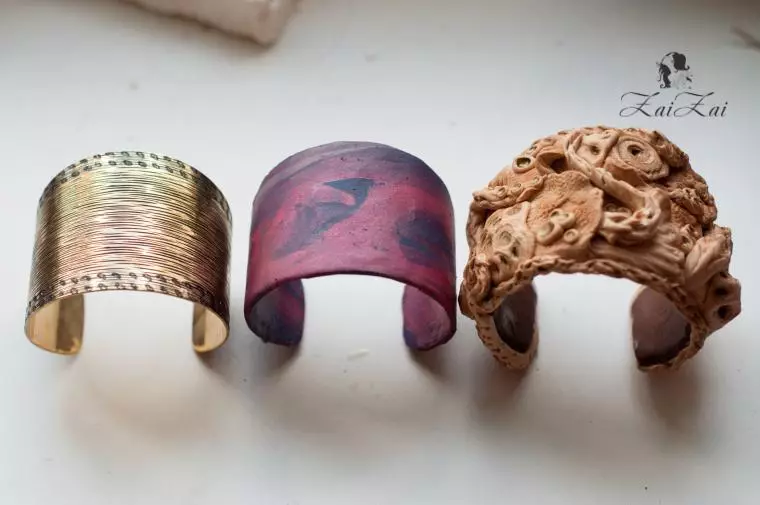
Master classes for creating the basics of polymer clay bracelets in front of you.
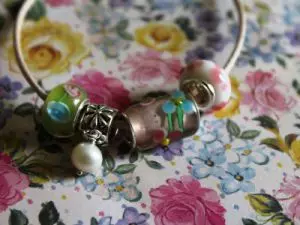
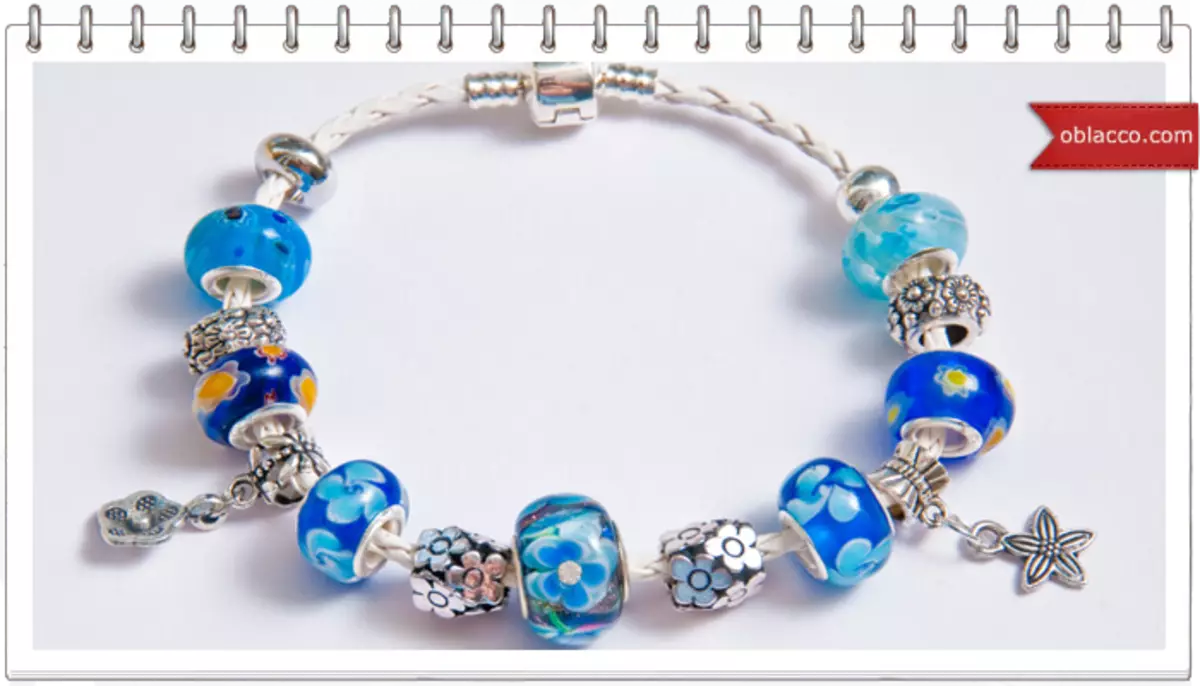
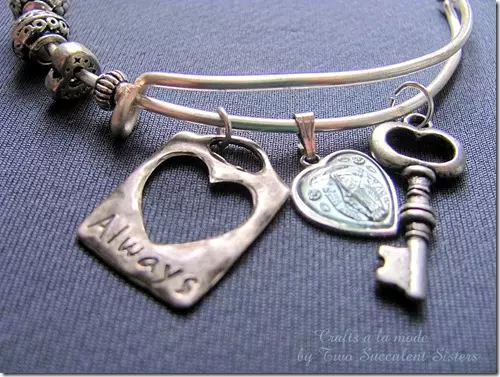
Pandora bracelet"
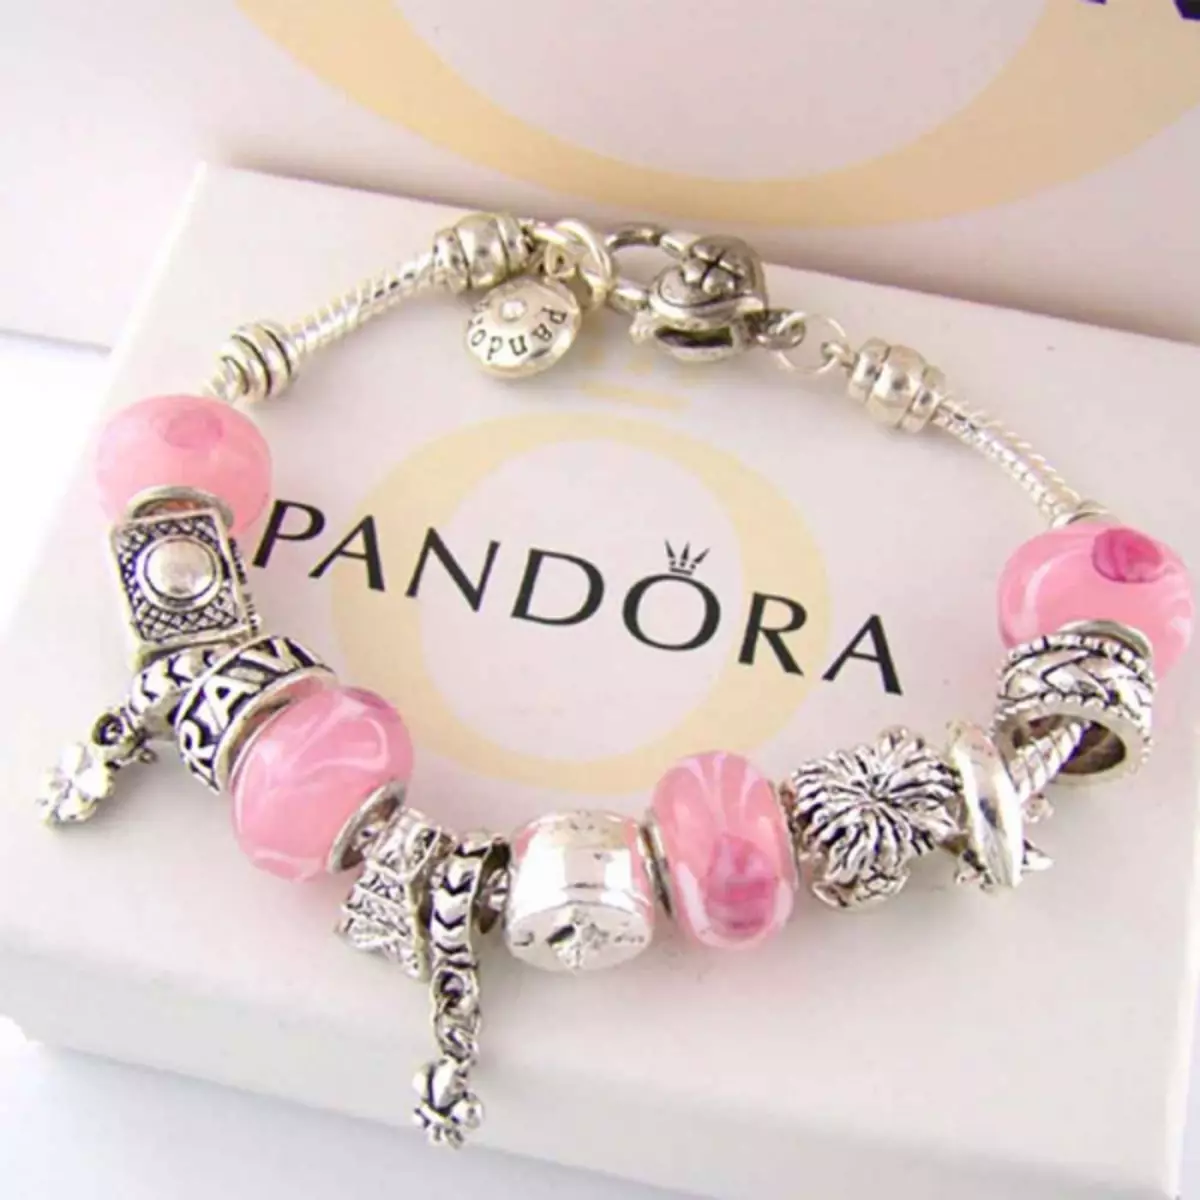
Recently, the incredible popularity among female purchased bracelets with the charm of Pandora. These amazing transformer decorations are distinguished by the fact that with the help of removable chammales, you can create unique bracelets at least every day, changing or complementing them at your discretion. As a basis for charm, textile, leather, metal bracelets are performing.
We offer you to create the foundation for the Pandora bracelet with your own hands. There are several ways to manufacture the foundations for such bracelets, consider the main of them.
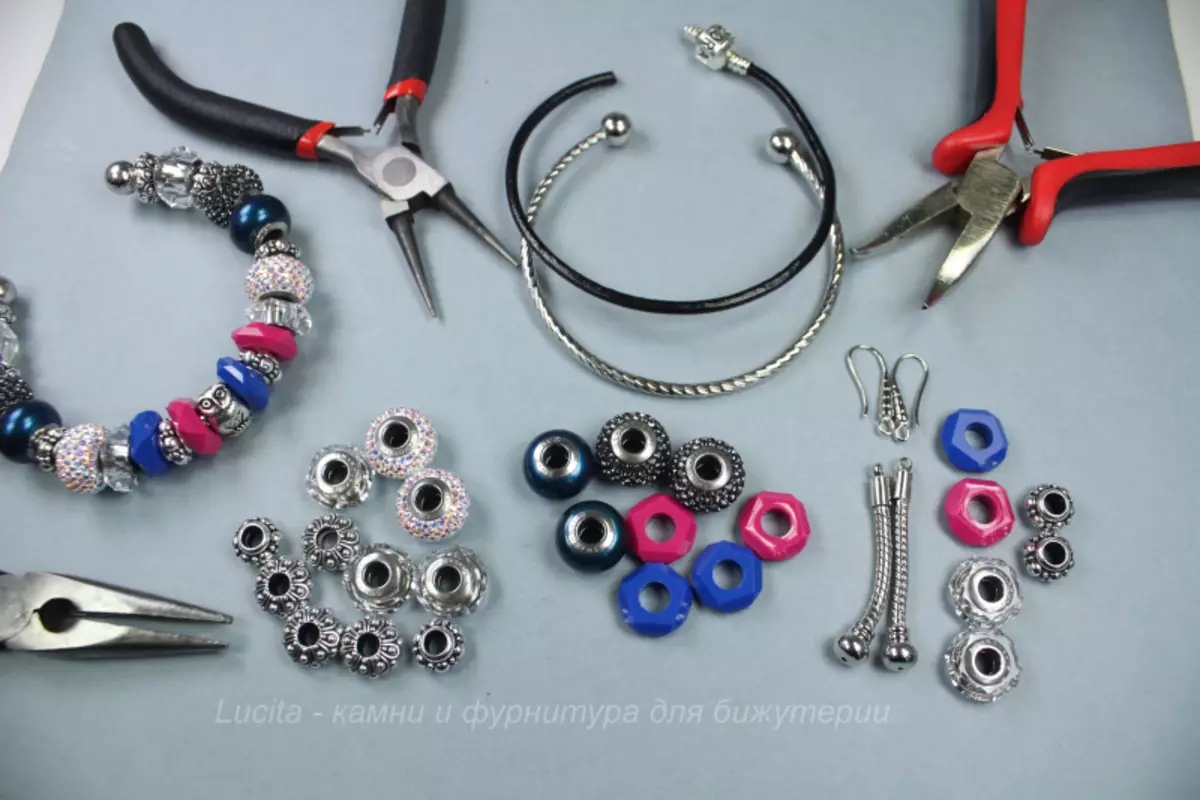
The fastest way. To create the foundation, we will need the following tools and materials:
- Textile or leather lace;
- clasp;
- Floors and pliers.
Article on the topic: Mittens with festers: Detailed description with schemes and video
- First of all, it is necessary to measure the length of the wrist to add a couple of centimeters to it, only after that cut off a piece of the desired length.
- Fasten the fastener on both sides, with pliers. The basis for the bracelet is ready, you can begin to decorate.
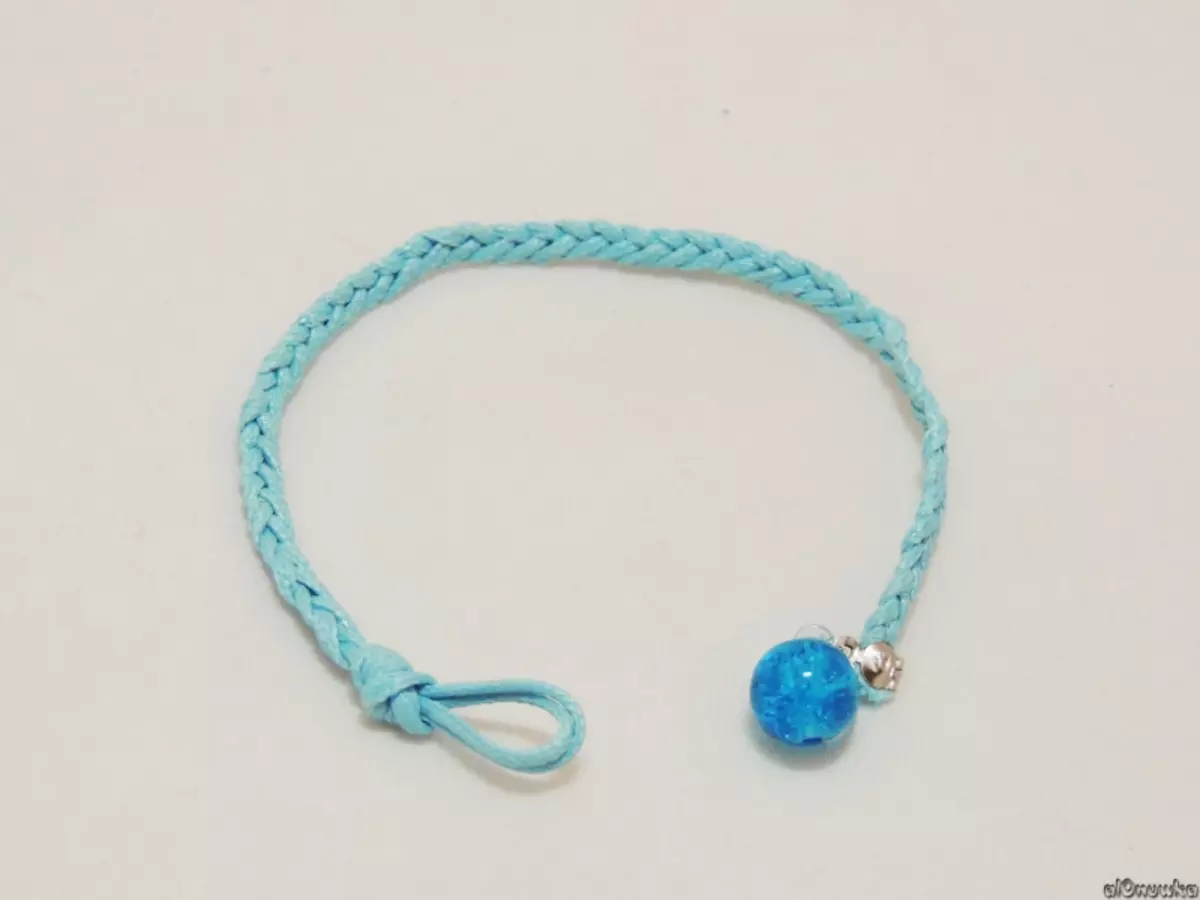
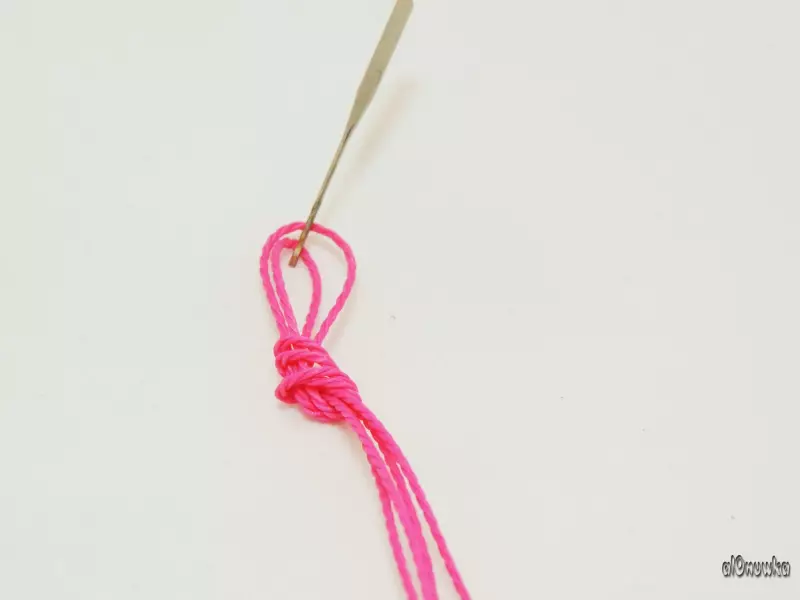
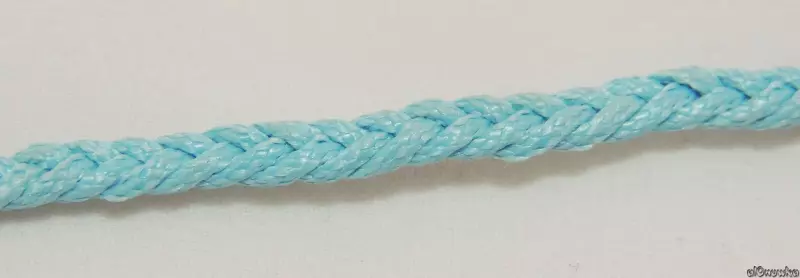
We are wearing a bracelet from threads.
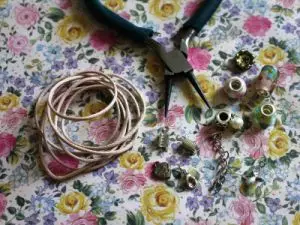
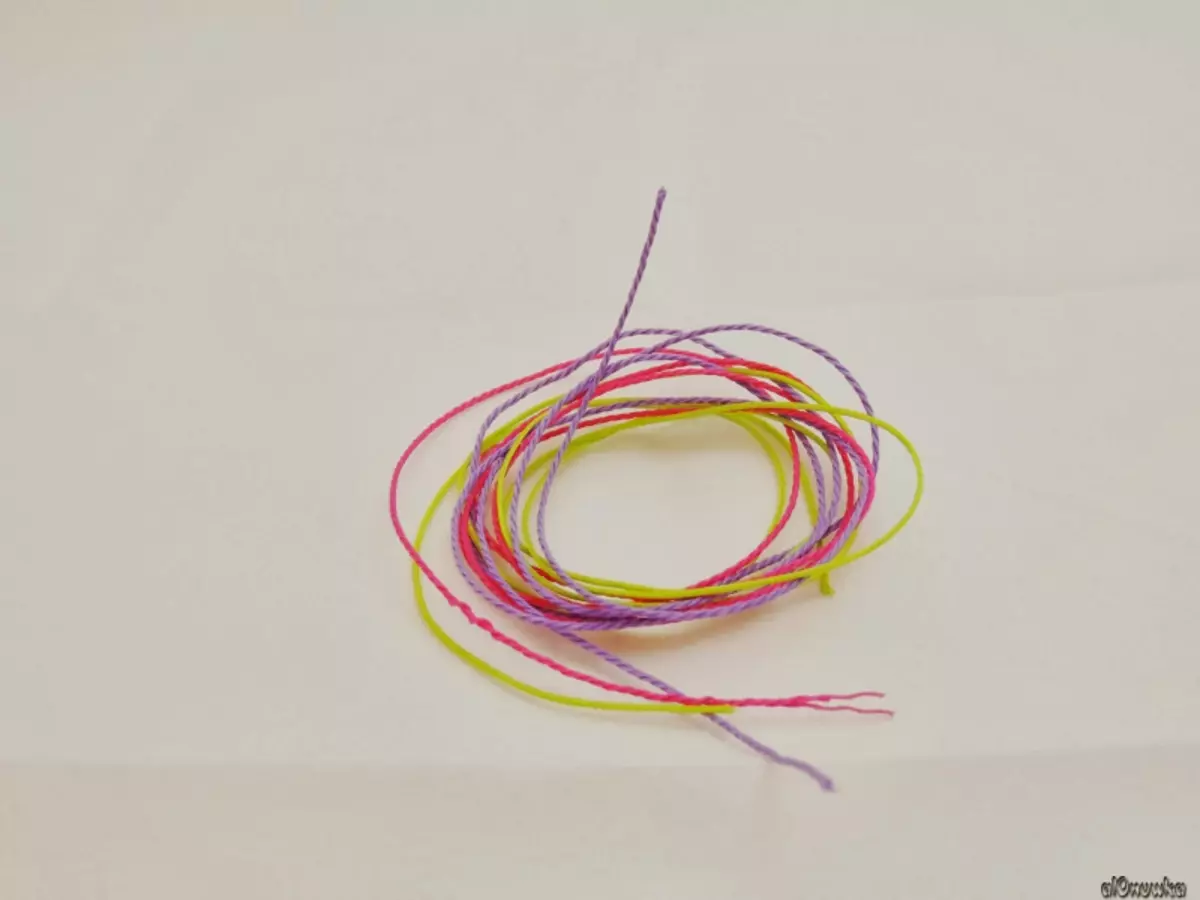
This will require:
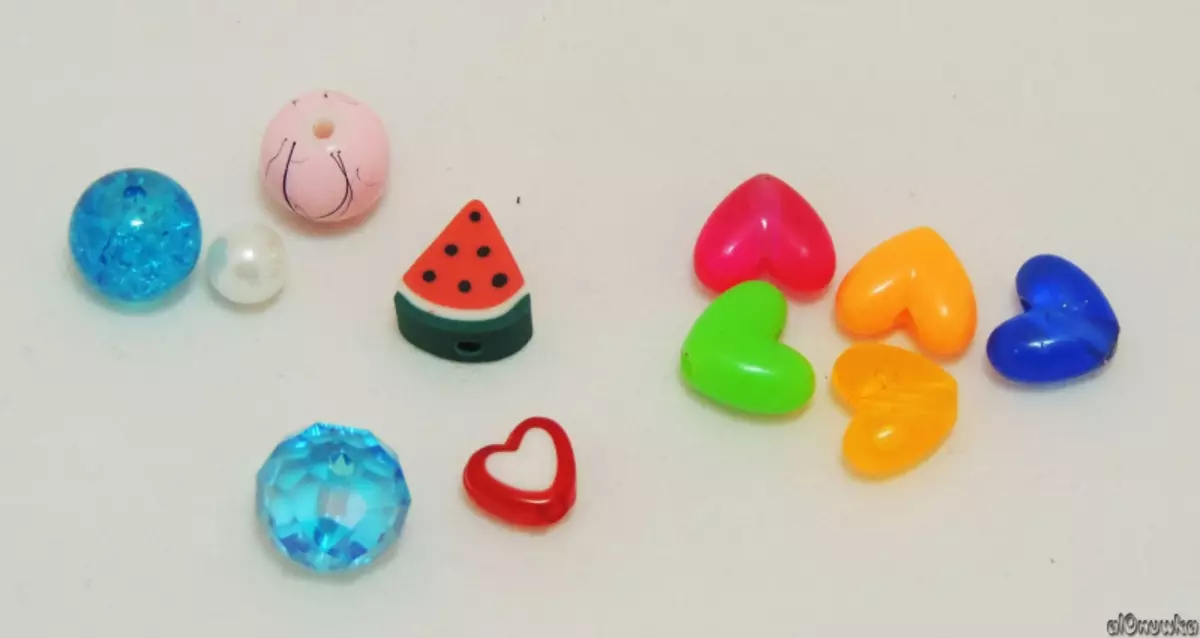
- threads and transparent rubber bands;
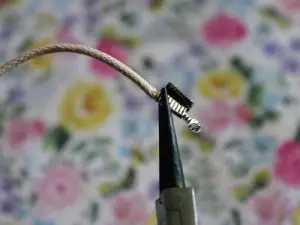
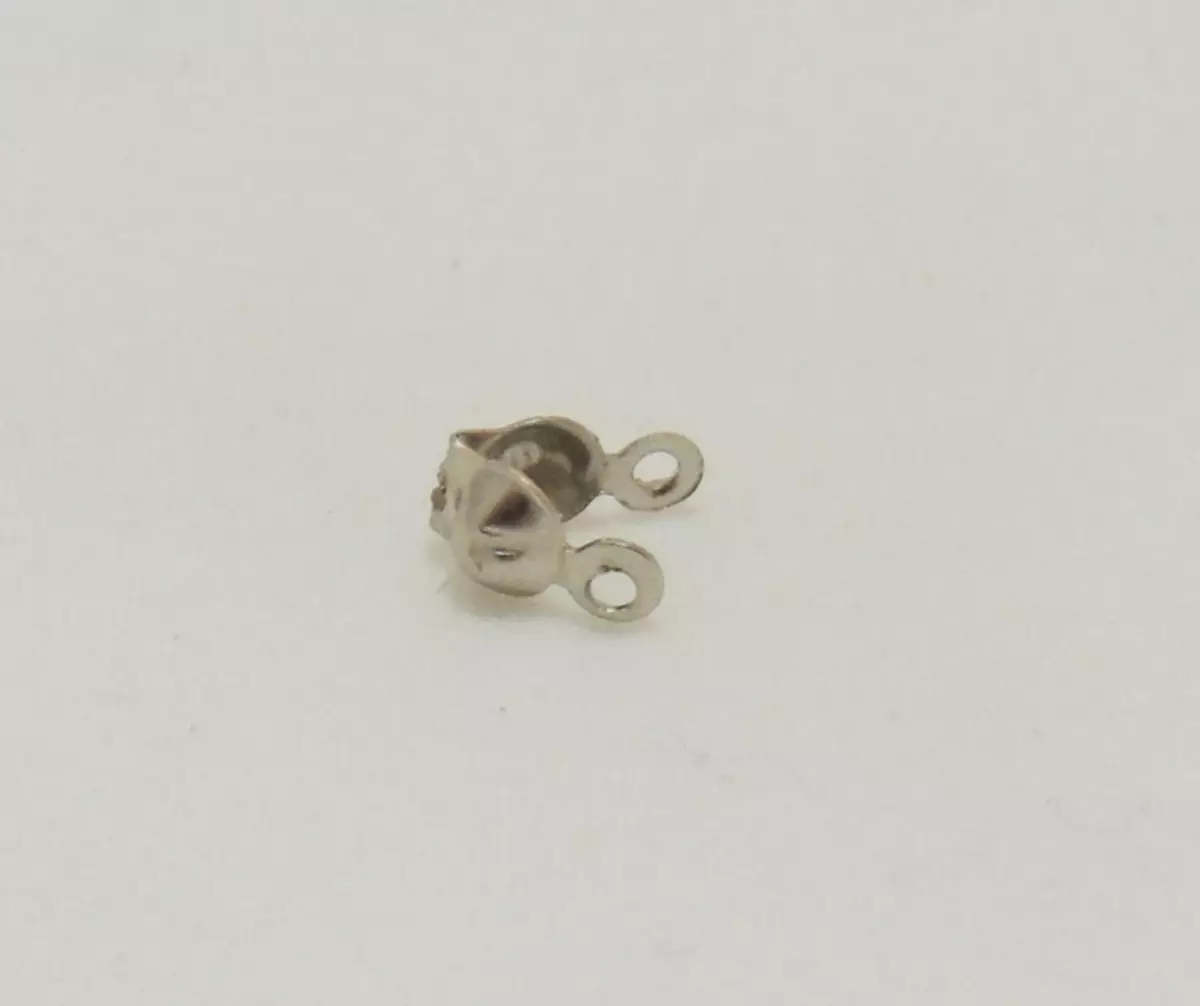
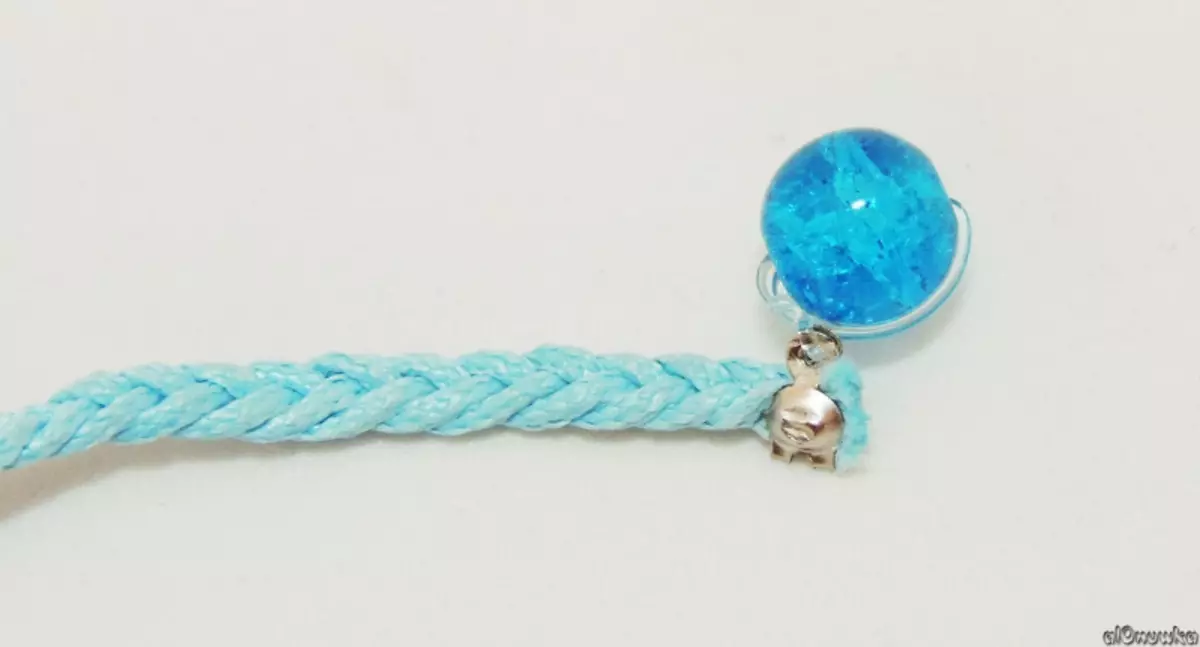
- Clamp with loop for chains, bead;
- Floors and pliers.
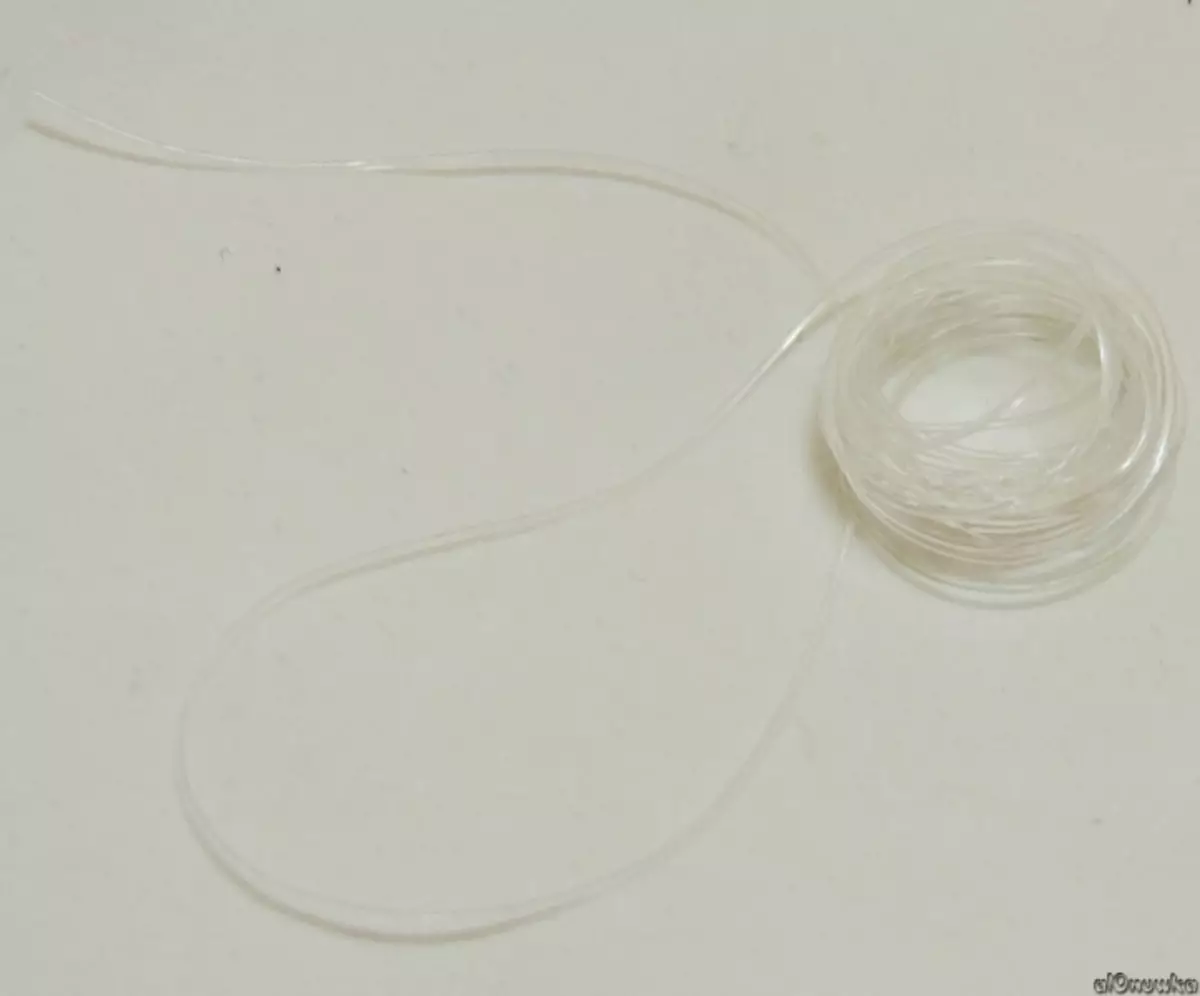
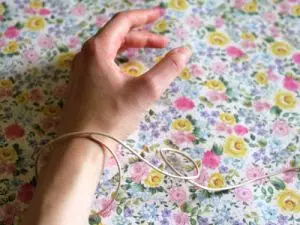
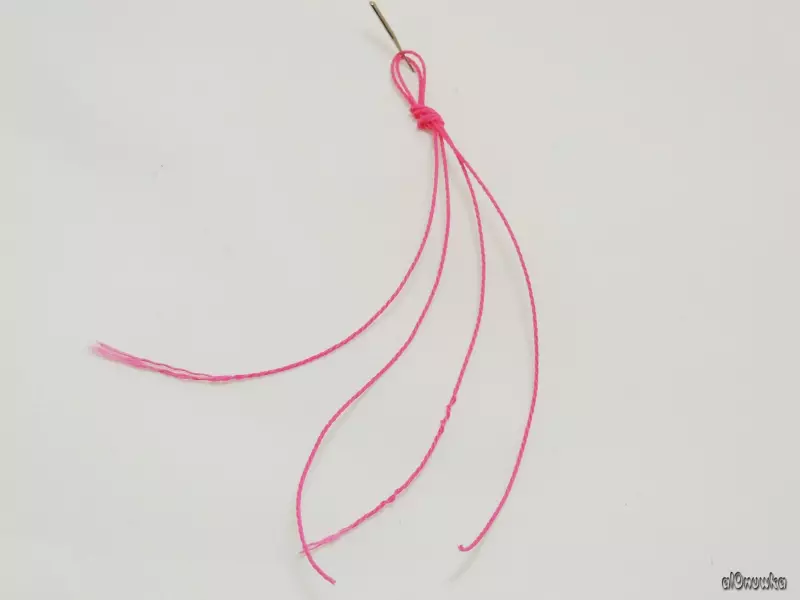
The process of creating a bracelet is indicated schematically on step-by-step photo:
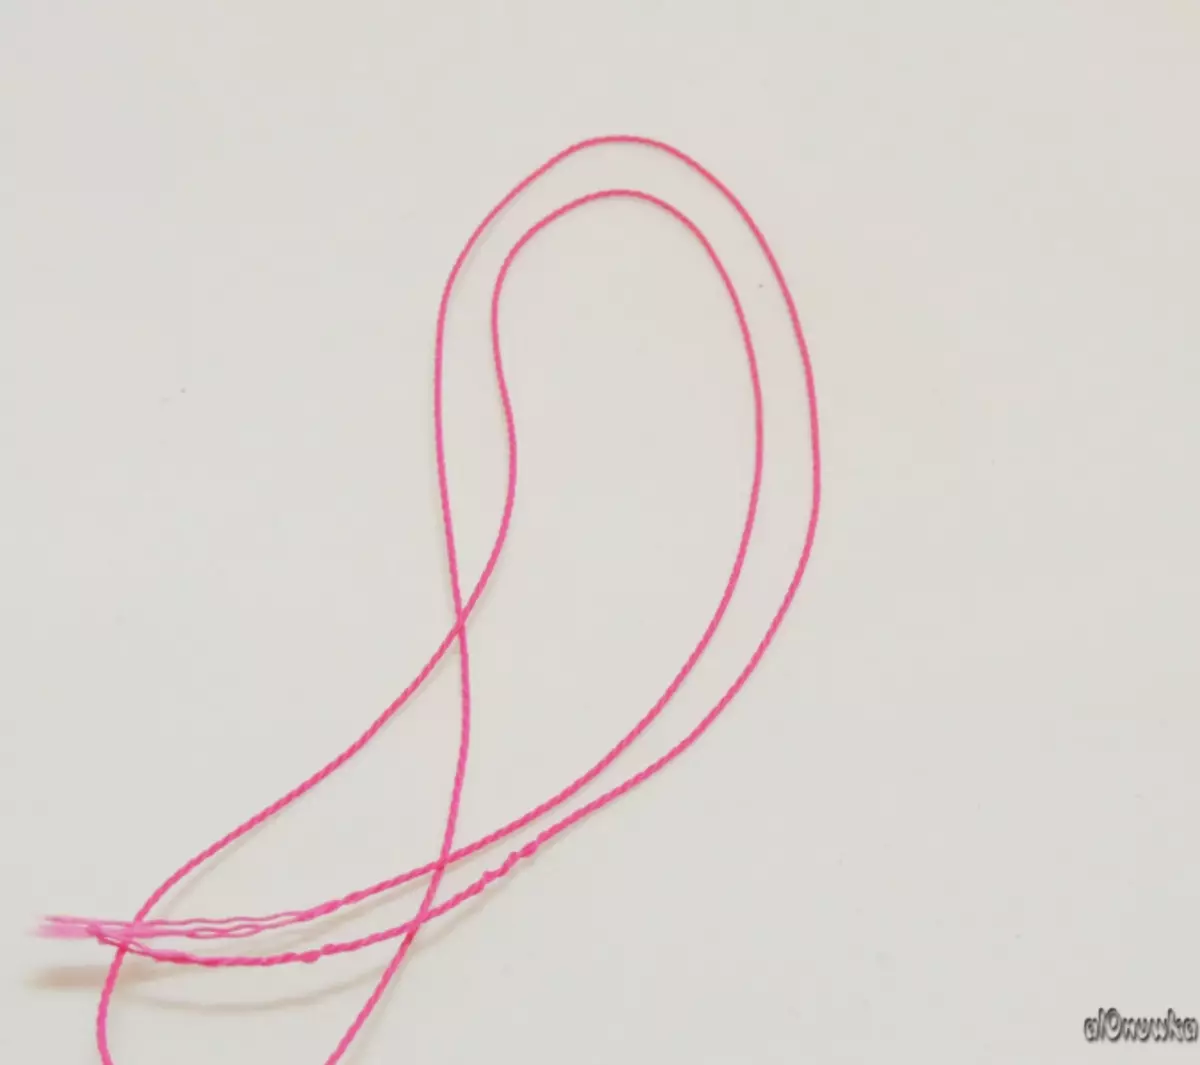

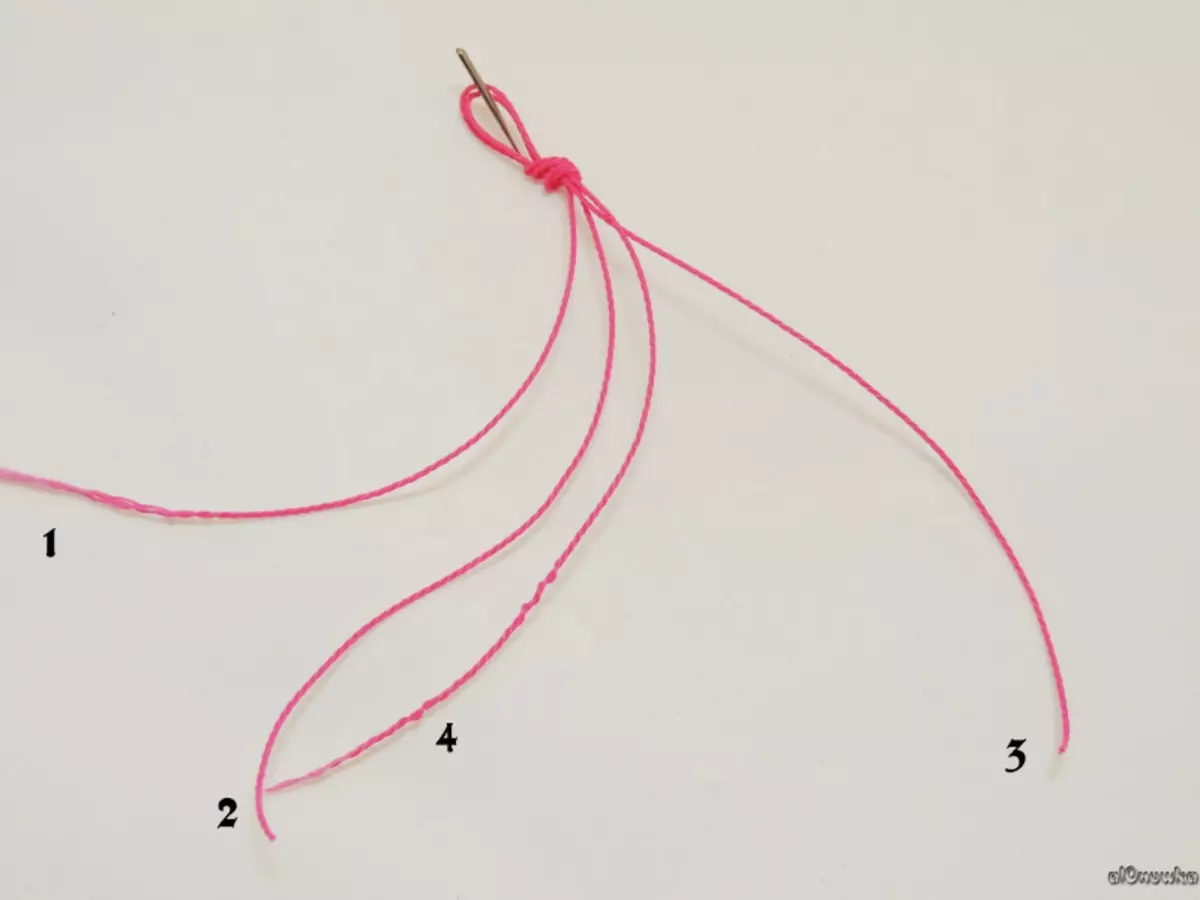
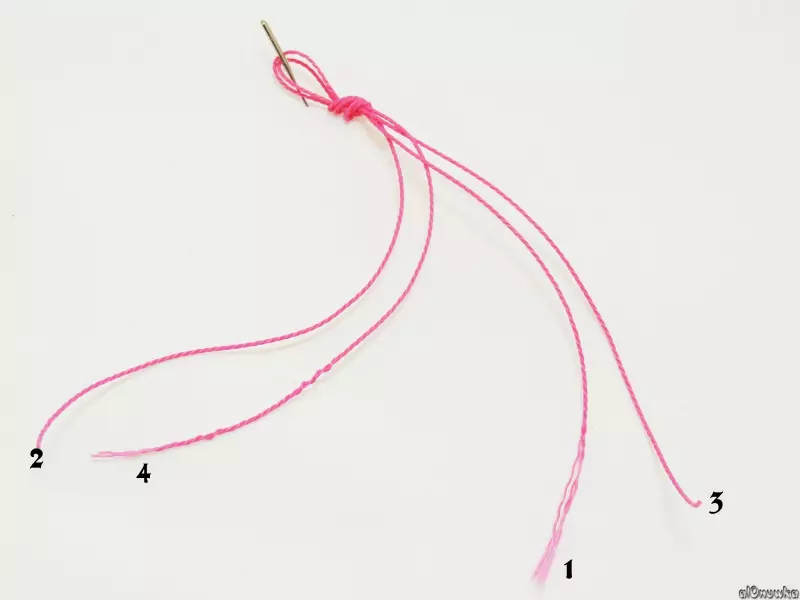
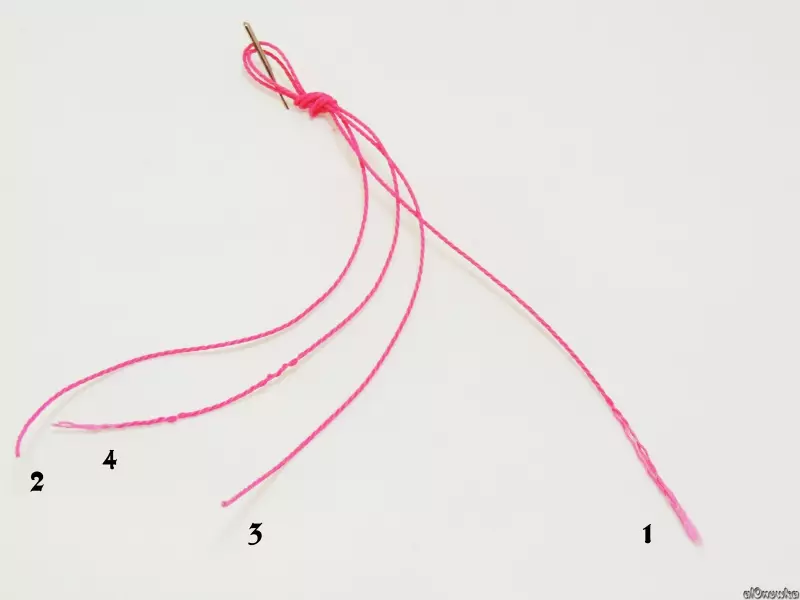
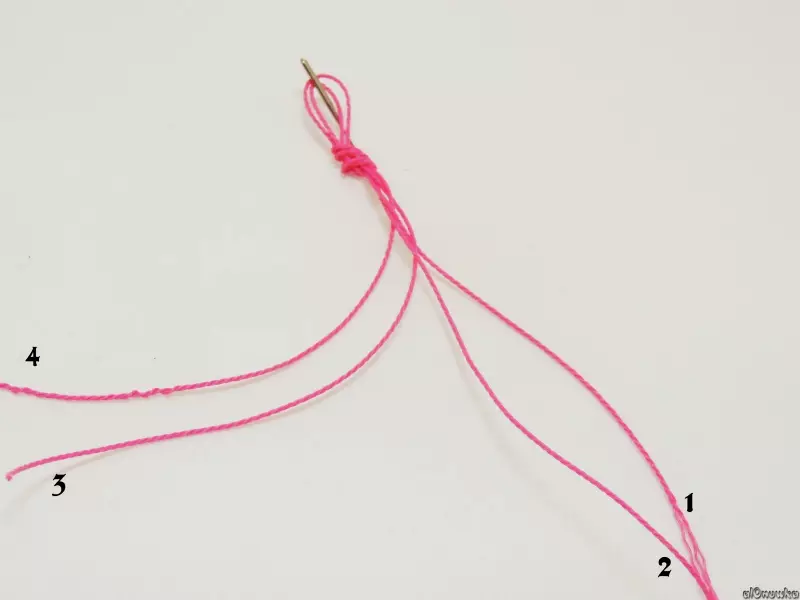
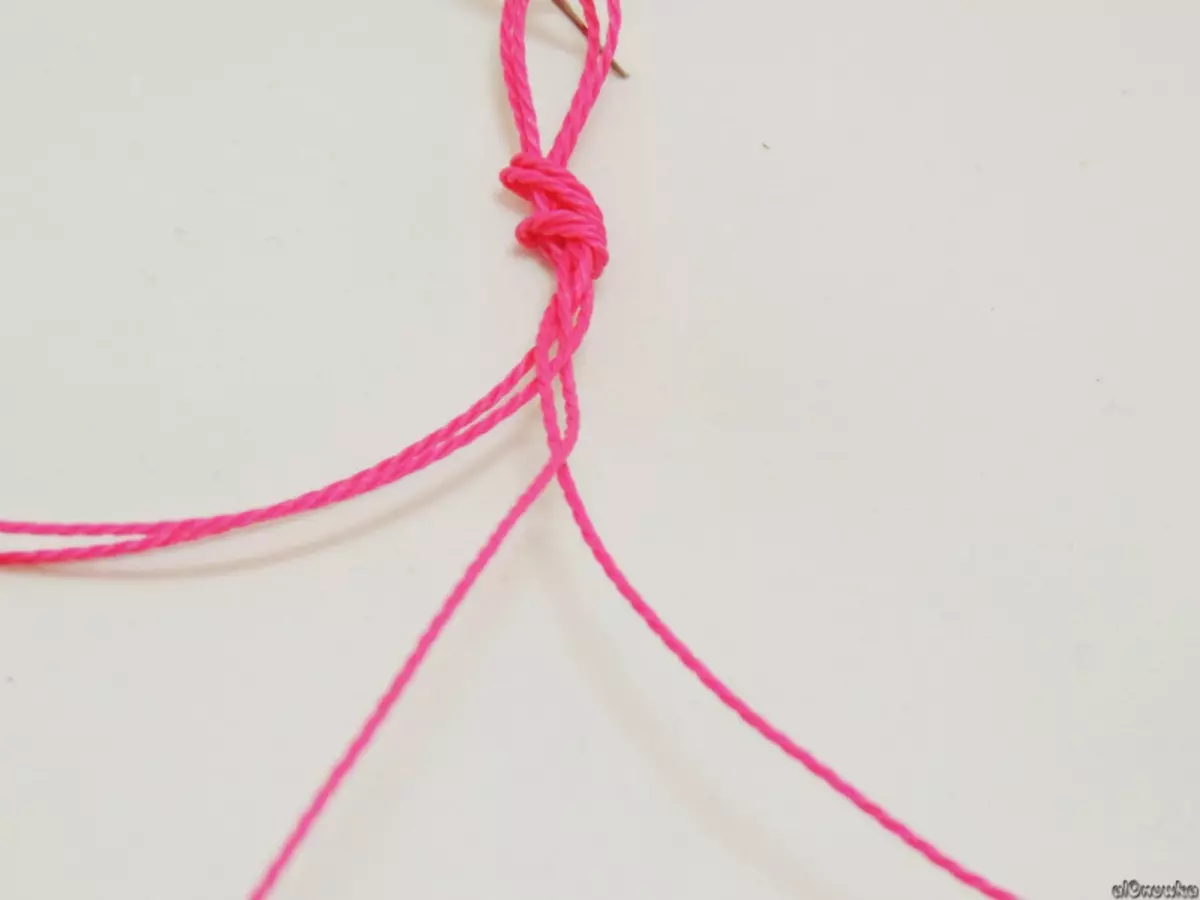

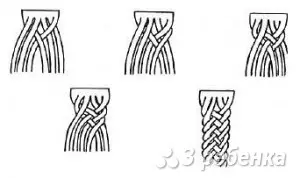
We offer you schemes of weaving bracelets from threads in the form of pigtails, which can also be used as the basis for the Pandora bracelet.
How to create a "Pandora" bracelet from wire will demonstrate to you using photo instructions.
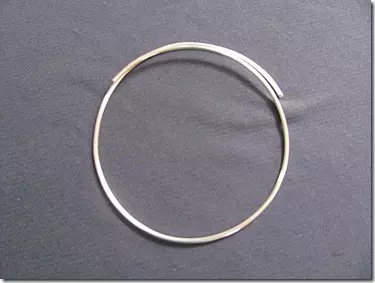
- We take a wire, better stock specialized, for needlework.
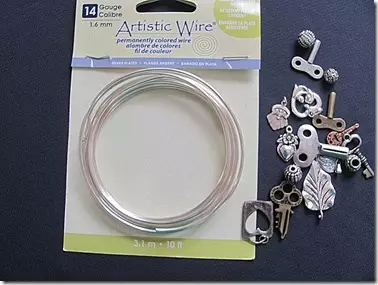
- Memind and cut off the desired piece, according to your wrist length, plus eight centimeters to make the brass, as shown in the photo.
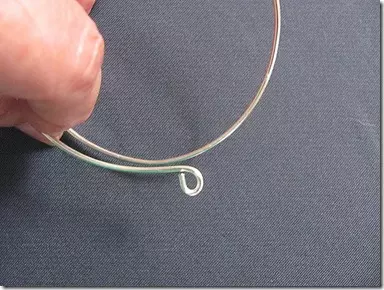
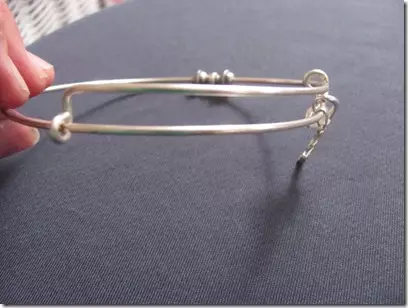
- Bending on the one hand loop at the end of the wire.
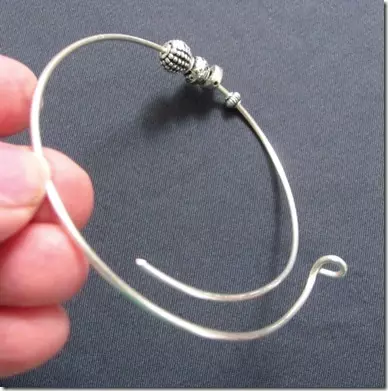
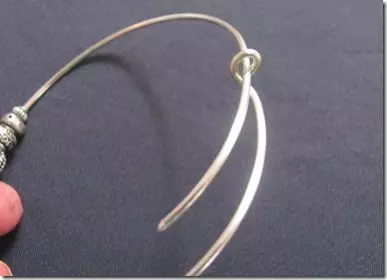
- To fix the bracelet, make the same loop from the opposite end.
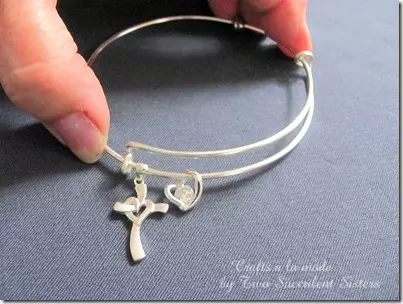
Ready.


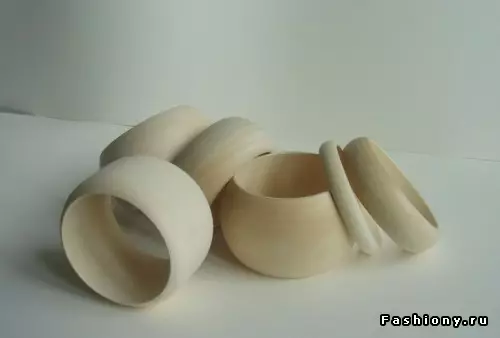
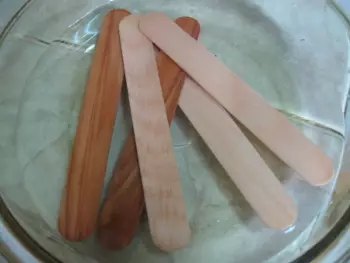
Wooden accessory
The easiest and fastest way to create a wooden bracelet is to use chopsticks for eating ice cream or medical spatulas. Keep our sticks in the water for a day.
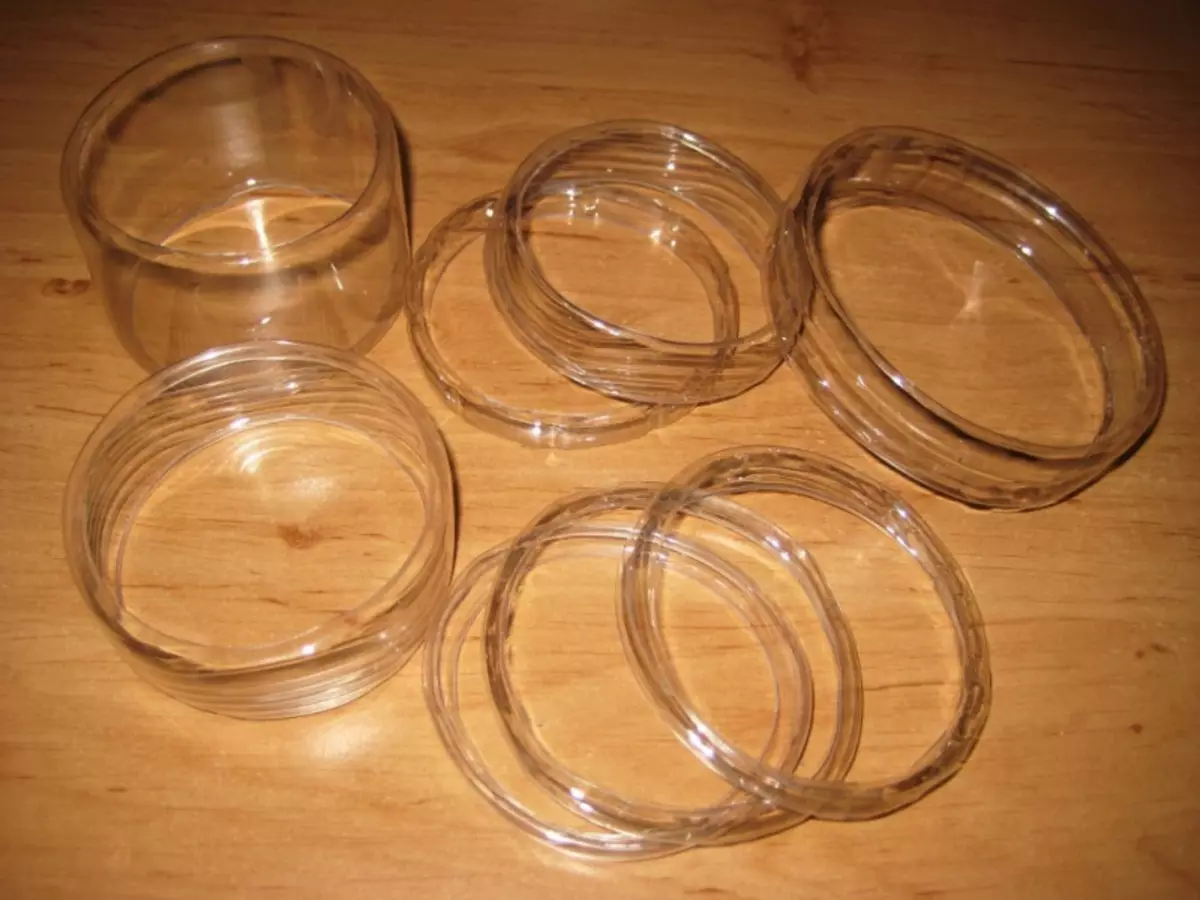
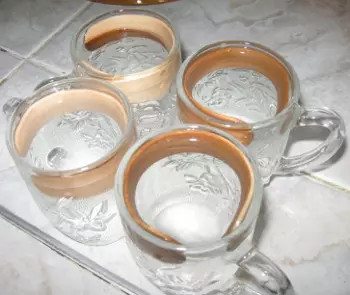
Then it is necessary to gently move the sticks into the glasses of a suitable diameter and give them to dry completely.
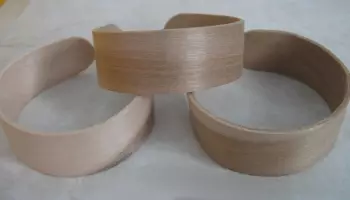
These are the wonderful basics for bracelets turned out.
Other ideas for the manufacture of basics.