
Pets, as proven by scientists, have a beneficial effect on the nervous system and the mood of the host. But these cute creations can and deliver certain troubles. Living in urban conditions, unfortunately, animals do not lose their habits, which can not be better reflected in the furniture and wallpaper. We suggest familiarizing yourself with the material to create brates for cats with your own hands, we will witness every description step by step.
Option from cardboard
If it was decided to make such an object to save furniture, then you should pay attention to the following:
- It is necessary to determine the location in the space room and decide whether it will be stationary or mobile;
- Select the material for finishing, it must first be strong enough;
- choose the height of the design;
- In order for the design to serve a long time, it must be made of good quality materials and have a steady base.
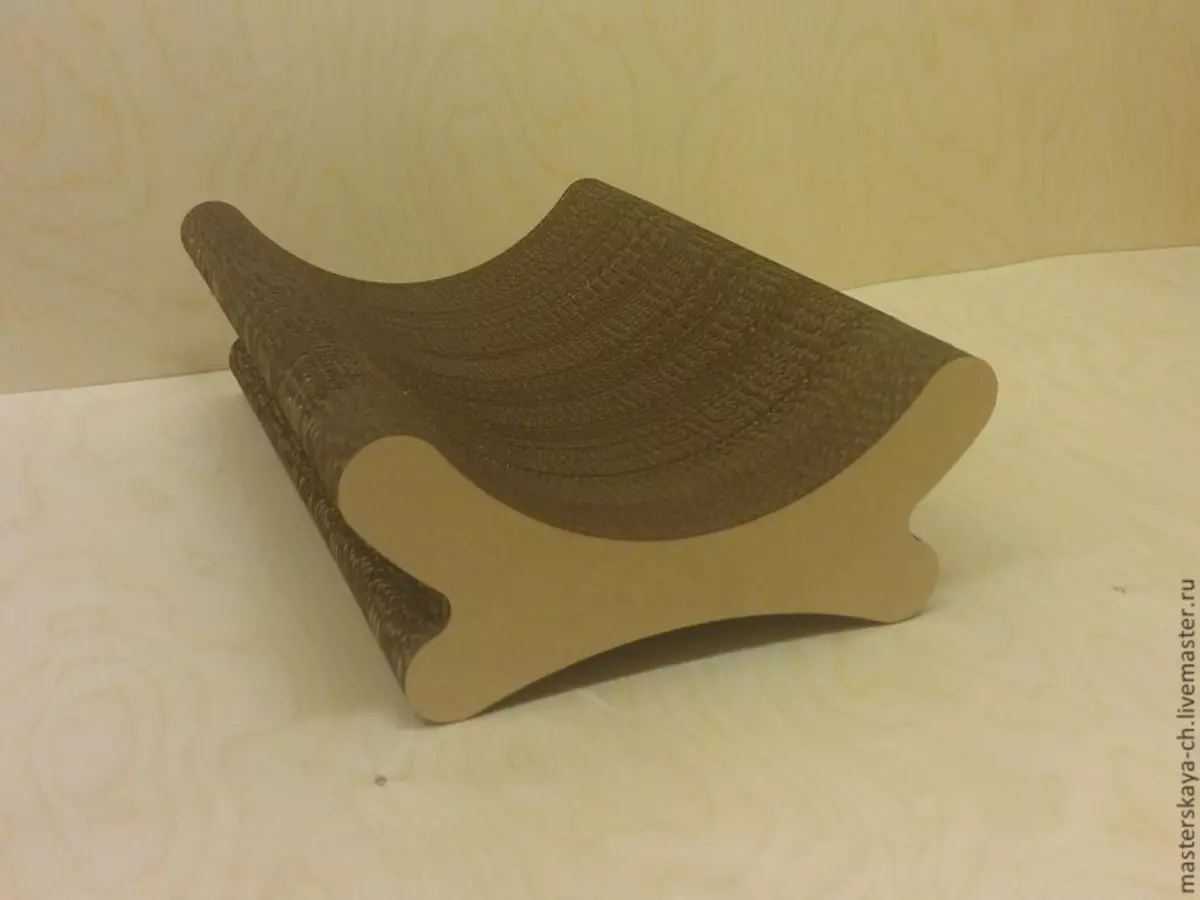
Cats and cats love to sharpen claws about cardboard boxes. Therefore, the idea of creating brackets from cardboard appeared. It differs from other species with its environmentally friendly, but at the same time it is quite quickly coming into disrepair. Buy a new one will have every 2-3 months, which can be quite expensive.
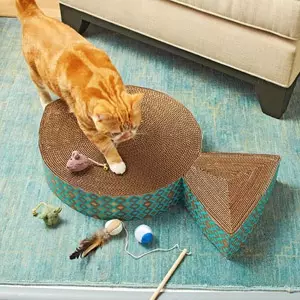
We offer to make a cardboard bracket in the form of fish.
Necessary materials:
- cardboard from cardboard boxes;
- knife;
- thermopystole;
- Piece of fabric or paper for decorating.
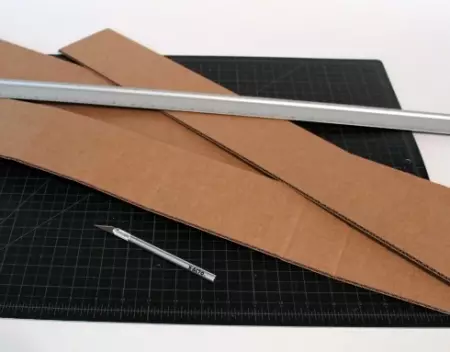
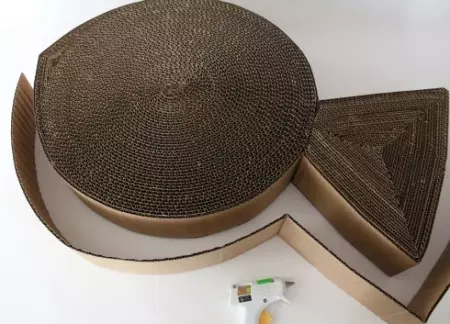
At the beginning of the cardboard, you need to cut the strips of about ten centimeters width. Now the strip must be bent in places where there is a deepening on the surface and try to twist it. You need to roll in such a way as to get a figure of oval shape. When one strip is over, its end is fixed with an adhesive gun, and add the next strip. The beginning and end of the strip is preferably fixed by a thermopystole. So you need to do until the diameter becomes equal to about forty centimeters.
Article on the topic: Knight's helmet do it yourself for a boy from cardboard and paper
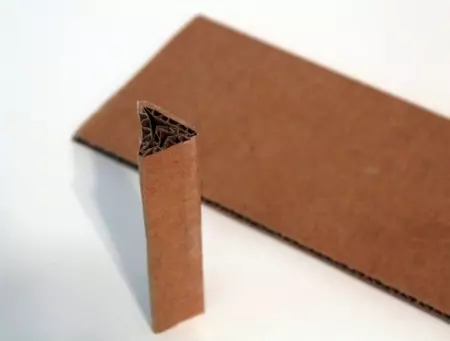
The tail is made triangular shape. The first strip twisted the spiral, but observing the shape of the triangle. Thus, you need to turn the strip until the sizes of the parties reach twenty-five centimeters.
To connect the parts obtained, from the tail part of the fish, you need to cut off one angle. Now you can glue the tail of the fish with the torso.
To perform the "nose" of fish, you need to prepare three strips of cardboard of different sizes, bend them in half and glue to the "torso."
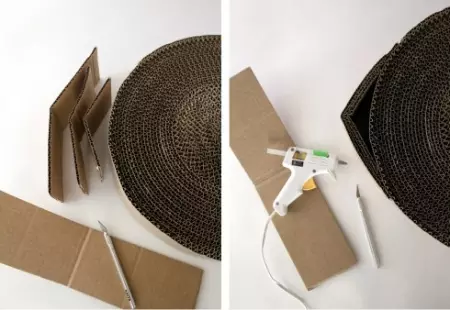
Long cardboard strips need to wrap the whole fish twice. The resulting structure, you need to cut the upper and lower parts of the brackets from the cardboard. We glue them with a glue gun.
In the height of the fish received, it is necessary to prepare strips from decorative paper and enclose the fish on the sides.

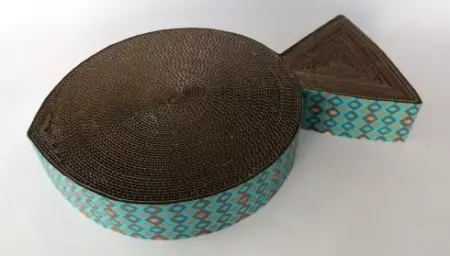
Tip! Such a scratchop can also be made of pressed cardboard. It will give the design even greater strength and it will be able to last longer.
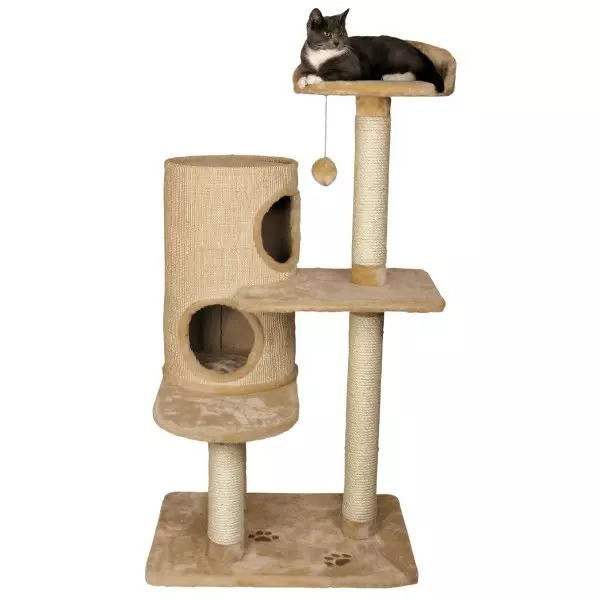
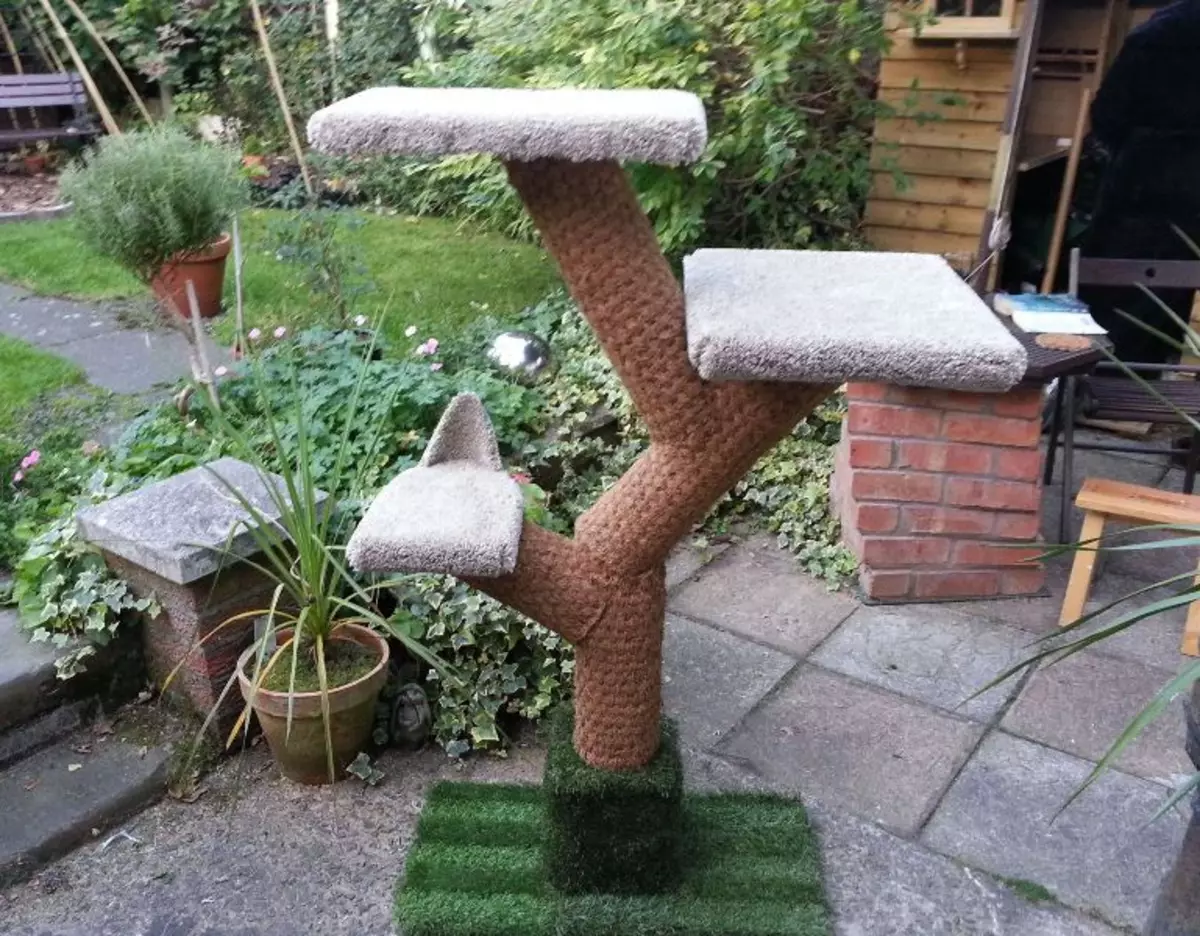
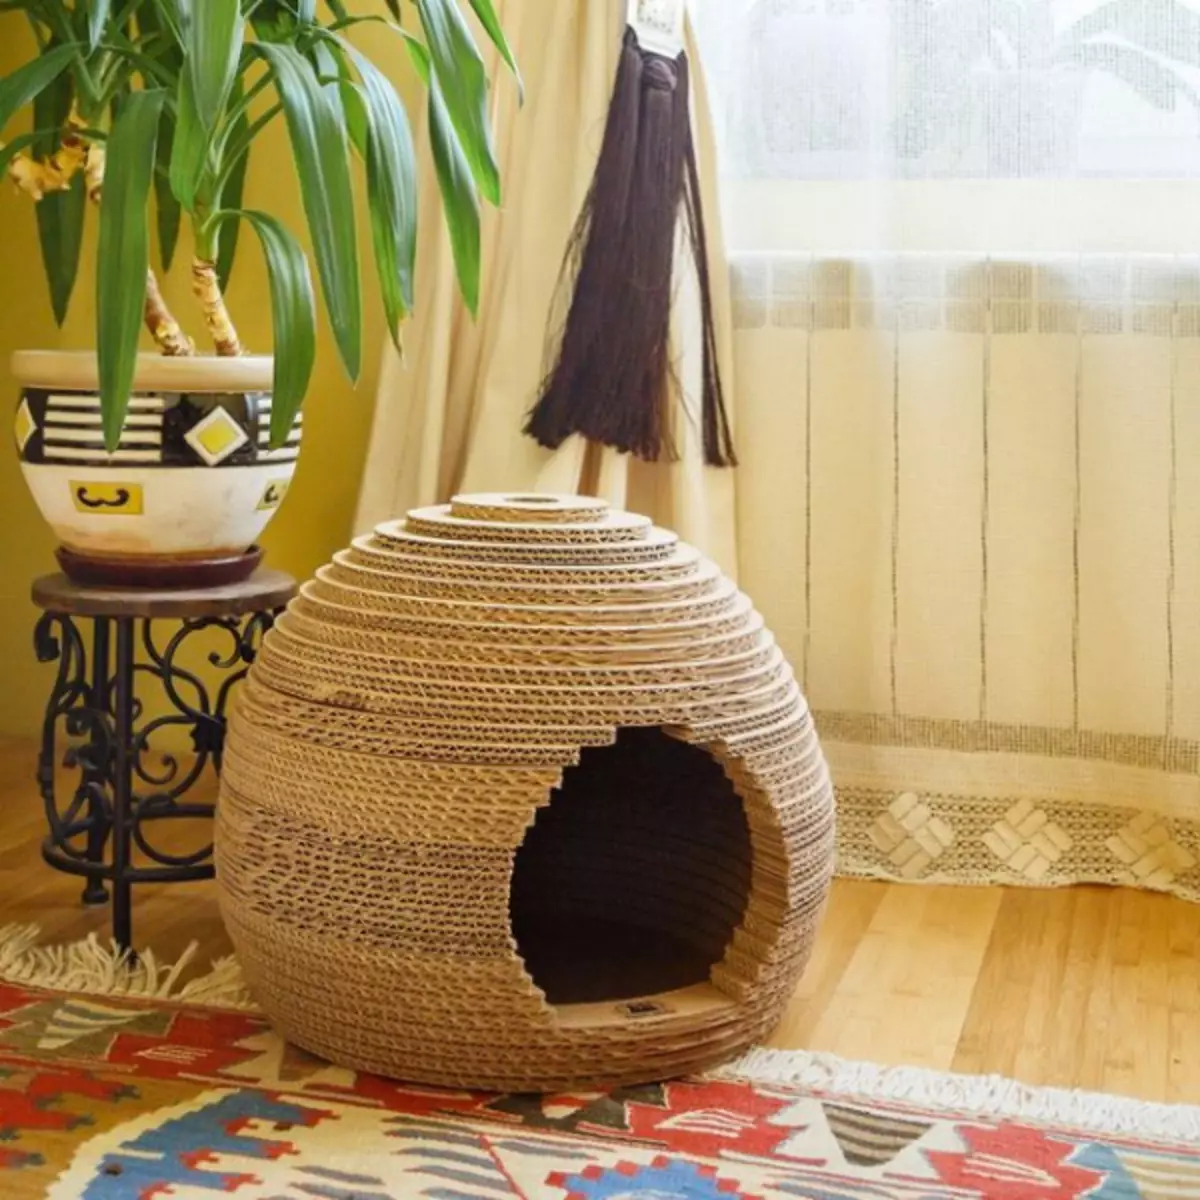
Cat's house
About the cat's house dreams almost every master of fluffy pet. And you can combine a pleasant with useful, making a bracket with a house.
It is necessary to cut two circles from plywood with a diameter of 55 centimeters and on one side a little cut, so that they can be installed on an even base. On a circle, which will become the front, you need to cut the round entrance door and the windows. All sizes are indicated in the drawing.
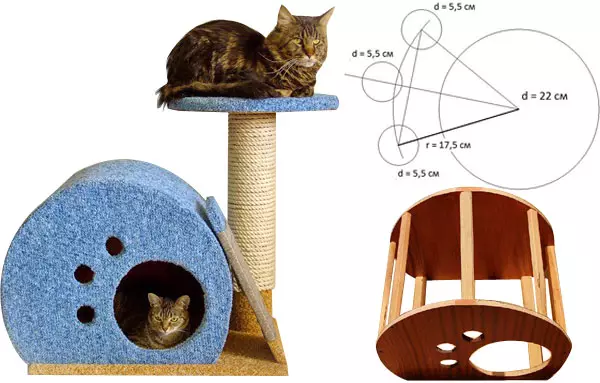
On the perimeter of the circle, there are several points at the same distance from each other. Rake 3 per 4 cm in size is cut into seven parts about thirty-seven centimeters. Reiki on one of the circles are fixed with self-drawing, and then fasten the second round on top. From the foam rubber, there is a piece of size with the bottom base of the house.
With the help of glue, on the facade and the back of the house, the exterior decoration is fixed. For decorations, they choose quite durable material so that it can withstand a long time of the cat's claws. You can use carpeted or special materials. The finish should also be fixed from the inside of the housing for the cat. For more accurate look, openings and joints can be decorated with stripes. Step-by-step instructions will help to fulfill the second tier. The second tier consists of a pipe, wrapped with cloth or rope and top pad. It should be installed in the far corner of the site.
Article on the topic: Appliques for children 1-4 Class of colored paper: Patterns with photos
Before proceeding with the final assembly of the whole structure, you need to glue the foam rubber in the place where the house will be installed. As a base, you can use Faneur, furniture shield, chipboard sheet. After that, the house can be attached with the help of self-tapping screws to the base, grown to make the house exactly at the fixed foam rubber.
Having studied the presented master classes, everyone will be able to create a house for his fluffy family member.
Video on the topic
We offer to familiarize yourself with the video materials that will help in creating scratching or more complex design for the cat.