
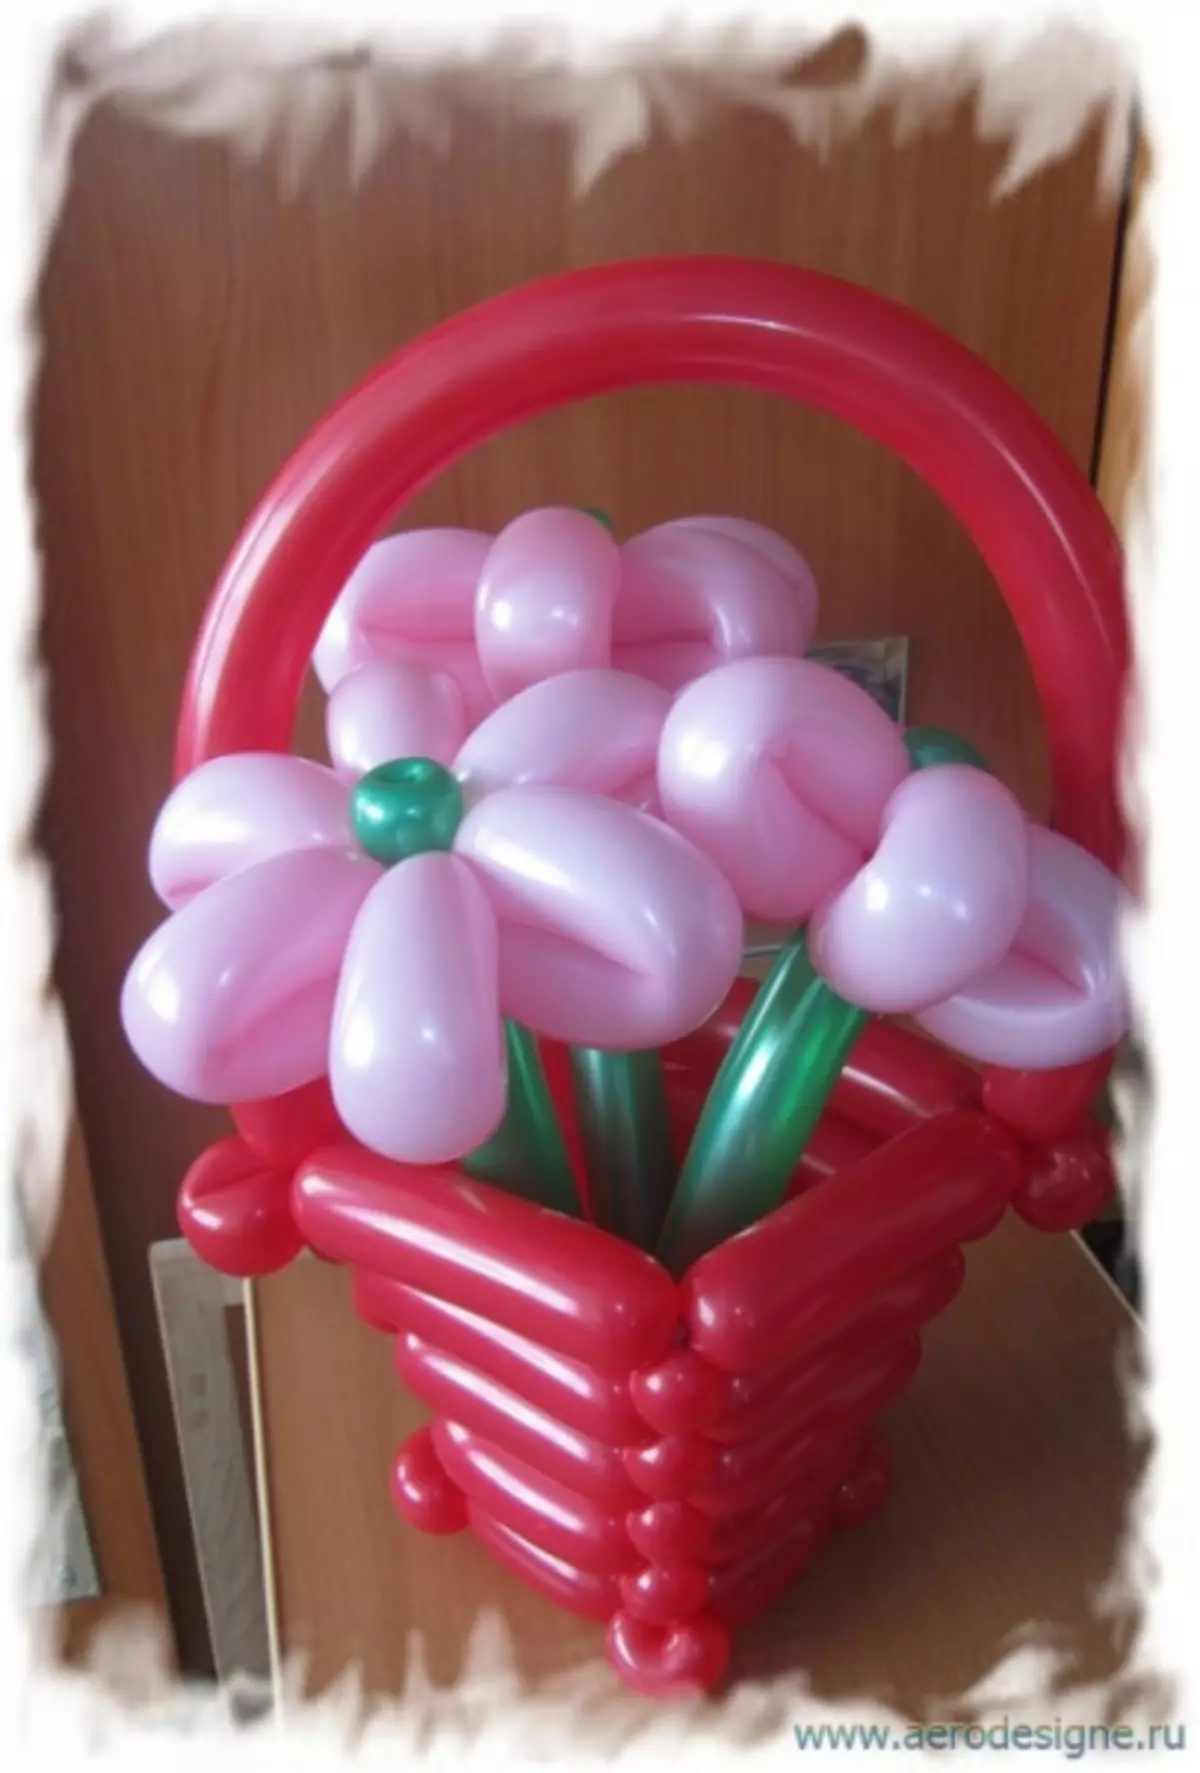
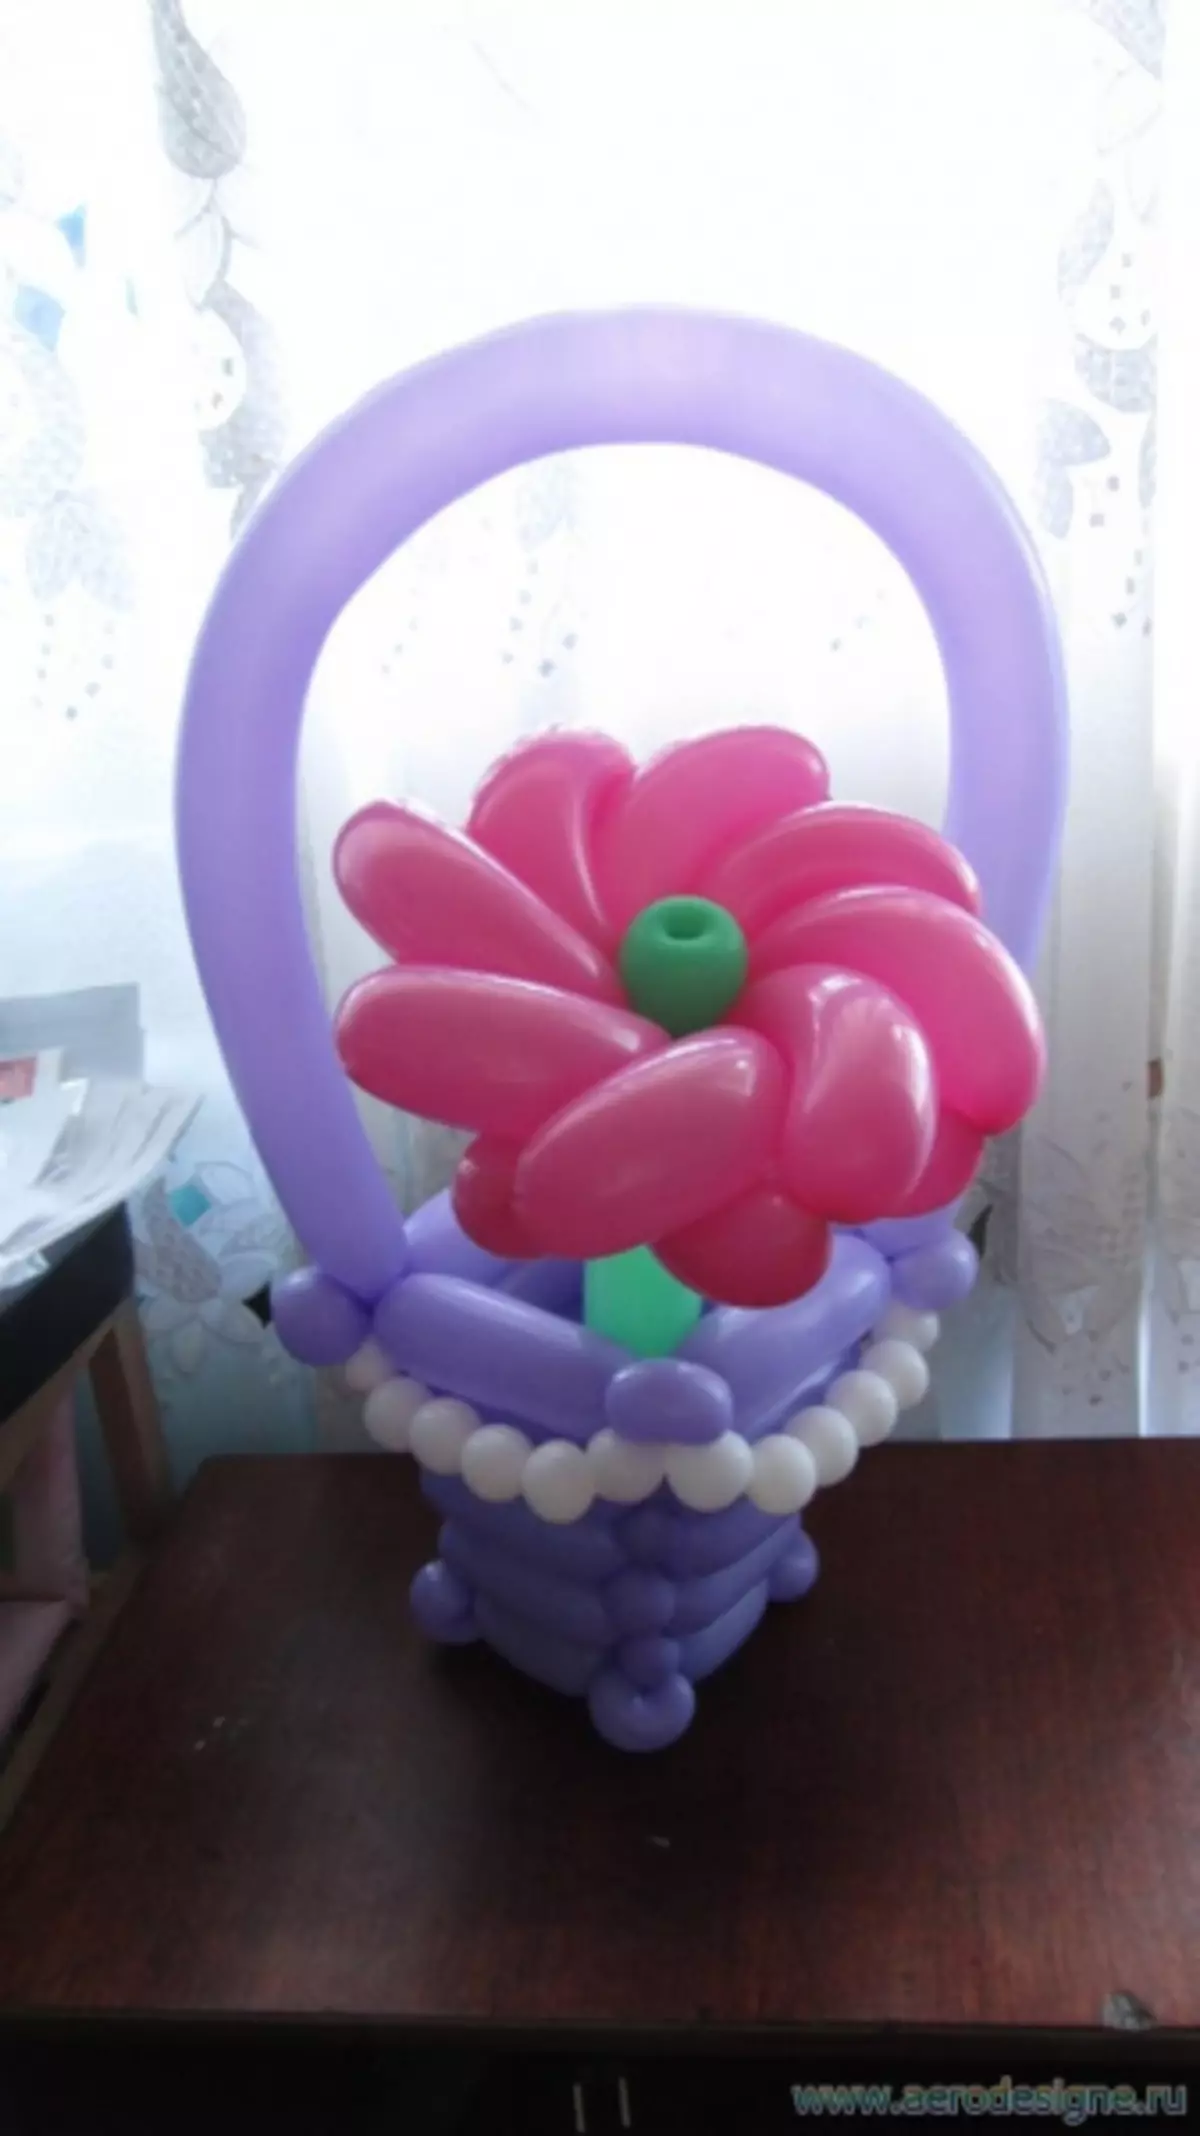
A decorative basket is often used as a flower bouquet framing. But how to be in the case when the flowers are made of balloons? Such a bouquet will be organically looked only in the "air" braided basket. The person who you will give this unusual bouquet will certainly be happy to such an original gift. About how the basket is made of balls (with a photo for a better understanding of the course of work) will tell a detailed step by step description.
Aerial weaving
In the work on the basket uses special balls for modeling. Such a name is all known small diameter balls and an elongated shape.
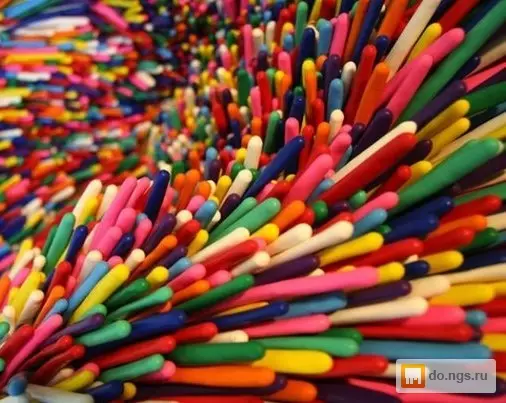
Because in weaving the balls undergo a variety of twisting, you should not be punished to the limit. You always need to leave a third or a quarter of the air free ball.
The above, step-by-step instruction is designed for beginner masters in the sphere of aerodisan. The manufacture of this type of basket will take no more than 30 minutes.
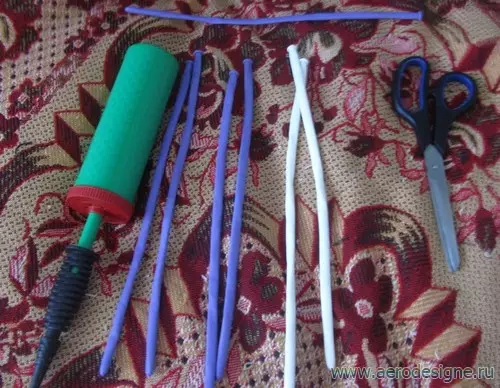
In the work you will need:
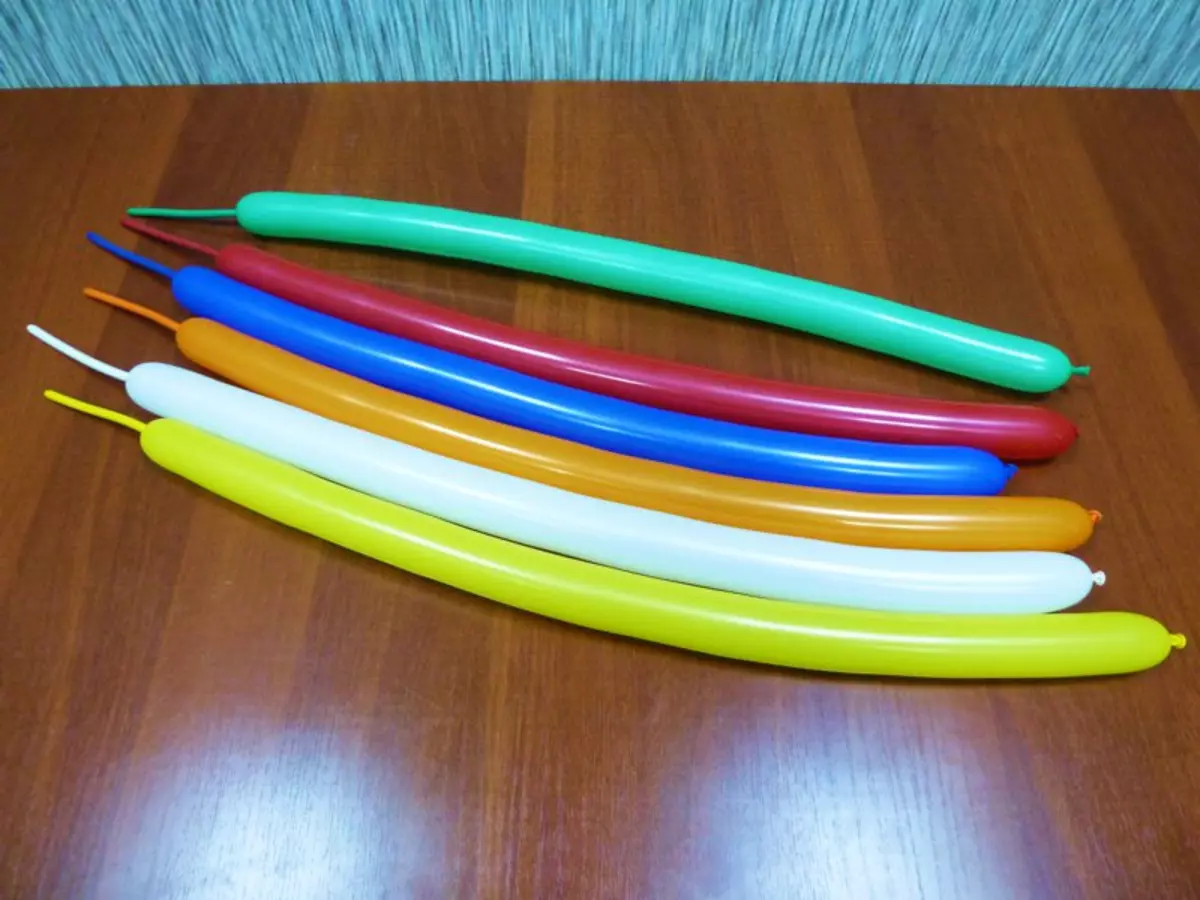
- Balls for modeling (shdm) 260 purple color - 5 pieces;
- XDM 260 white color - 2 pieces;
- pump for pumping balls;
- scissors.
The basket is best to weave weight.
The use of the working surface is not welcome, because The inevitable friction of the material about the surface creates microscopic cracks in the balls, which will lead to gradual air from them.
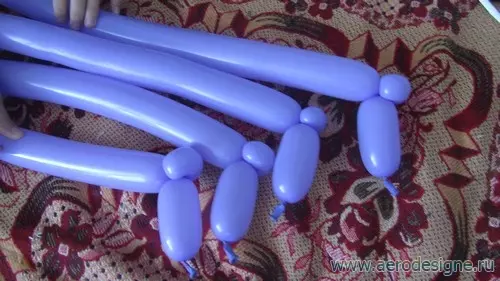
Balls are pumped up by air approximately 5/6 from its length.
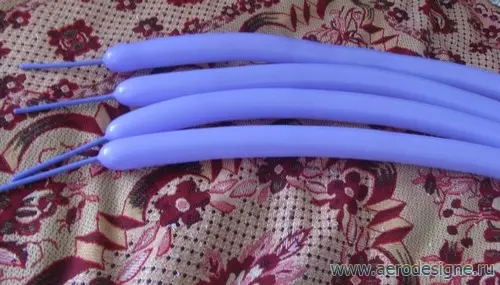
One ball should be inflated. And already focusing on it, fill the rest of the rest, so that the free tips were the same in all billets.
All work on the basket is carried out by twisting the body of the ball and the formation of individual air bubbles.
In order to eliminate the unwanted consequences during the manufacture of the product, it is recommended to hold simple air bubbles for the formation of air bubbles.
First of all, you need to ensure that the ball is tightly tightened at the seat of twisting, but not quite weak. In the first case, there is an opportunity to break the created air bubble. And with a weak tension, twisting will be impossible.
Article on the topic: Weaving paper for beginners: Master class step by step with video
Another important point is the proportionality of twists.
It's important to know! Before each manipulation with the ball, it is desirable to navigate the previously harvested knots from the sausages balls so that the basket gets a uniform weaving.
It is also recommended to avoid friction of the ball walls of each other, in order not to obtain the material. When all the nuances are taken into account, you can proceed to work.
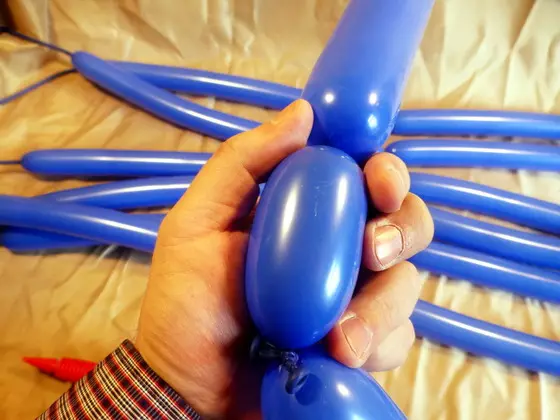
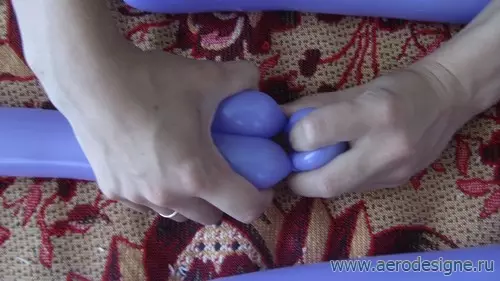
The first ball is taken, on which the oblong bubble is twisting.

The next air bubble is less than the first.
The latter should turn out round.
Small bubble twisted into the castle.
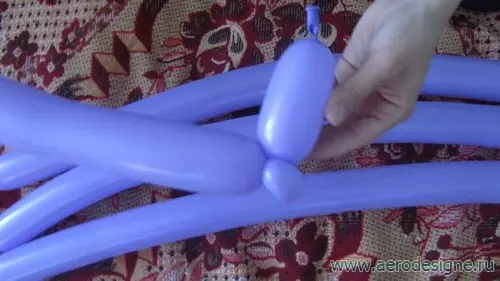
The above manipulations should be made with four pumped balls.
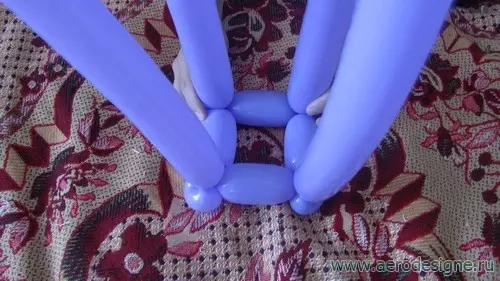
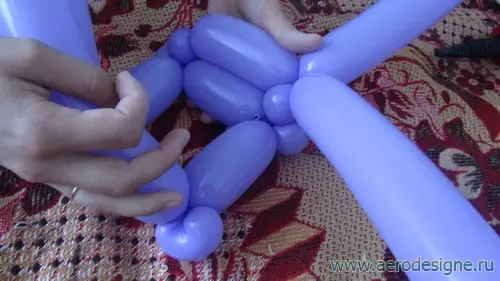
Billets are connected to each other by twisting short tails of the balls around the joints of the joint.
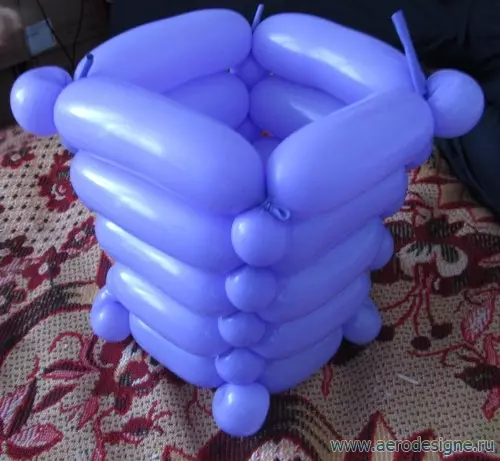
As a result, it turns out a square base with four airbags.
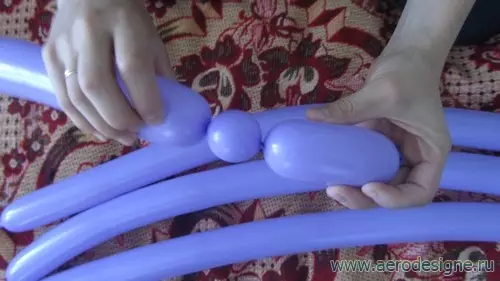
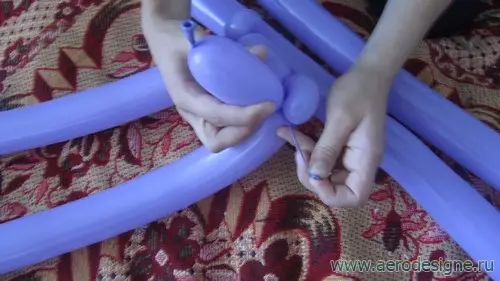
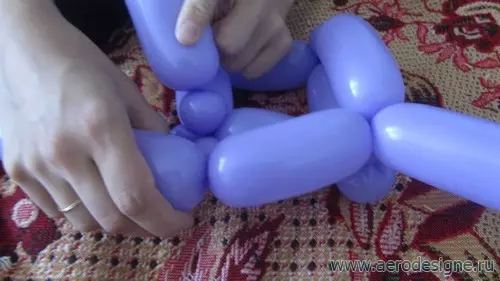
On one of the balls, a small bubble twists twist.
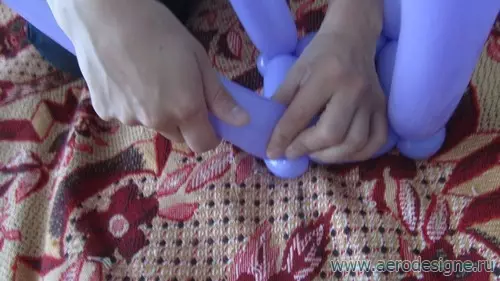
From the same ball, the distance to the adjacent air column is measured, a twist is made. It should be borne in mind that the walls of the basket must go to the extension.
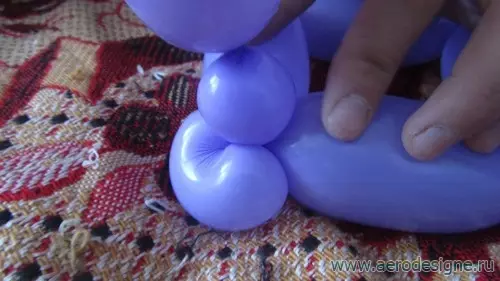
A small bubble is formed on the second ball.
The columns twisted among themselves at the place of the joint.
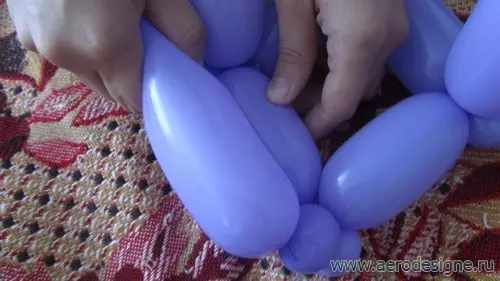
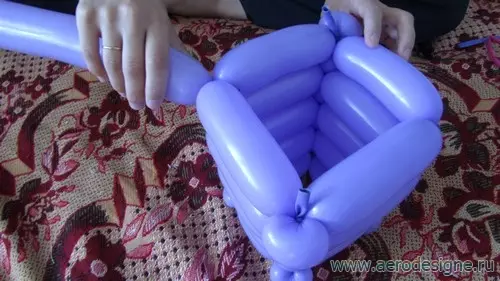
The work continues in the same way: a long bubble is made on the desktop to the adjacent angle of the future basket.
On the nearest ball - a small bubble. The balls are twisted, an extreme column with a small bubble comes into operation.
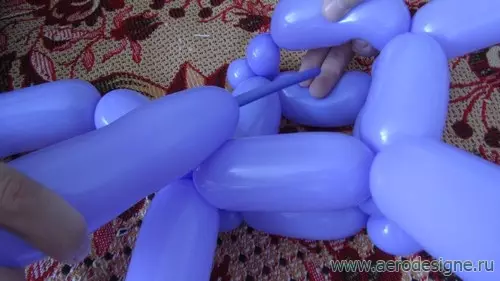
In this way, the entire range of baskets is manufactured.
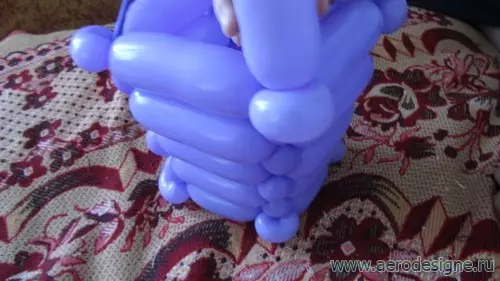
When all the lines of the tier are made, an oblong bubble is formed on the last ball, which is saturated through two balls, as in the photo.
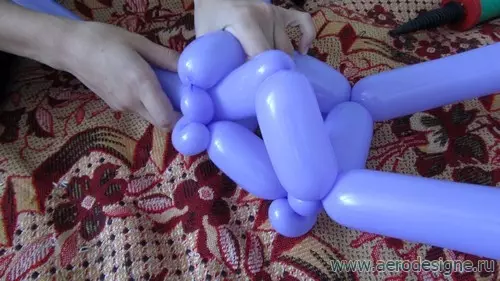

Similarly, all other products are produced. In the last row you need to form two small bubbles diagonally.
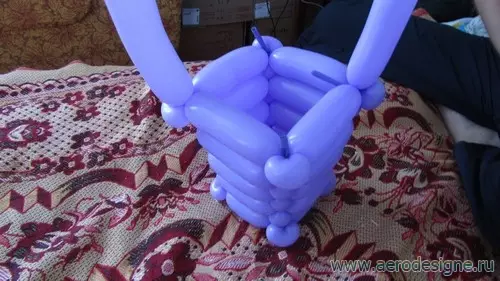
The fifth ball will be a handle of the basket. It should be attached from those corners where there are no "ears" from small bubbles.
The ball is fixed on one of the corners of the basket.
On the knob itself, one small bubble is formed at the beginning and one bubble at the end of the ball, after which the shdm is attached on the opposite joint of the product with a free end.
Article on the topic: Little bedroom in the passage room - how to make a color alc gallery for bed
Sticking tails of balls are cut off.
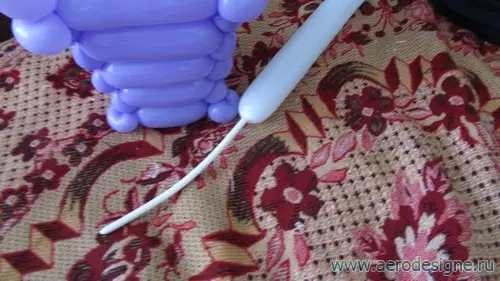
The product is decorated with white beads. To do this, pumped white balls by a third of the length.
The end of the ball joins one of the small bubbles of the basket.
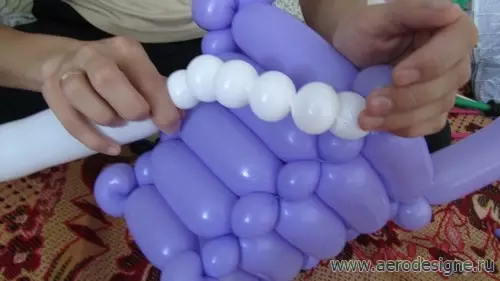
Along the white line, many small bubbles are formed by triple twisting. Bubbles should be the same size.
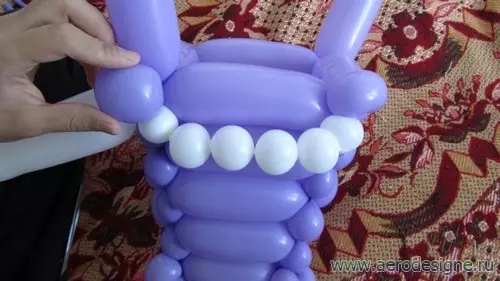
Each side of the basket is framed by white decoration. At the same time, the shdm is fixed in every corner of the basket by saving small bubbles of purple.
The above-described master class is quite applicable for different kind of air baskets.
If you wish, the product can be performed from more balls, and the handle is made twisted.
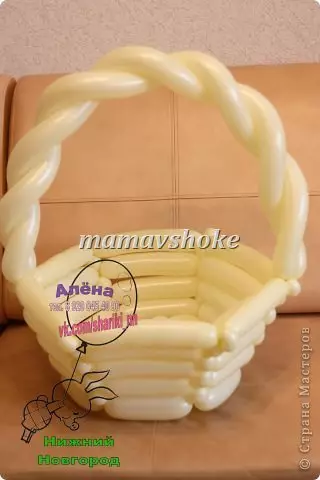
To do this, it is enough to twist two balls into the braid, then fasten them on the main product.