
Recently, the tradition of making money wedding gifts has been rooted in Russia. It is convenient as guests who do not have to think about the gift and the newlyweds that themselves can decide how to spend the gift. In order for the rite of congratulations most beautifully, it is advisable to think over everything to the smallest detail. For example, where guests can put money gifts. It is most appropriate to build a separate mailbox for this, which will later be able to play the role of a decorative box for large jewelry or family budget. How to make a box for money at a wedding yourself, we will show in step-by-step instructions with a description of the work.
The most simple and fast version of manufacturing such a thing is to use in the work of cardboard. At the same time, for the decor you can take absolutely different material. It all depends on the fantasy of the needlewoman.
It is interesting to create a wedding box in the form of a chest. The proposed master class does not require special skills, so even for beginners.
Wedding casket
Before you start work, you should stock:
- a sheet of cardboard;
- glue;
- scissors;
- painting tape;
- paper.
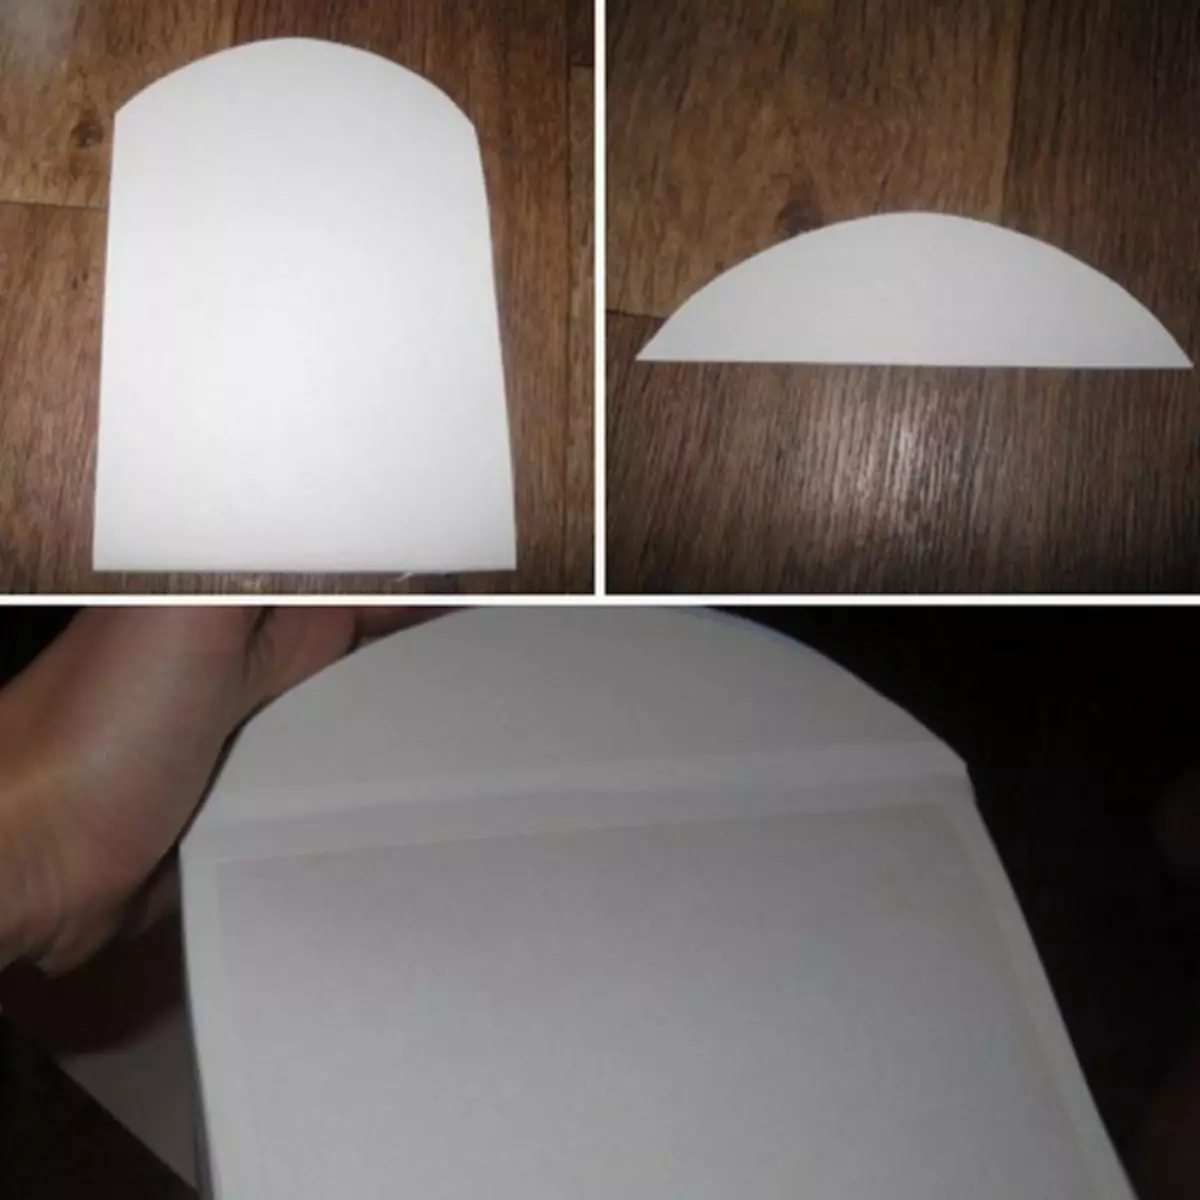
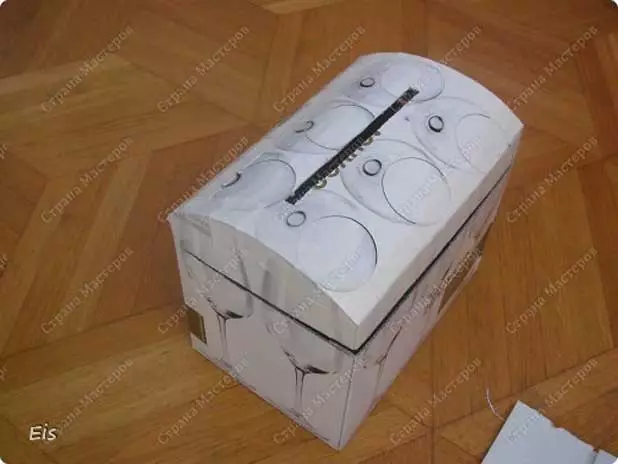
First of all, you need to glue the basis of cardboard. This will help the product scheme.
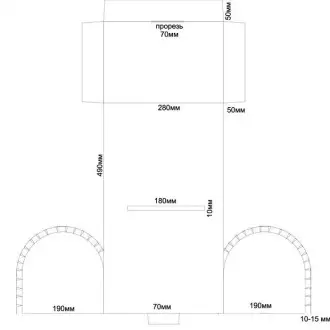
The template is cut and glued in such a way that the furnace shape turned out.
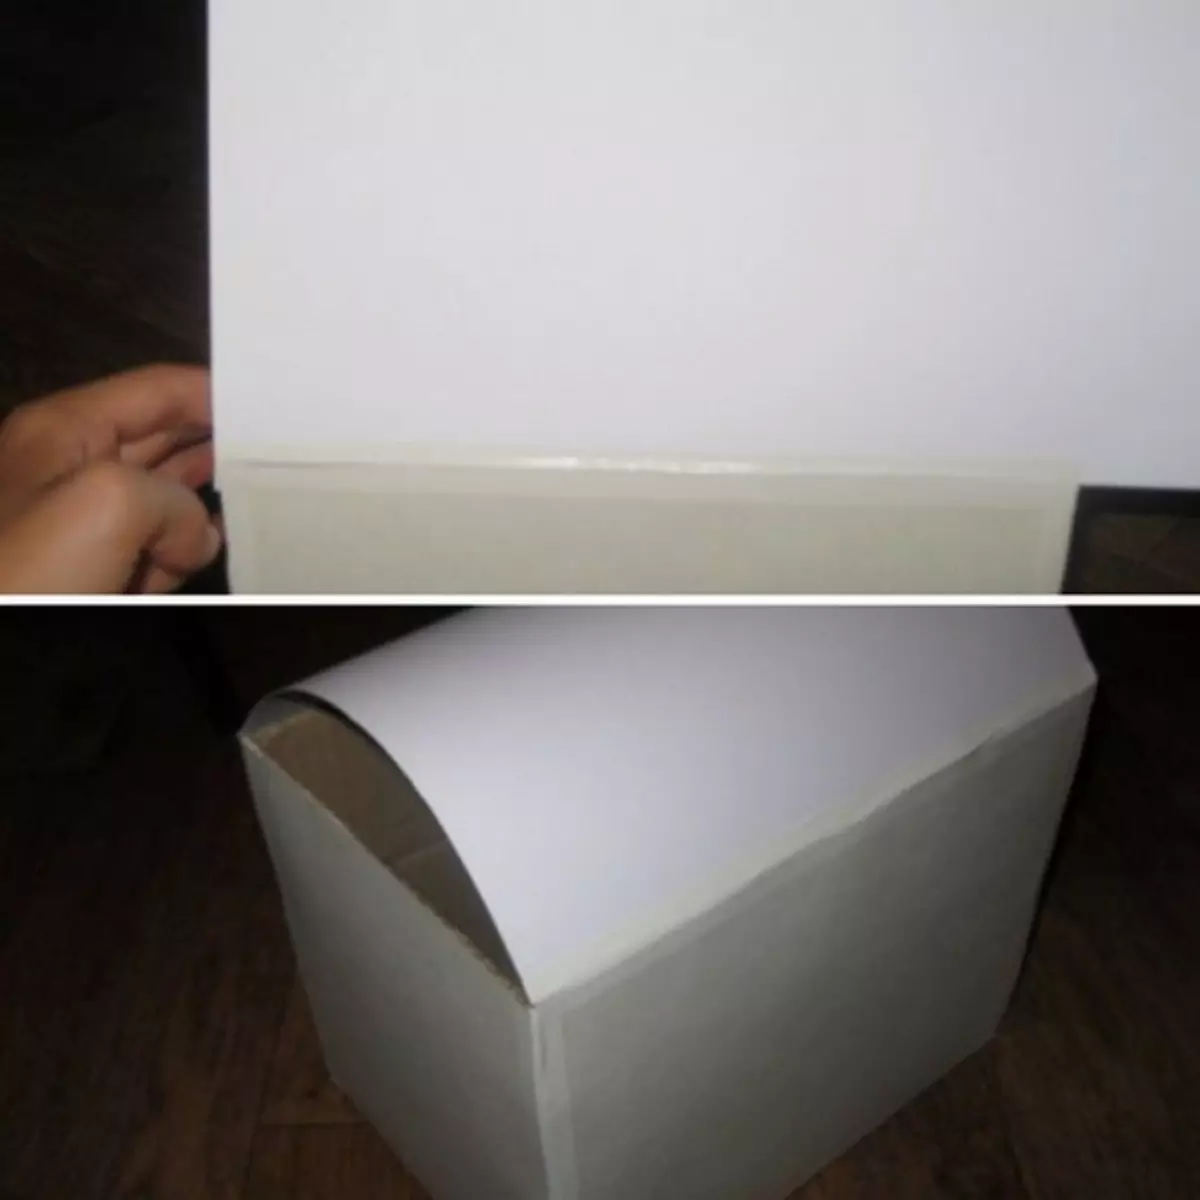
All the edges of the box must be punctured by painting scotch.
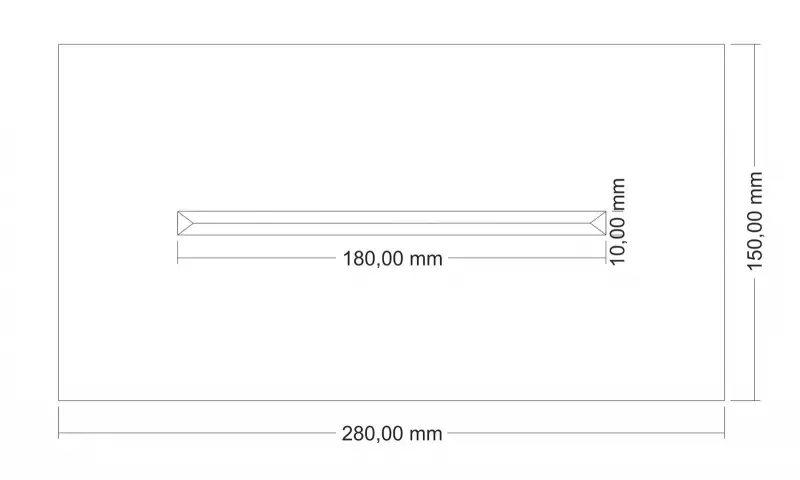
At the top of the product a hole is cut.
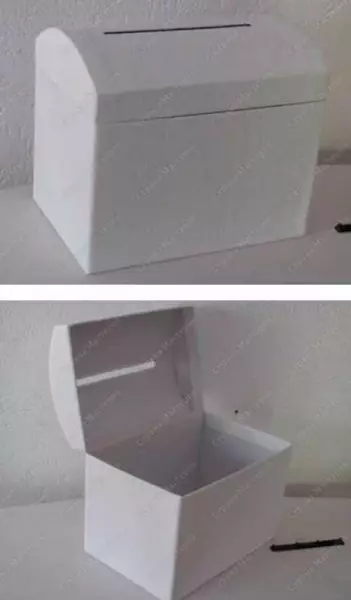
Box ready. You can begin to decorate.
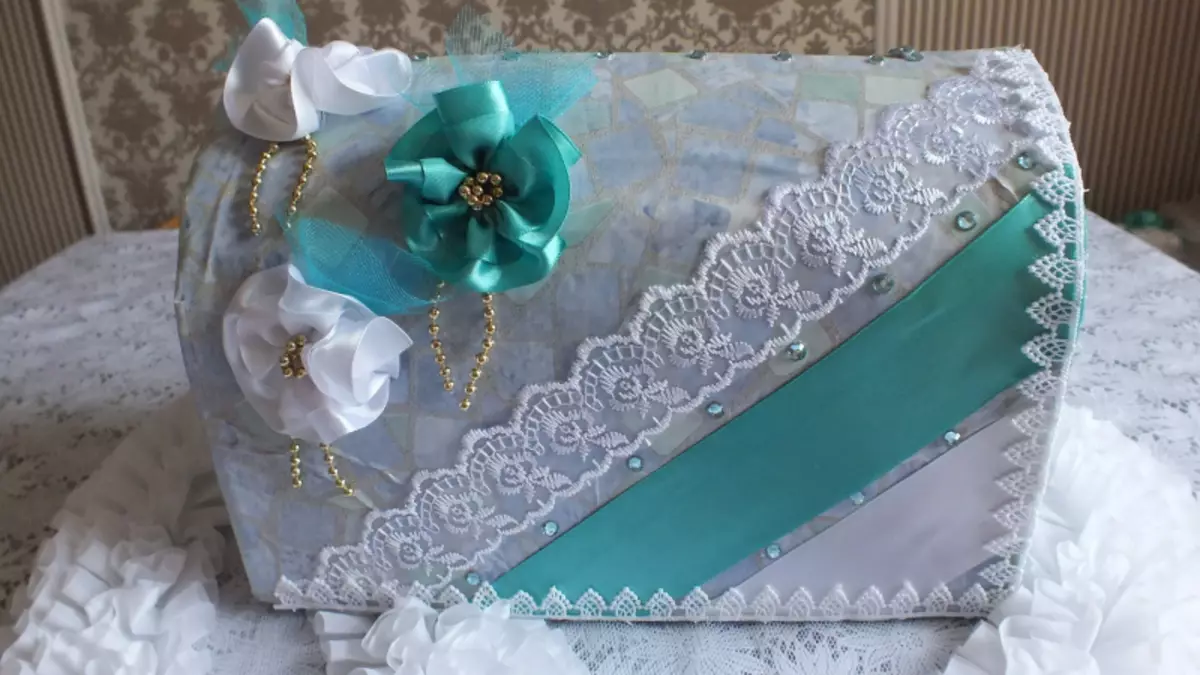
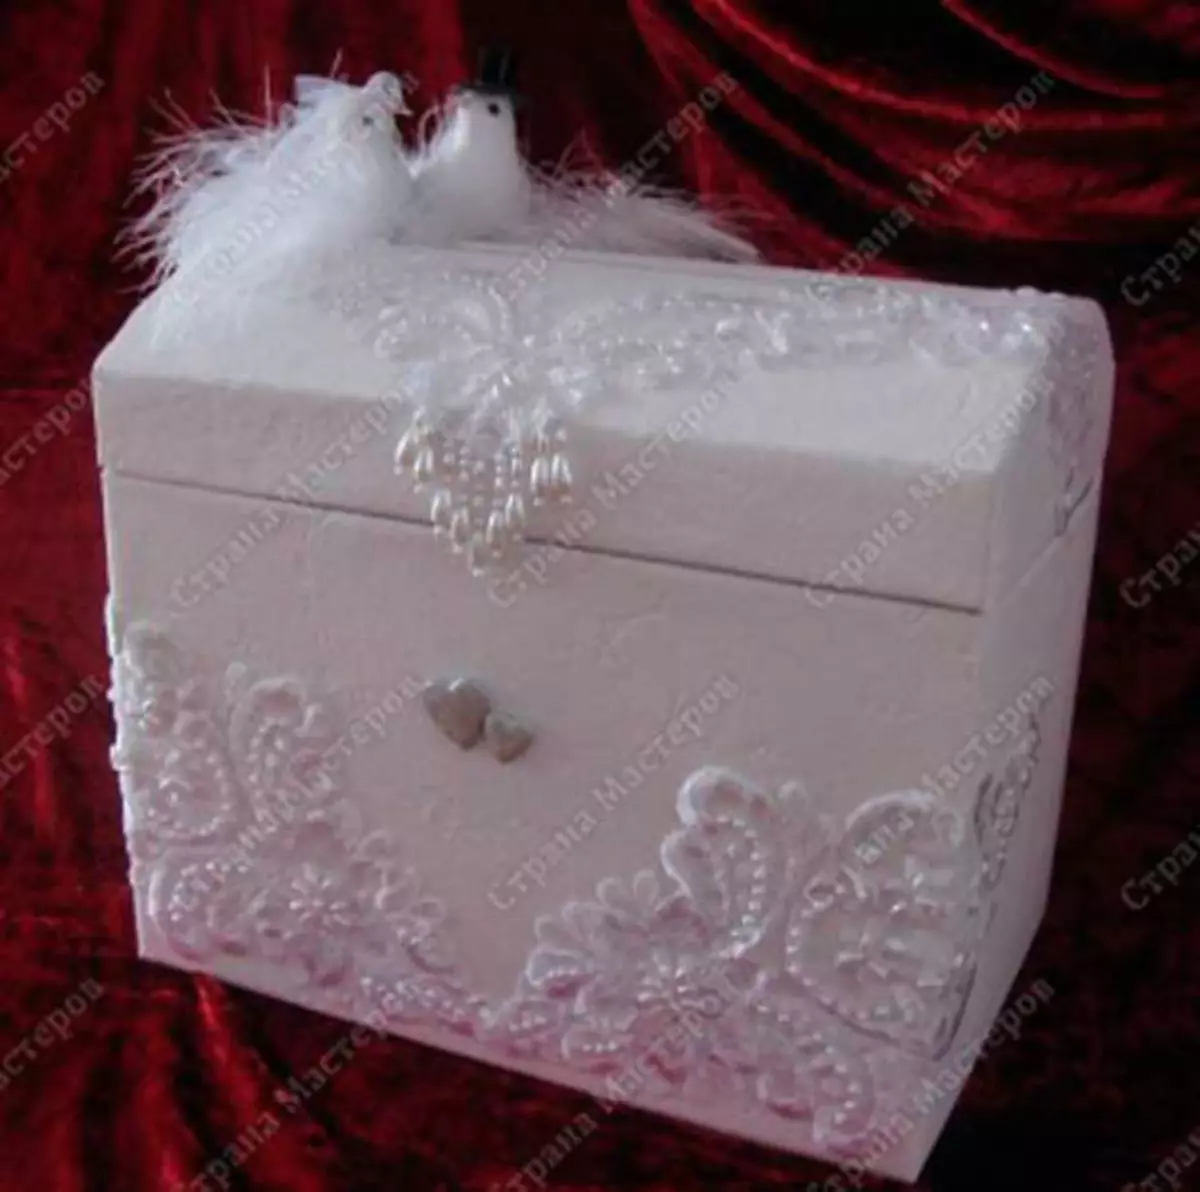
Important! If the wedding provides a certain style, then it is better to decorate the chest in accordance with the overall stylistry of the event. In other cases, it is enough to include your fantasy.
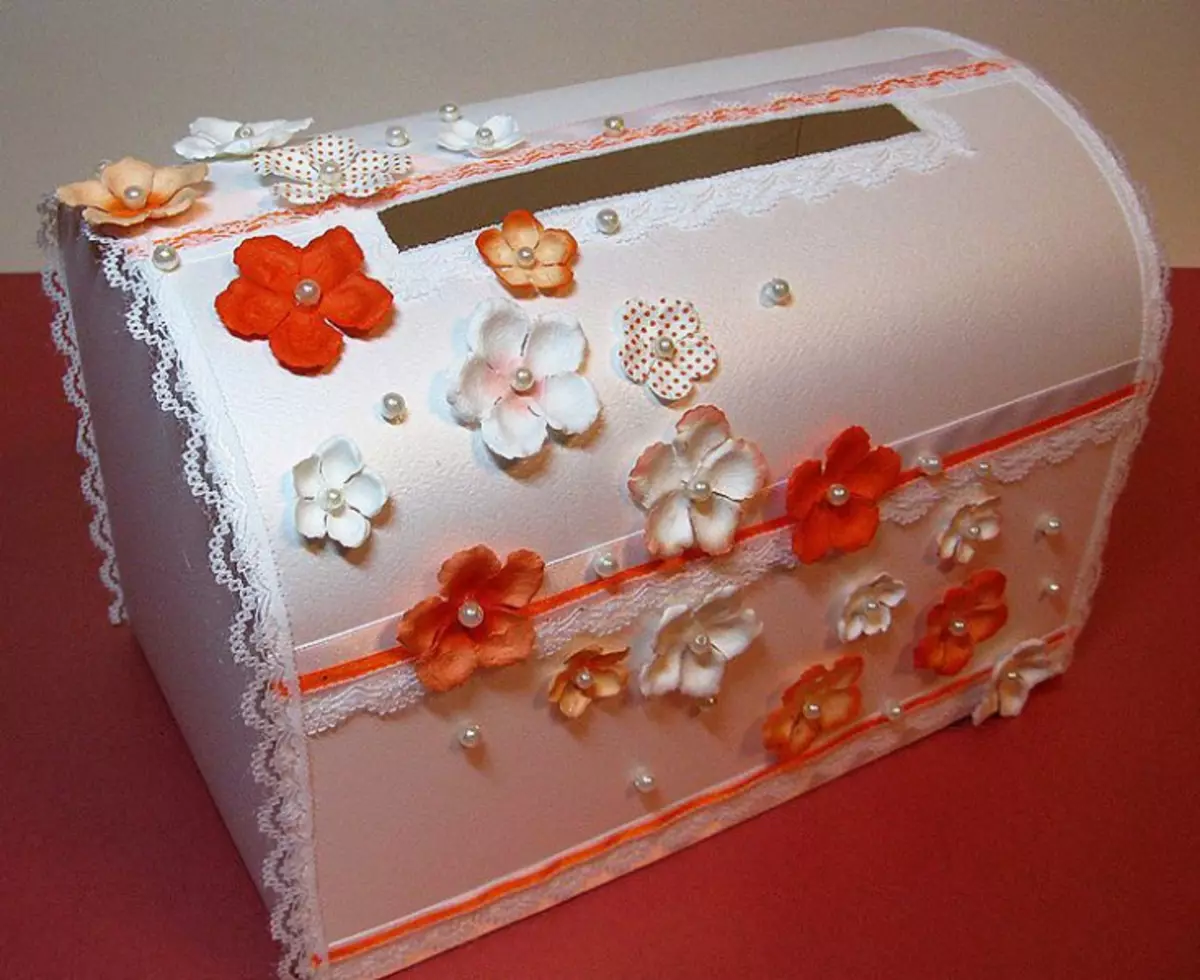
Gently and unobtrusively looks like a lacy edge box and execution on its surface of light paper paper.
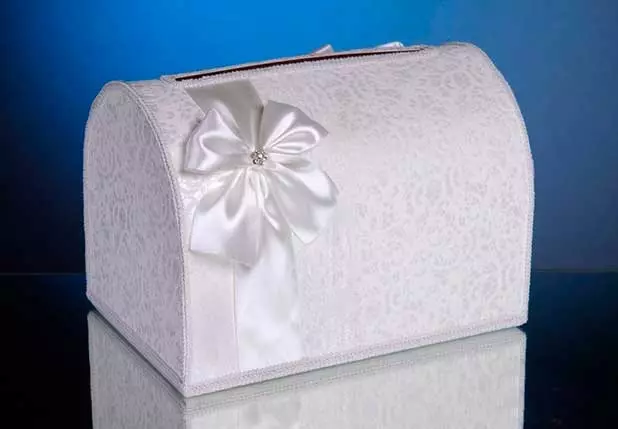
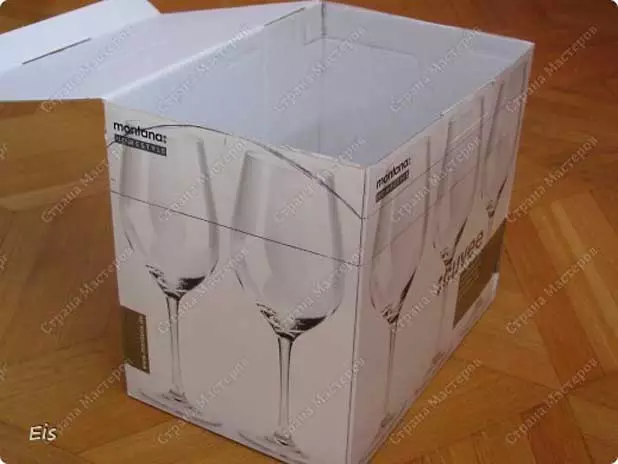
It is possible to speed up, if you do not produce a box "from scratch", and find a ready-made suitable version of the base with a folding lid.
Article on the topic: how to quickly clean up the whole apartment
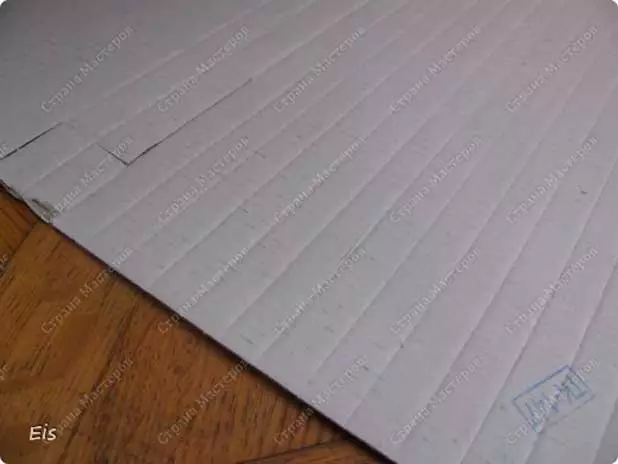
The cover from the inside should be drawn to the sharp item on thin stripes so that it can smoothly bend.
Arches are drawn on the walls of the box, the excess part of this should be cut off.

The cover cuts a bit along the vertical seams so that the arches come into contact with its lower part.
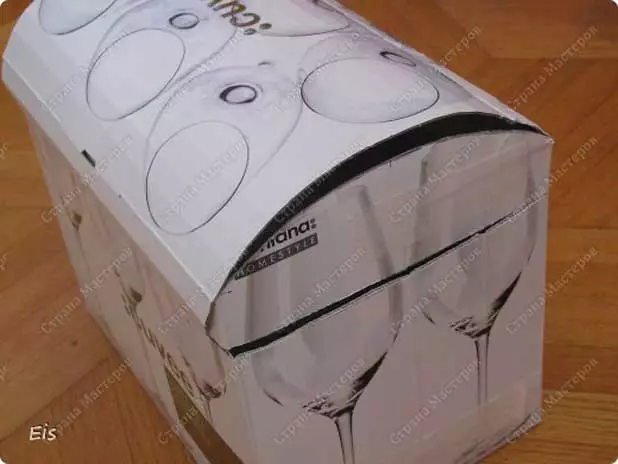
Details need to be glued together with scotch.
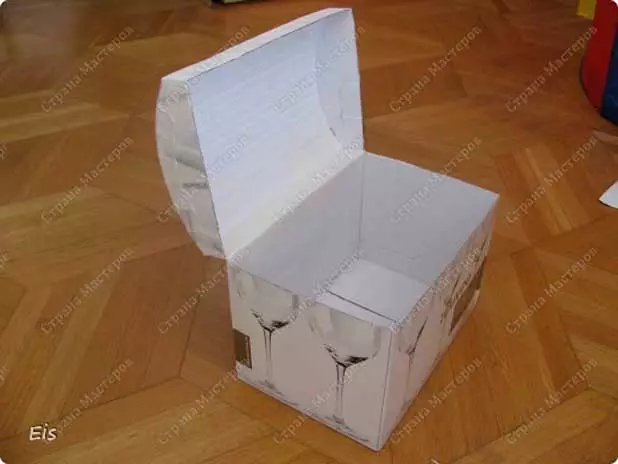
The excess part of the cover is cut off, the slot is carried out at the top, and the finished base of the box is obtained, which is not enough only an external decorative frame.
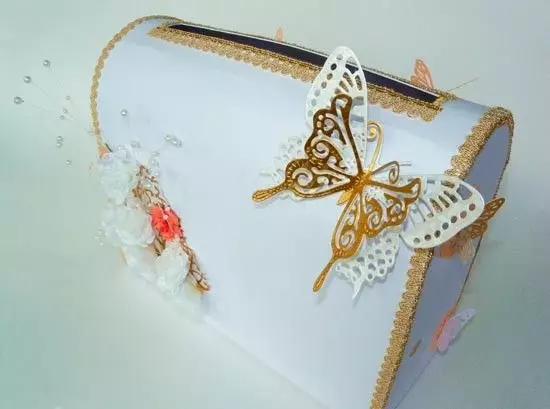
Since such a box, as a rule, has images over the entire surface, before decorating it is desirable to fully glue with white paper or crush the satin cloth. The last option looks spectacular and festively.
Supplement purely white color for enough openwork parts and decorative figures on the subject of the event.
In order for the thing to have a good view for a long time and served the owner of more than one year, it is necessary to choose the most durable material for its manufacture. In this case, it will be appropriate to perform a wedding chest of wood.
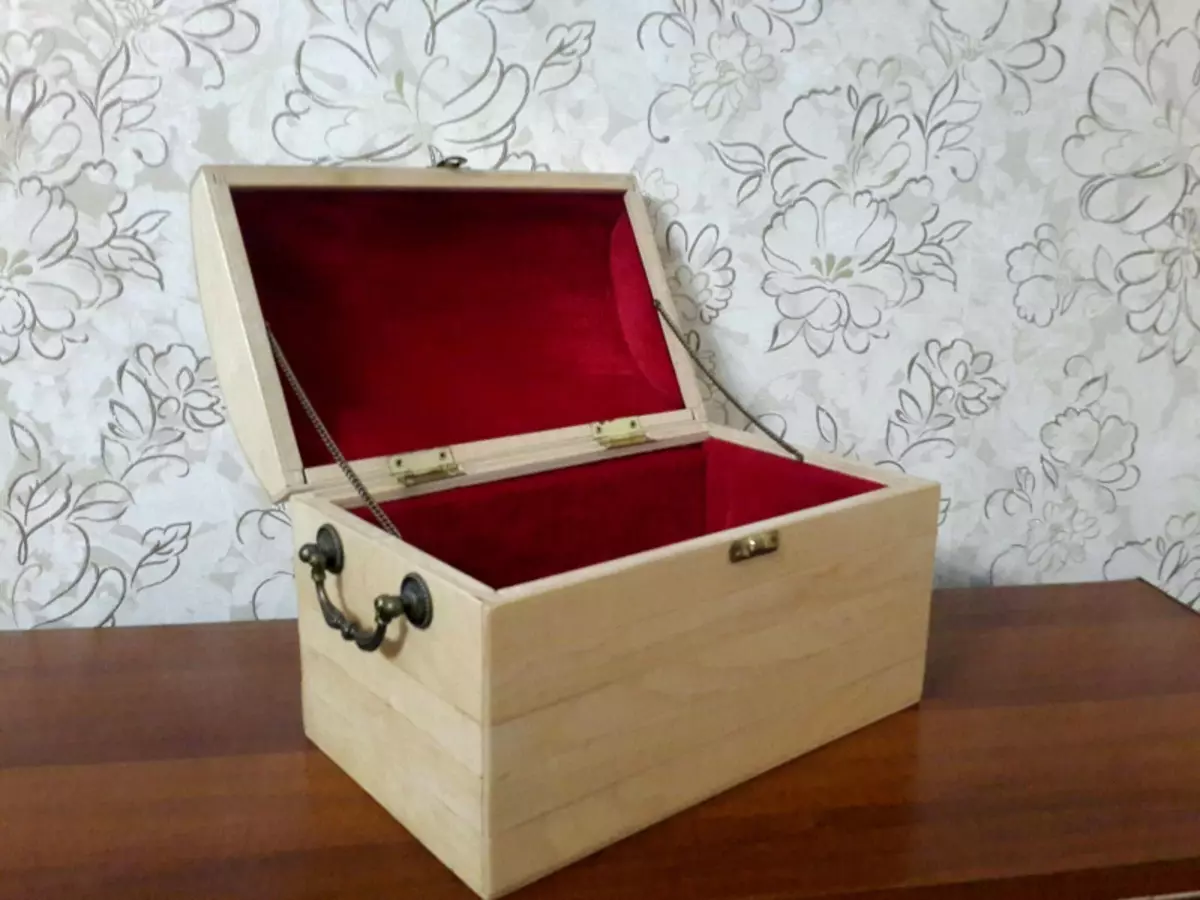
When working on the product first, a wooden frame is formed, which is subsequently trimmed with glued plywood. The inner part of the box is separated by a cloth. The last stroke in the work will be the coating of the finished chest lacquer.
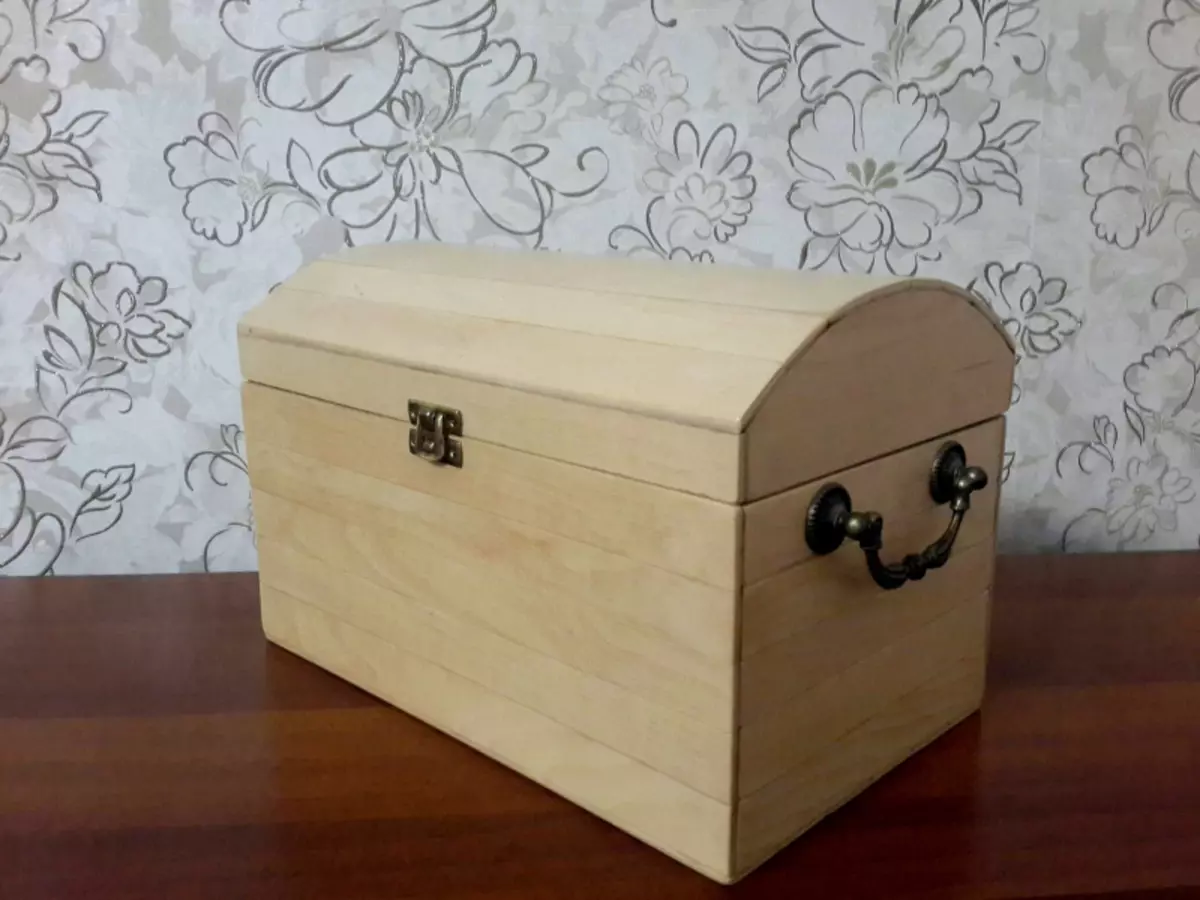
Accessories are easy to pick up for every taste in furniture stores.
Mini-option
You can make an individual box for money in order to present a wedding gift in the original packaging.
In the work on such a box it will be useful:
- dense paper or cardboard;
- Scrap-paper;
- scissors;
- pencil;
- PVA glue;
- line;
- Elements for decor.
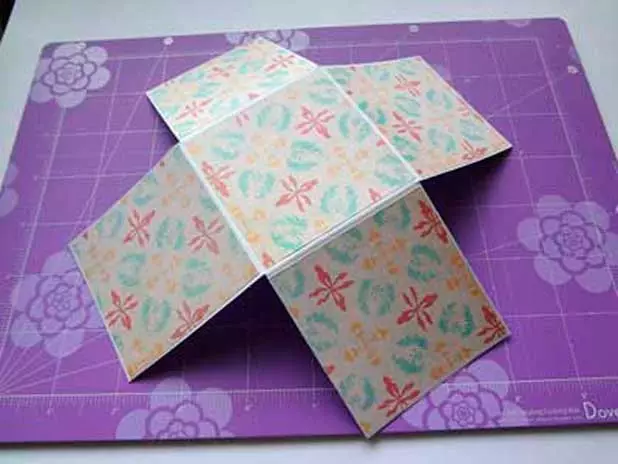
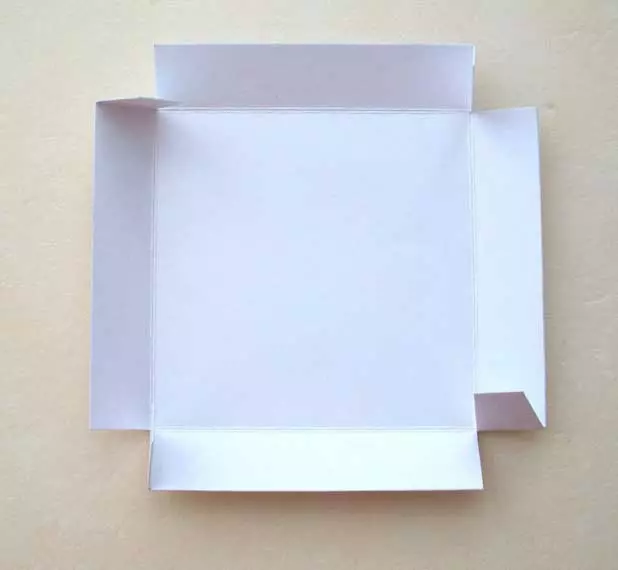
Square is cut out of the cardboard sheet, the sides of which are 21 cm.
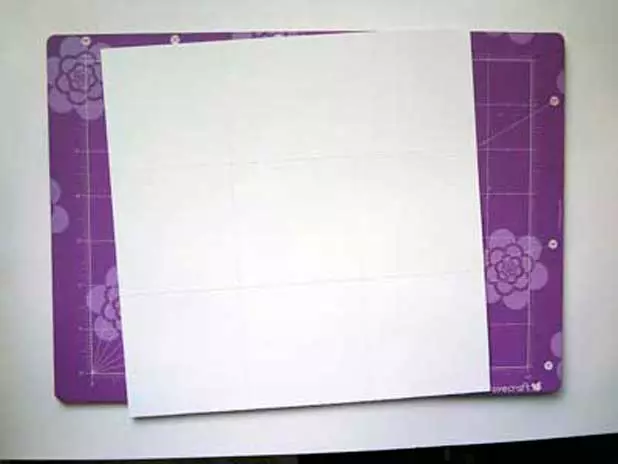
The square is folded in such a way that two horizontal and two vertical fractures are obtained.
The workpiece is painted, and the corner squares are cut off, as shown in the photo.
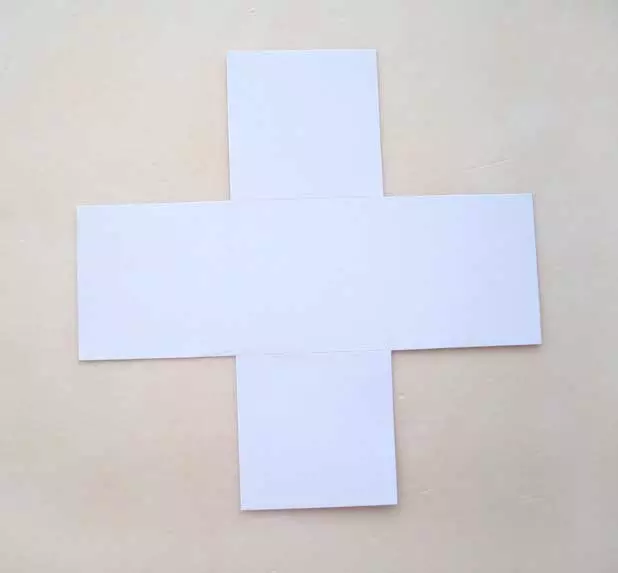
On the remaining squares, 5 cut blanks from scrap-paper are pasted on the remaining squares.
Article on the topic: Crocuses from candies with their own hands: Step by step master class with a photo
The inner side of the foundation is issued in the same way.
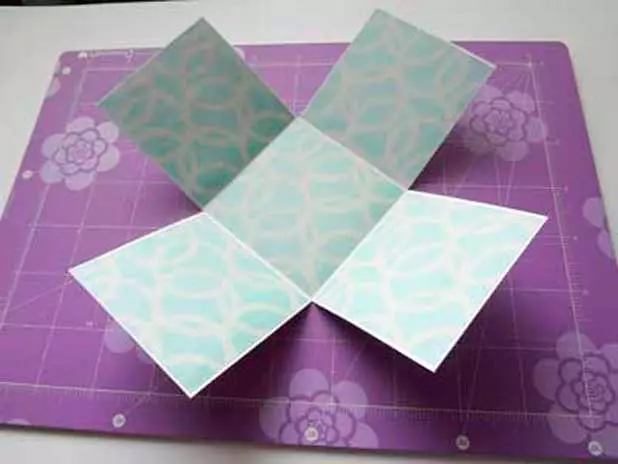
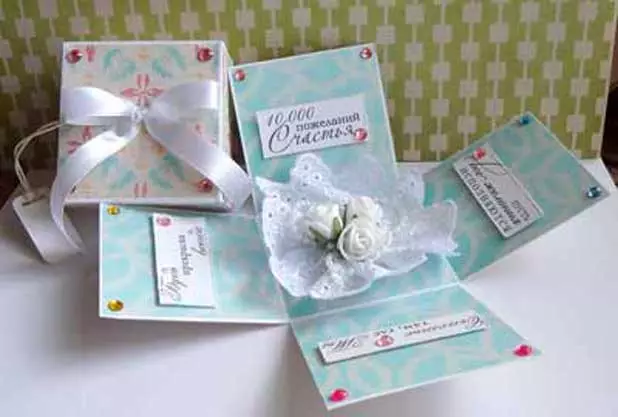
Each internal square is decorated in a different way. Here lace, beads, multi-layer postcards with wishes, etc. can be used here. On the central square, a wide ribbon is glued, which can be put in a cash gift.
It remains to make the lid for the box. From the cardboard sheet, you need to cut a square with a side of 10.1 cm. Mark lines along the parties on the width of the desired cover.
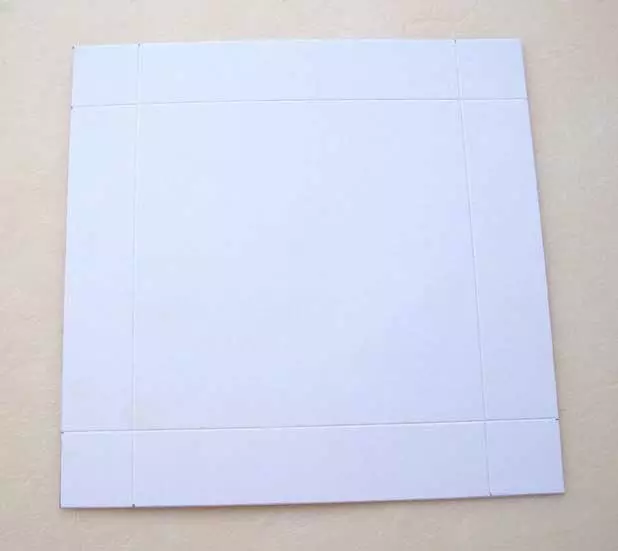
In the corners of the line are cut off, and the square folds into the shape of the lid.
Corners are glued.

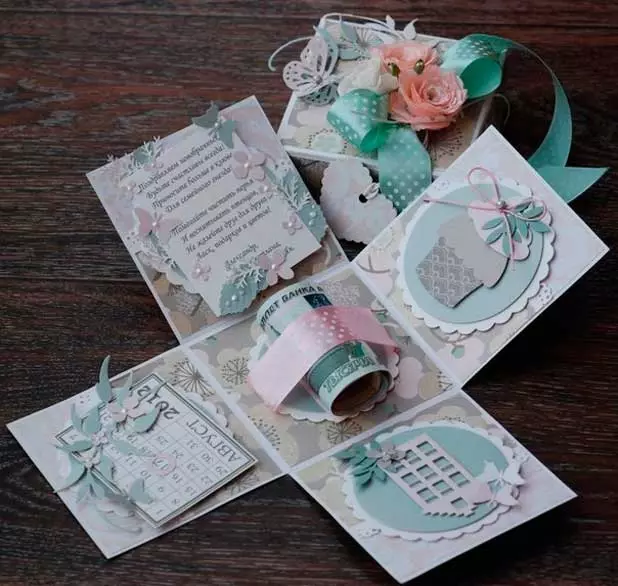
The upper part of the cover is decorated with scrap-paper and small details to taste the masters.
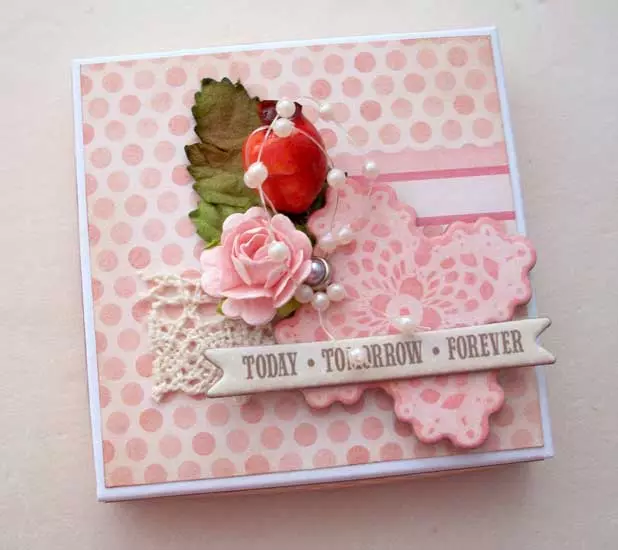
A cash gift invested in an elegant box made by their own hands will not remain unnoticed and will be appreciated by the newlyweds.
Video on the topic
Below is a selection of best videos on this topic.