One of the most educational activities is needlework, and not only adults, but also for children. If you have already tried countless lessons and think than to diversify your leisure, you can try to make castles with your own hands.
Variations of this classes are a large set, for example, it is possible to use paper, cardboard, foam and even matches for the source material. On the finished product, if it is not very large, you can mount hooks that allow you to hang the lock. Examples Consider all sorts of construction options.
Matching structure
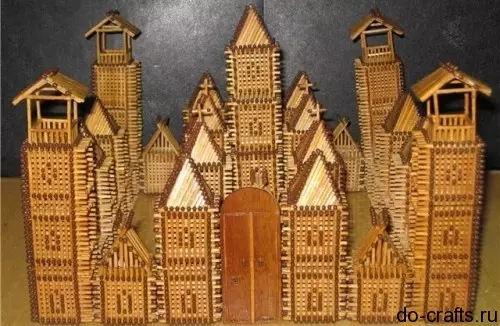
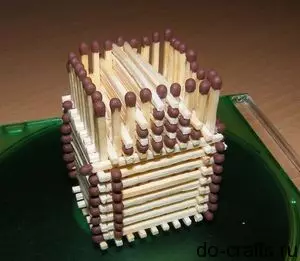
Previously, it was often possible to meet interesting buildings from matches, which are absolutely incomprehensible as built. Below is a step-by-step instruction of creating a lock from matches, as well as the explanatory photos.
The first step is to prepare the required materials. To build a matched lock, we need: ordinary coins, plasticine, a large number of matches. From these materials, we begin to build the basis. Two matches are stacked on the softened plasticine, the distance between them is 2 cm. From above, there are still 8 pieces on them. Between matches the distance should be no more than one match. Perpendicularly laid out another layer of the same number of matches - eight.
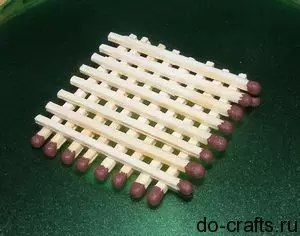
We repeat this step 6 times.
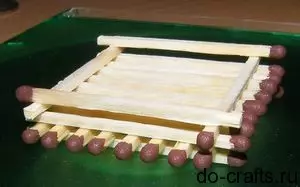
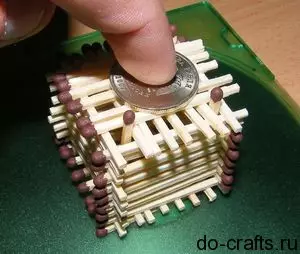
The same layers of the main frame and ends. It should be pressed by a coin. For greater stability, the match is added vertically around the perimeter.
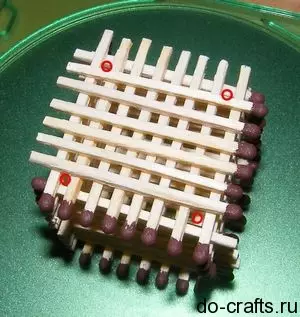
Vertical matches will serve as the basis for subsequent floors. And begin to add the top of the castle.
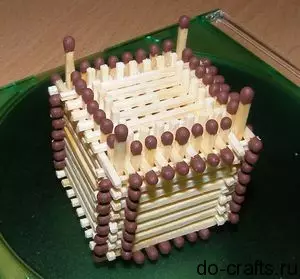
Get a small castle, as in the photo. It can be a separate structure or a piece of a large castle, now, knowing the principle, will not work to build large buildings.
Plasticine Fortress
The modeling is a great method for the development of motility and non-standard thinking in children, so it is with a laying of plasticine that it is especially important to introduce the child in time. With the help of plasticine, you can implement different ideas, we offer an option to build a castle from plasticine. Applying a little fantasy, the child himself will be able to make a decent product, and during his execution will be much more involuntary and more careful.
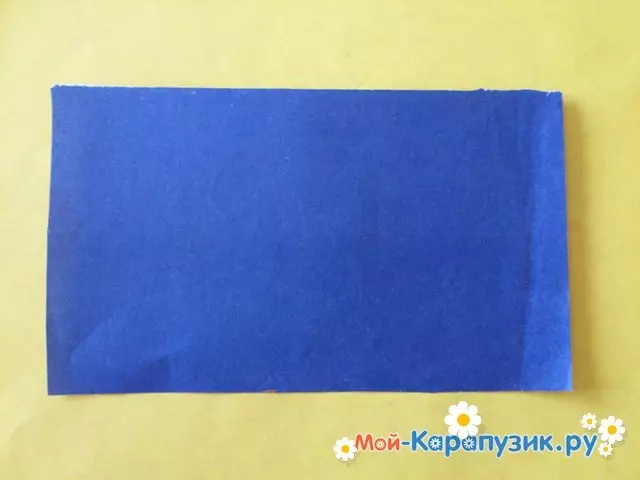
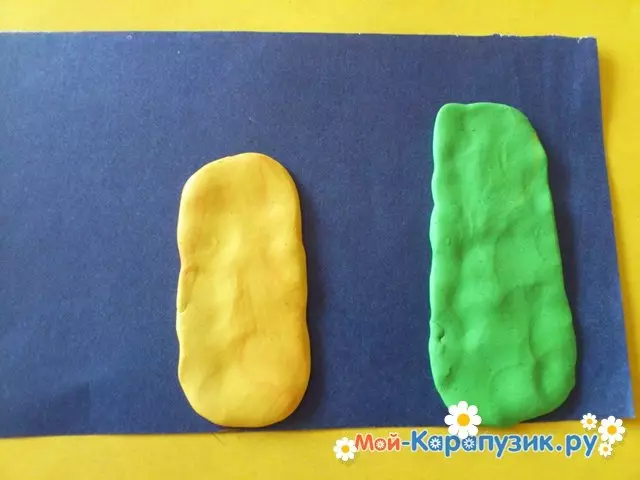
For a small master class, we will need: plasticine of different colors, paper or a dense stand for the base, you can cardboard, stack.
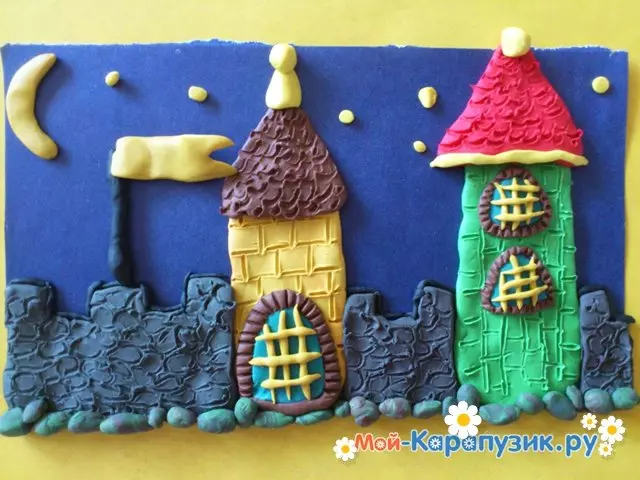
You can take a blue cardboard as a basis, this color is perfect, as it displays the sky.
Article on the topic: Knitting tunic for women with knitting needles: scheme with description
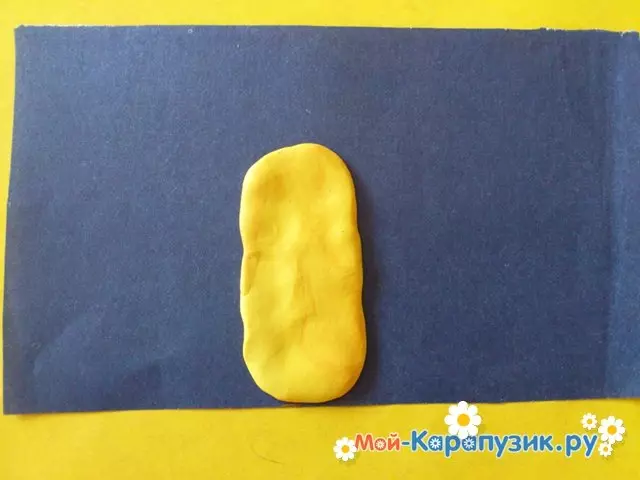
For the tower, we chose a yellow color, it will fit perfectly and remind a brick. We take a piece of plasticine, we form an oblong oval layer from it, we attach a little, shifting from the center to any side.
On the other hand, we make another tower, but another color, in our case green.
We start transfiguration. For the first tower with the help of the stack, I draw bricks. Using brown and turquoise plasticine, building a gate.
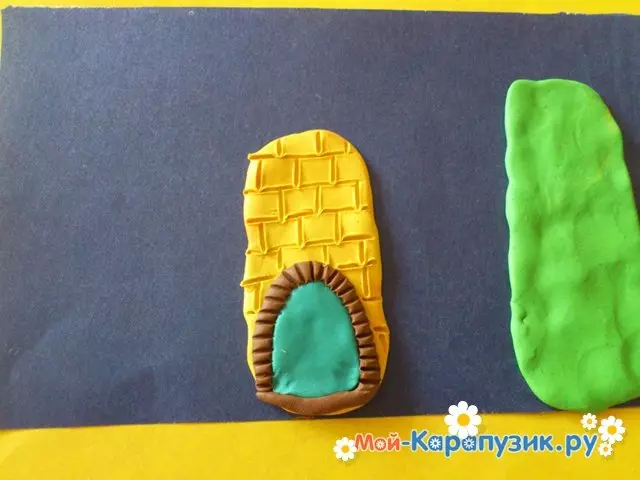
Add a patterned roof.

Gray plasticine will equip the stone wall, the stack indicating similar patterns.
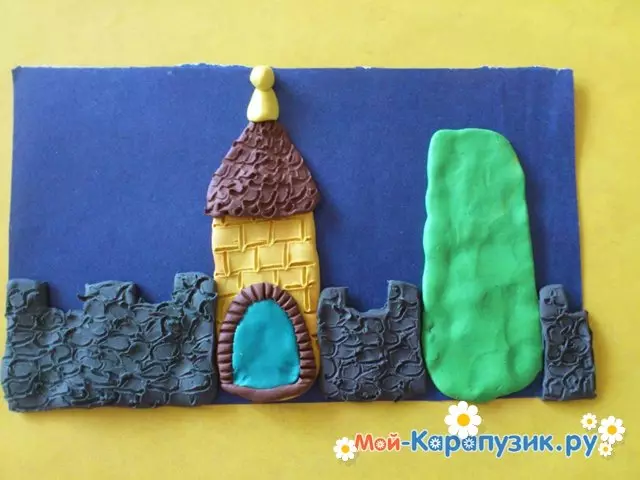
Small details of any picture adds a special mood, add small pebbles all over the bottom.
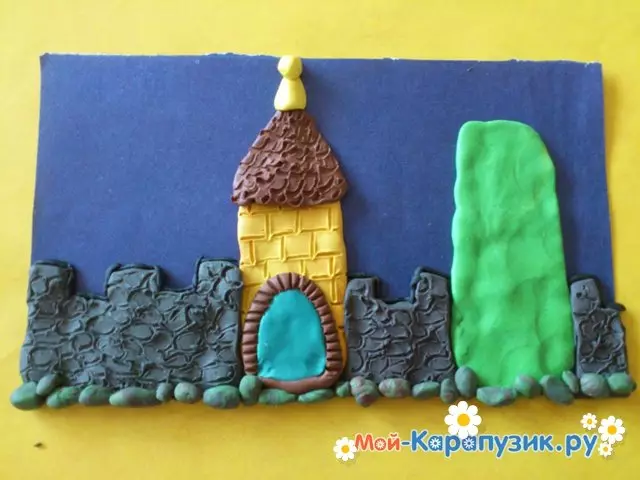
Now build the second tower of the patterned roof and windows with lattices.
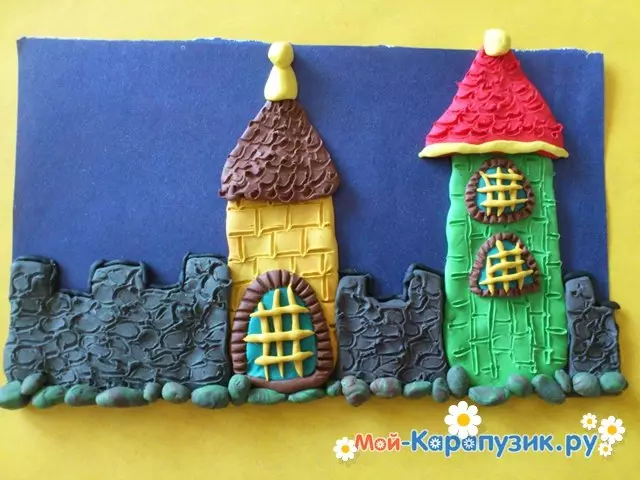
Since the base is dark blue, the picture suggests that now night, therefore, from yellow plasticine, the moon in the form of crescent and small neat stars.
Each castle has its own flag, and since we have a real plasticine castle, I will add it here.

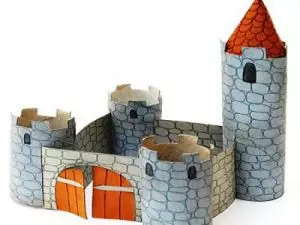
Cardboard option
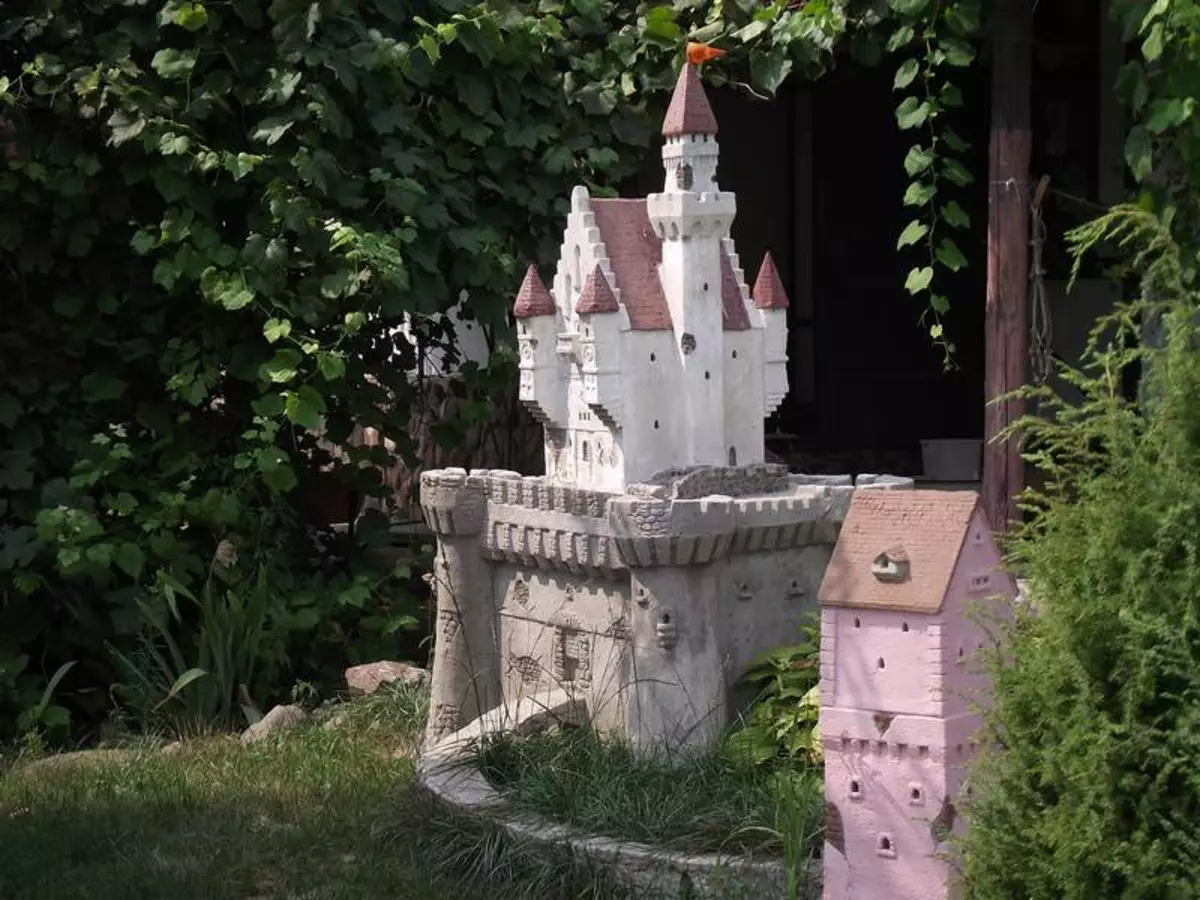
In childhood, whether you are a boy or a girl, I wanted to have my castle: Girls to be in it princesses, and boys to portray brave knights. Cardboard castle will allow you to give your child such pleasure, not spending money for it. And also, if you still attract a child to build a castle, it will be doubly fun. For the castle fortress, it is best to build it or put it after building a polyfoam pallet.
For the cardboard castle we will need:
- Cardboard sheets from boxes or themselves;
- Round tubes from paper accessories - paper towels, toilet paper;
- Stationery scissors and glue.
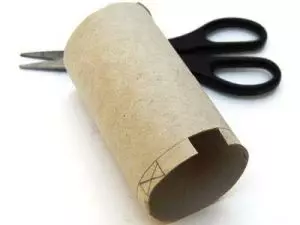
Before the construction of the plot is drawn on paper and is divided into blocks. According to this scheme, separate modules are cut. It is easiest to start with the construction of towers with jealous tops, they give the castle atmosphere of the Middle Ages. Towers are created from the tubes. First draw a gear ending, according to the marked marks cut.
Article on the topic: how to sew a female cape on the shoulders: pattern with a description
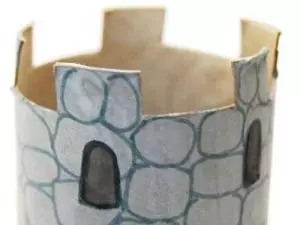
After throwing the tower, in the same style that the entire castle will be painted.
Cut the wall of the castle from the cardboard. Cool them with gray paint and deactivate the same as the towers.
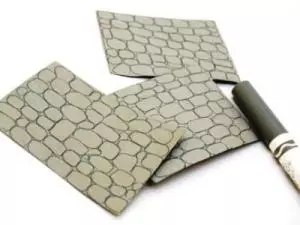
The outlines of the stones are attached to a marker.
The gate is created using the template presented below. In general, the whole castle consists of geometric shapes.

The roof is best to make a fundamentally different color so that it immediately differ visually. We chose brown color for this. You can make it from paper, not from cardboard.
Now we collect all parts of the castle together.