
The manufacture of furniture for the native house is not just necessary, but also a very interesting process. Often it is possible to make such things that in the store to buy very problematic, and they never inferior to their factory analogues. In order to make a bed cabinet transformer with their own hands, you do not need to be a great professional, but the instructions will have to stick completely.
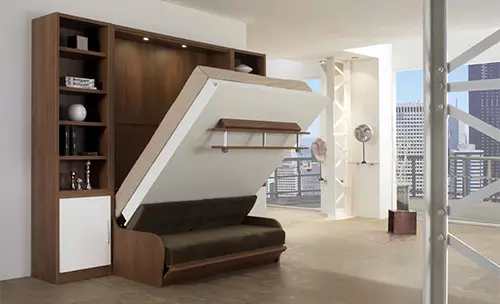
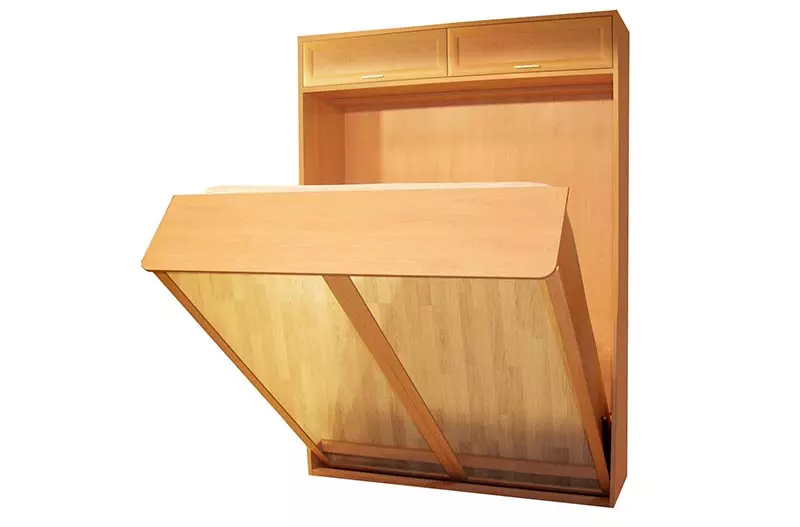
Compact and comfortable bed The cabinet transformer is an excellent solution for small-sized premises.
Materials and sawing
Tools and materials:
- roulette;
- electrolovik;
- bar;
- LDSP;
- sandpaper;
- brush flat;
- Antiseptic solution.
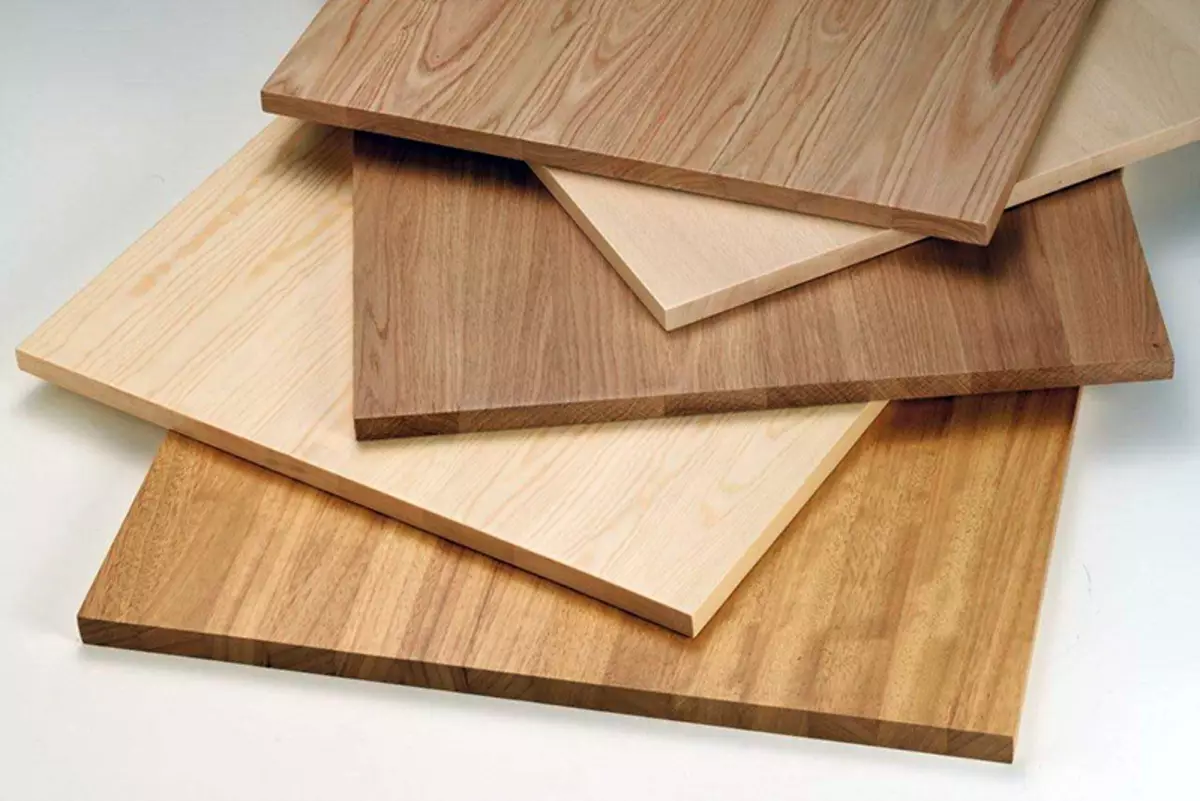
Due to its environmental friendliness, strength and simplicity in processing, the furniture shield is an excellent material for the production of a transformer cabinet bed.
Usually, in the manufacture of such furniture, 2 materials are used:
- Furniture shield. Environmentally friendly material, which is obtained by pressing bars or boards, and without using synthetic resins. It has a very high margin of strength (not weaker than the array) and at the same time it is very easy to process. There is only 2 minus material: it is impossible to get in many cities of the world, and if you can, then only for quite big money.
- LDSP. All factories work with a stove, so you can also see the table, bed, wardrobe and much more from this material. It has a low margin of strength, a huge selection of colors (none of the existing reminds natural), and may also differ in thickness and density. The only actual minus is harmful emissions to the environment that are leveled using special Kants. It is this medium density material and a 20 mm thickness will be used.
At the very beginning you need to make sawing plates for the manufacture of the bed cabinet:
- 40 * 170 cm - 2 pcs.;
- 40 * 220 cm - 2 pcs.;
- 20 * 165 cm - 1 pc.;
- 20 * 210 cm - 2 pcs.;
- 35 * 165 cm - 1 pc.;
- 170 * 220 cm - 1 pc.;
- 82 * 208 cm - 2 pcs.
Article on the topic: Water warm floor in a wooden house without a screed
Along the way, it will take 3 cuts of a bar for 216 cm with a cross section of 25 * 40 mm and a lot of cutting board 164.5 cm. The edged lumber will be used at the very end, so before starting work it is enough time to sand the material with emery paper, and then coat Its antiseptic solution against moisture and insects to extend operating time.
The main work on the assembly
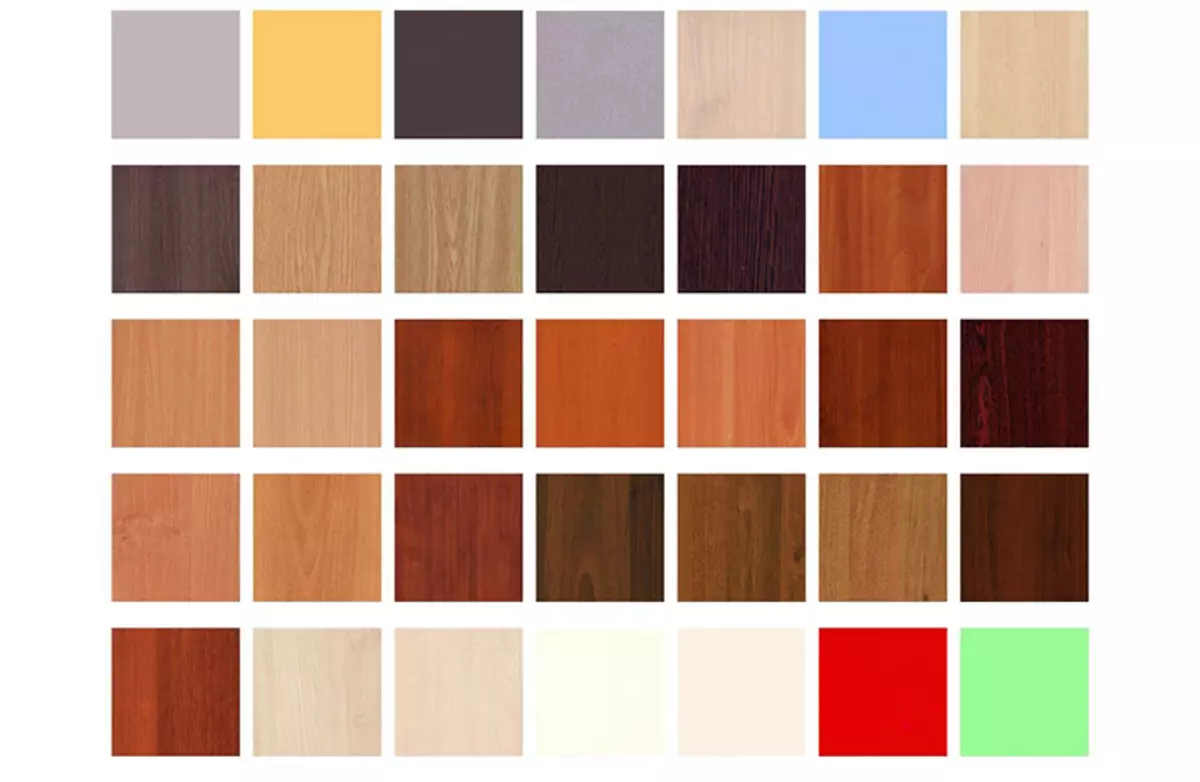
Wide color gamut LDSP allows you to choose such a solution that will allow the future bed to the cabinet to the transformer to harmoniously fit into the interior of the room.
Tools and materials:
- LDSP;
- screwdriver;
- self-tapping screw;
- rotary loops;
- Furniture plugs;
- Kant;
- iron.
Here the process is quite complicated in practice, although the theory is very simple. At the very beginning, a box simulates the outdoor cabinet. To do this, there are 40 * 170 cm plates between two plates 40 * 220 cm. The feature in this case will be the fact that the bottom is the indentation above the floor level of 0.5 cm, and on top--love. Such a move allows you to install the design even on the uneven floor.
All joints are made through the side wall in the rib plate. To begin with, 2 holes of a small diameter are drilled in each edge, after which the screed is made. If for any reason the holes will be forgotten, then it is possible to put the crack to the crack, which will turn into additional financial and temporary costs.
Then the box is folded, but it will have to work a little with it:
- Between the plates 20 * 210 cm laid 20 * 165. The method of fixing remains the same, and this side will be directed directly to the "closer".
- From the reverse side (in the same way) 35 * 165 is screwed in such a way that the upper edge is to be lying, and the lower served as improvised legs.
- Both boxes are combined into one design. To do this, the excavation is selected experimentally in the "closet", but the fixation height is strictly 25 cm above the floor level. For fixing, rotational loops are used, fixed from 2 sides.
Article on the topic: How to charge the battery without a phone?
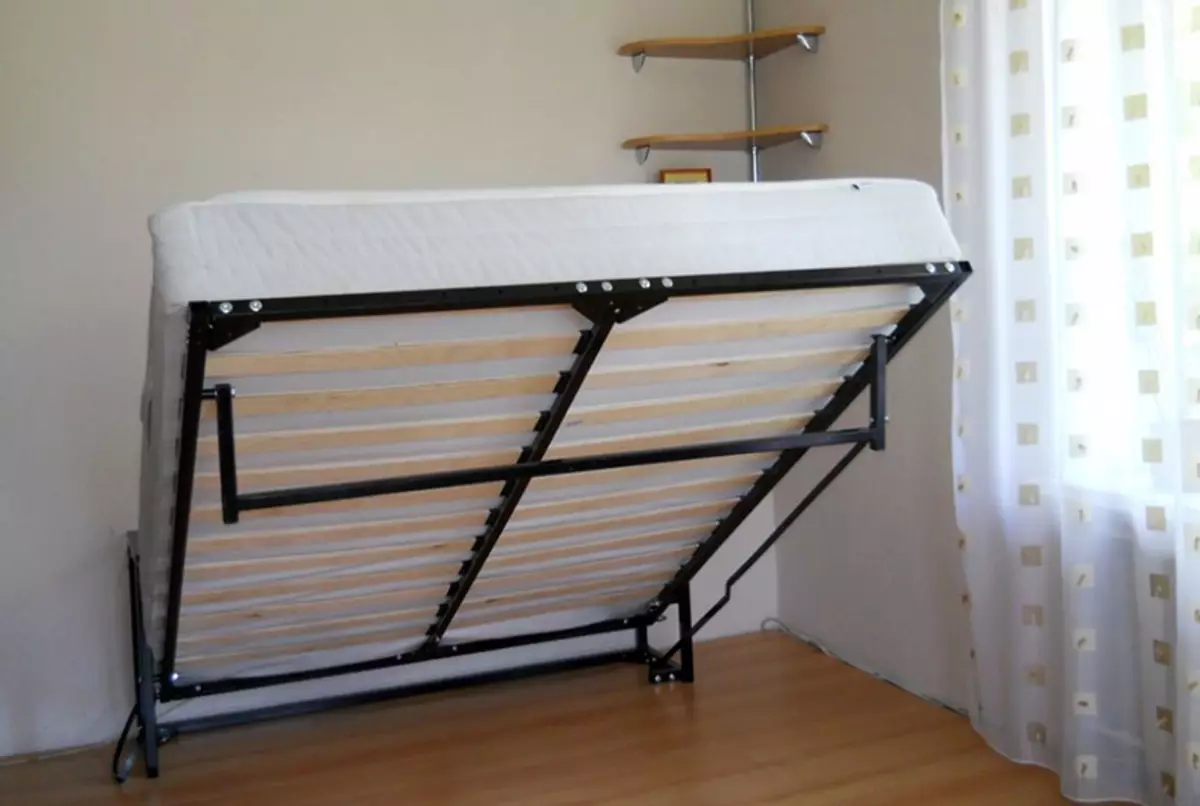
A design that is capable of climbing and descending is the main detail of the future bed of the transformer cabinet, so it is very important when assembly comply with all the points of instructions.
As a result, it turns out a design that can already go down and climb. But rest is still impossible, since there are only 2 frames interconnected. Now you need to mount the ribs of stiffness and the magazine. Actions will look like this:
- Make a longitudinally in bed 2 bar smoothly in the center of shields. The fixation of them occurs from the inside, but the screws should not have break through the shield through, because of which it will have to take advantage of a flush drill. If there is no deserter, you can wrap the drill with a blue tape at the desired level so that it limit the promotion. All points of the joints are measured using a mounting level.
- Exactly between the mounted bars is wicked one more. This timber is also fixed on the self-tapping screw, but at an angle of 30-45 °. It is especially difficult to do the exact hole, but it will have to do it. For alignment, a wooden rail is used or the same level if its length is enough.
- A cutting board 15 * 150 mm is parallel in width in 10 cm increments. If you increase the step, the mattress will fall into the holes, and if you decrease, the bed will become too tough. All joints are made by the previously described method to bars, and the fixation is made in all 3 points.
Following the work, a design is obtained that can already be used for sleep. But you need to finish some decorative strokes.
Completion of work
An independent installation of a transformer cabinet bed allows you to choose not only design, then materials and accessories at an affordable price and not to overpay for the assembly.
At the very end, you need to fasten to the cabinet from the reverse side of the plate 170 * 220 cm. This will increase the strength characteristics, and at the same time it will close an extra lumen. 2 longitudinal shields are recorded under the bed, between which the distance is 1 cm. Fix them will have to be quite careful, so as not to put even small chips.
Article on the topic: Children's gazebos for kindergarten: Requirements and registration
After all this, there are special furniture plugs on the screws, which perfectly hide all the heads from the eyes, and the edges are glued on the ribs. For fixing Kant, the most ordinary iron is used, which is in every home. But here you need to remember that when uneven fixing will have to replace the Kant to the new one.
If you wish, you can mount the furniture handles for the doors to create a simulation of an ordinary cabinet. It is important only to observe the correct level, and also to envisage that their length does not go beyond the legs, otherwise you will have to redo.
And now it remains only to put the mattress, fill fresh sheets and plaid. You can proceed to the long-awaited rest!
Working with LDSP is quite simple even for beginners, regardless of whether the table is being made, bed or shelves for books.
It is important only to follow all instructions.