Manual-related things are becoming increasingly popular. The popularity is gaining and blankets stitched in the Patchwork style. Patchwork Sewing, whose schemes will be found below, implies a kind of needlework based on patchwork technique. It is believed that this style is one of the most ancient.
It is the Patchwork style that is most widely used to create such households as pillows, blankets. With its help, you can make various accessories and even sew clothes.
The popularity of this type of needlework is not surprising, because it is with its help you can create your own unique interior in the entire apartment. This is possible because products from the tissue pieces are always unique, the second one will not have anyone. At the same time, it can make anything in the style of Patchwork as an experienced needlewoman and a beginner. Nothing difficult in this technique, in principle, no, but spend some time to get results, still have.
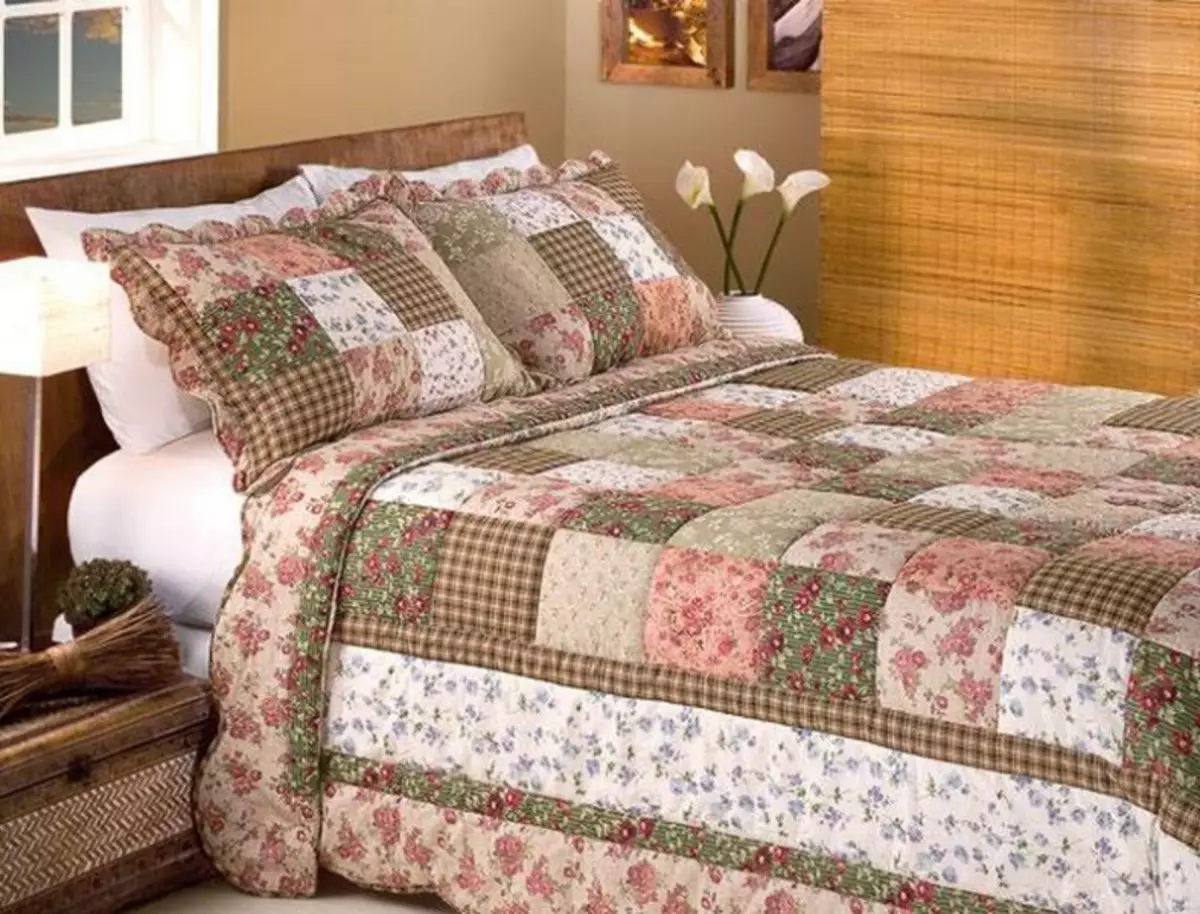
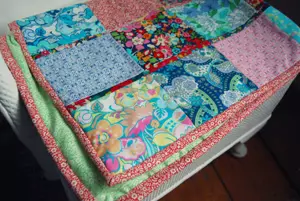
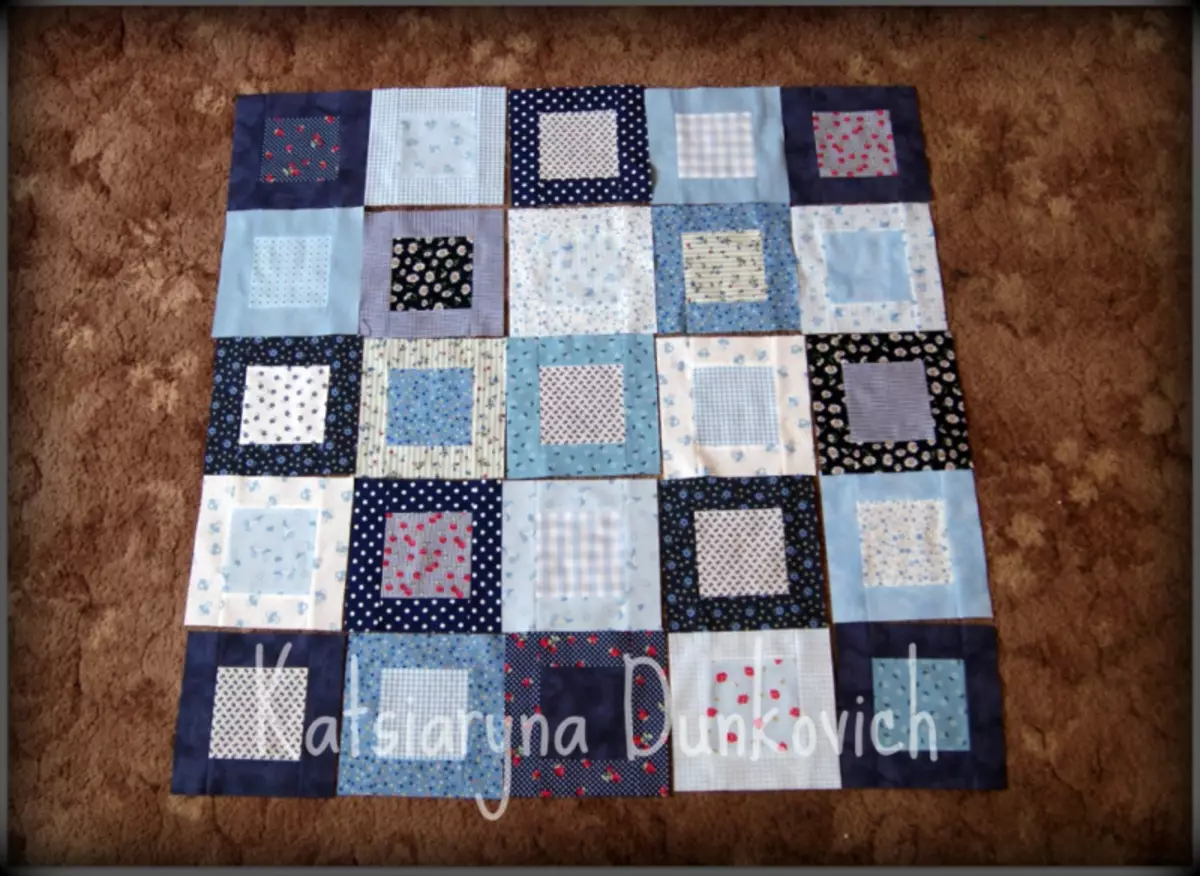
The most popular among all patchwork articles are patchwork blankets:
Patchwork Blanket Making Technique
The technique of patchwork sewing patchwork does not represent anything complicated. Beginner needlewomen is better to start mastering the technique of Patchwork with blankets stitched from large flaps. Then the stitching blanket will be easier, and in size it will be pretty big.Fabric selection
The material for the blanket must be durable. It is best to choose such types of fabrics as cotton, hazard, flax and wool. Synthetic fabrics will also look good in the finished product. But from such a material like silk, it is better to refuse . Especially in case the blanket will sew a beginner needlewoman. This is due to the fact that such material is very crushed. The fabric can be alone, but you can combine the various types of it. But patterns on the fabric and its color can be absolutely different. The brighter will get a blanket, the better. Watching the photo, you can make sure.
Article on the topic: Machine for polishing scratched CD / DVD discs
Preparation for work
The most necessary thing is what you need to stock, before sitting at work, are patience and prereparation. This is due to the fact that the work will be painstaking and time consuming.
Next, it is necessary to determine the size of the future blanket. The next step is to prepare the patchwork for the blanket. To do this, first draw a sketch of the future product on paper.
It must be done in order to know exactly how many flaps will be needed on the product.
And only after that it will be possible to start the manufacture of the loskuts themselves. It should be remembered that it is possible to draw on the fabric either a shallow or simple pencil. After that, they will need to cut. You do not need to add to the allowance. Experts advise them to cut them only on the longitudinal thread, since otherwise the flaps can be pulled, and it will just deteriorate. The fabric is best to choose such so that it does not lein.
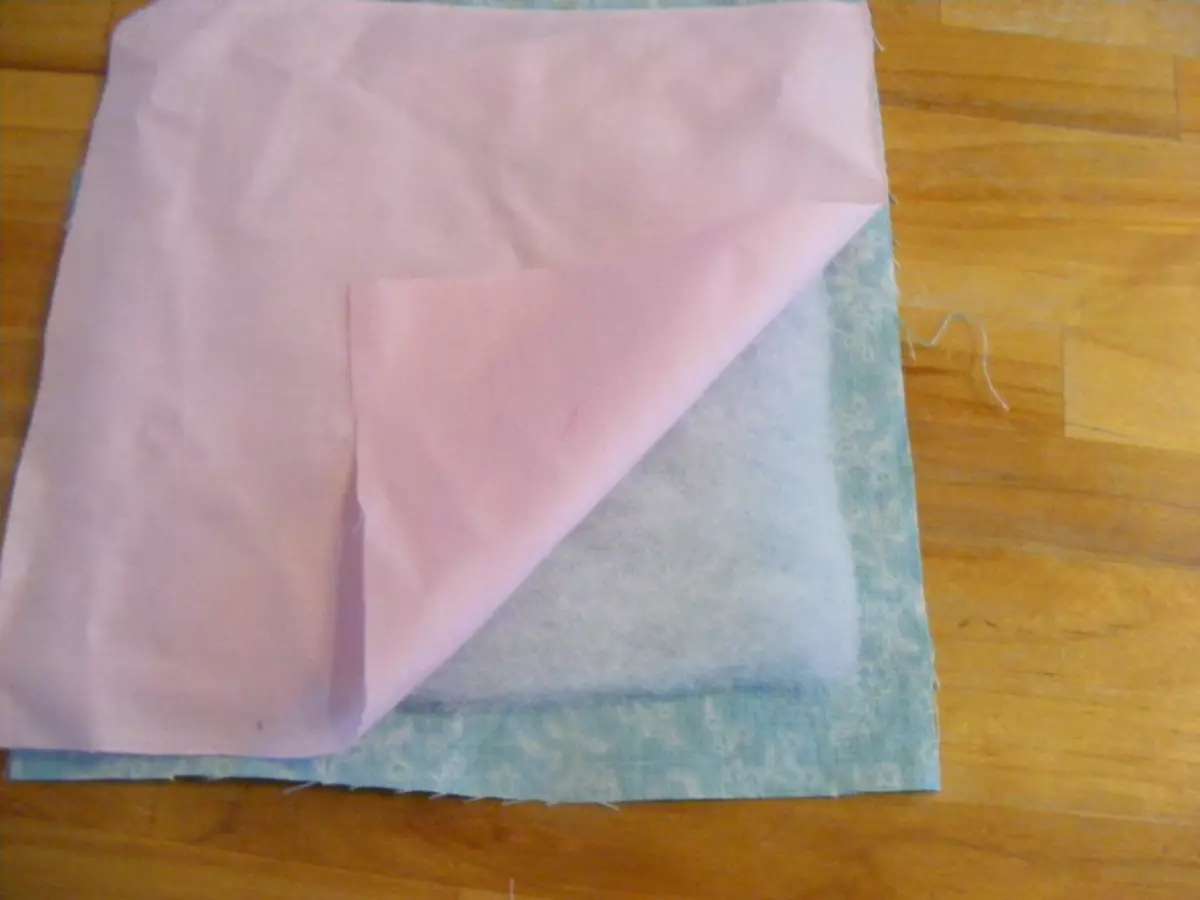
In addition to the flasks, another piece of material will be required, which will then need to sew to one entire flaps. It is also necessary to prepare a piece of syntheps of the same size and fabric that will be needed to edge the future blanket.
Materials that will also be needed in the manufacture of blankets : scissors, needle, threads, ruler, pencil or chalk, pins, sewing machine.
As soon as the preparation is completed, you can proceed directly to the process of manufacturing the blanket.
Loskutka before work you need to try well.
To determine the pattern, it is possible to simply decompose the patchwork without connecting them. This can be done on any smooth surface.
After that, you can start connecting squares. First, the longitudinal side of the squares is connected. After the squares are connected, all seams need to be pasted. Then you need to flash the seams again on the sewing machine. The first seams that were made by hand can be removed. Then all the seams need to be carefully pasted again. This will be the facial side of the future blanket.
Article on the topic: Ways to help bring, remove different stains from clothes
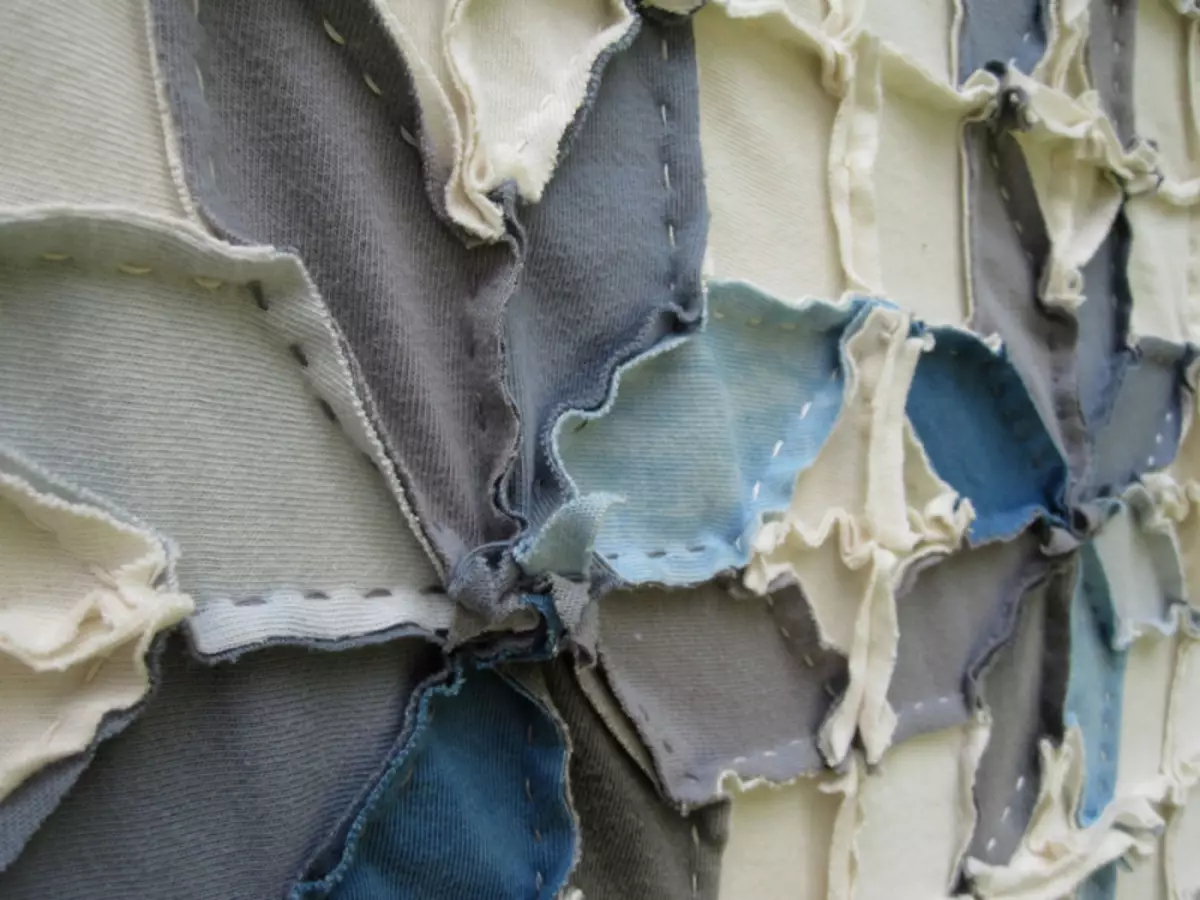
After that, you can start connecting both sides of the blanket. Singry procession can be simply put between the panels or cut and flash so each square separately. In this case, they will turn out as convex. So that it does not come down, it must be fixed. For this you can sew it.
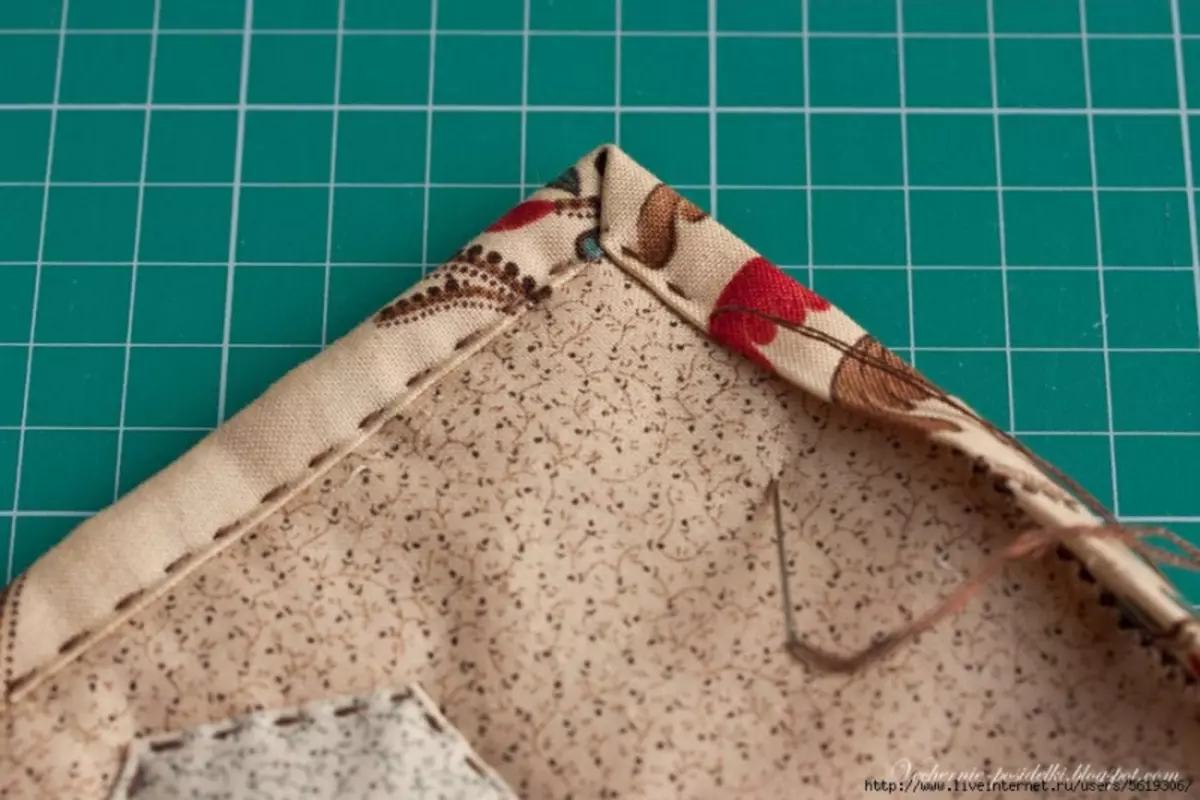
The last step is the edging of the blanket. The easiest method of edging is the edging of the so-called oblique baker. To do this, it is necessary to cut four strips of fabric, which in length should be equal to the length of the blanket or a little more. The width of the strip must be about 7.5 cm. Strips need to be located along the blanket and secure them with pins. Sew on one side, then proceed and sew in the same place.
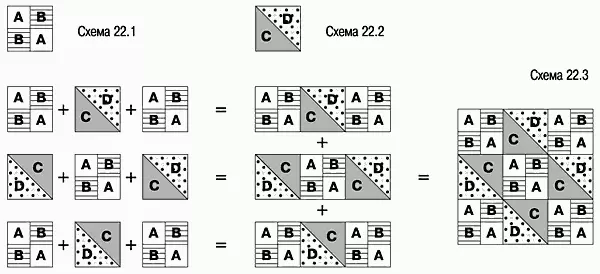
Patchwork Sewing: Loskutsky Connection Schemes