Children's appliques made of colored paper with their own hands - the most common and easy way to do creativity with the child. The Word itself translated means "applying". One of the easiest techniques is a ribbon applique of colored paper. Its charm for children is that it does not require a particular accuracy of the child.
The first thing draws the contours of the future applique. Then, on top of the glue, pieces of multicolored paper of different shapes and sizes are applied.
Autumn tree
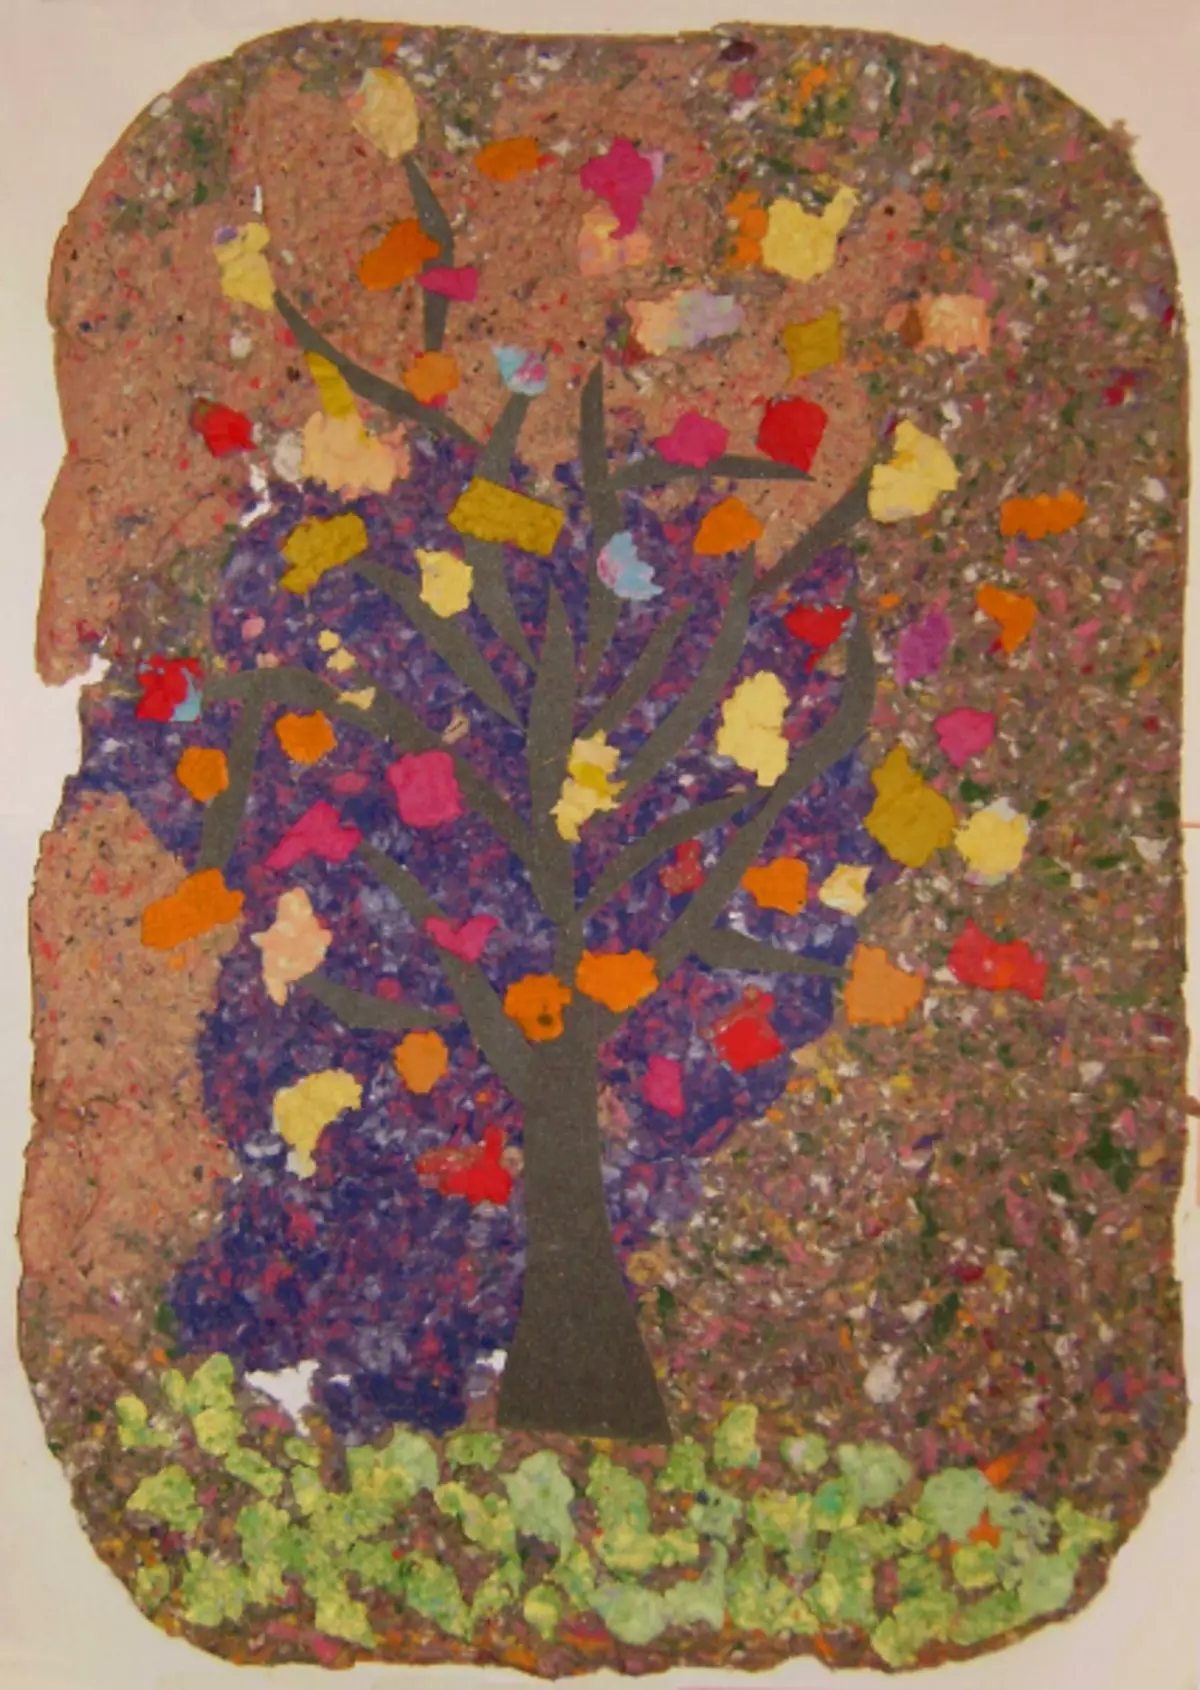
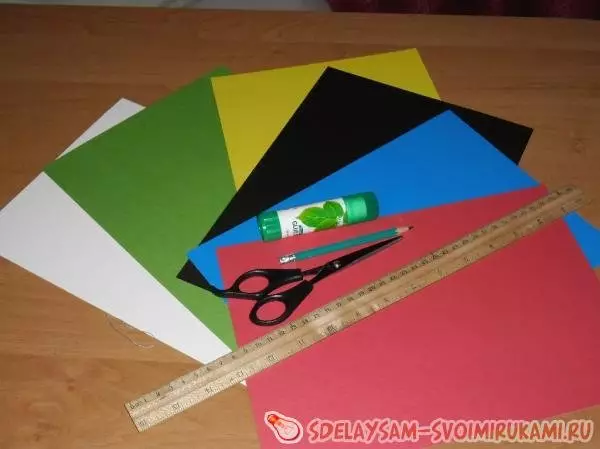
To fulfill, you will need:
- Sheet;
- Colored paper of red, yellow, burgundy, green, brown;
- Glue.
First of all based on (white sheet or cardboard) Draw the contour of the future tree. Next, make a barrel from brown paper pieces. After proceed to fill the crown. For the convenience of a child, cover the whole sheet with a pencil with a pencil. Then it will be necessary to just press pieces of paper to the base.
Another idea that can be implemented in the technique of torn appliqué - aquarium.
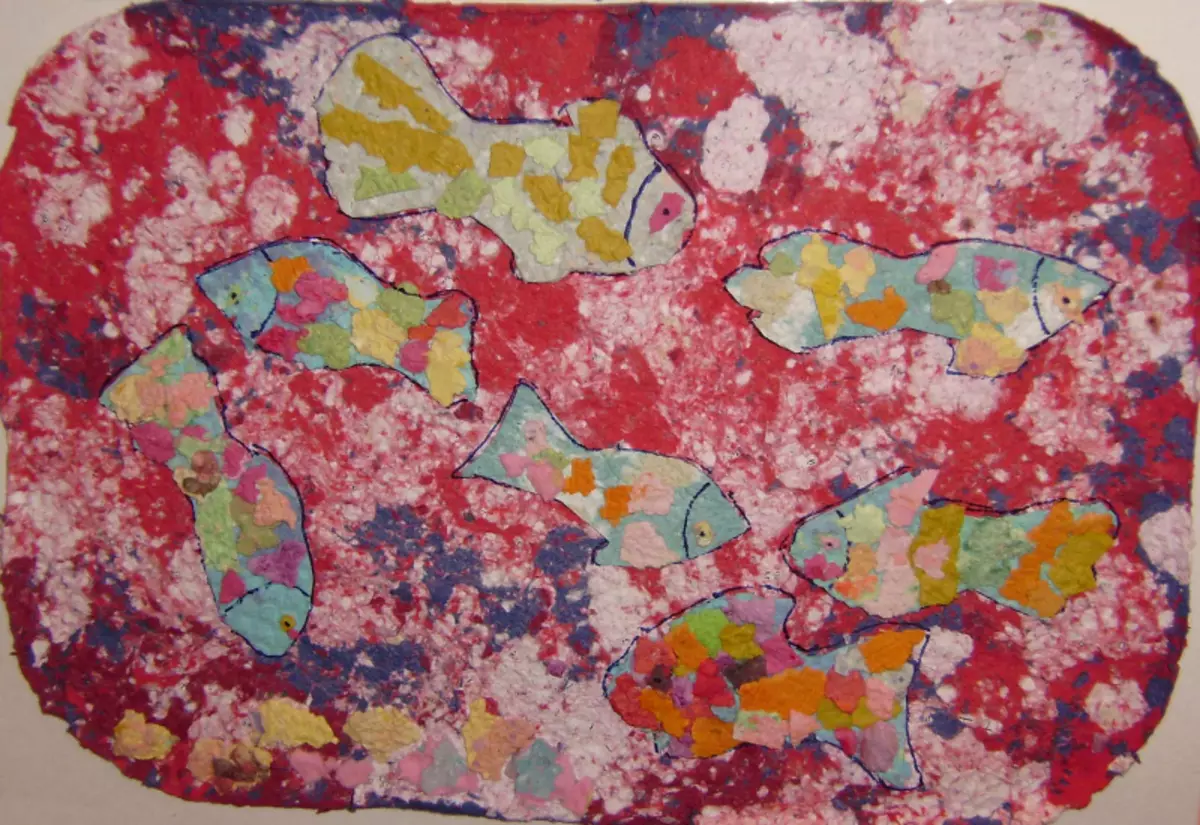
The technique of its execution is no different from the previous one. In addition to fish, pay attention to the lake in which they float.
As you can see, children's appliques from colored paper are simple, and the result is really beautiful.
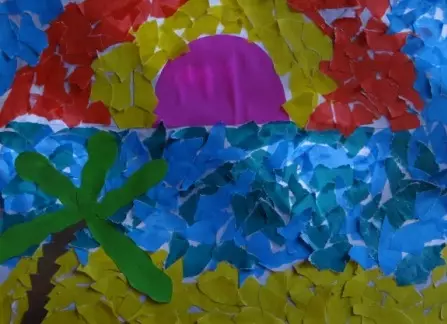
Sea in technique

And adults, and children love the sea very much. It does not matter if his child saw his personally, or so far only in the picture, he will gladly make his own sea in the technique of torn appliqué.
Prepare:
- Sheet for the base;
- Colored paper;
- Glue.
Draw based on the outline of the future horizon line. Sun can be glued from a solid piece of paper.
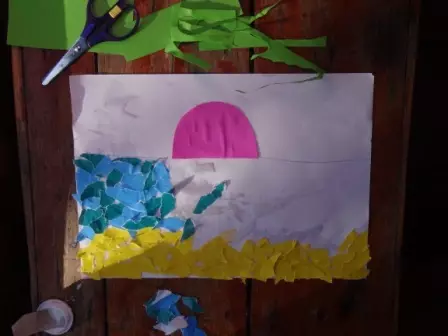
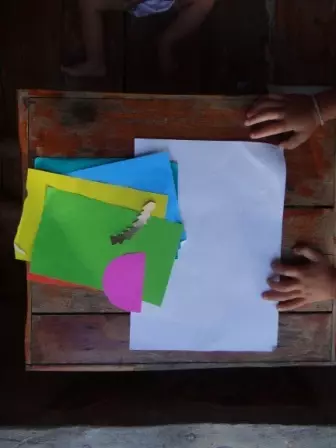
Tell your child to narrow the desired amount of material. He will perfectly cope with his task, because for this it will not be necessary to work with scissors. Among other things, such actions have a developing effect on the motorcycle.
Article on the topic: Gingerbread men crochet. Amigurumi
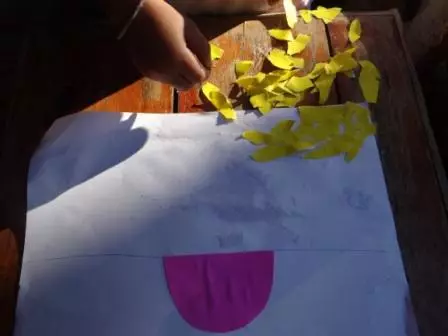
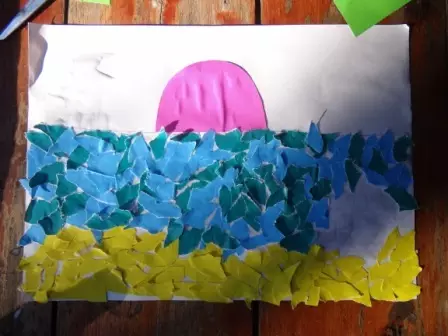
Now sequentially glue pieces of appropriate colors.

You can add something else to your sea scenery. In this master class, this new element is palm.
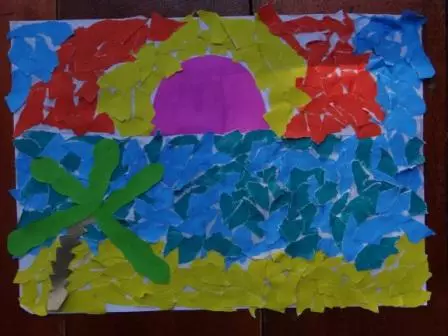
The basis served this photo:

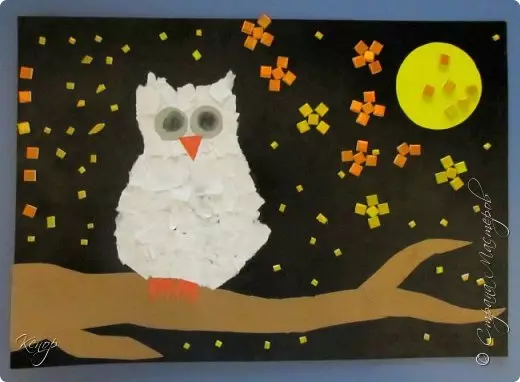
Polar Owl
Another beautiful applique in such a technique is a polar owl.
For her you will need:
- Colored paper;
- Color cardboard;
- Glue stick;
- Scissors;
- Black marker.
First of all, it is necessary to draw on the basis of the sketch. You can simplify this part and print templates. Next, prepare the colored paper by cutting it with figures of various shapes (squares, mugs, triangles) or simply navigit it. Do not mix different colors to work easier with them.
Base (background) Fold glue. Attach the pieces manually or using tweezers (for study smaller parts). At the end of the work, circle the contours of the black marker. Give applications to dry, putting it under the press.
In order to make the polar owl, use a dark background (black, dark blue or purple).
From the brown paper cut the branch at which the sumunation sits. Leafs can be performed separately from the foil. Now there is a white sheet of paper. Post down the resulting pieces aside. Look glue everything that is inside the owl contour. Gently glue pieces.
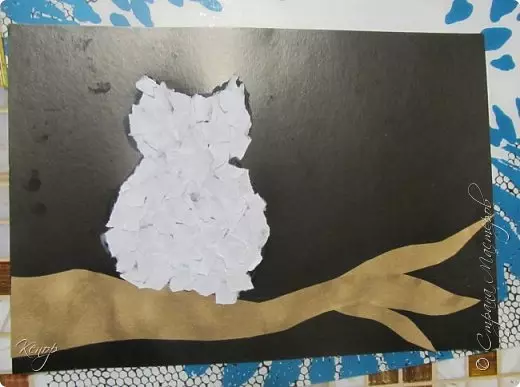
Now add details to work. Cut your eyes, beak, paws. The eyes will be composite - more of more (silver) and smaller (black). First glue two silver circles, then, as pupils - dark. Make a beak from an orange little triangle. Moon, stars from yellow paper.
Here is such a great outcome to be: