
There are different master classes by kinusayge, but you must first figure it out what it is. The Japanese are famous for their accuracy and practicality. That's the art of kinusaygi was born thanks to these qualities. In Japan, Kimono is worn, which make from very expensive silk. The clothes are old, but people sorry to throw it just like that. They make different things from old kimono. One of them is kinusayge, namely the creation of pictures from the flasks of matter.
Another name Kinusayge - Patchwork without a needle.
Loskutka matter do not need to sew, so this technique is even available to a small child.
To begin with, you can make a house.
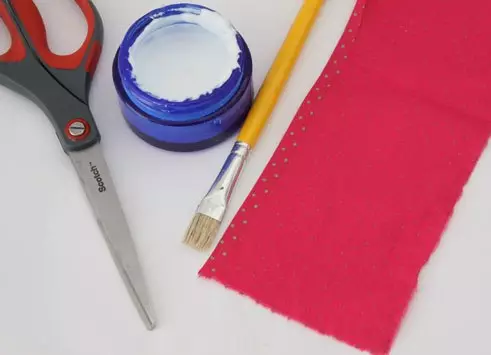
What will be needed for work:
- Polyfoam thickness is not less than 1 cm;
- Loskutka desired colors (the material should not stretch);
- Scissors;
- Macate knife (stationery);
- Pillet or wand;
- Figure (stencil);
- Copy paper.
Strong house
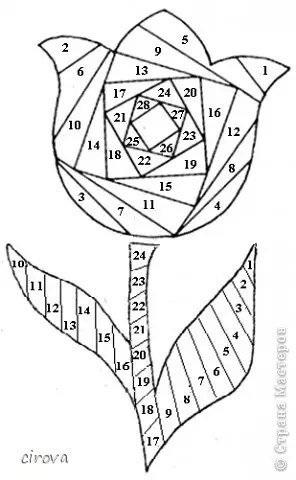
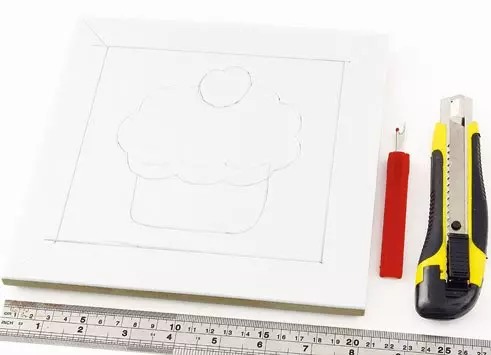
It is necessary to choose a suitable picture. For the first time it is easiest to work with large geometric shapes. Here is such a stencil:
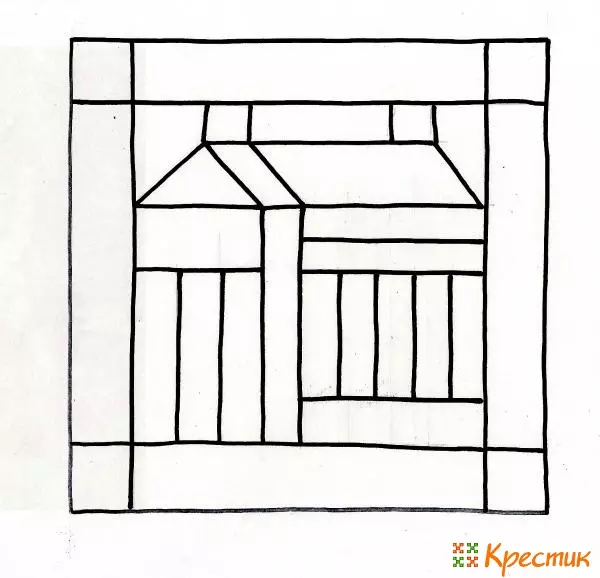
To transfer it with a copier to foam.
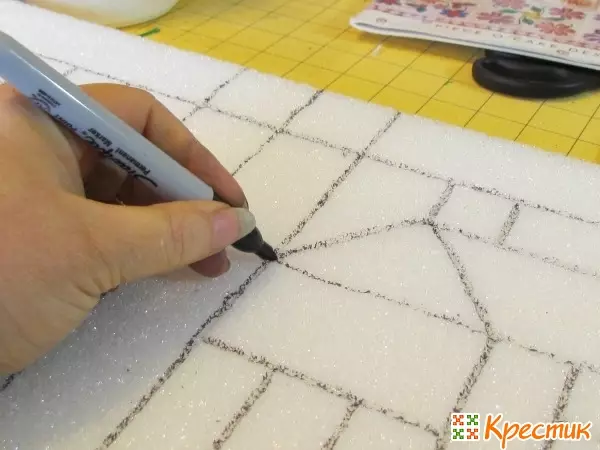
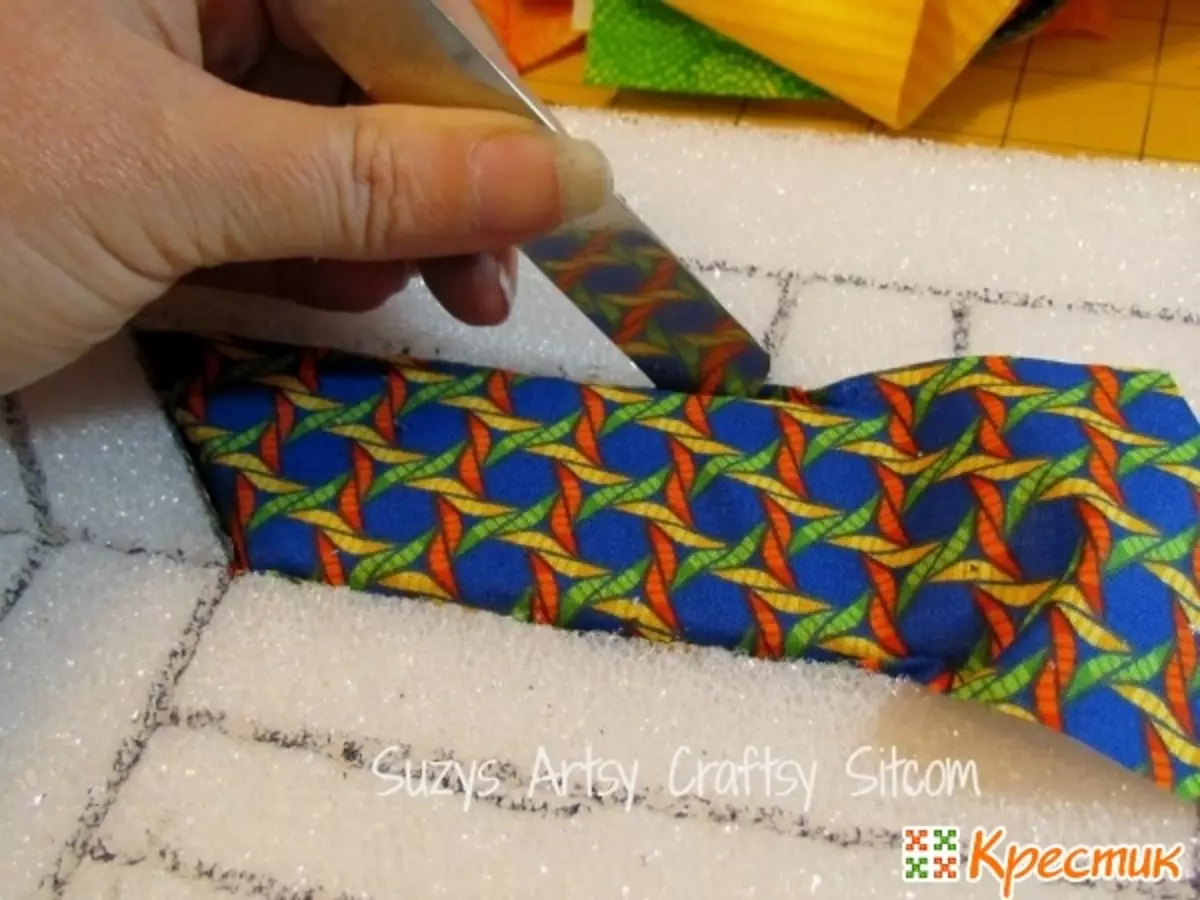
Knife to do slits along the contour. Depth of about 2-3 cm.
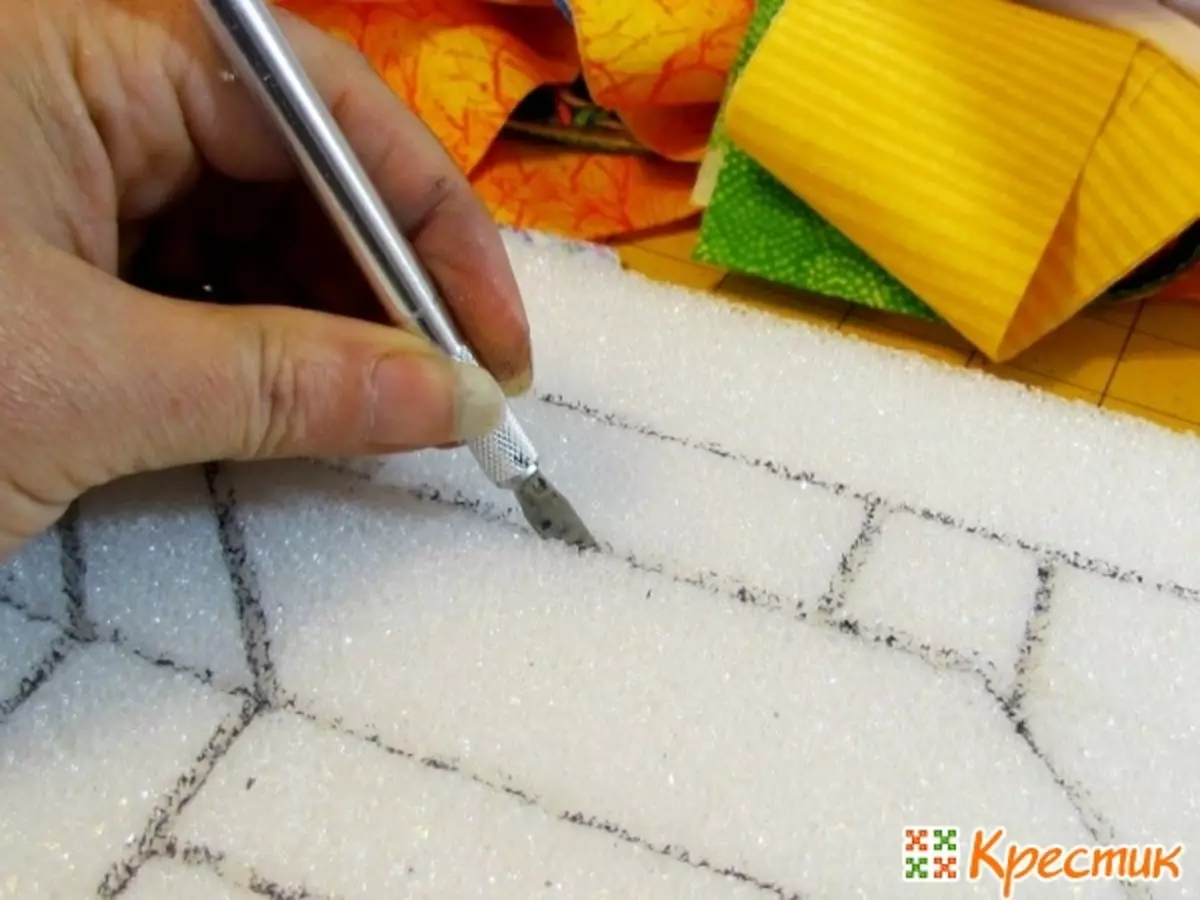
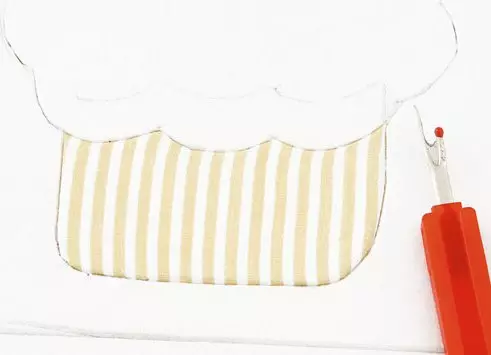
Now it is required to cut the fabric to pieces of the desired size.
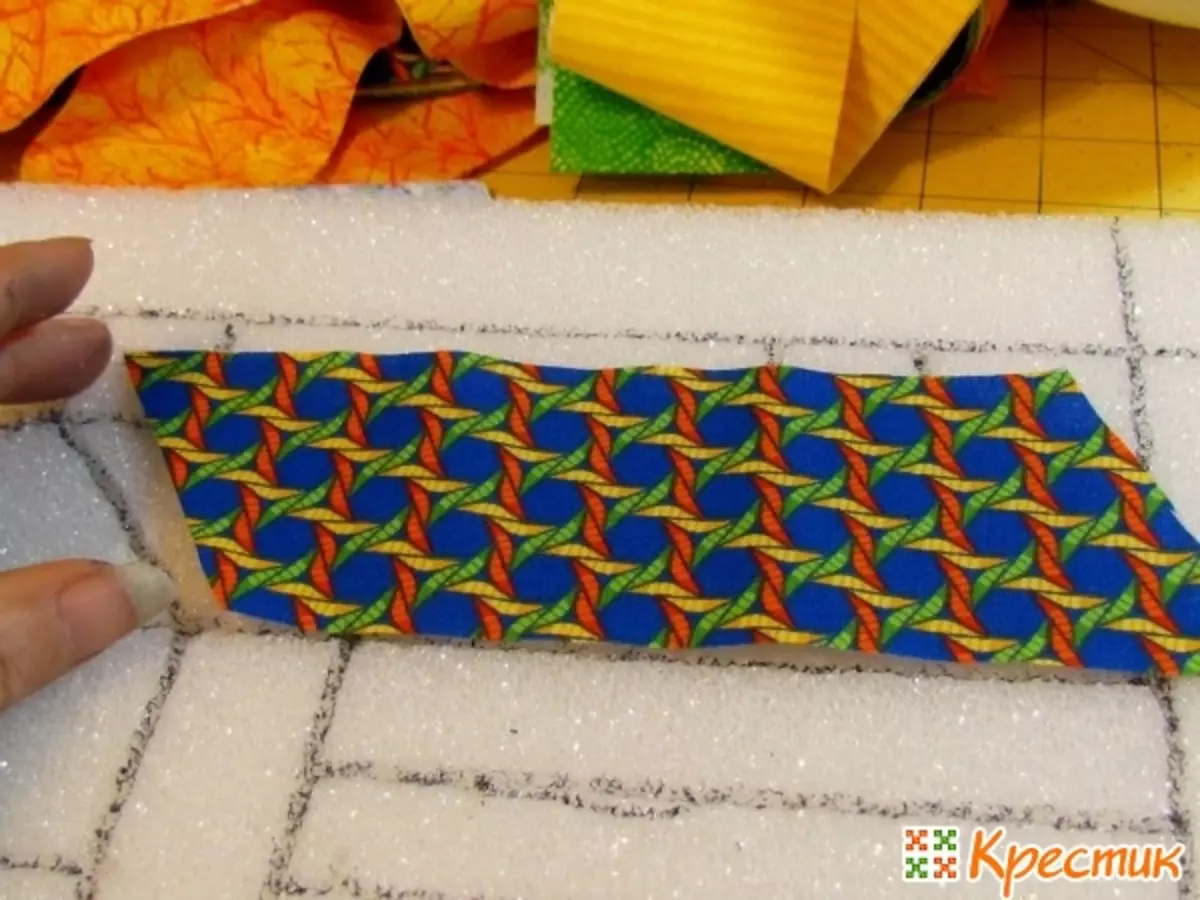
And fill them with a stick in the slot. Like this.
Cut down.
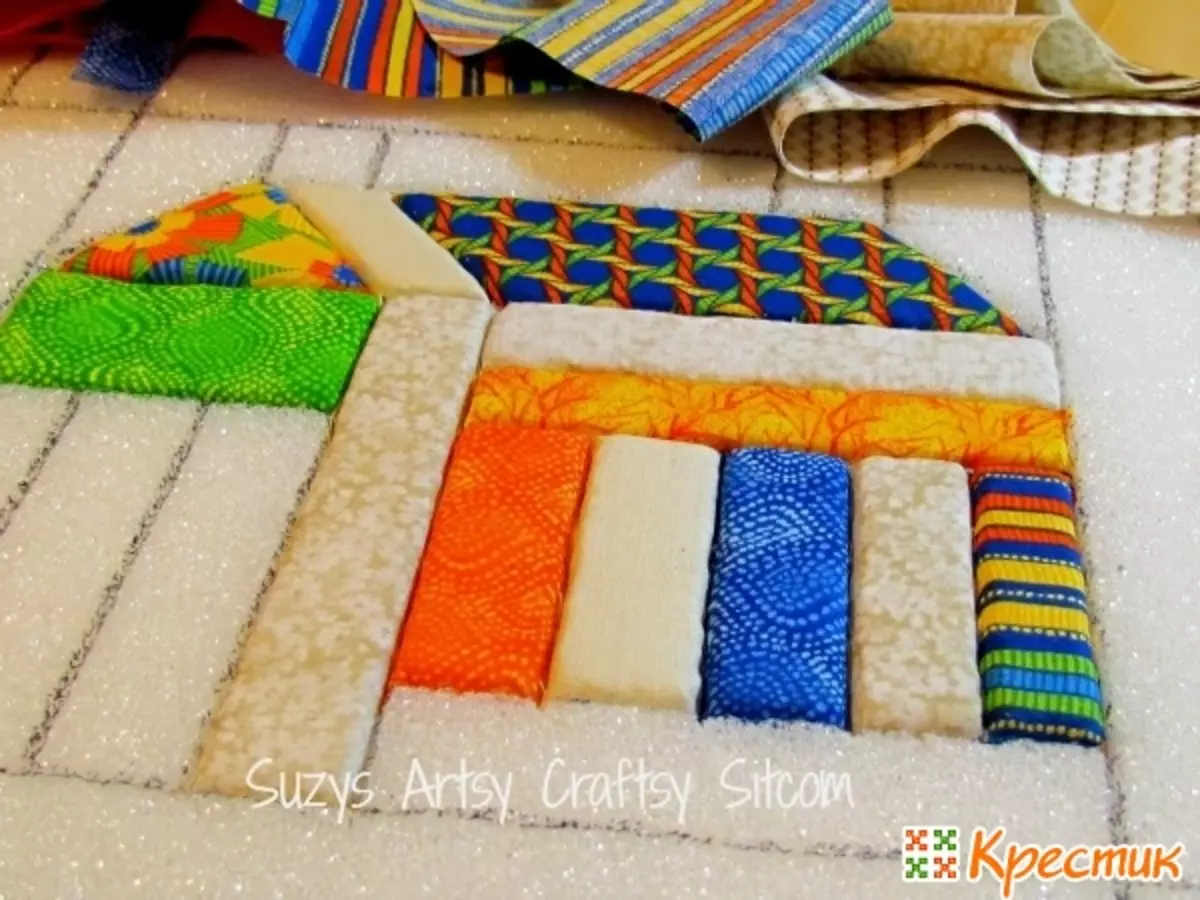
Embed into the frame or make an edging, as in the photo.
It turns out such a picture.
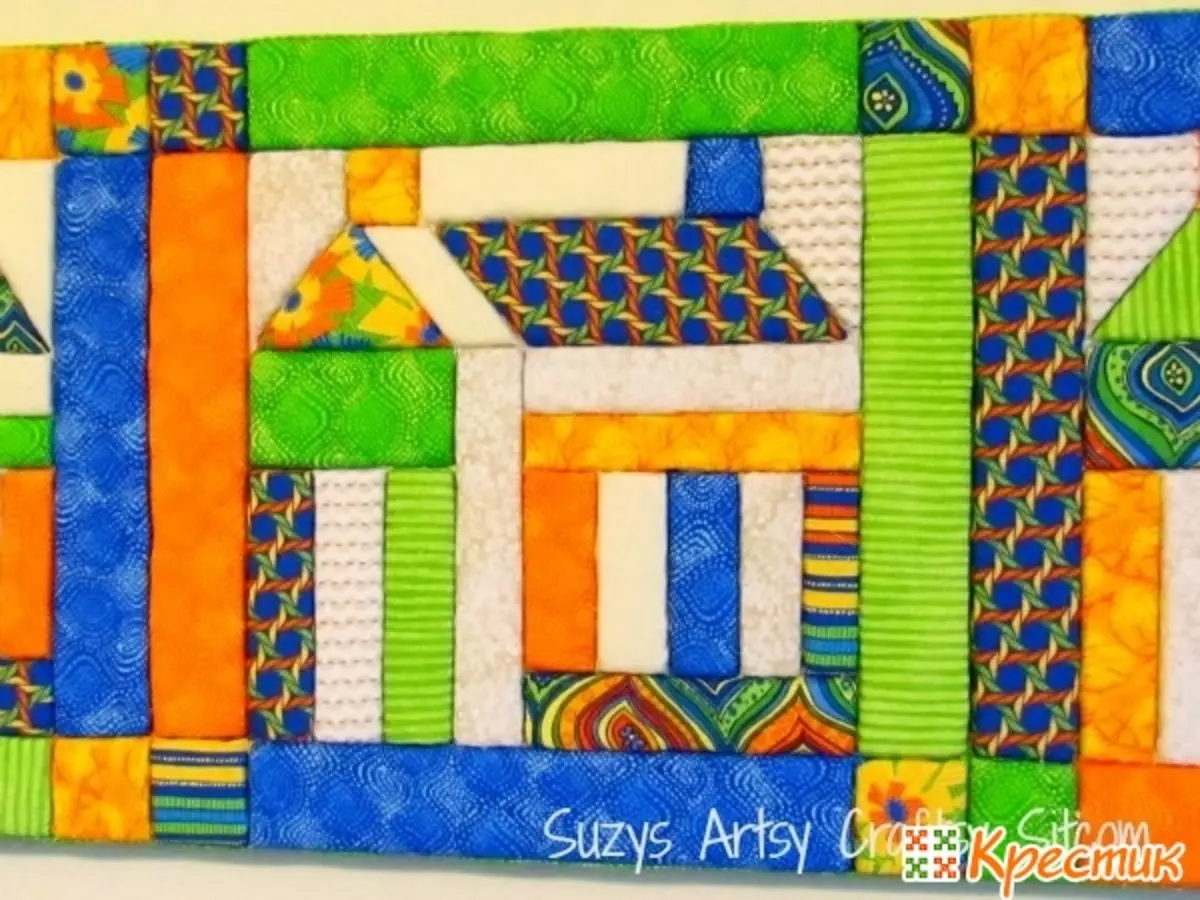
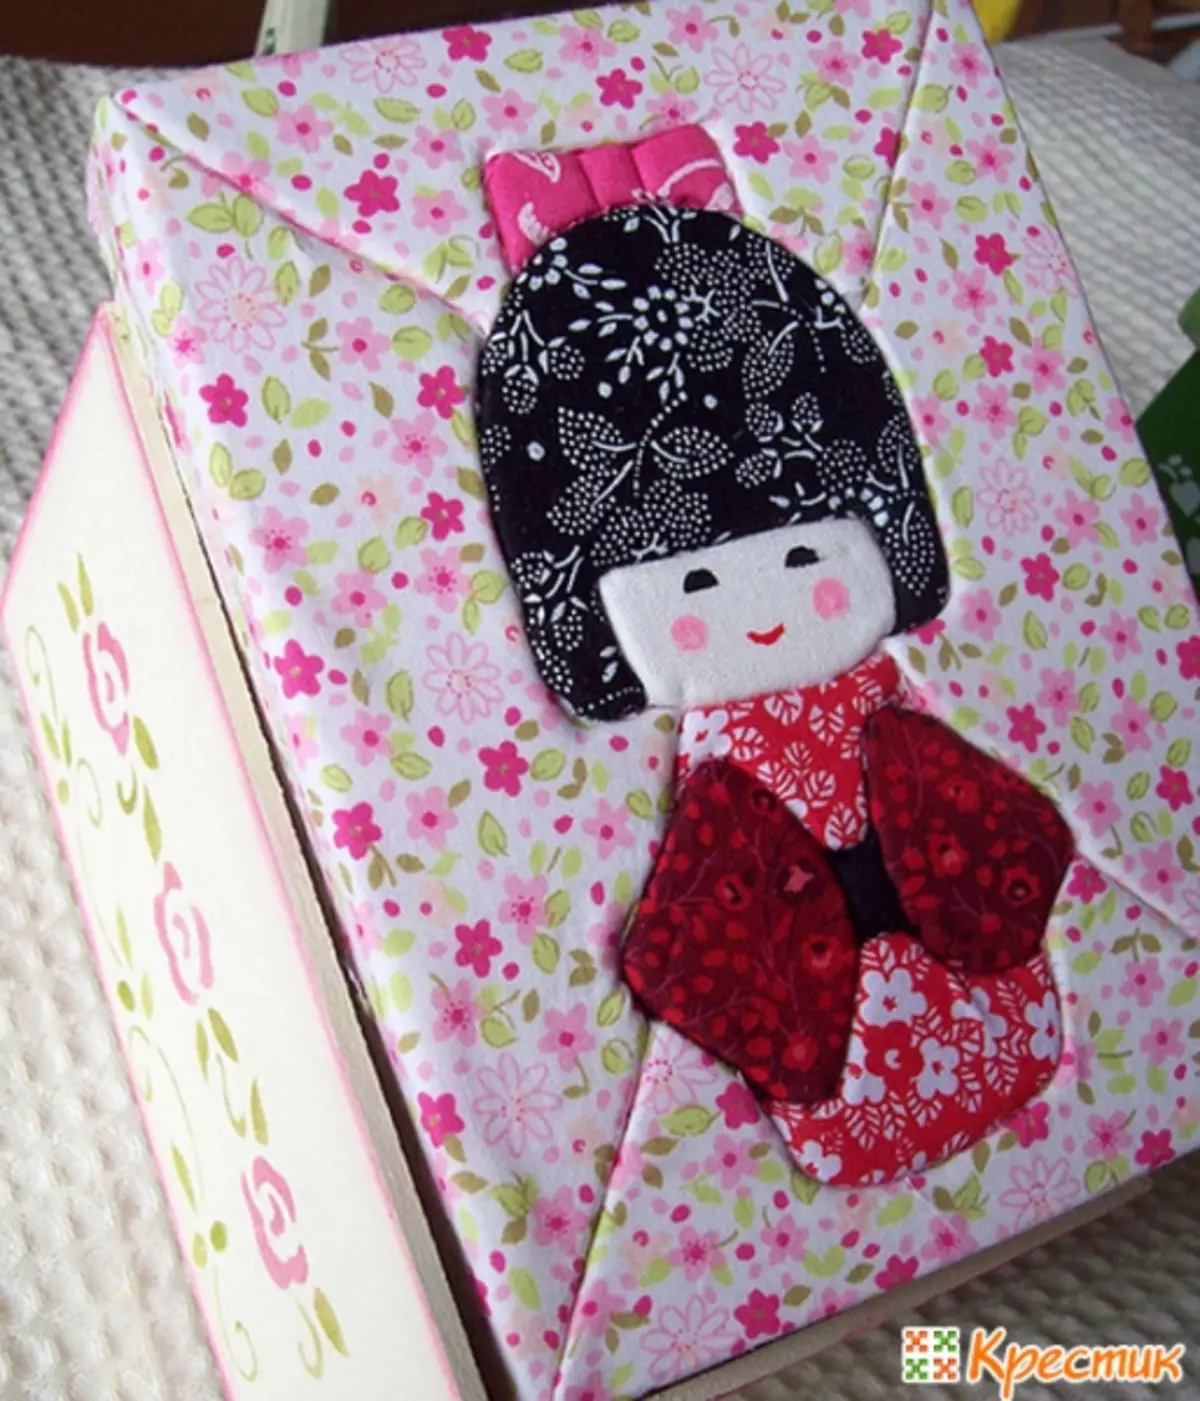
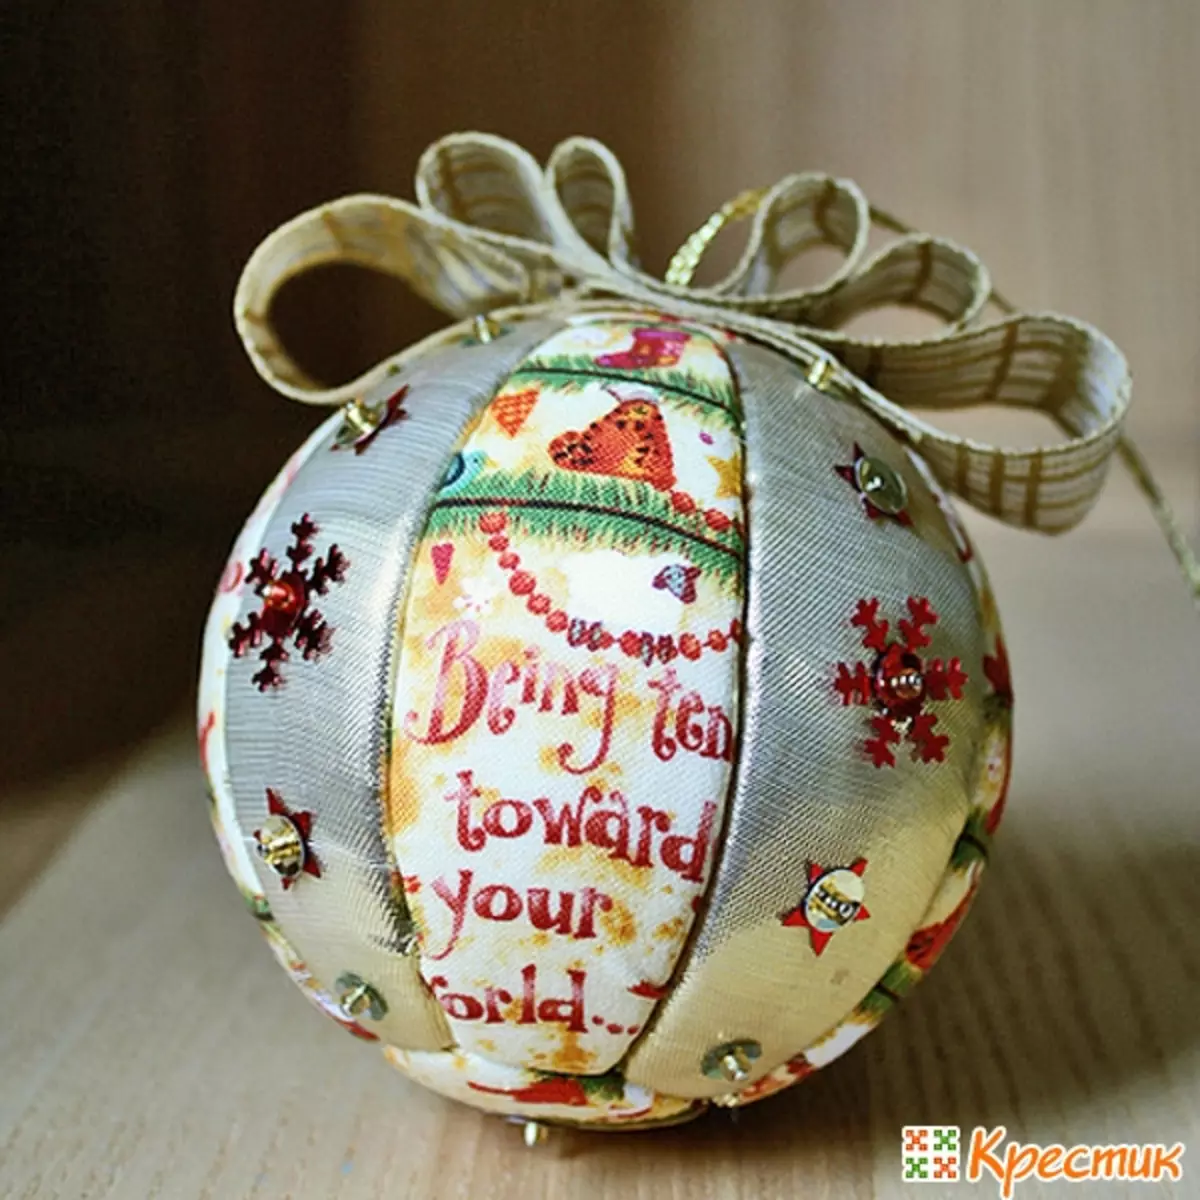
This is a good scheme for beginners. This technique also contains boxes, boxes, easter eggs or christmas toys.
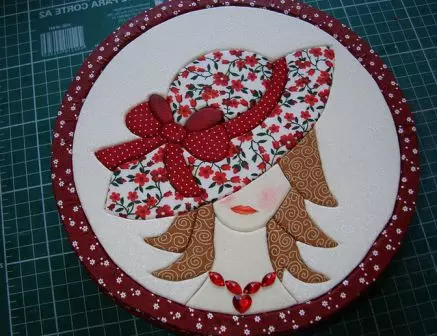
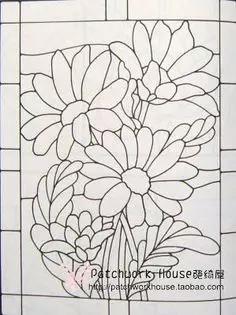
But, for example, flower schemes.
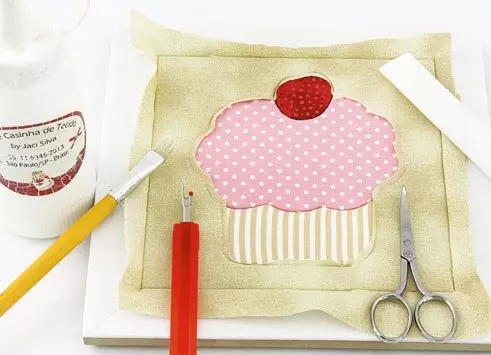
Cupcake with your own hands
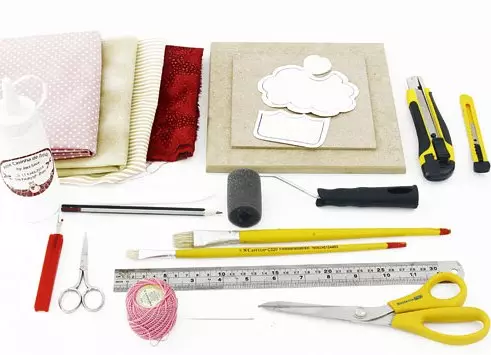
For the cake, you will need such a set.
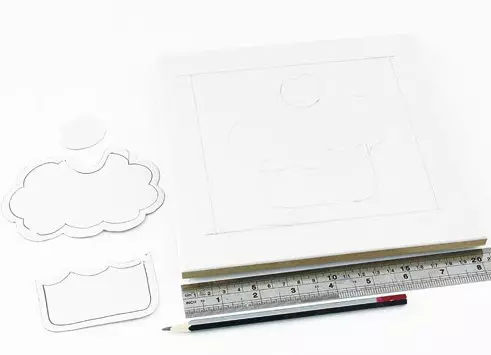
Put the pattern on the foam and needle to apply the line. You can do it with the help of a copy.
Make slots with a knife along the drawing lines.
Now cut billets from the fabric using paper stencils. 1 cm need to retreat from the edge. Mark the desired plot with glue, put the cut out of the workpiece and fill in the slot stack. Then to smooth out the fabric, straighten up to remove bubbles, cut off too much and reap.
Article on the topic: Ideas for knitted scarves
Take it with all the details of the drawing and stick the background.
Now the frame. Fabric for her glued at the beginning from the reverse side.
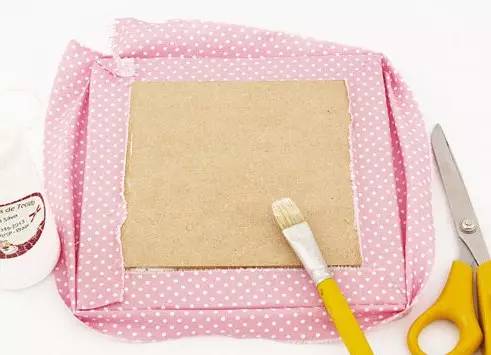
Turn over to the front, rinse the base with glue and fill the fabric, cutting it on the corners.
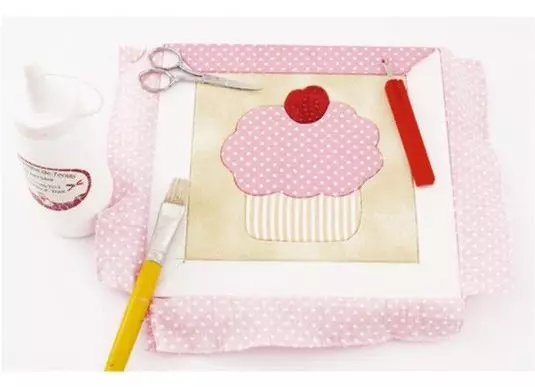
Apply the last strokes and the picture is ready. You can make a loop and hang.
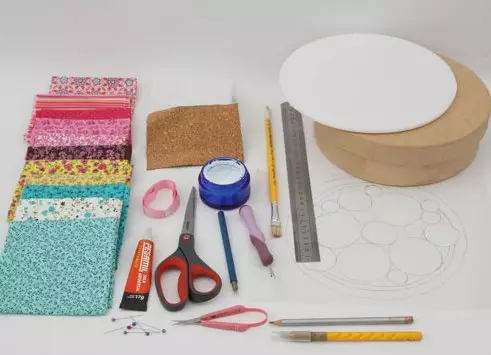
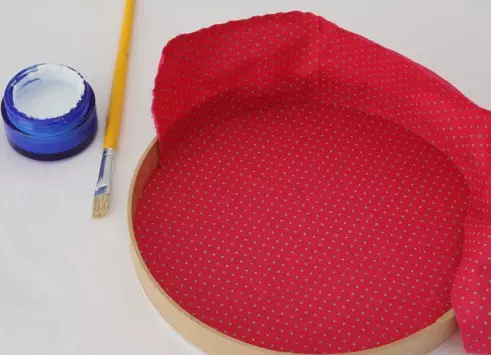
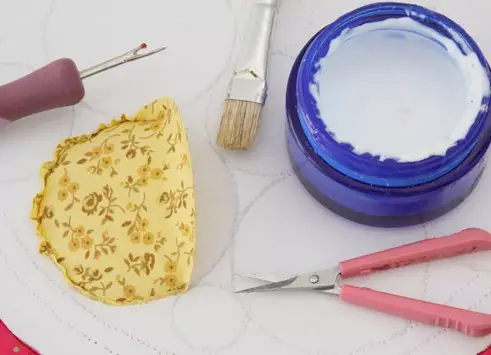
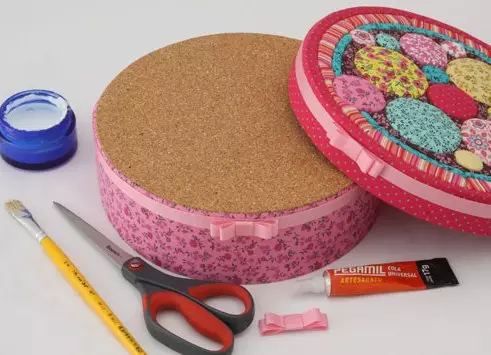
Useful box
That's what you need for the decor of the box.
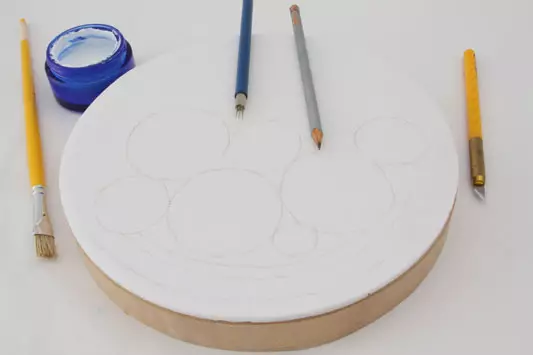
Glue the foam lid. Draw the solubular circles and cut them into the foam.
Inside the middle of the lid, glue a circle of fabric.
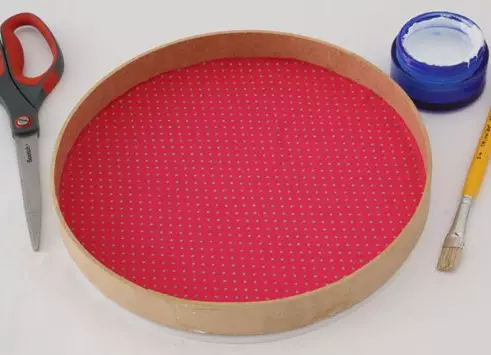
To the internal side sidewalls to attach a strip of tissue of such a width to have enough to withdraw it on the outer side and fill into a slot at the top. So this way.
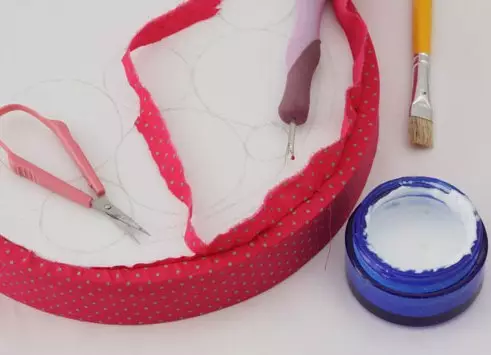
Cut the circle from the fabric, when whening 1 cm.
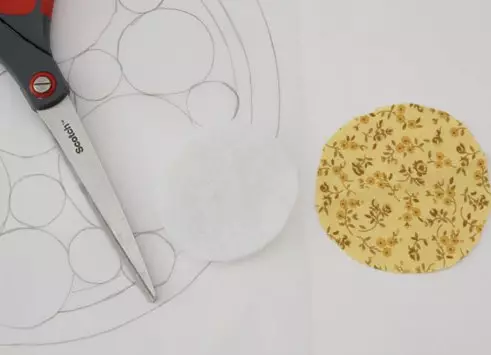
Lubricate foam glue and fill the workpiece.
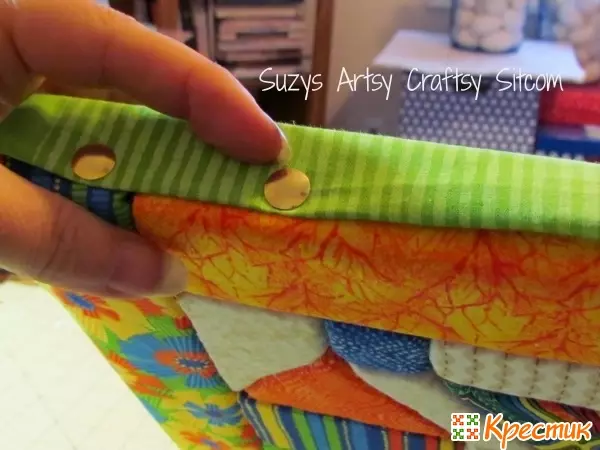
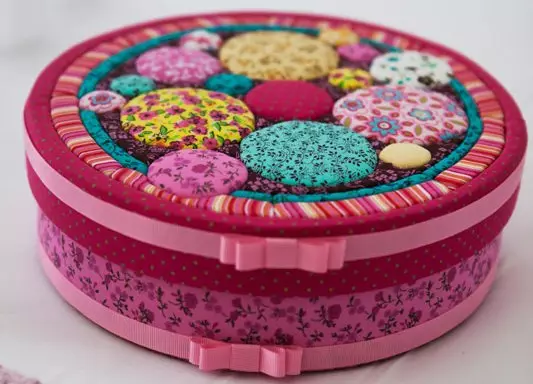
Just do it with the rest of the circles. The space between them is filled with pieces of fabric. Bottom boxes stick to the cloth. If desired, decorate with ribbons.
Here is such beauty it turns out.
Video on the topic
Here you can see master classes for the manufacture of other crafts in the style of Kinusayig.