
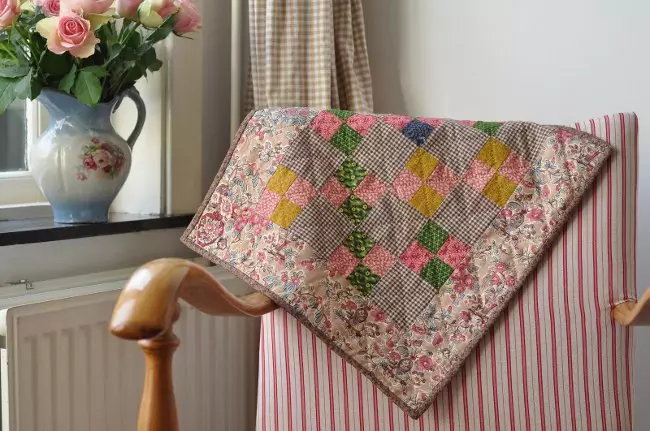
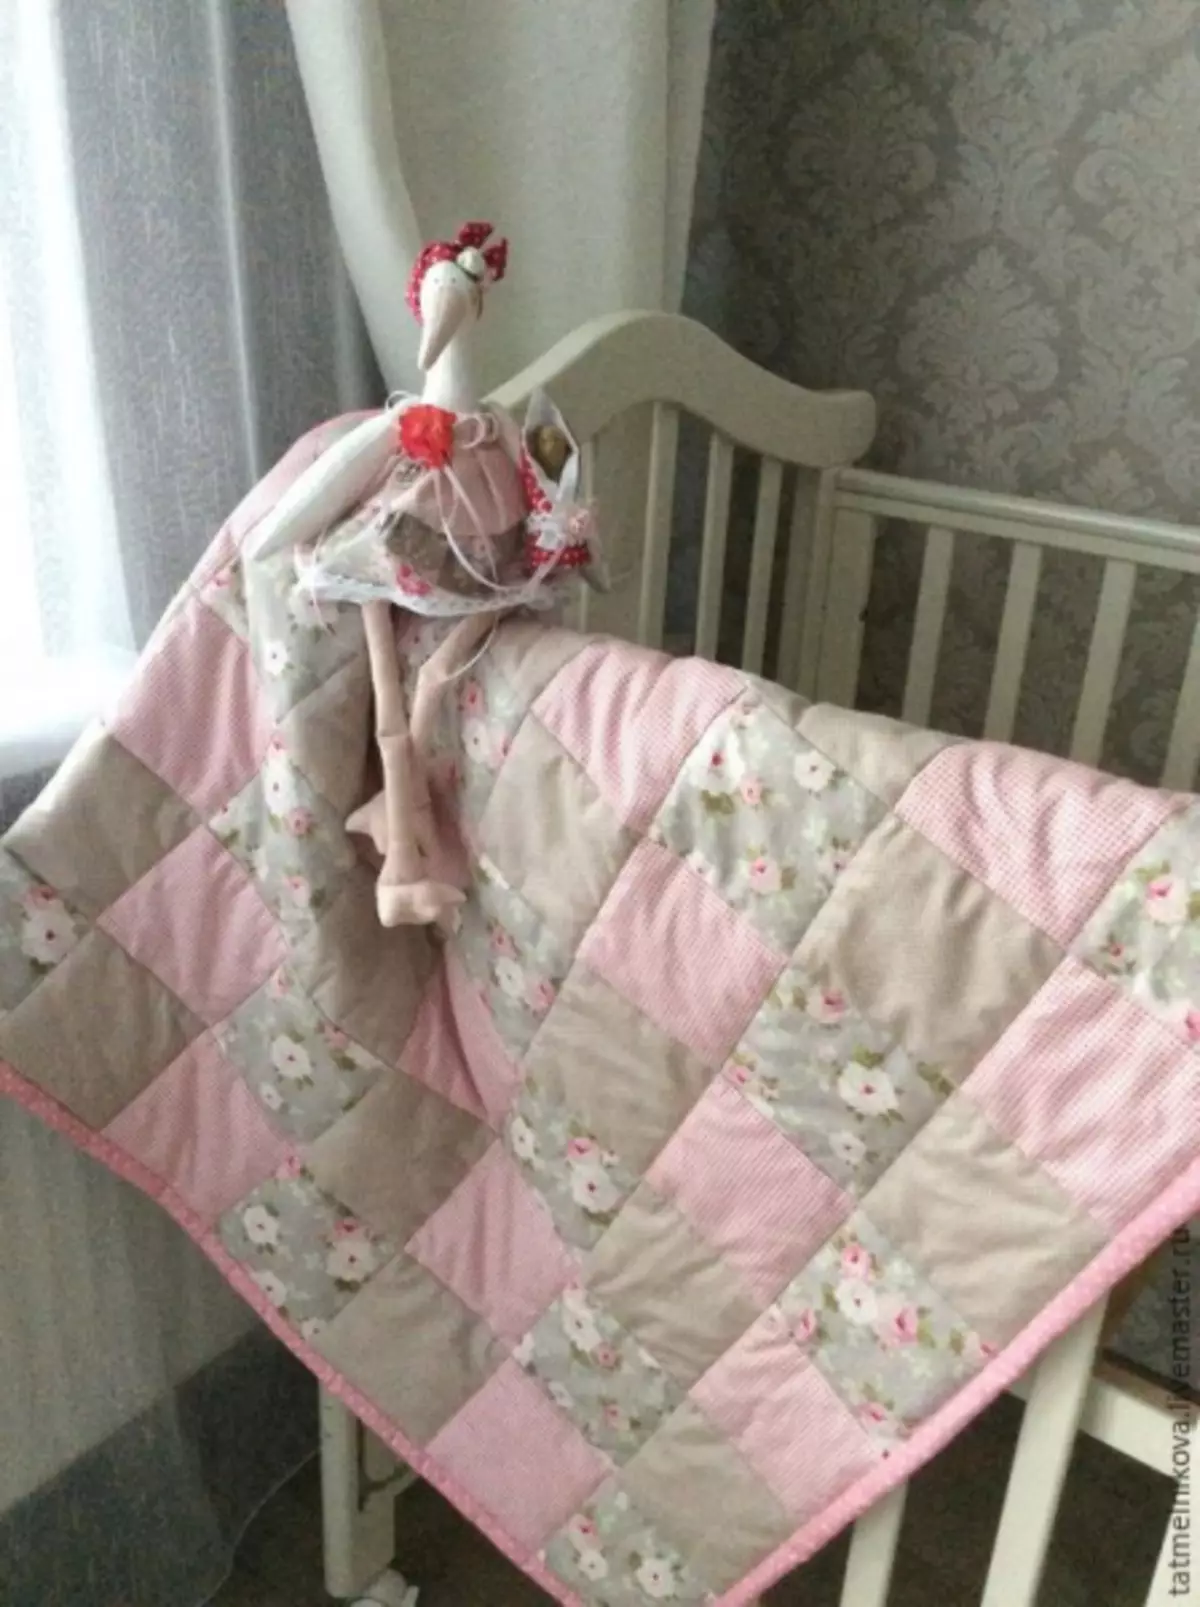
The quilted blanket with your own hands is an incredibly cozy and cute attribute of the interior. It consists of three parts - top, packing and lining. It is the first part that is the most beautiful and, as a rule, decorated with embroidery or performed in the technique of Patchwork (patchwork).
Creating a Drawer
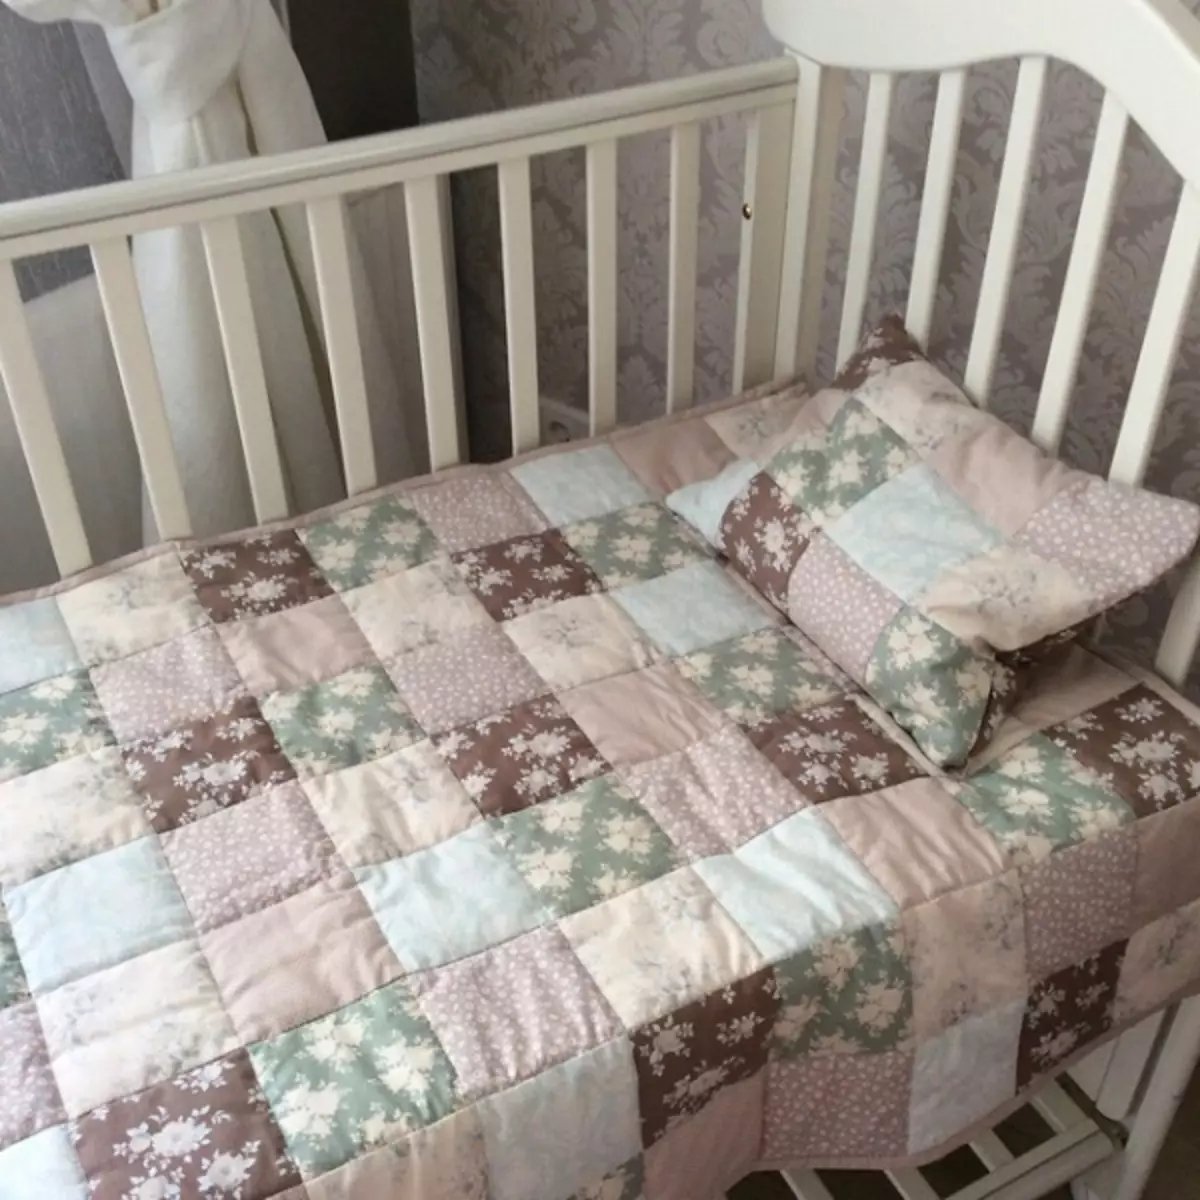
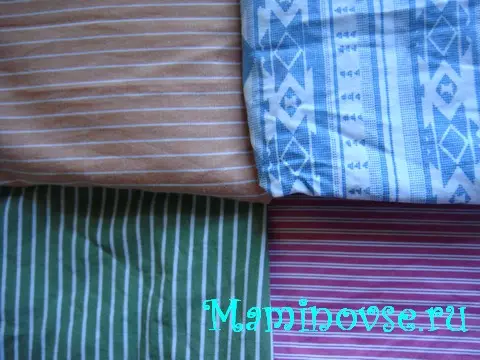
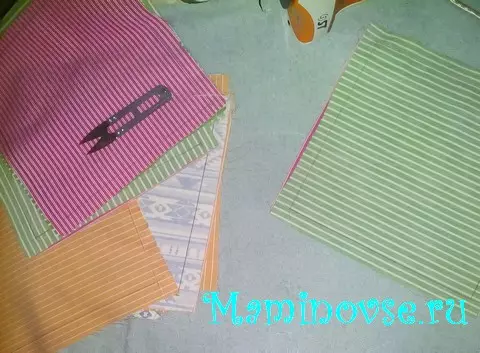
Before proceeding with work, you need to carefully choose materials. For the upper and lower parts, you can use different tissue. The main thing is that it is combined with each other.
Features of a quilted blanket for kids. If you make a blanket for newborns, some criteria should be taken into account for such a job:
- Temperature mode of use. For the manufacture of warm blankets for the winter, it is recommended to use wool or synthetic fibers. Cotton is suitable for the summer blanket.
- Hypoallergenicity. One of the few advantages of synthetic tissue is low allergenicity. Also, by the assurance of experts, cotton, bamboo, make a lot of products from camel wool.
- Tactile qualities. If you sew a blanket from synthetic tissue, keep in mind the need to use a duvette. But the synthetics for the filler is the best option. Such a stuff makes a blanket almost weightless, and the kids are very cozy with him.
- Easy to maintain. The material that you choose for a blanket must be hygroscopic and not to lose your qualities with a frequent wash.
Getting Started
We offer a detailed master class, how to sew a quilted blanket using patchwork technology. Technique is not complicated and suitable for beginners. After this lesson, there will be no questions about how to make such a cover.
Before you start work, it is best to make a sketch of the future blanket. The drawing must be schematic.
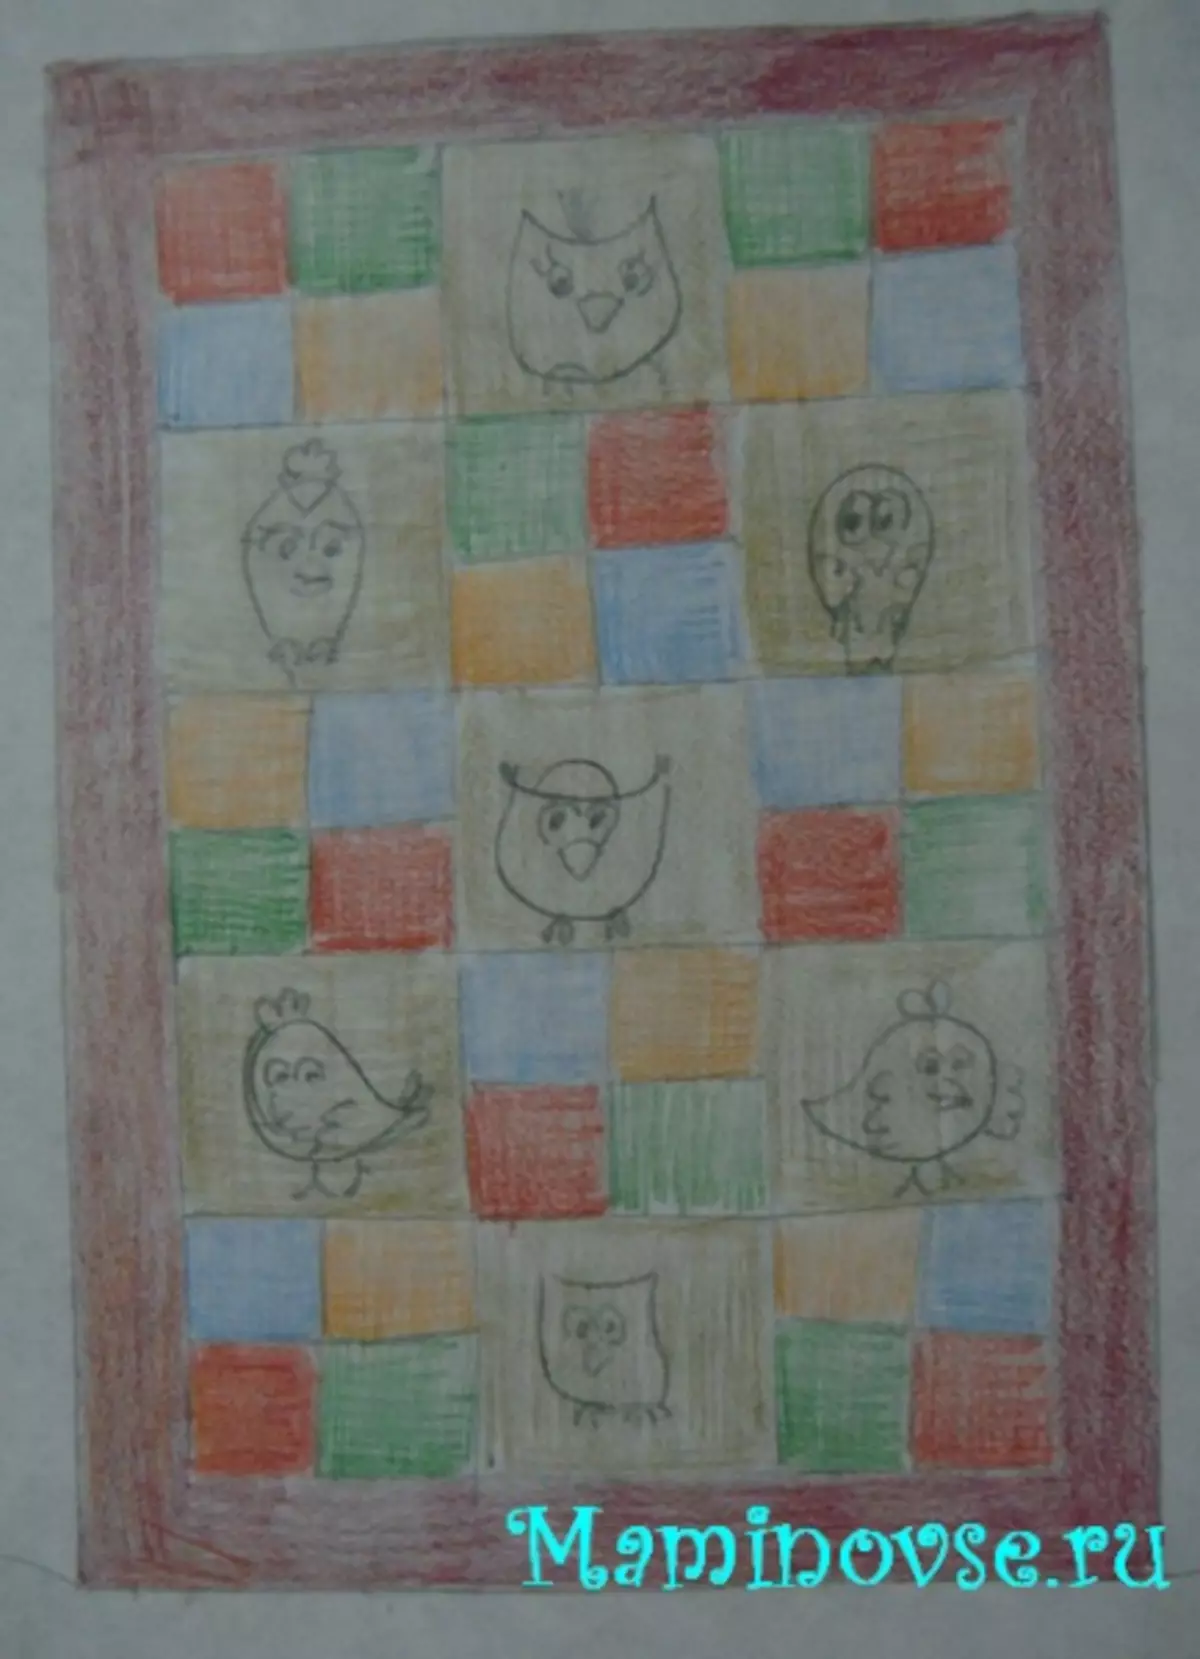
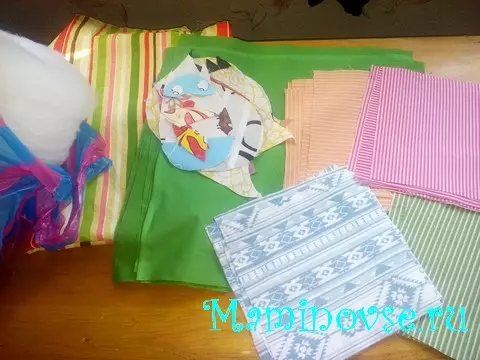
For sewing you will need:
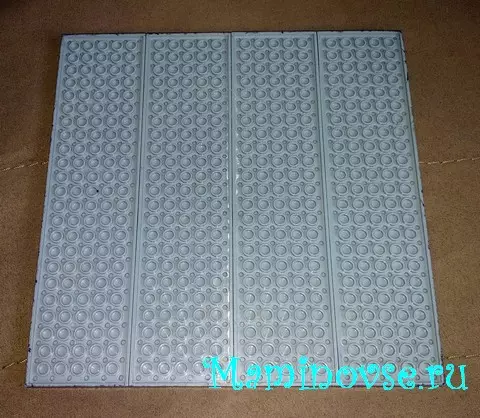
- Template for squares (in the MK used the "Lego" designer);
- Fabric for the top of the blanket:
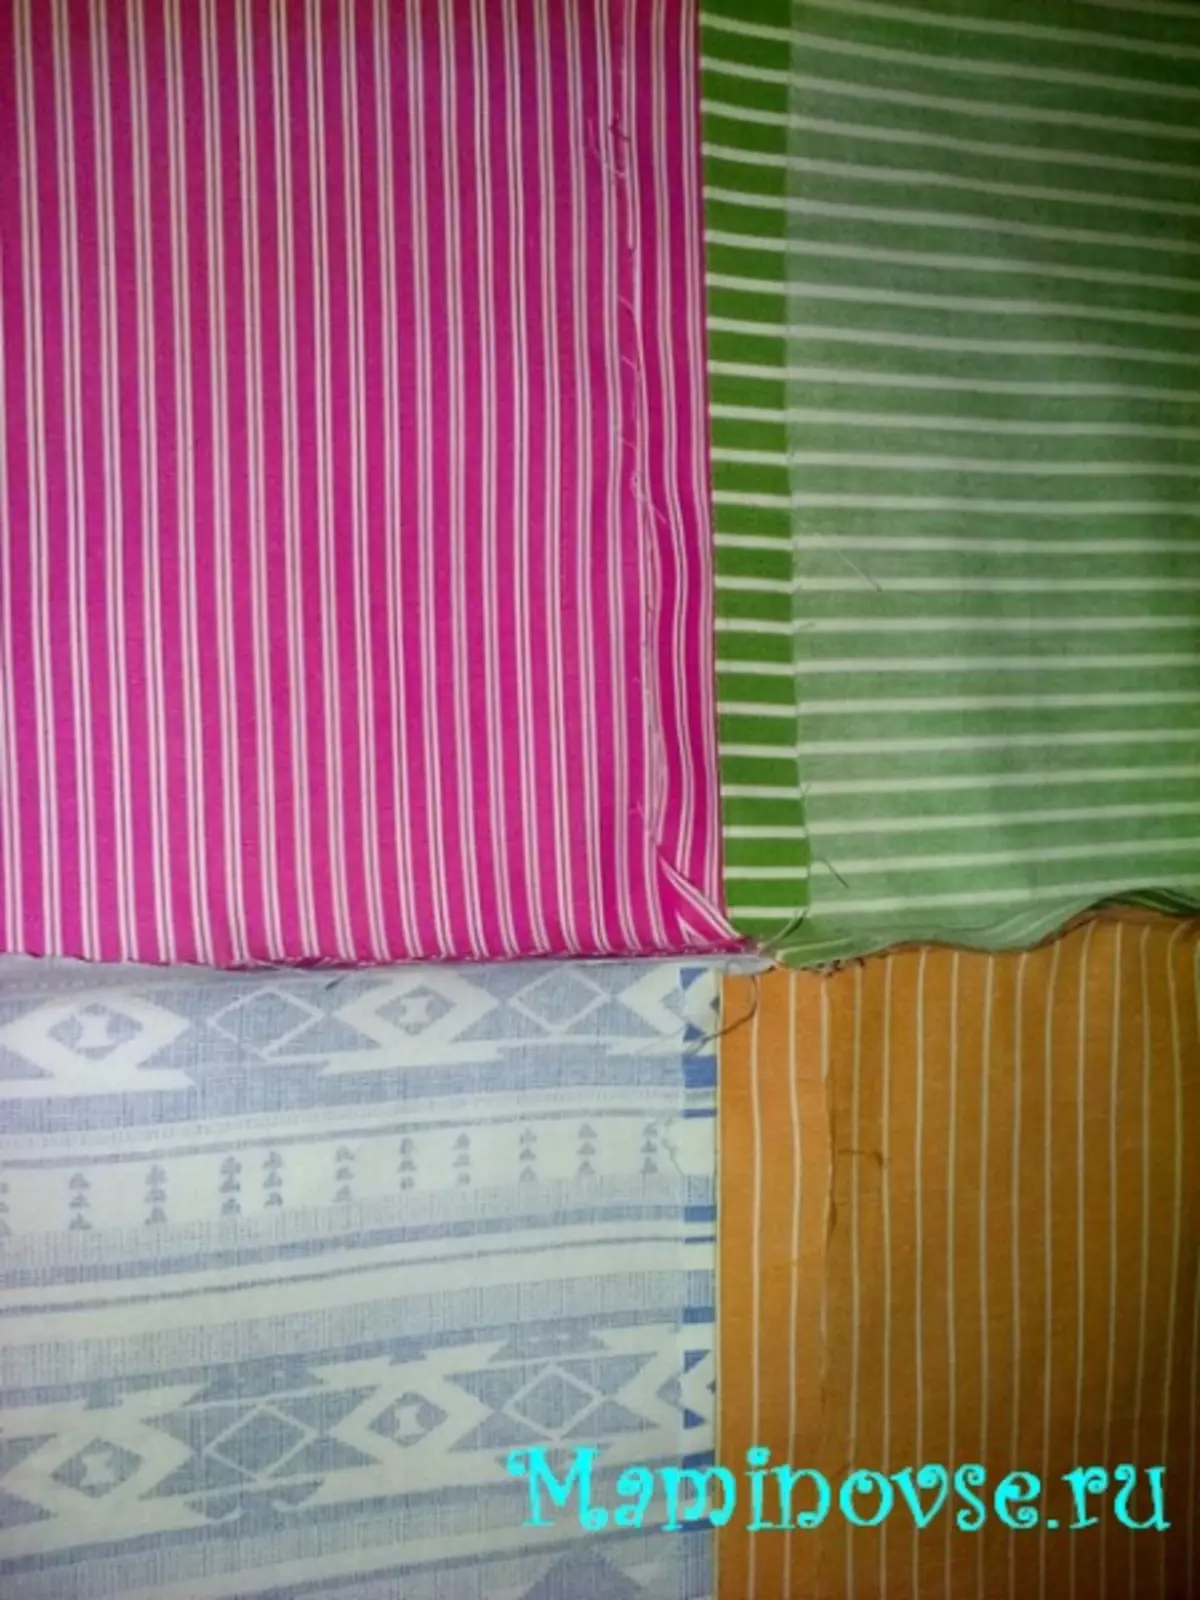
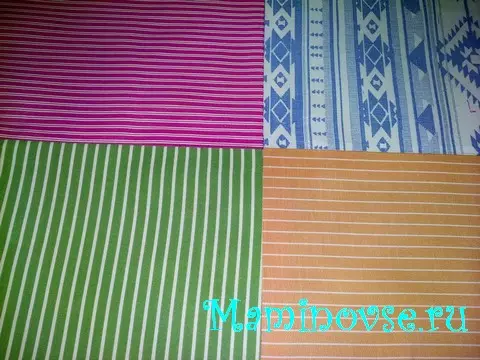
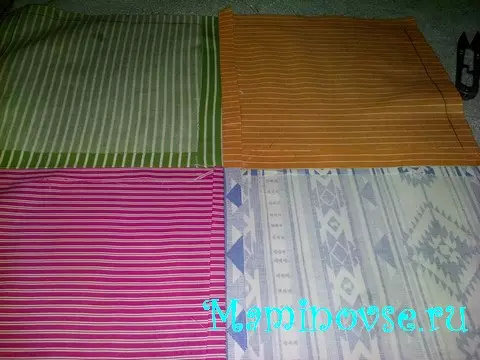
- 32 squares 4-ex colors with a side length 19 cm (in MK these are squares of green, red, blue and orange colors);
- 7 squares with a side length 38 cm;
- 4 strips of one-photon tissue 20 cm width (2-2.20 m long, and 2-1.4 m long).
- Silicone (2.20 long and 1.5 width);
- Fabric for the bottom (length 2.20, width 1.6);
- Threads, needles, pins, scissors.
Article on the topic: Knitting a female patterned pullover with knitting needles
Step 1. Decide with the desired dimensions of the blanket. In MK, the blanket sews quite large sizes, so if you want to make a baby blanket, simply use all the materials of a smaller length.
Step 2. Decide material for work.
Step 3. From the selected tissue, make the blanks of the required size.
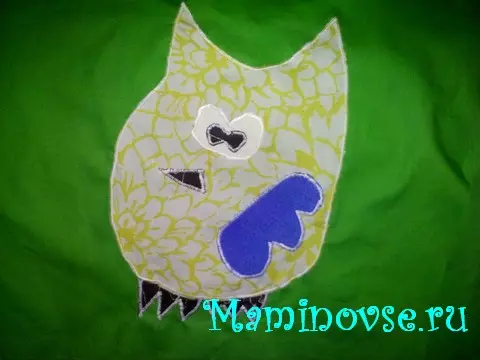
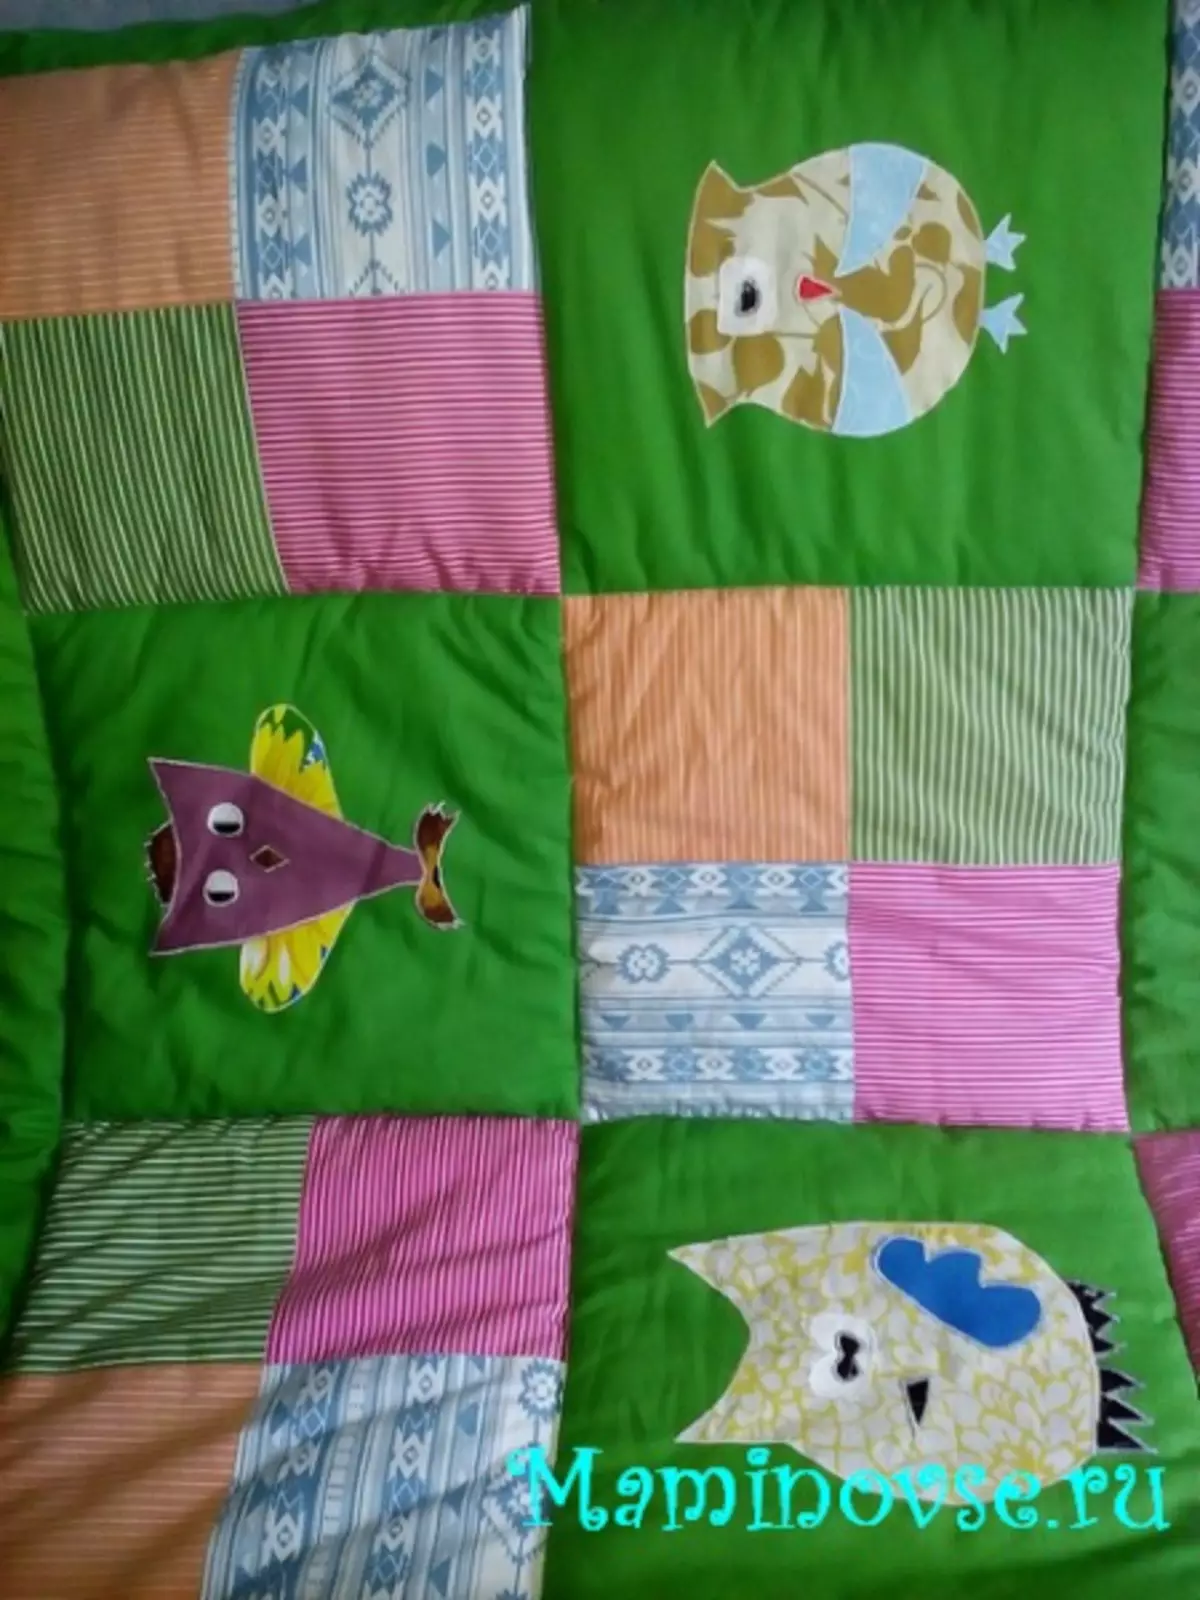
Step 4. Spend on the squares of the application (if you chose such a design of the blanket).
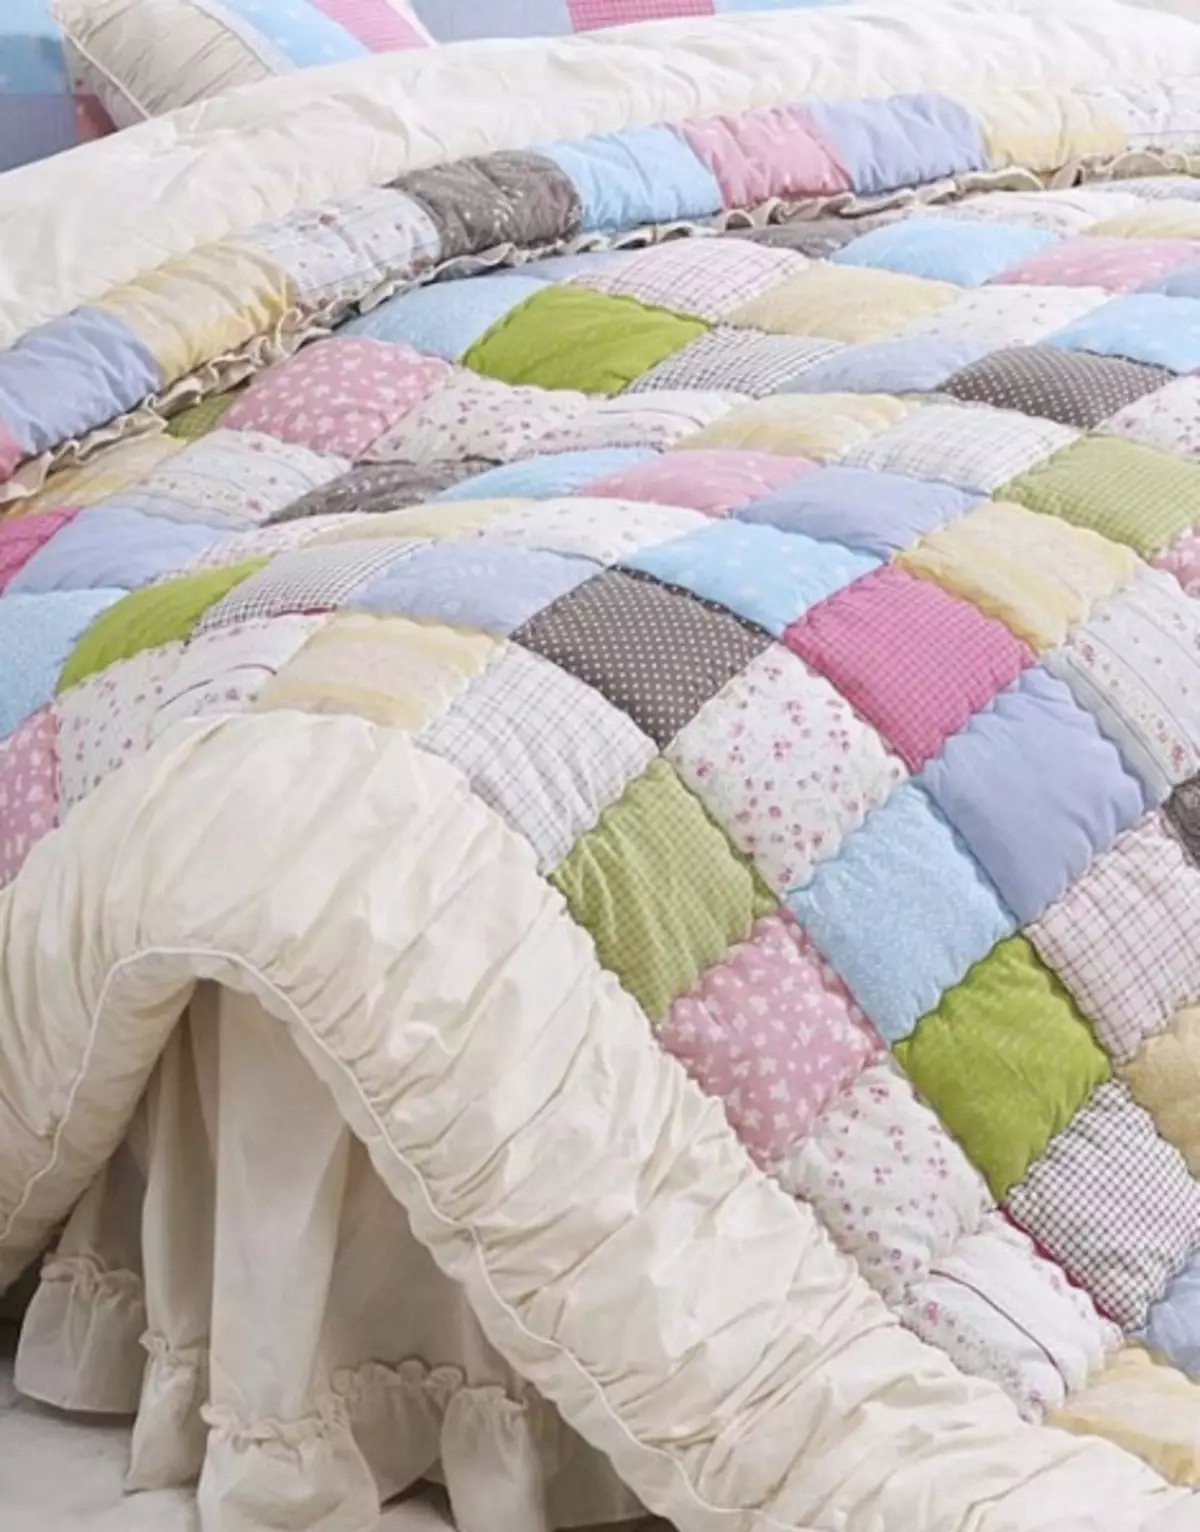
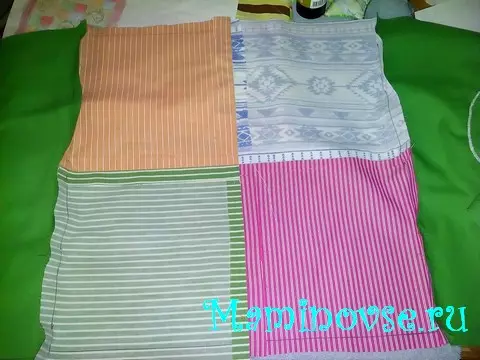
Step 5. Now wish together large squares consisting of 4 parts.

Painted side:
Face:
Thoroughly swing crosslinks:
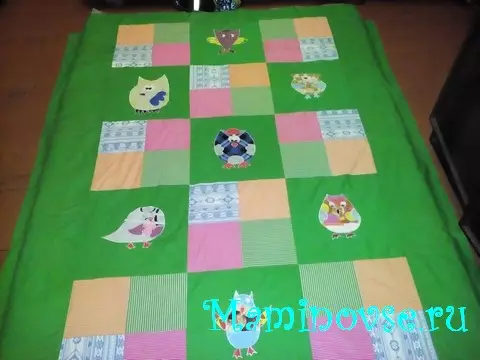
Step 6. Spread ready-made squares. Take a look at the preliminary version of your future blanket.
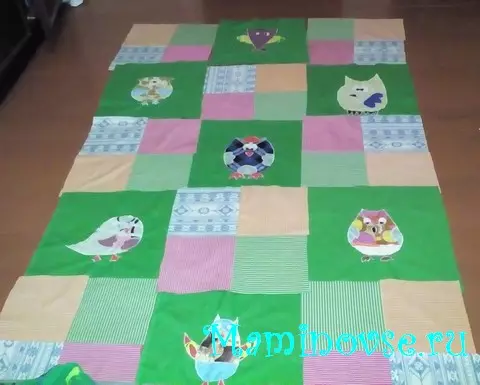
Step 7. Sewing among themselves all parts of the top of the blanket.
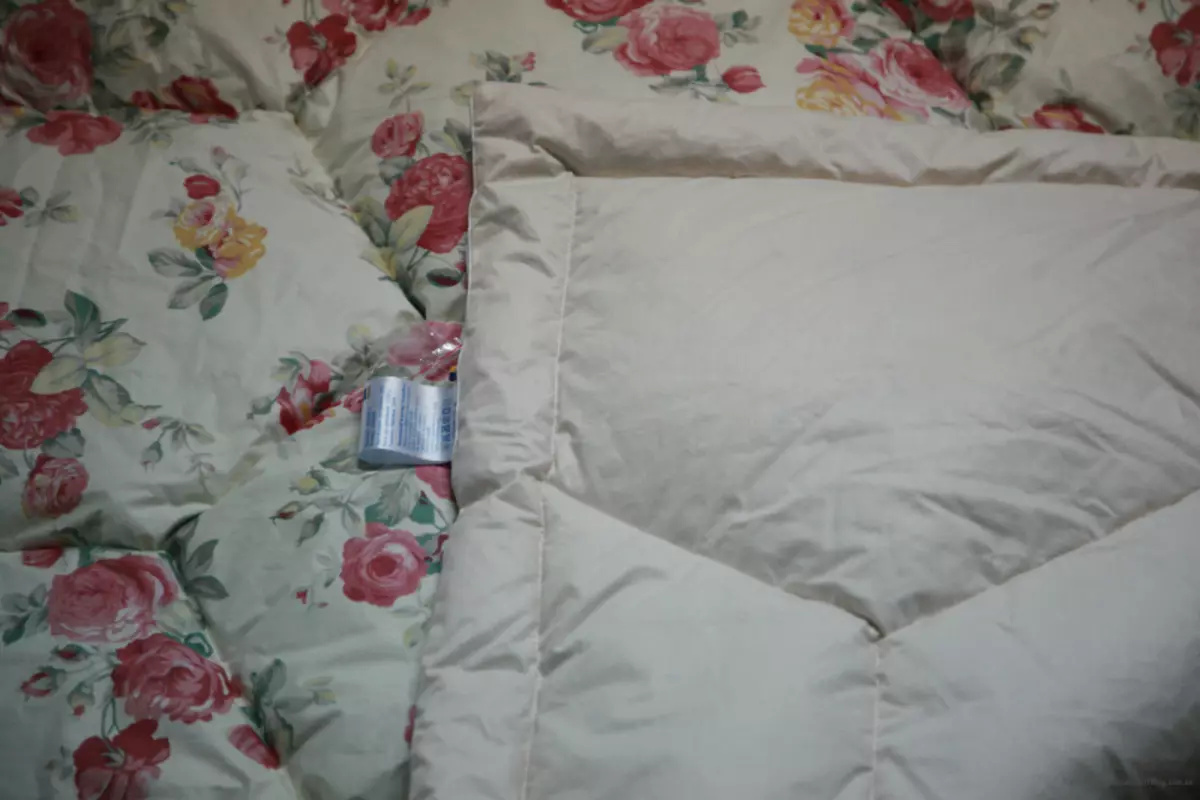
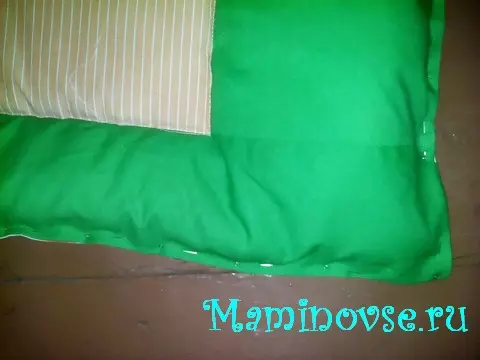
Step 8. Now proceed to picking up the blanket. Put the fabric for the base face down.
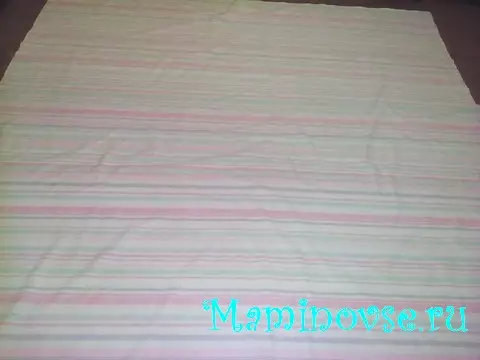
From above - filler.
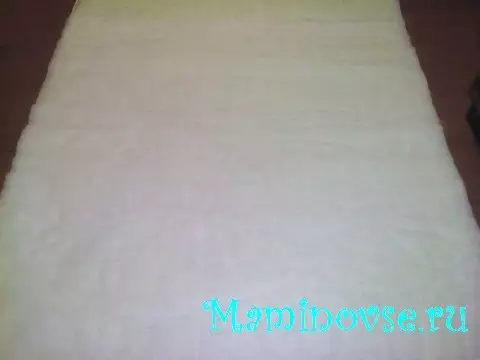
The blanket is almost ready, it remains to flash it.
Step 9. Create layers with pins and scraping through the junction lines.
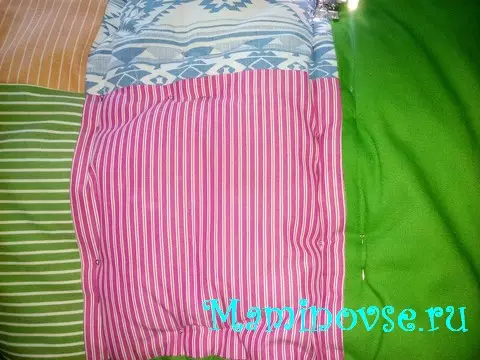
Step 10. The edges can be treated with braid, and you can simply turn the fabric of the face and inside and strain them together. For greater confidence in wholeness - let the two lines.
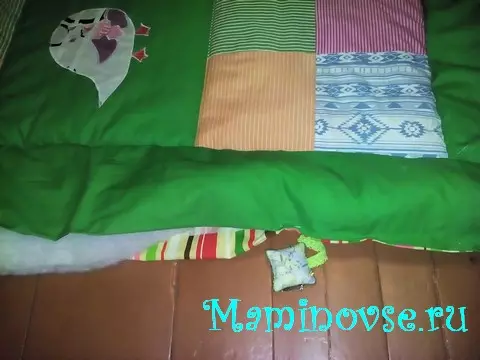
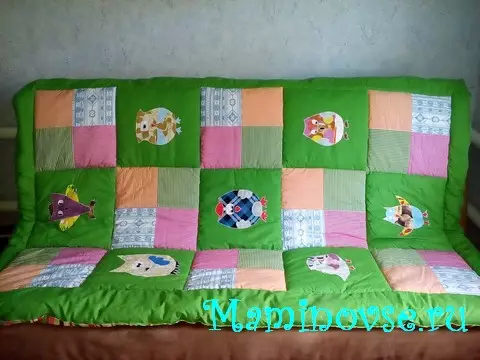
Step 11. Your quilted blanket is ready!
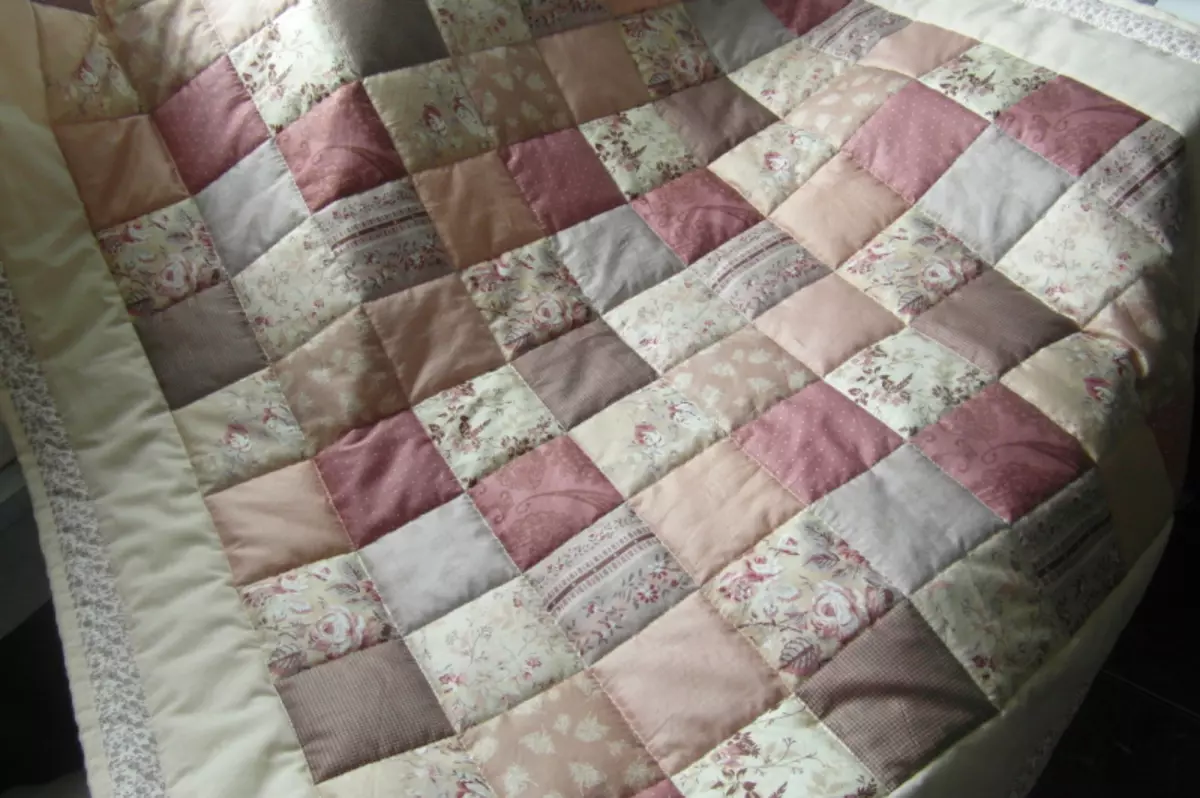
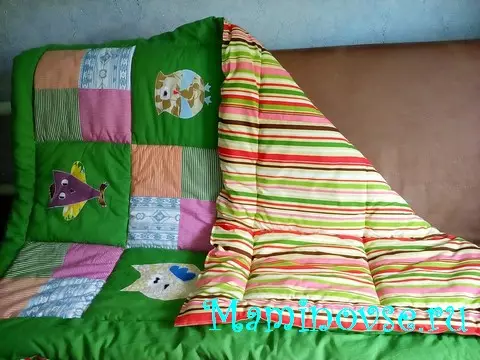
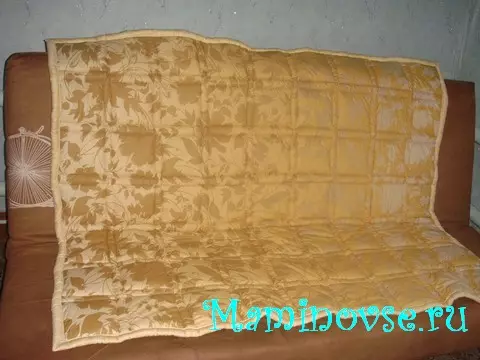
Other blanket in the same technique.
Front side:

Own:
As you can see, it is not difficult to make such a blanket, and the result will delight you for many years. Such a blanket is a great option for a gift.
Video on the topic
Some more useful information about creating a quilted blanket: