Do not know what to give close to any holiday, I want to update the interior in the house or simply did not come up with yourself to take yourself on the weekend? Panel from shells with their own hands - a great way out of this situation. We offer to master the new technique of panel from natural material. This method is perfect for novice creators and serve as an idea for already mastered the compositions of seashells.
Work can be done absolutely without glue. Then you should apply plasticine for modeling. To do this, lay out the whole future background. The approximate layer will be about 3-4 cm. Align. Color to select it is worth it, whatever combined with the color of the shell. After that, apply the contours of the picture.
It will be convenient for it to make it with a cutter or a thin wand. Shells are desirable to lay out in a certain order, presses each.
Main instruction
Before you start working with shells, you need to prepare them and clean them. The first case - when shells can be dead, that is, there are no living mollusks left in them. Machine them in a solution of water or in any chlorine-containing agent (for example, "toilet duckling", "Domasetos" or chlorine in a weak solution) in proportion one to one for 20-30 minutes. It is not worth scolding the shells longer if you just do not want to remove the top dark layer and clean from severe pollution and sand. After the procedure, carefully clean the shells with a brush and rinse in clean water.
The second case - when the sinks are "live", that is, there are animals residues, even if there is a great limit. They have property unpleasantly smelling, so they need to be carefully cleaned. This will require boiling in hot water. We put the sinks for 5-10 minutes, and then remove the remains of mollusks using forceps. You can also put them in a microwave no more than one minute, otherwise crack. When cooled, soak 5-10 minutes in the chlorine-containing agent.
Thematic mirror
We propose to perform a small job for beginners. It will be a mirror with sinks around the edges. Does not take you a lot of time, and also pleases you and your surrounding!
Article on the topic: Revolution of the neck with knitting steps with photos and video
We will need:
- shells of different sizes;
- glue gun;
- Mirror of any size;
- unnecessary newspapers;
- Scotch;
- Additional decorations (beads, beads) at your request.
If you do not like the appearance of the mirror frame, you should paint it into the desired color. In order not to blur the mirror, it is worth fastening with scotch paper on it.
We begin to glue seashells on the frame. At your discretion, lay out the details in size so that in the future the picture looked more carefully.
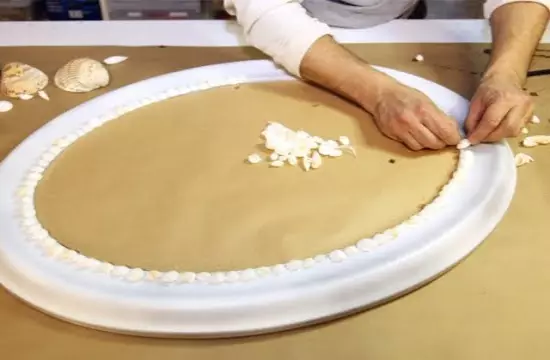
Fill all the gaps with small detail or remnants of shells.
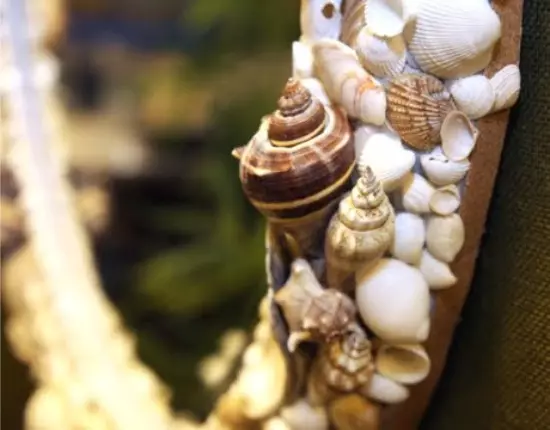
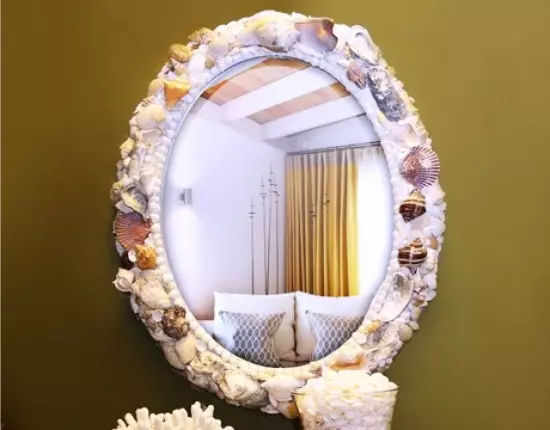
Well, ready! Look, as far as everything is easy and simple, but at the same time beautiful and pleasant in the eye.
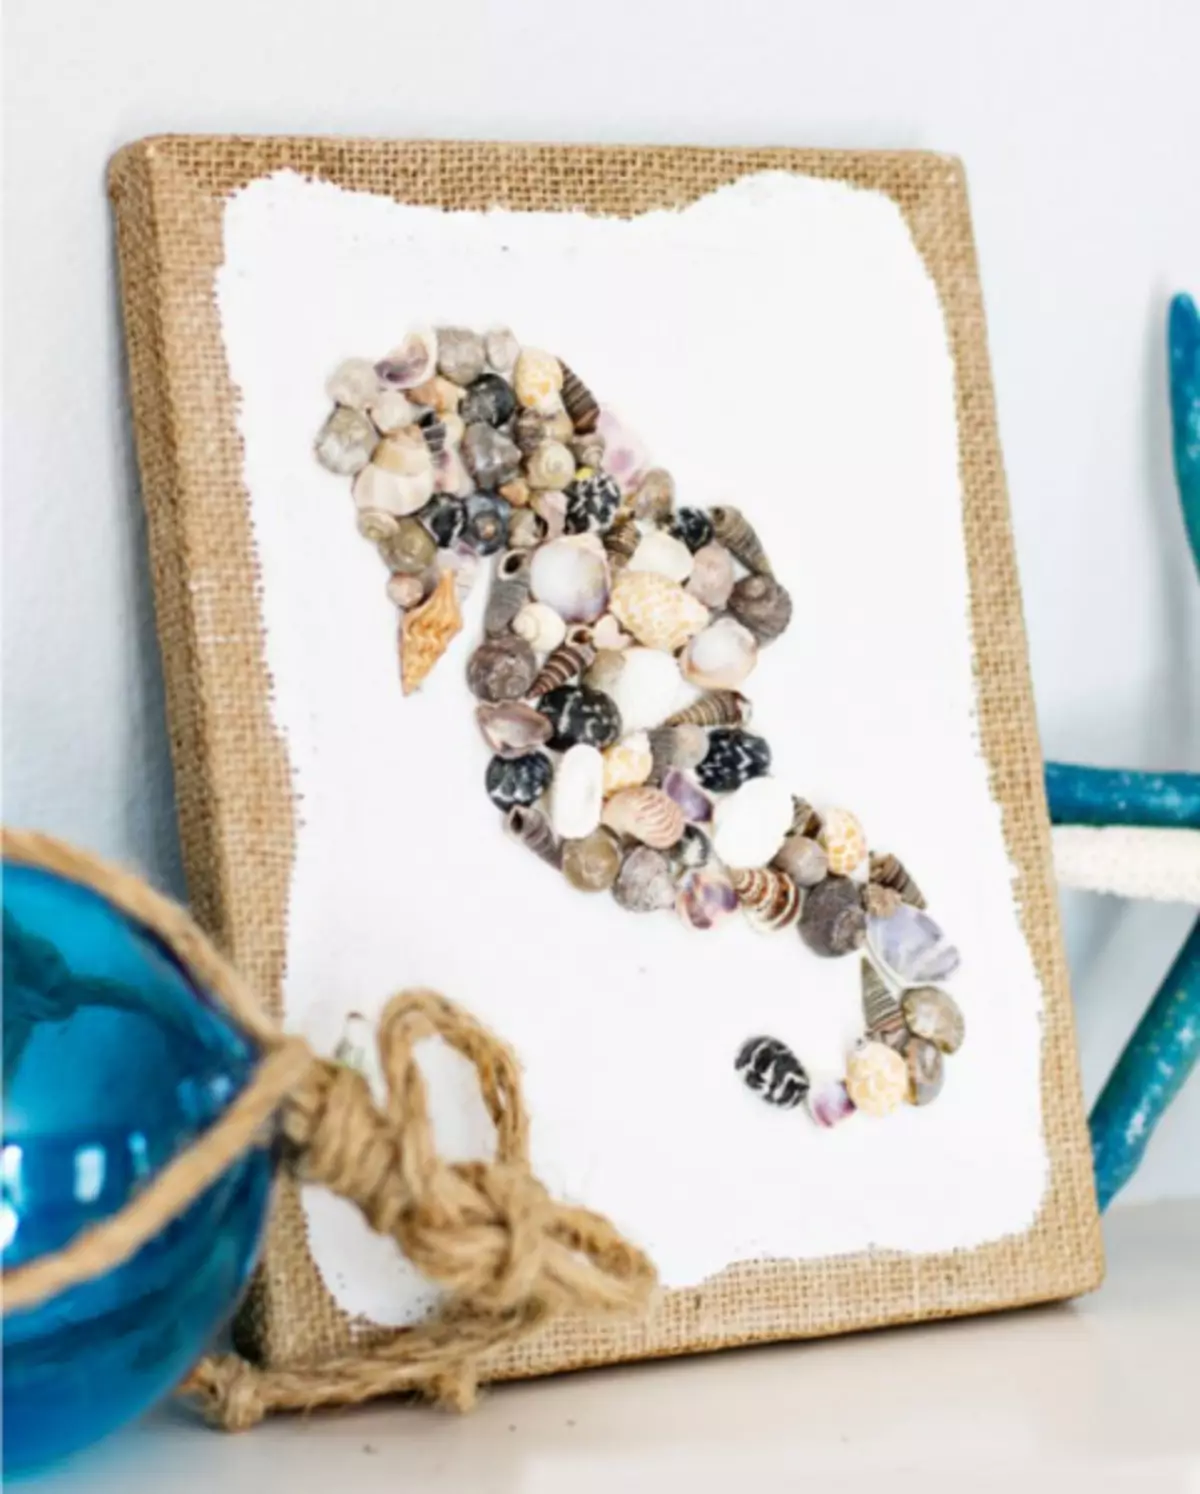
Sea Horse
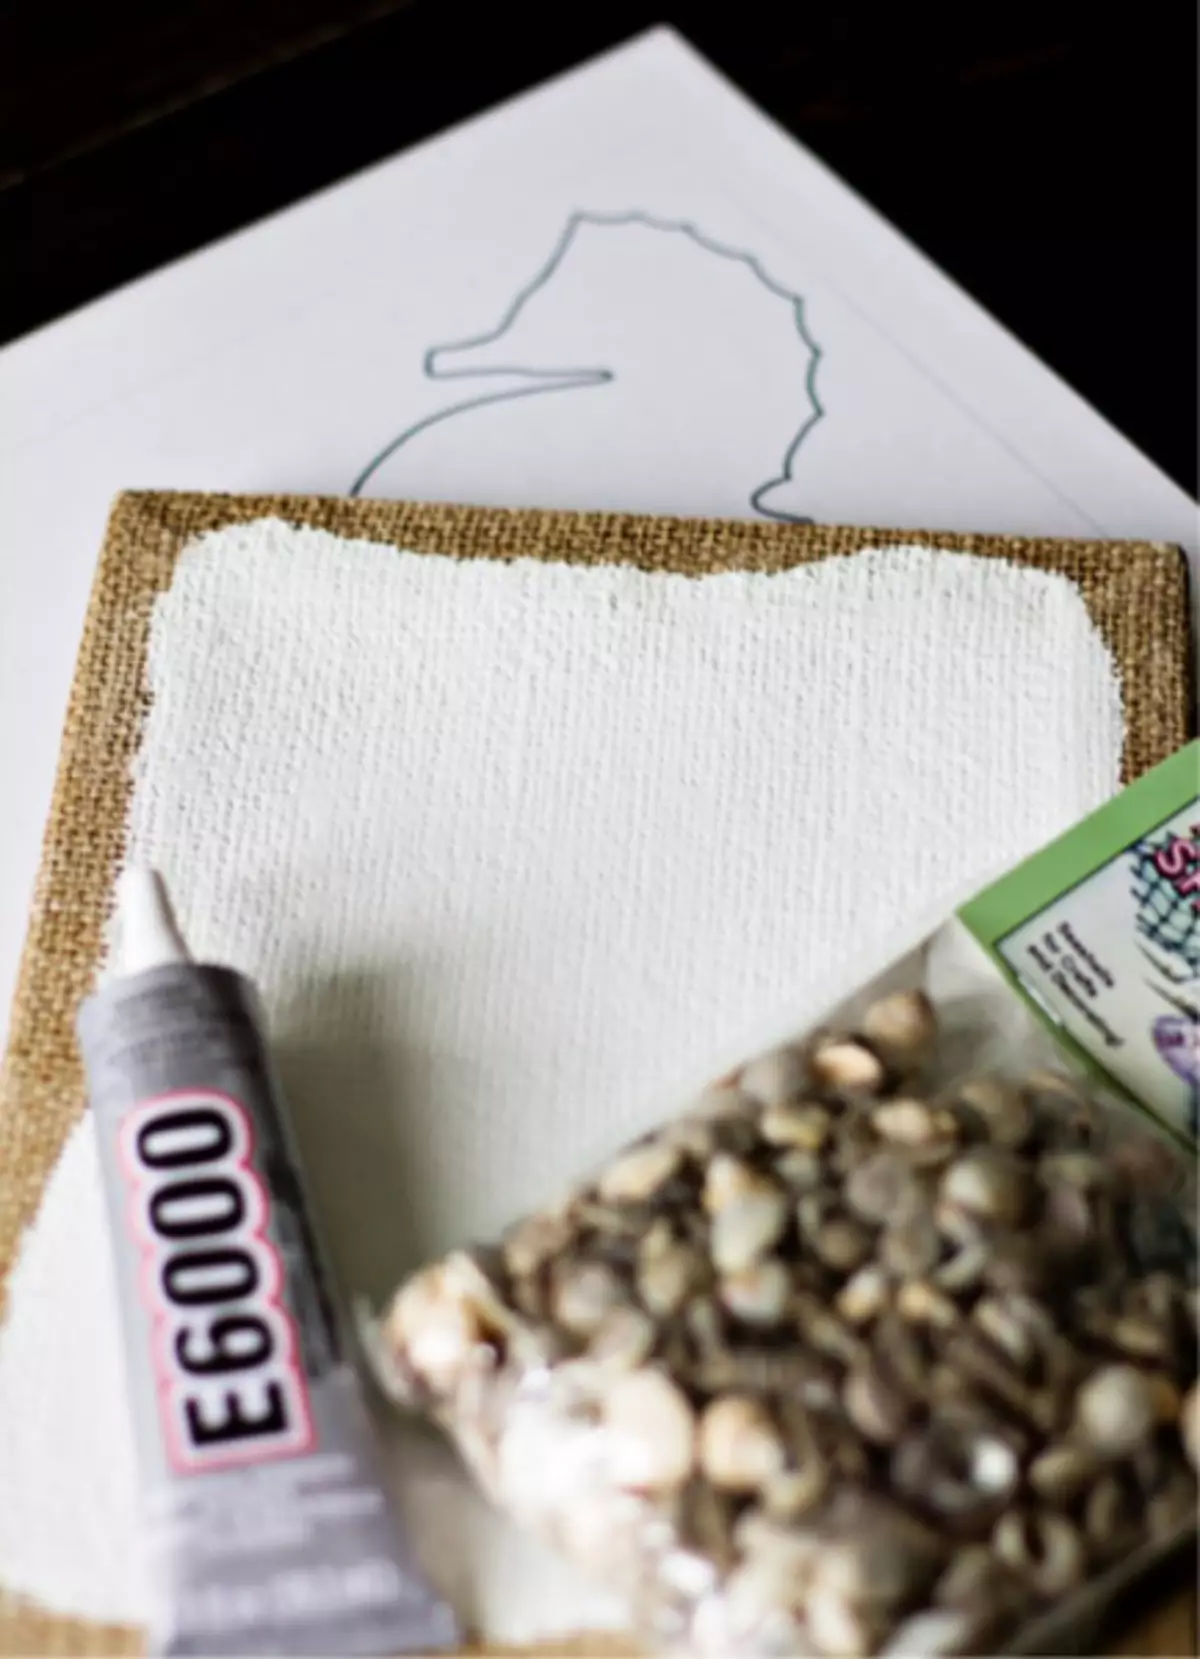
We offer another step-by-step master class. Panel on canvas - another common version of the crafts.
Accessories:
- background with a subframe;
- Clean shells;
- Glue "moment" or glue-gun;
- stencil in the form of a sea skate;
- Scotch.
Against a background with a subframe, fix stencils with a drawing tape. We supply the contour pencil.
With small shells fill the "skate" without leaving the border.
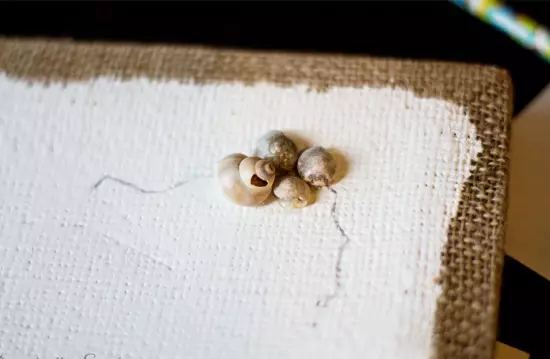
Let him dry well. Ready!
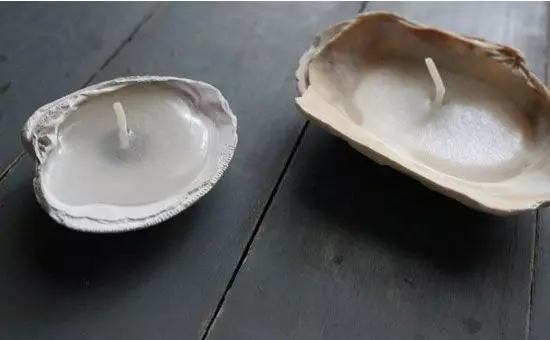
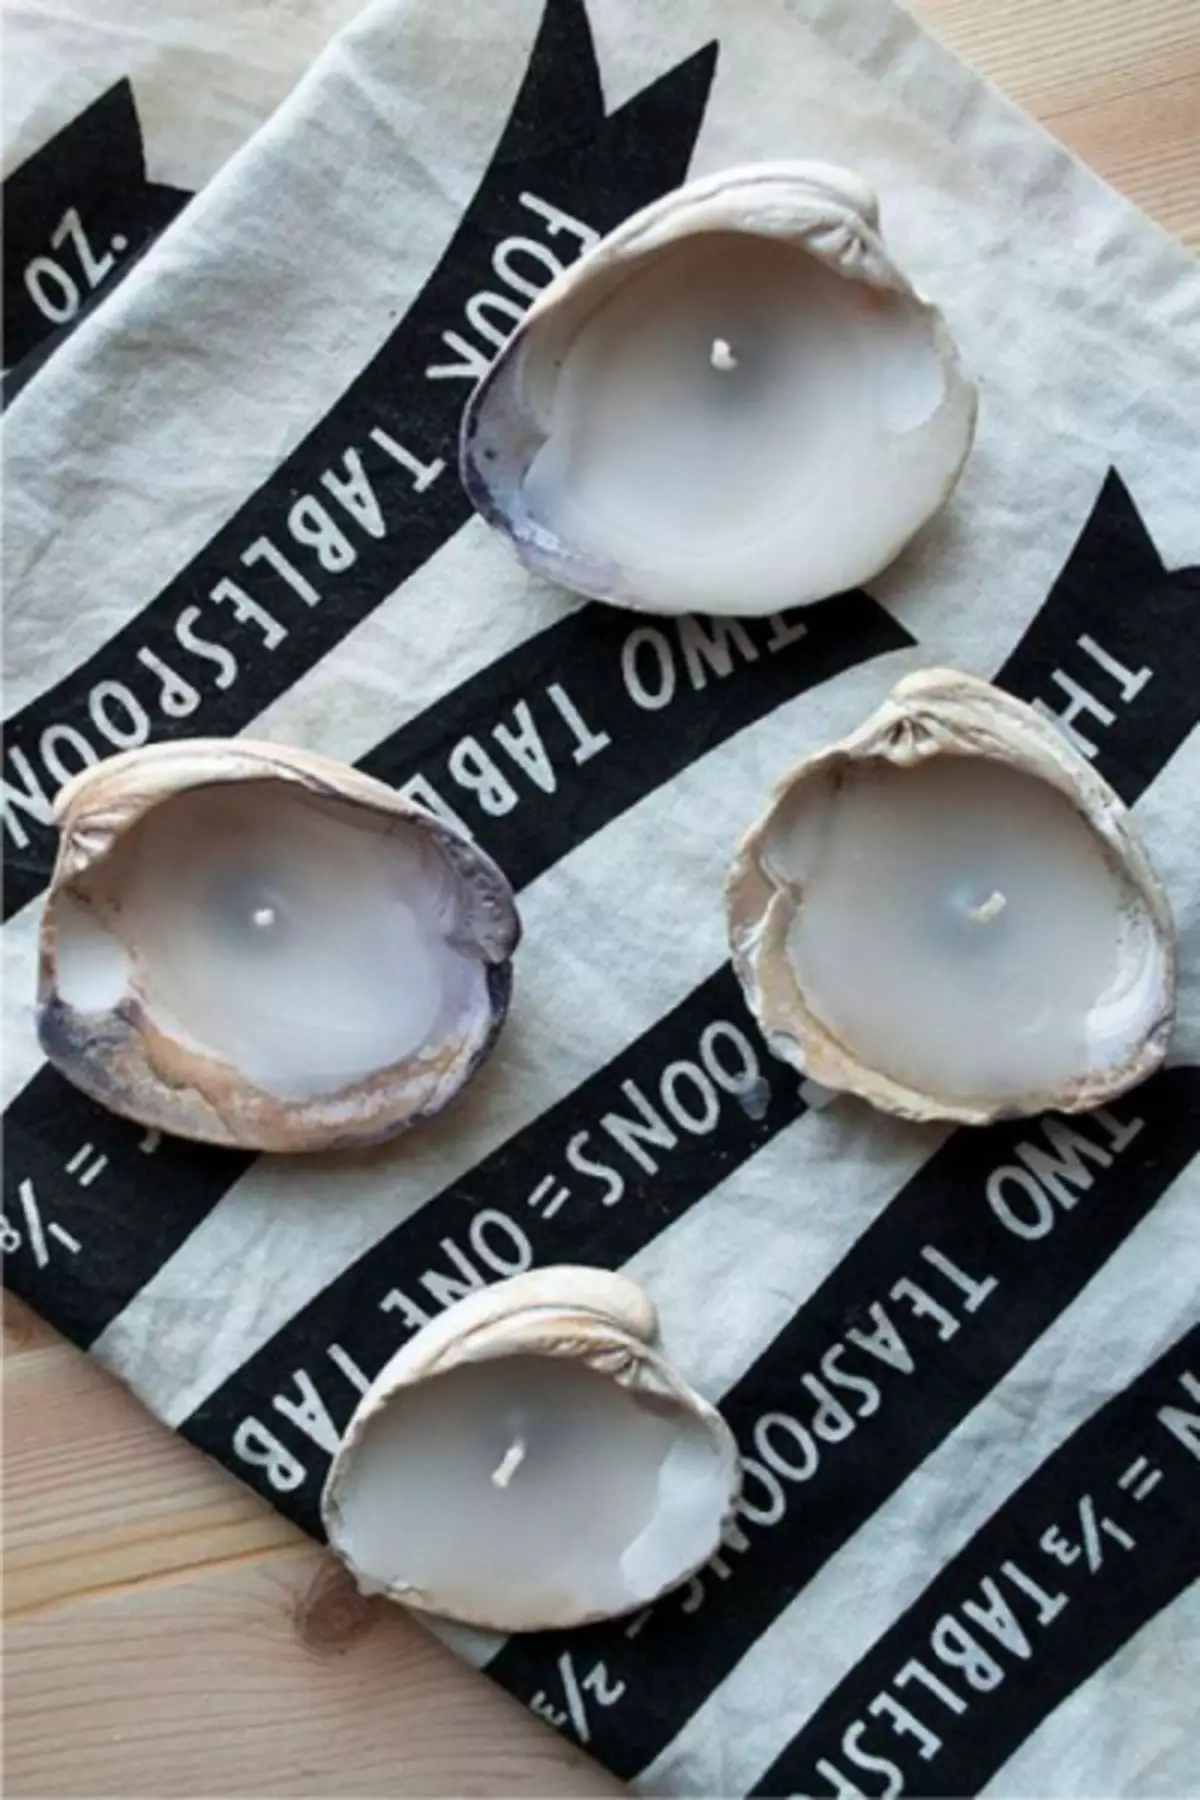
Candles from Rakushki.
What if you add a romantic evening, a simple dinner with something unusual and fun? We offer a bold idea to do not just candles, but candles in marine shells.
We will need:
- seashells;
- Round candles in aluminum forms;
- pans with water;
- PVA glue.
Remove the wick from the candle (first get the candle from the form, then the wick) and insert the candle back.
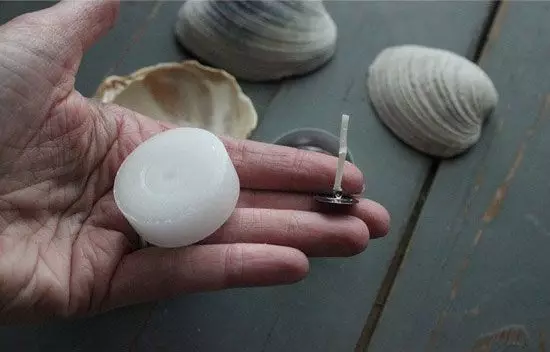
Glue one wick in the center of the shell on glue. Melt paraffin. Boil the water, lower the form (water sauna). Pour melted paraffin into seashells.
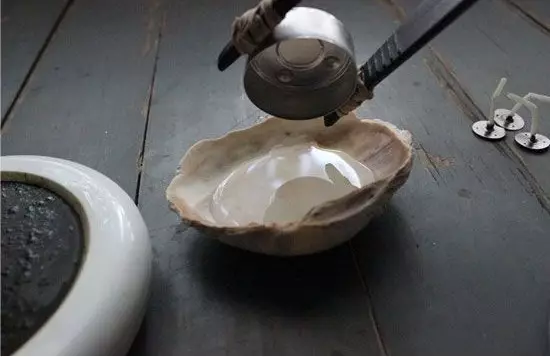
Leave for 20 minutes to dry. Ready!
"Three Flowers"
Almost everyone has seashells brought from the sea or beautiful pebbles. We store them for pleasant memories of rest, the noise of the sea. So that they just did not lie or not lost, we offer to use the last remnants and perform another job in this technique.
Article on the topic: Pirate Hat with your hands from paper: Schemes with photos and video
We will need:
- shells;
- frame;
- glue "moment";
- board;
- Beads, beads;
- pebbles;
- varnish.
Color the frame in a nice color, let's dry. Draw three flower on a skid. Start the preparation of the picture of the seashells. You can add the composition with beads and beads, as well as stones.
Remember that you need to carefully attach with glue every item, as they can be chopped or you are drunk.
Cover the finished panel with varnish.
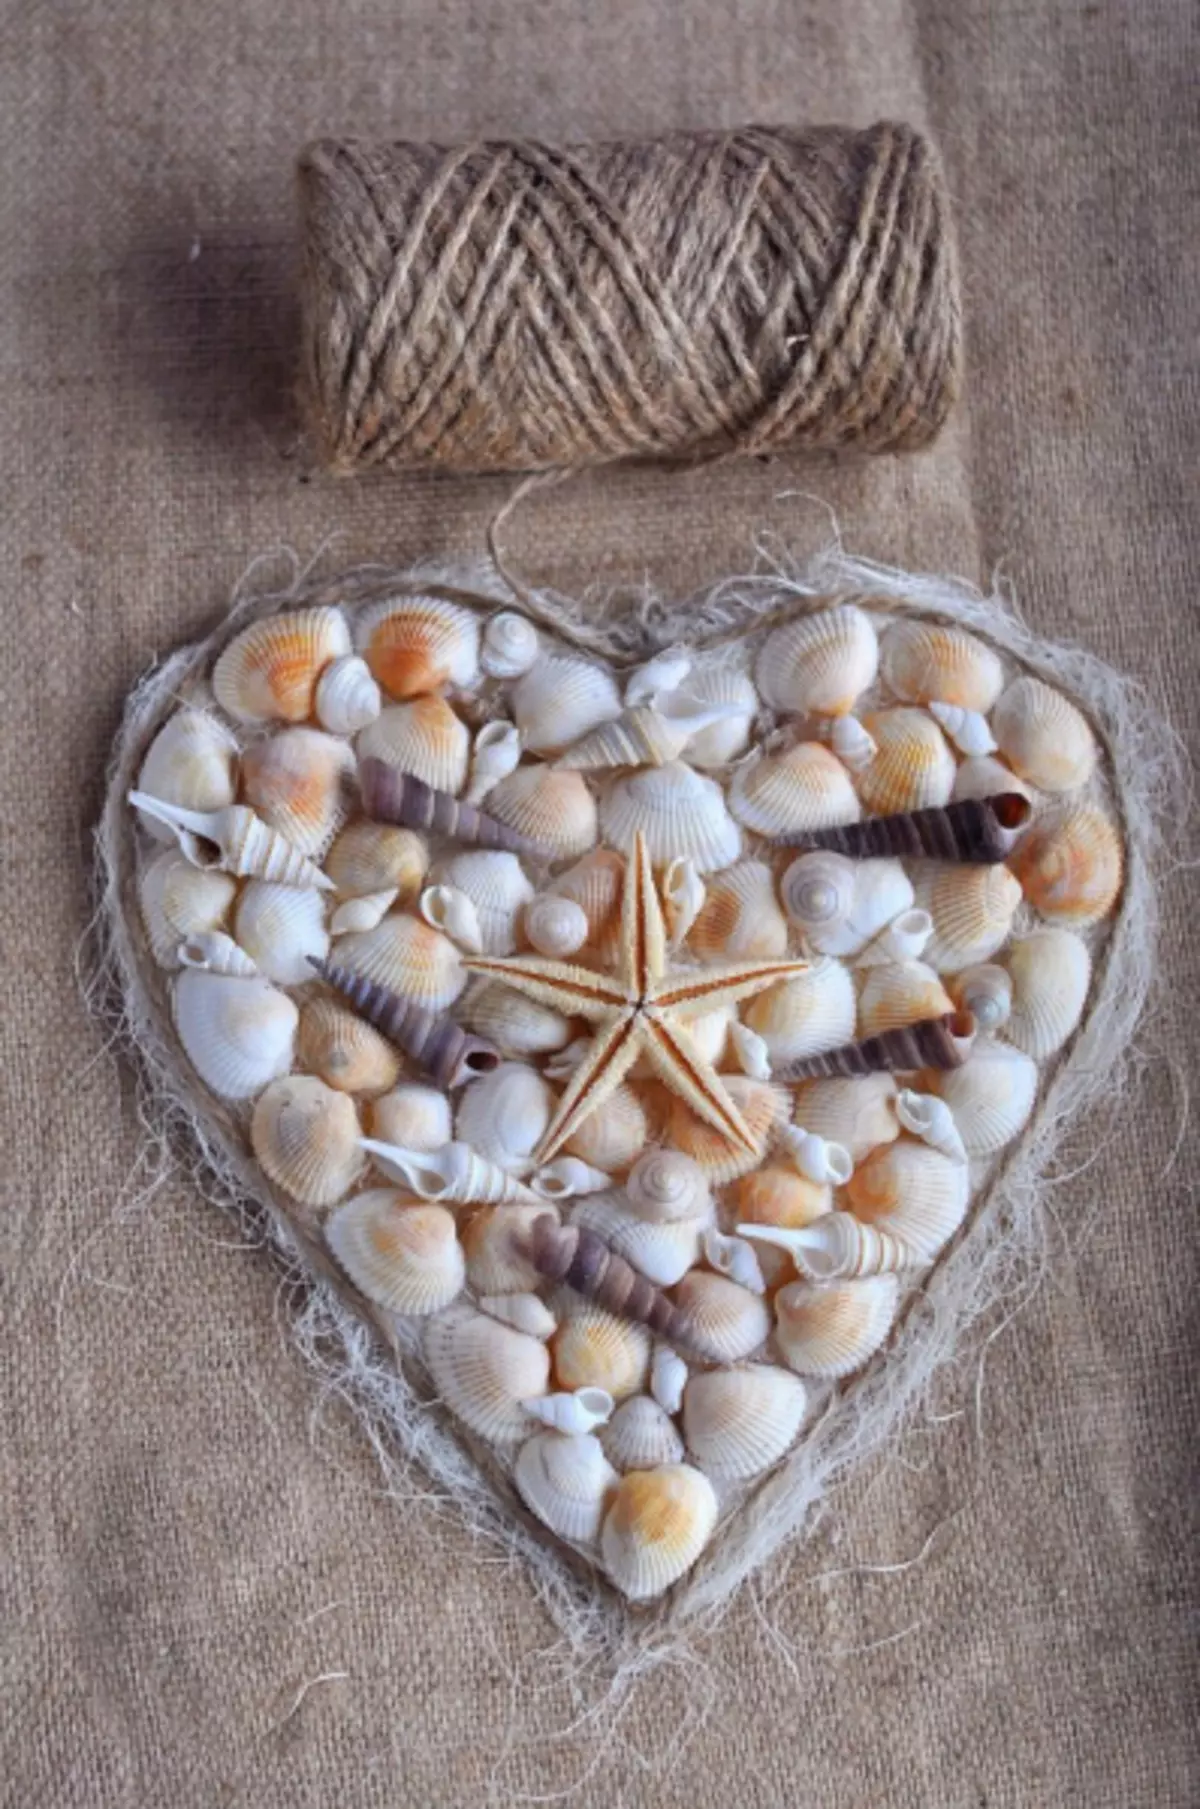
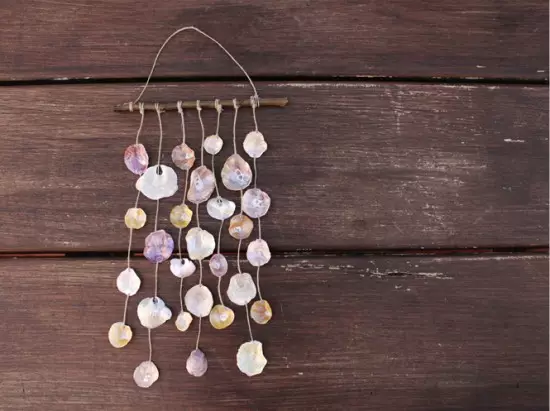
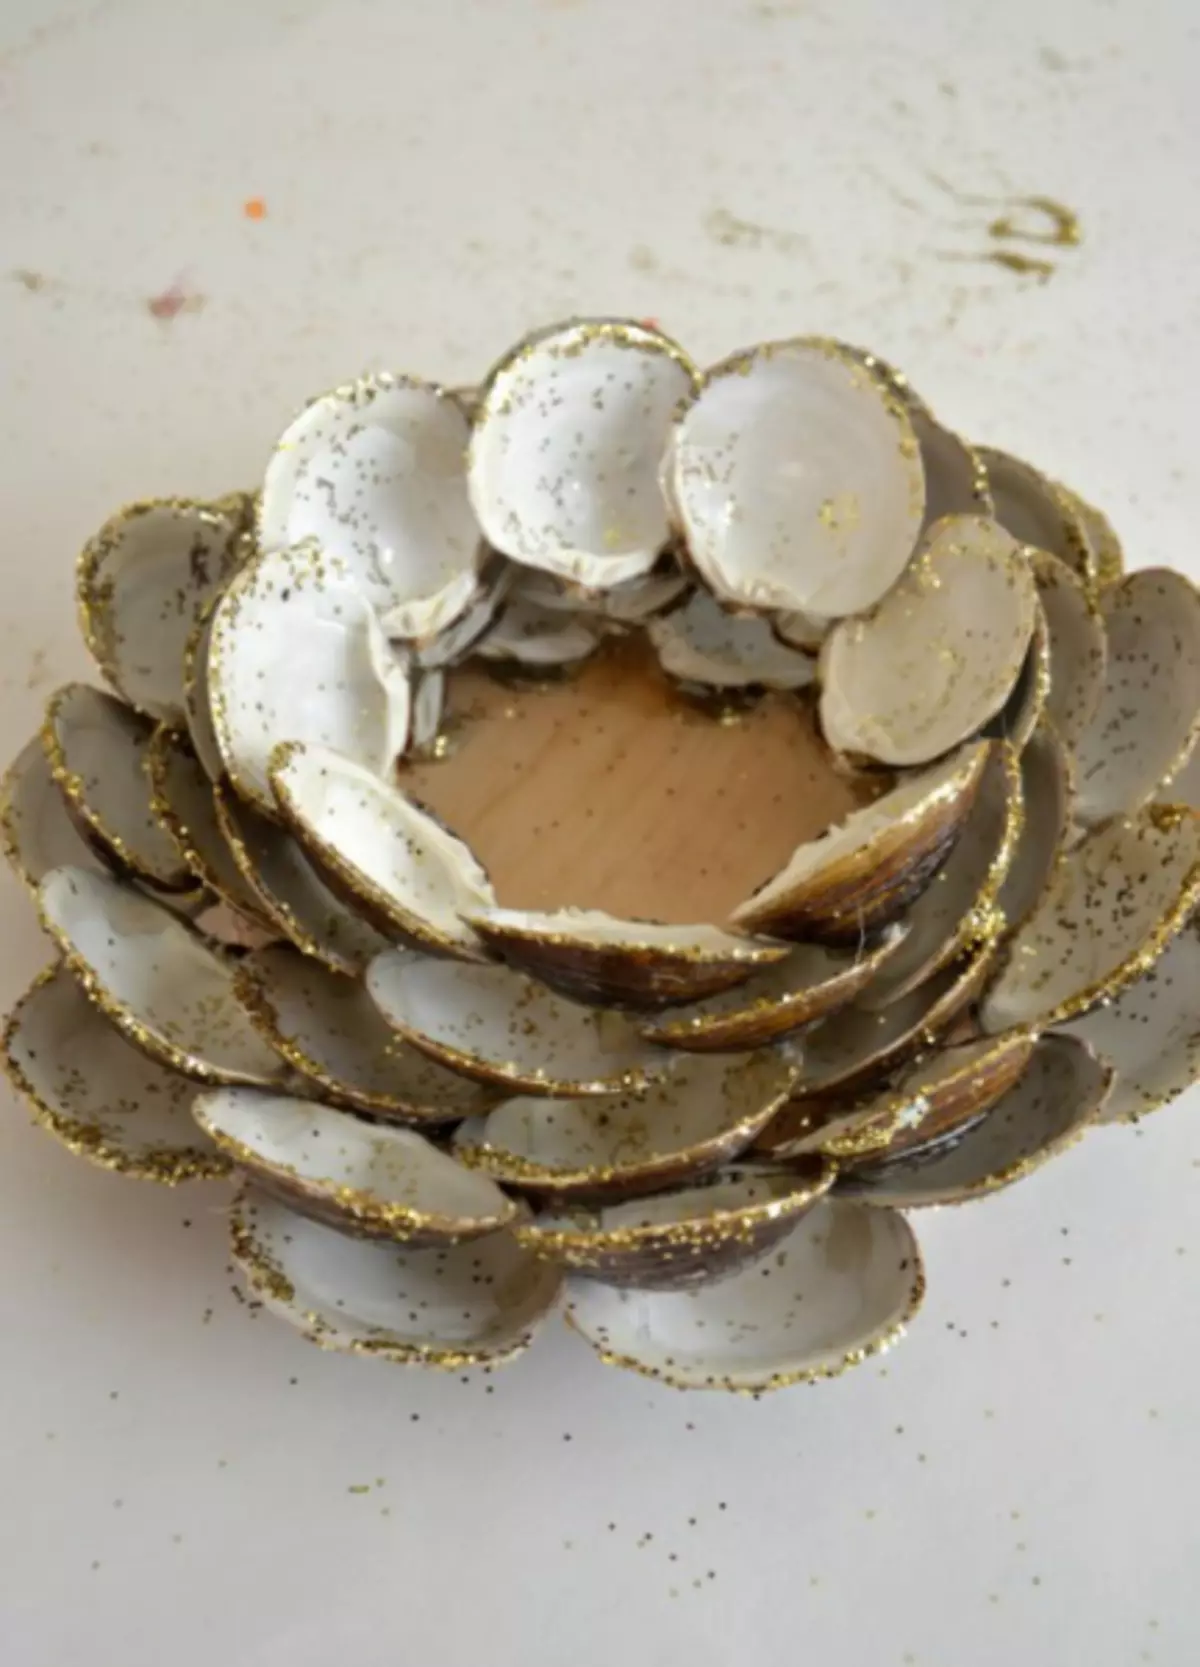
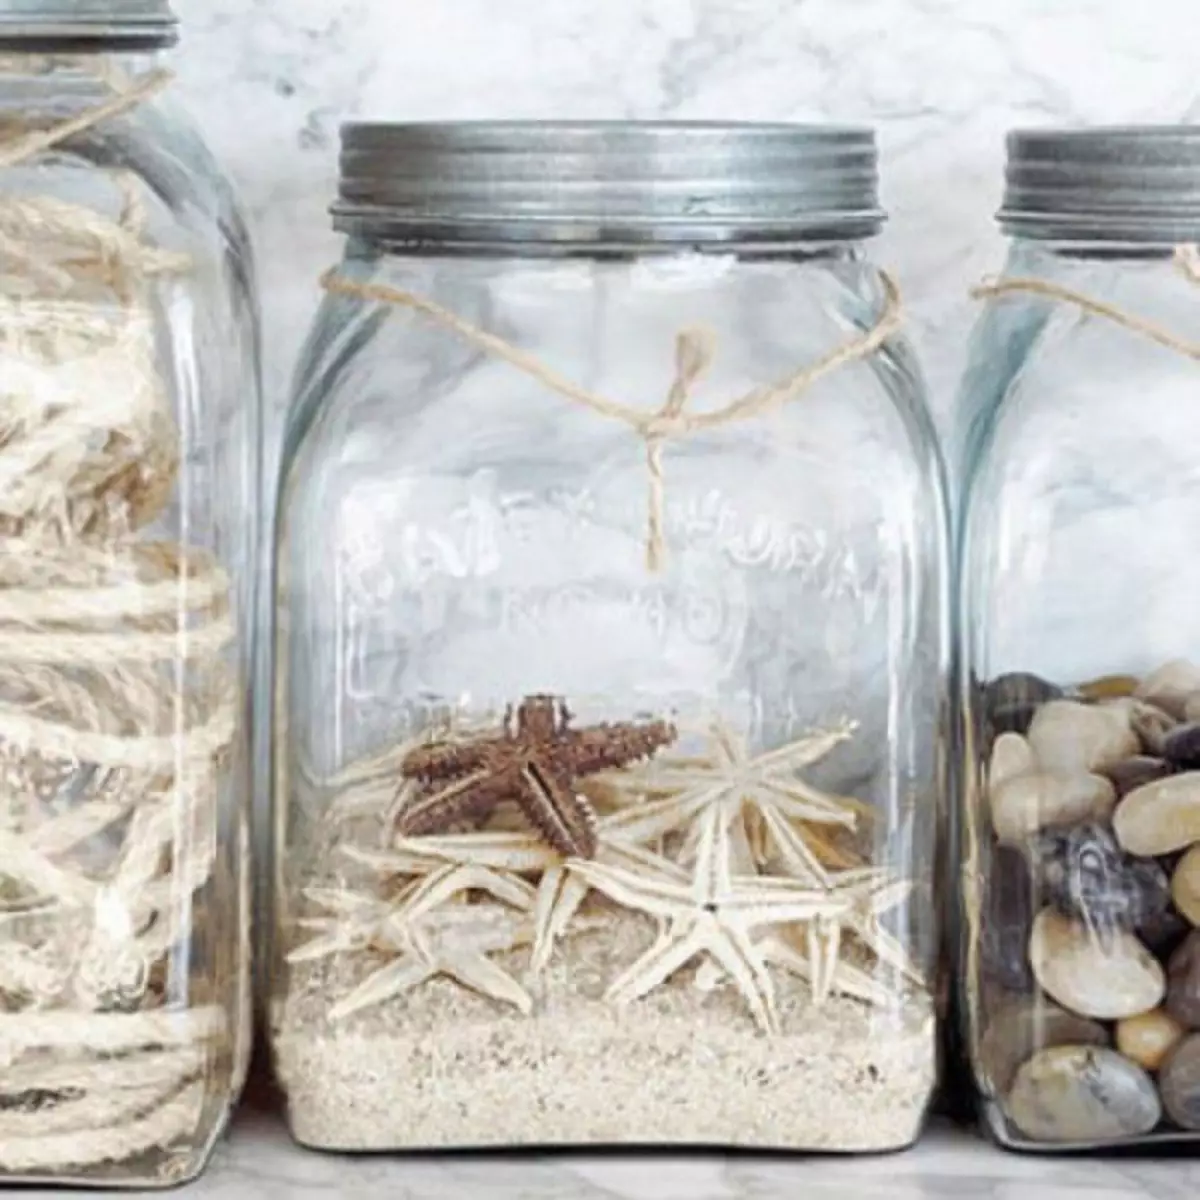
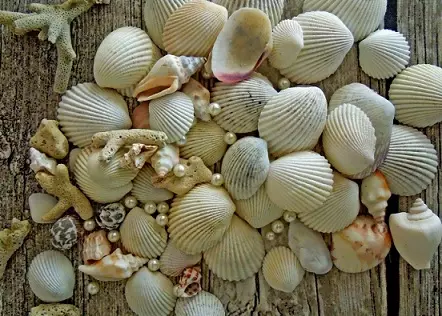
Even more photo ideas for panels from seashells: