
Framuga allows you to solve the problem of filling out the opening of non-standard sizes. The term "Framuga" is used not only to describe the door structures, the horizontal sash window is also called above the main frame. Window Framuga can be both opening and deaf. For the doors, this term describe the design located above the web, and fills the part of the opening that is not closed by the web.
What is Framuga?
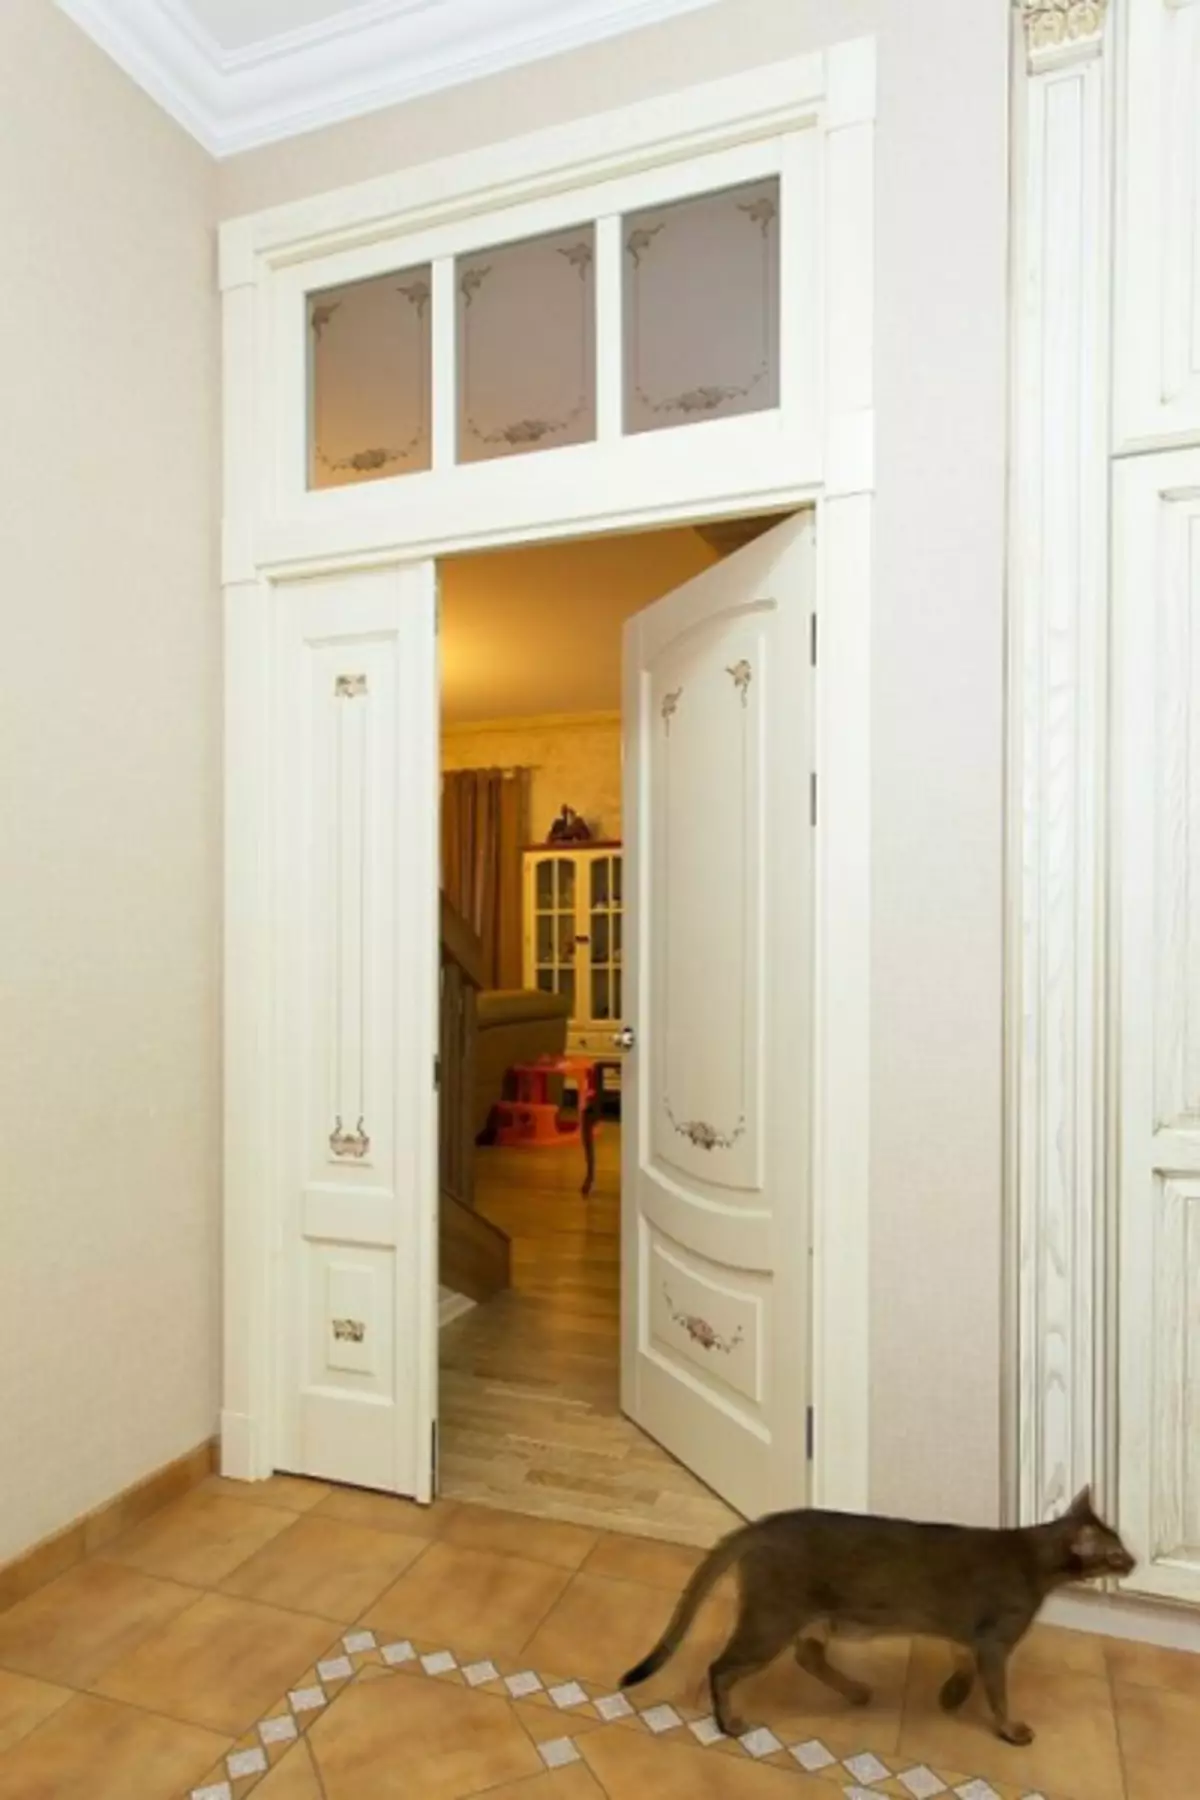
By the way, not only horizontal framugs are used for openings, the vertical non-opening sash, which can be located on the left, right or on both sides, is also called fraumuga. You can see such a design in the photo. Perform the installation of doors with Framuga is quite able to do yourself. In order to accomplish this operation, we suggest familiar with the master class "Framuga above the door: installation with your own hands on video."
Doors with framuga are chosen because the increase in the size of up or in width leads to non-compliance with the proportions relative to the scale of the room. Of course, you can set the usual door, and the space of the opening is to sew a deaf partition, but the use of fraumuga will increase the decorativeness of the design of the opening.
In addition, if the glazed fraumug is applied, it improves the illumination of the room. Very often, the designs with Framuga put in the opening leading to the corridor with the built-in mezzanine. Then the fraumuga is performed as the opening door of the mezzanine.
Options for registration of Framug
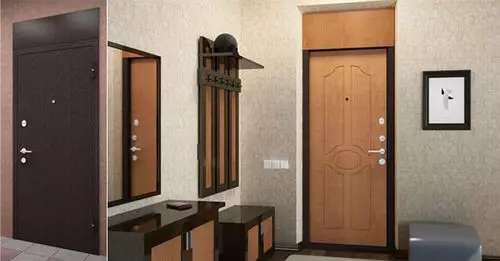
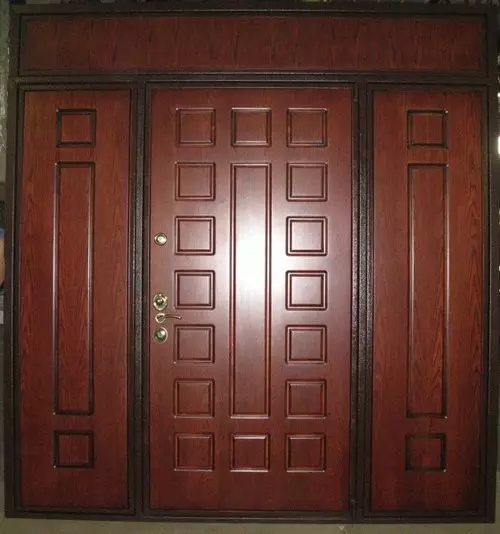
Framuga, first of all, carries a decorative function. It is performed in the same style as the door design. A glass - transparent, matte, embossed can be selected as filling. For fraamuga, you can use stained glass windows. This option is not only functional, but also has a large decorative, turning the usual door to the interior decoration. The photo shows a model with stained inserts.
Article on the topic: Selection of Wallpaper for the Little Hall, Good Interior
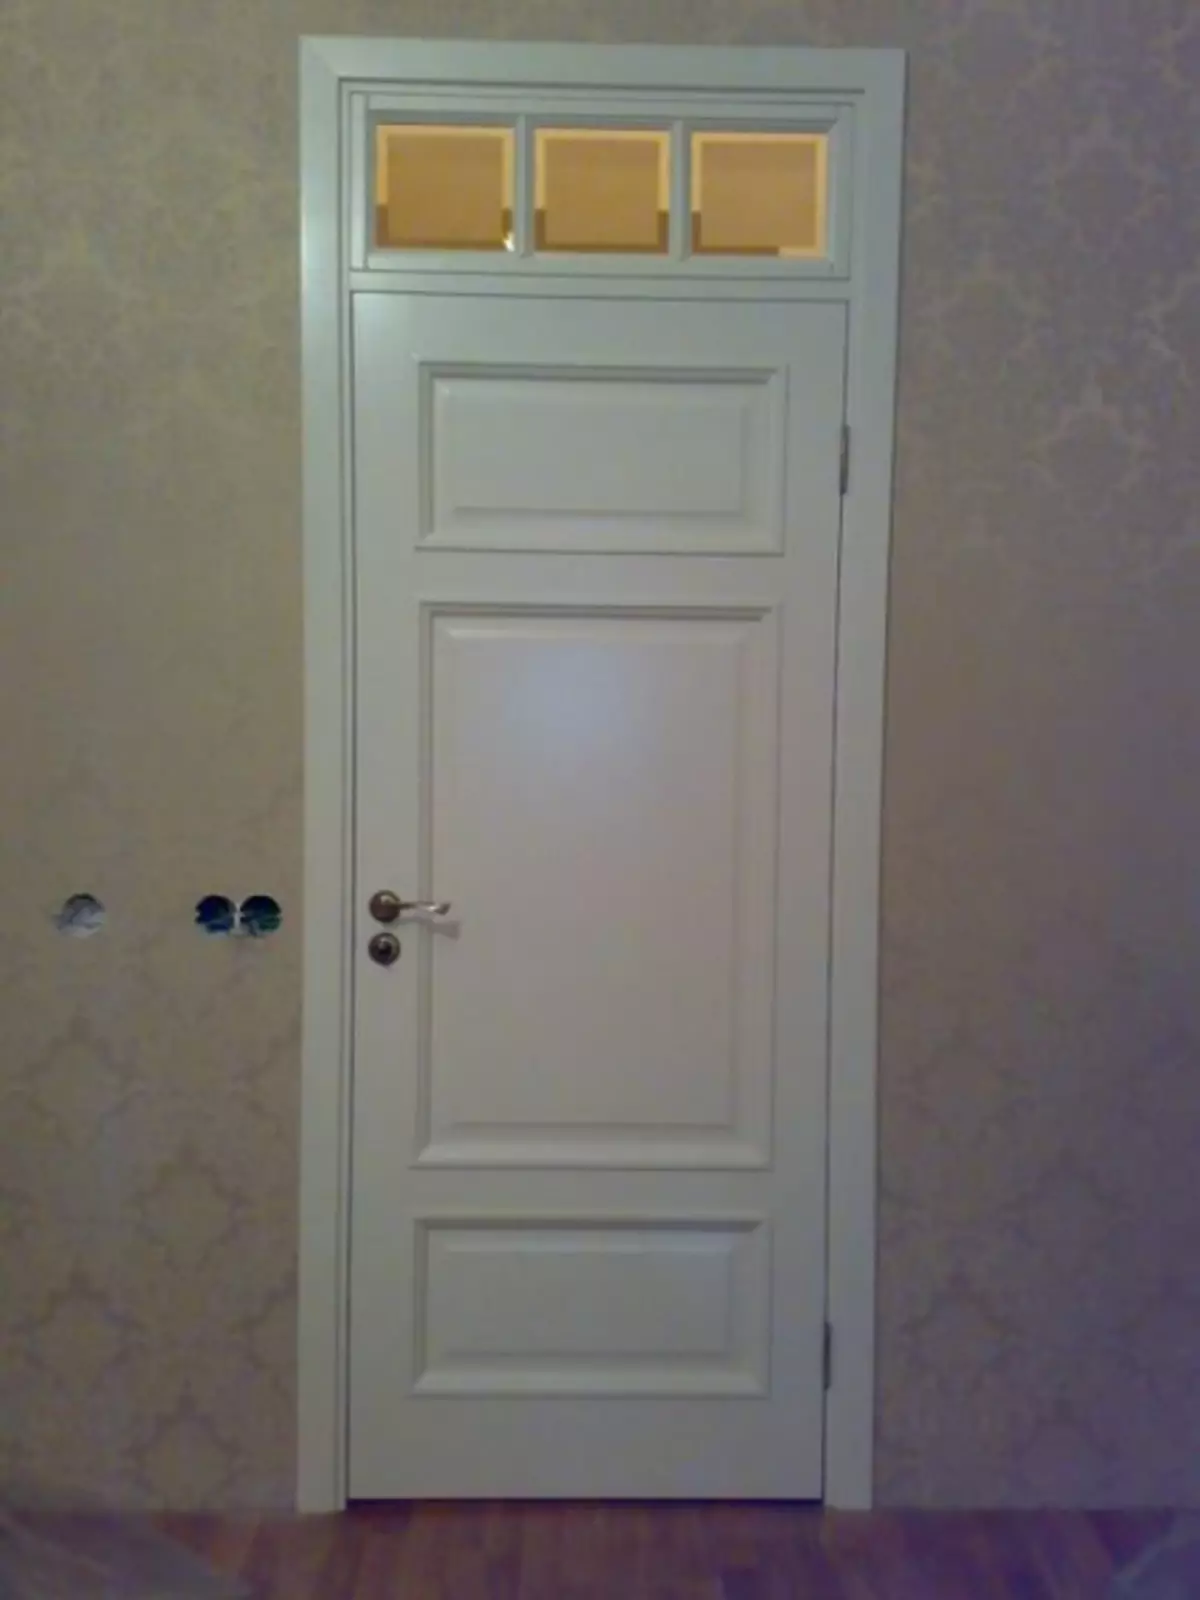
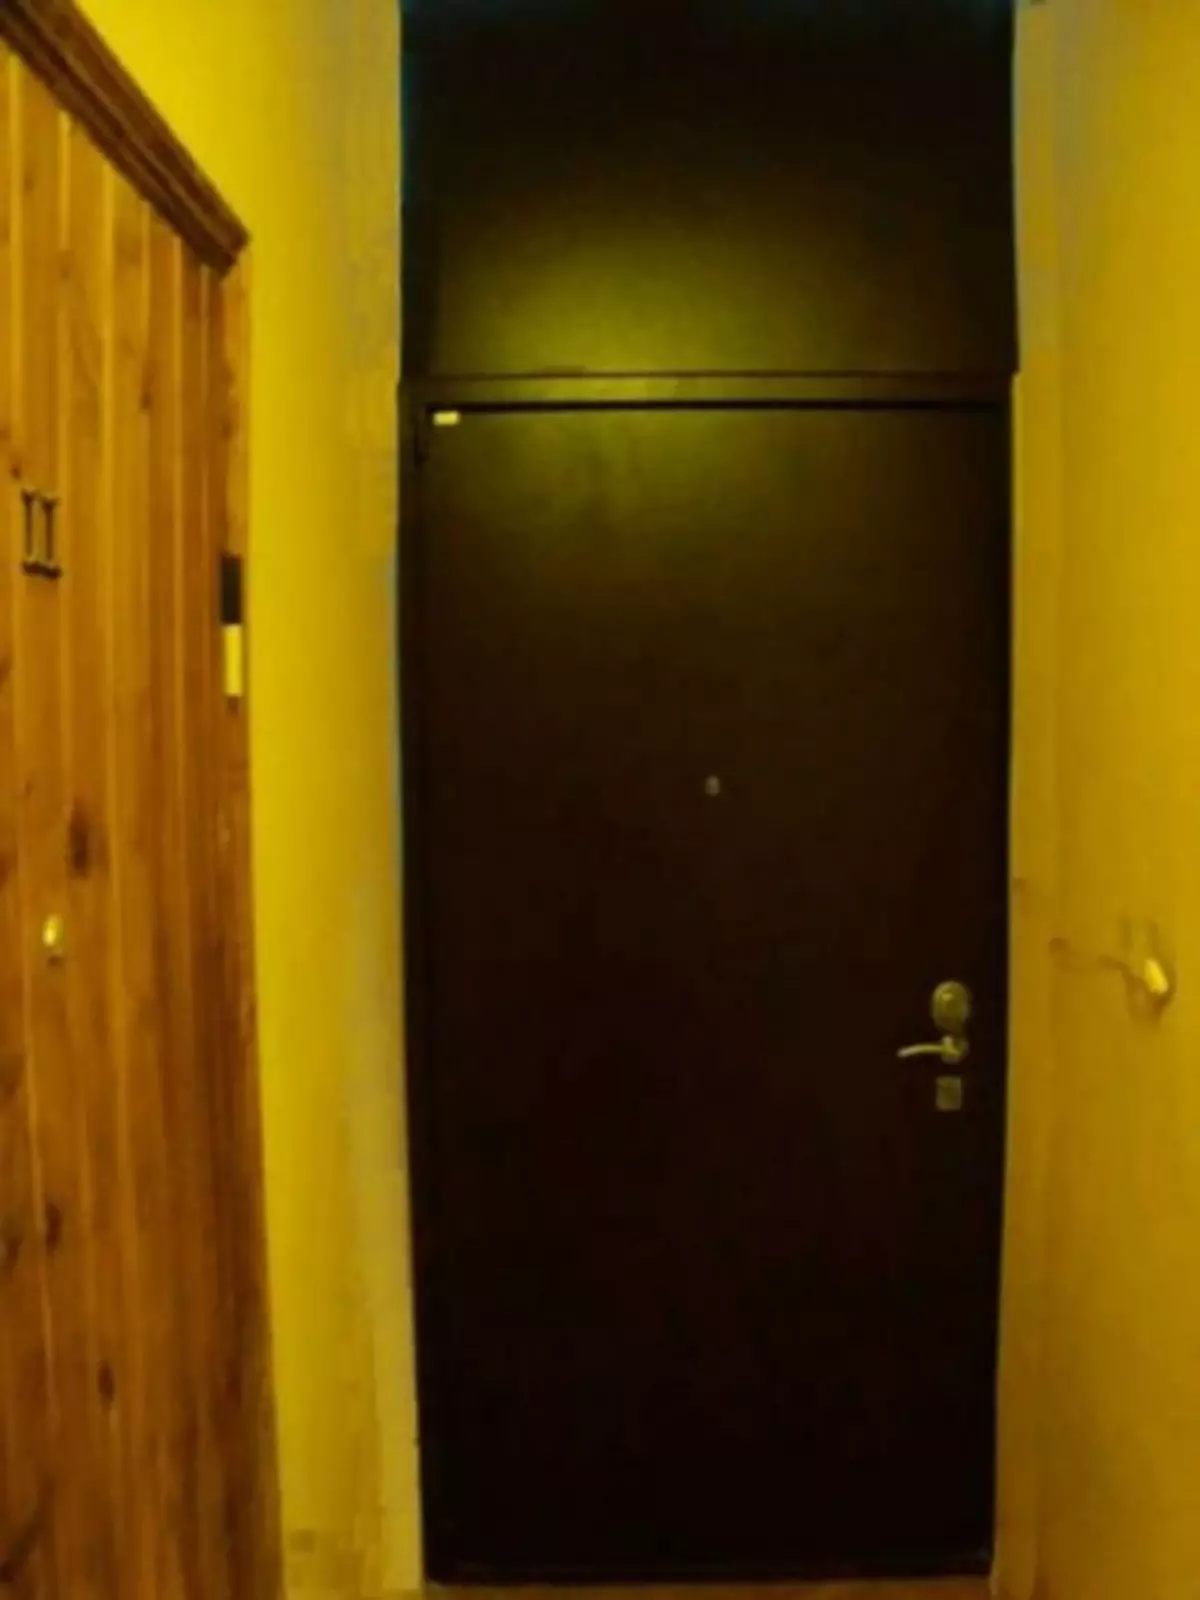
You can choose and deaf fraamuga, then to fill the space above the door, the same panels are used as on the doors. Well, as mentioned above, Framuga can be the door of the mezzanine. But then its design is also performed in general style. Door Framuga can be of different shapes: rectangular, arched, triangular or polygonal. Arched shape is capable of a little visually increase the height of the ceiling. The use of some complex structures in a small and close space of the corridor is hardly justified. What a framugue above the door is most suitable, it is necessary to decide on the design of the entire interior.
Installation
The easiest option is when the door with Framuga is bought assembly. Then installing the doors with the fraumuga is no different from the usual installation.
If the door appeared earlier, and the idea to put Framuha came with a delay, then the main problem will be the performance of accurate measurements.
You can go along the way to create fraamuga yourself. This is the case and it is necessary to describe in more detail.
To install the door with Framuga, you will need the same set of materials and tools as for installing the door itself.

- Actually, the door;
- box bar;
- mounting foam;
- wedges;
- silicone sealant if the framugue is glazed;
- glue;
- Glass, the dimensions of which correspond to the size of the filled space;
- platbands;
- good;
- fasteners
Stages of mounting
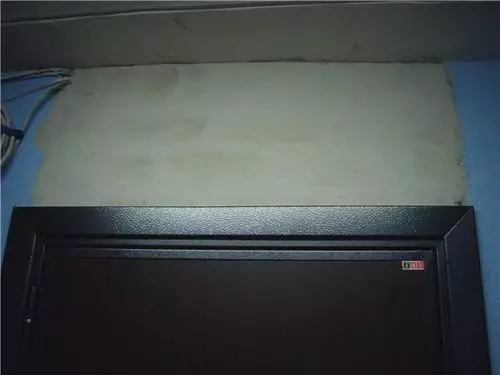
If the selected model does not have an option with a fraumuga, then this is not a reason to abandon the framuga device.
- We carry out measurements. Carefully measure the opening. The appearance of the finished product depends on the execution of the markup.
- We make a box.
- Using the resulting dimensions, carry out the markup of the box bar. In order to be able to align the design in the opening, the height of the box should be with a gap under the ceiling.
- Cut the detail of the desired length from the bar and lay the box on the smooth floor.
- Insert the canvas with such a calculation, so that when installing between the floor and the bottom, the gap remains. Usually its value is 10-20 mm. In a piece of box bar, designed to create a horizontal jumper box, you need to make cutouts so that it gets up in the place allotted. On the vertical racks of the boxes are placing the position of the horizontal part of the box.
- When markup, it is necessary to leave the gap between the proloce (horizontal part of the box) and the blade. This gap should be small. For convenience, when markup, you can use the template, and not to extinct each time. As a template, you can take pieces of corrugated cardboard, which was packed by the door.
- Then aligning the details of the box, twist them with self-draws. It is not worth doing this "on the dead" - because when installing it will still have to align. Therefore, fasteners should simply fix the design. Now you can accurately measure the size of the glass and order it with cutting. It is not very convenient to do this - you can easily make a mistake with sizes and you have to trim the glass.
Article on the topic: Pipe for a warm floor: what better, expert advice
While the door with the box assembly, do not forget to mark the hinges on the canvas and the box.
- Installation of the box.
- Door box, after carrying out full markup, and install the loops, exhibit in the opening, align and fix. We use wedges for alignment. After the box is fixed in the opening, fill the slots between the wall and the mounting foam box.
- In order for the mounting foam when drying, it is necessary to shove the box when mounting the canvas, close the door and put the same templates from the cardboard around the perimeter. After complete drying of the mounting foam, we will install fraumuga.
- Glass, so that when opening and closing the design does not ring, you need to stick. Silicone sealant is ideal for this purpose: it has sufficient adhesiveness and elasticity.
- On the other hand, fasten the glass by the staps. If a model is selected from an array, then wooden staps that are sold in construction stores can be used. If the door is laminated, then the strokes can be made from a good or platband.
By installing the glass, mount the dirt and platbands that will block the seams.