
Wall alignment can be carried out in several different technologies, they all have their advantages, disadvantages and their tricks. The most popular technology is the leveling of walls by lighthouses. This is one of the fastest, reliable and most importantly, the effective technologies for equalizing supporting surfaces. I will tell about him in this article.
Tools and materials
As with any other phase of repair work, to conduct alignment of walls by lighthouses, you need your own set of tools and materials.
You need from the tools:
- Kelma is a necessary tool for aligning corners;
- Halfury - it will be needed at the final stages;
- Rule is the main tool for alignment of walls by lighthouses;
- Capacity for kneading the leveling mixture;
- The drill with a mixer is needed for mounting beacons and mixing the mixture;
- Roller and brush - need in the process of priming;
- Water or regular levels are necessary for the task of the future wall plane.
Materials required for wall leveling:
- Plaster mix;
- Primer;
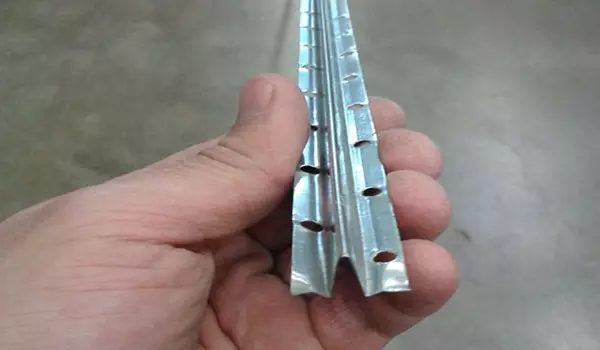
- Lighthouses for alignment of walls;
- 8 mm dowel;
- Screws - they are self-tapping screws.
From plaster mixtures I can advise two compositions, one based on cement, and the second with a gypsum as a binder. The first option, namely the cement-sand composition, is used with significant curvature of the walls, it is cheaper than plaster plaster, but its consumption is relatively more.
Plastering mixture based on plaster, more expensive, but also goes much less. Used on the walls with small irregularities. One of the main advantages of this composition can be called rapid drying, due to which the speed of work increases.
The prints of the walls must be carried out in order for the plastering mixture, it is better adhered to the carrier surface. There are many different compositions for different surfaces, from concrete to metal and wood. For the primer of brick and concrete walls, use acrylic primer, its composition is universal, this composition cannot be used only on metal surfaces.
Lighthouses for alignment of walls, 8 mm dowel and screws are used in the bundle. The beacon is needed for the task of the future level of the plane and serves as a reference when aligning the walls. Dowels and screws are needed in order to fix the lighthouse and adjust its deviation relative to the wall.
Article on the topic: Restoration of Santa Claus do it yourself
Cleaning and priming walls
This stage is the first for any repair work, where the walls are "main characters". There is nothing surprising in this, because the cleaner the surface, the more effective it will be working with it, the better the presence of a facing.
Start cleaning the surface stands with electricity outlet in the room. It is necessary so that moisture does not leak into the wall, and the closure did not occur. In addition, the wall will need to be drilled, and if a person accidentally falls into the wiring drill, it will be pleasant.
If you align the wall in the house where there is already a facing, after you de-energized the room, you need to clean the wall from the old facing and decorative material, pieces of wallpaper, paint, decorative plaster. It is also necessary to construct the whole putty from the wall, and if the integrity of the old plaster is broken and empties are present in it, it is better to remove it.
If the old layer of plaster is quite suitable, it should be checked for serious damage, such as chips, cracks, peeling, which is most often happening in the corners. If there are such damage, they need to be eliminated using a small amount of solution. Gently tempt all flaws, and let's dry.
After all the disadvantages are eliminated, the surface is cleaned from garbage and dust, it is possible to preliminarize the wall. To do this, pour the primer into a special bath, moisten the roller in it, and remove the surplus, make a pretty all the surface so that there is no dry places left nowhere. In the corners, instead of a roller, use a rigid brush, with its help, rejuvenate the angles are much easier and more efficient.
For more productive and convenient priming, use a roller with a telescopic handle, so you can embrace the entire height of the wall, not taucing the stepladder over the entire room.
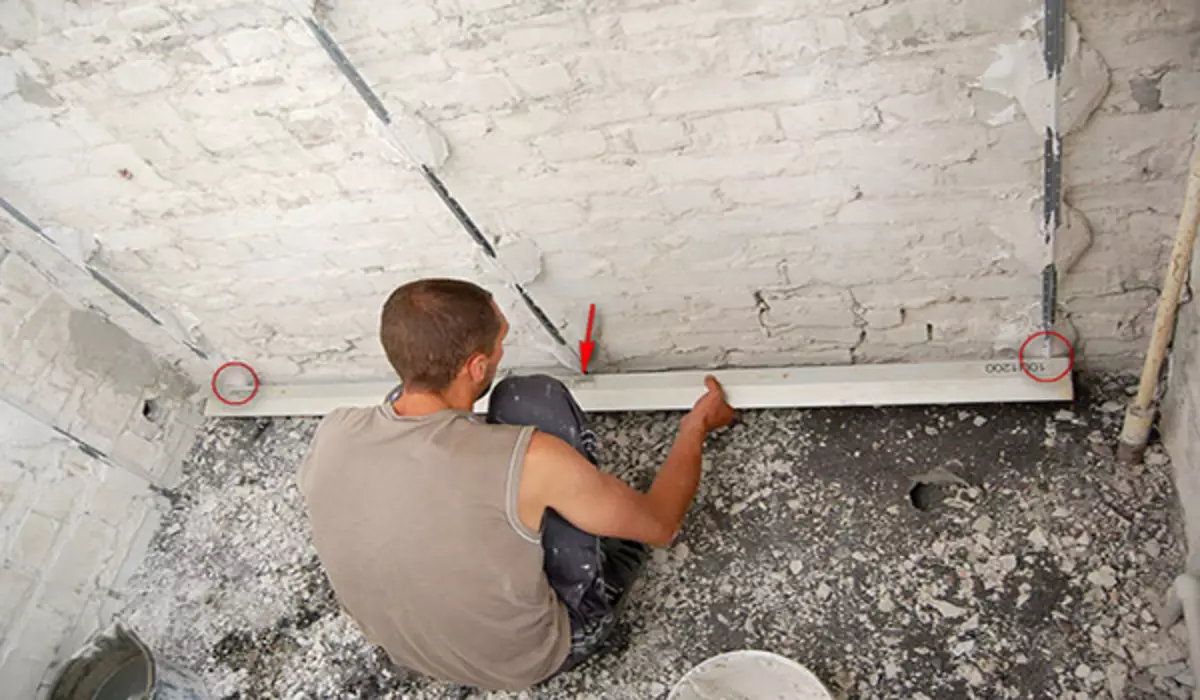
Installation of Mayakov
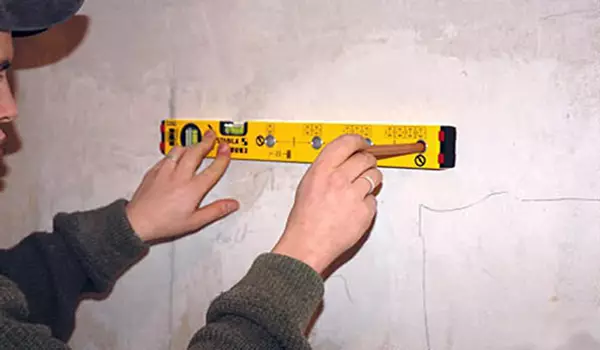
This is the most responsible stage of the walls of alignment of the walls on this technology. From how qualitatively there will be a level of lighthouses, the final result depends. The first thing to do to set the lighthouses is to post the wall for future attachments. After marking, in the corner you need to drill holes for the first rail, in those places where you put the mark.
Article on the topic: How to choose a sedent bath
Holes are done with a drill and drill, with a diameter of 8 mm. After that, plastic dowels are inserted into the holes. They have to go into the hole completely, if you do not enter, you can bother them with a hammer, but lightly, so as not to break the hat.
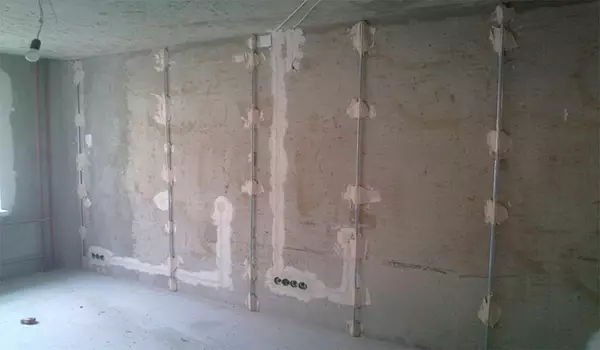
Next, you need to twist screws into the holes, setting the vertical level by their caps, with a plumb. Install on the fastening caps for the lighthouse, and install the rack itself. The first lighthouse is installed. Next, do the same in the opposite corner, but do not install the beacon, leave only twisted screws.
Staying between opposite screws threads, find the most protruding part of the wall, and, by twisting and unscrewing screws, set the horizontal level. Do the same for the remaining intermediate screws. For the remaining screws, install fasteners and aluminum profiles.
The distance between the beacons is counting on with the fact that it should be 10 cm less than the length of the tool that you are going to work, leveling the walls. In our case, this tool is a rule.
The advantage of this method of installing beacons in the installation speed, the convenience of regulating the required level of the plane and strength of the structure.
Applying plaster
Stage of application of plaster begins with the breeding of the solution. If you plan to use cement-sand plaster, then you can mix the solution volume calculated for one day of work. If a mixture is used on the basis of gypsum, it is necessary to prepare it portion, at the rate of one portion per one hour of work, as the plaster is very quickly seized.
If the final layer of plaster should be in a thickness of more than 10-15 mm, then it is necessary to apply it in two layers. When applying the first layer, it must not reach the lighthouses 5-7 mm, after it grabbies, you can apply a second layer, without forgetting before it, apply a new primer layer.
Apply the plaster on the wall using the rule. To do this, put the solution on the tool by distributing it along the entire length. Take the rule tightly with two hands, attach to the wall and spend down the surface from top to bottom. In order for the solution to bed more smoothly, make small movements to the parties when applied.
Article on the topic: Combining wallpaper in the hallway: 4 Selection rules
Important moment. The edges of the rules, when applying plaster, should touch the lighthouses. That is why they are installed in width, 10 cm smaller length of this tool. After you have inflicted the bulk of the solution, and she has already managed to dry a little, you can start aligning the corners.

But for this, melted no longer suitable, it is ideal to make alignment of walls by lighthouses, but not for corners. Ideal for this purpose will fit the Kelma, the people of the trowel. Make the plaster and neat movements, smooth the surface into the level of the layer already applied.
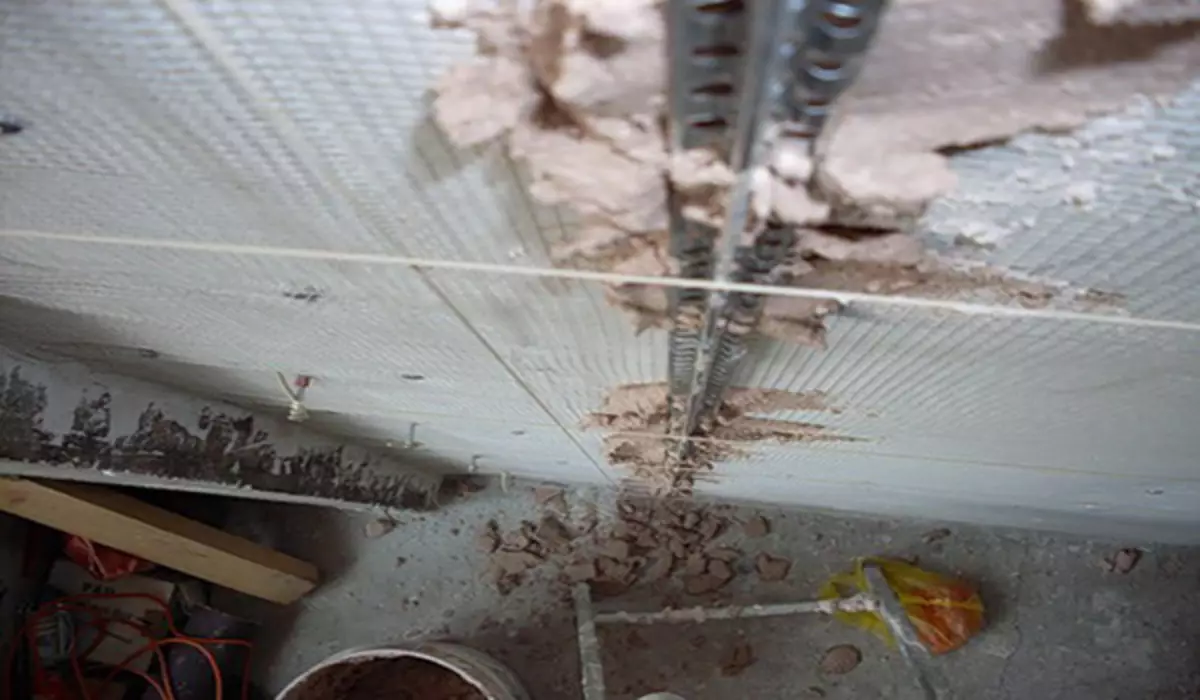
Wait until the whole wall is dry enough, only after that you can delete lighthouses. Just do it very carefully not to damage the new wall plane. The remaining traces after removing the ridges to make a solution and scatter.
Finishing stage
At the last stage, it is necessary to carry out work on the final alignment of the walls. After the plaster is fucked, you need to walk along it with a halfurist, with an ideal plane of the placard wall.
Next, you need to stick the wall. The putty runs about the same algorithm as the plaster wall. Also in two layers, only melted place, a wide and medium spatula will be used. Before applying, on the wall, it is necessary to apply a primer composition.
The first layer of putty, is called black, it has a relatively large thickness than the second. It is necessary to apply it with a wide spatula by semicircular movements. After graveling the first - you can apply the final slim layer of putty. And how dry and he, the wall needs to be treated with sandpaper to remove the plane to the finally level state.
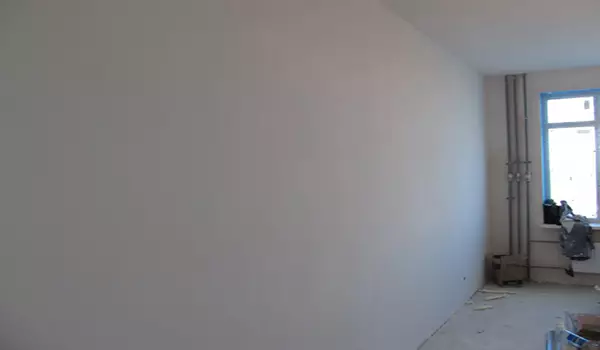
In conclusion, I would like to say that the leveling of walls in beacons is one of the most popular ways to correct the curvature of carrier surfaces. Other ways are also good and bring the same result, but the price of this time is and, of course, higher materials.
Video "Align the walls for lighthouses"
The video clearly shows how to install beacons how to output a horizontal and vertical plane, as well as how to find the largest wall curvature.