
Below is subject to the theme of the manufacture of soft and fluffy products from pumps. Weaving technology of such products are alone, it is used to everything: to children's and adult plaids, to scripters and palatines, bedspreads and so on. How to make plaid from pumps with your own hands fast and easy? You will learn about it very soon, and our instructions and master classes will help you.
Unusual technicians
Rama is the name of the Russian person, but the correct name of the frame - Luma.
Tools and materials that will be needed in the manufacture of plaid from pumps:
- Wooden square or rectangular frame;
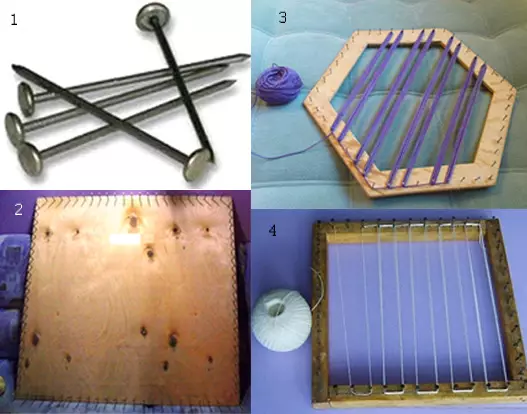
- nails;
- a hammer;
- scissors;
- Yarn of two colors.
The size of the frame should be such a size preferably to see the finished product. But after removal from the frame, the product will be squeezed slightly, about 10 centimeters, so it is necessary to consider it.
The frame presented here is square, the length of the parties is 1 meter. If, for example, there is a desire to knit covers for a sofa, then such a frame is no longer suitable, then you need to make a rectangular, depending on the sofa size.
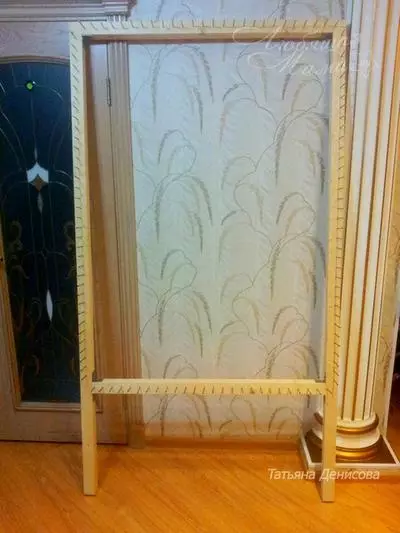
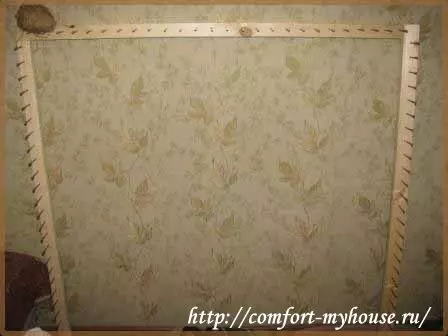
Frame may be such a form:
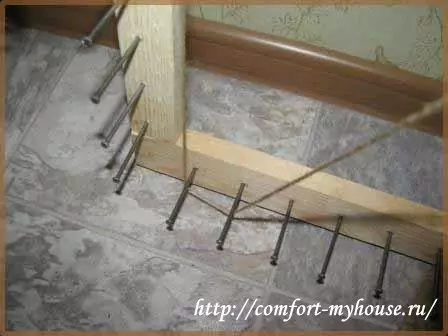
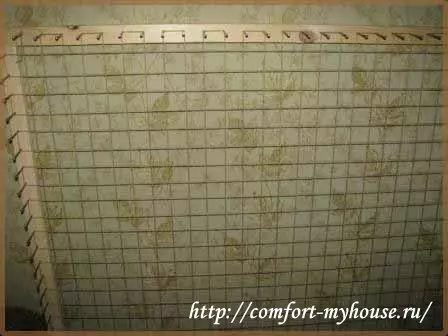
Women will not be easy to make such a frame on their own, better ask for a man. When the frame is ready, you need to drive into it nails at the same distance from each other, in the middle of the rusties, so as not to split it. The distance between the nails can be made 3, 4 or 5 centimeters, at the discretion of the craftsmen. The most optimal size of nails is a seventh, but it is possible to larger the threads to fall. You can also seek help to a man to clog nails. The photo shows that 26 nails left for each side. It is better to wipe nails first, remove the lubricant with them so as not to swap the yarn.
Article on the topic: How to fold things in a bag or a suitcase not to remember
So, the frame for the plaid is ready! By the way, it is possible to use Phaneur 5-7 mm instead of the frame, in the extreme case, chipboard.
But the framework can also be made from dense cardboard.
The yarn needs to choose the most soft and gentle, ideal for this purpose 100% acrylic is suitable. In the absence of allergies, the semi-wool and wool can also be used, but it is necessary to pay attention to the threads are not prickly. In this case, the yarn is used from 100% acrylic "VITA BABY" (400 m / 100 g): 3 wowing of white and 5 blue motors, it is also necessary to take into account that in addition to the winding threads, threads are required to zeep nodules.
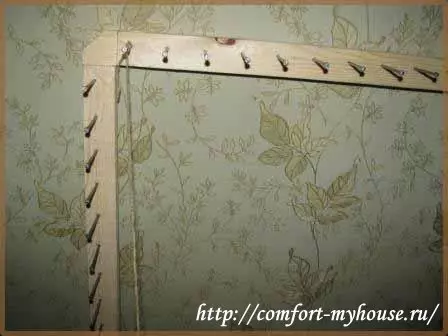
Now the next step will be the winding of the threads on nails.
Easy master class
First we must weave the basis.
Recommendation: The basis of making other threads on tone is darker or lighter, or at all of another color, otherwise then it will be time to recalculate the threads before cutting. The basis should be 20 threads vertically and 20 threads horizontally, 40 yarns will be in the intersections.
We begin to weave vertically, tie the thread to the upper carnation and lower it down, take 2 carnations at the bottom and climb up, here you also wrap 2 carnations and down and so take the vertical part to the end.
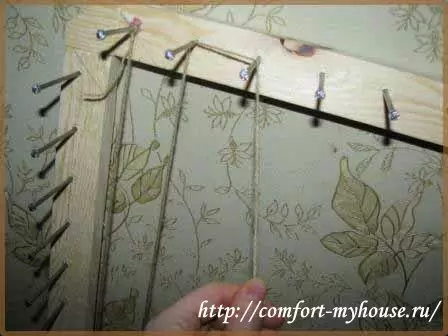
Now you need to turn the thread on the horizontal part and exactly the same, hackering two carnations, weave to the niza himself.
This looks 1 wound row vertically and 1 horizontally.
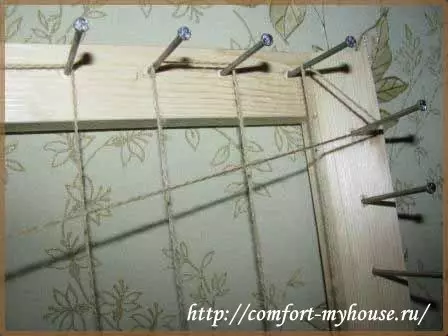
It is necessary to wind up 20 threads on the vertical part and 20 on the horizontal part. When the basis is ready, the next step is to wind up the nails of the yarn of a different color, just as vertically and horizontally, but 30 threads. These 30 threads and will be future pompons.
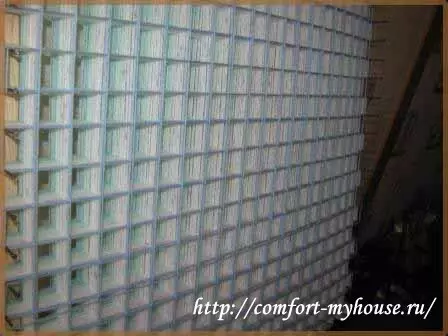
30 threads are wound along the vertical and 30 threads horizontally - this means that the winding process is over.
Article on the topic: Shadow pattern with spokes for the plaid and for a sweater: Schemes with video
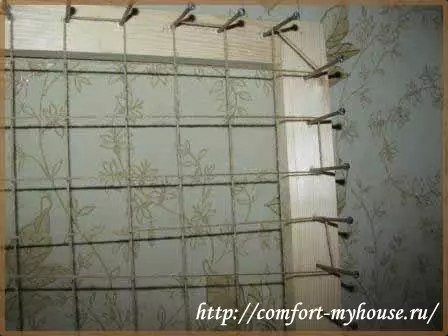
Next comes a rather painstaking work that takes many hours, from hours to several days, and which with unaccustomed brings the calls on the fingers, so It is recommended to wind the leafoplasty. It will be necessary to tie strength knots in large quantities (several hundred) at the intersections, not missing a single intersection, otherwise the plaid will not work. It can be seen in the photo below:
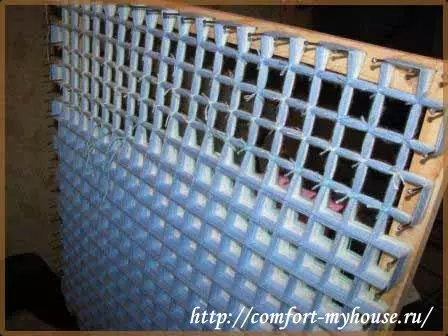
When all the intersections are tied up, once again checked, whether they are tied everywhere.
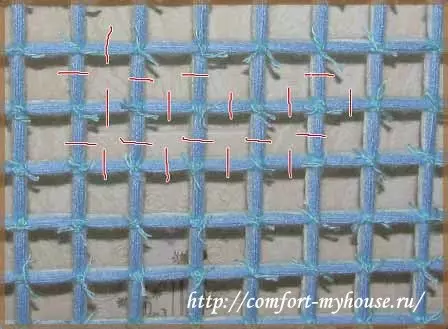
Most of the work performed, now there is a pump cutting step. Scissors can also be pretty fingers, so you have to take breaks when cutting. We cut from our crosshair nodes from four sides to 30 threads, not a touching base, otherwise the plaid will fall apart and nothing will work.
Why did they take for the basis of the thread of another color? In order not to count 30 threads every time, it is simply visible in color where the basis and it should not be touched, only another top color is cut, which wounded after the basis.
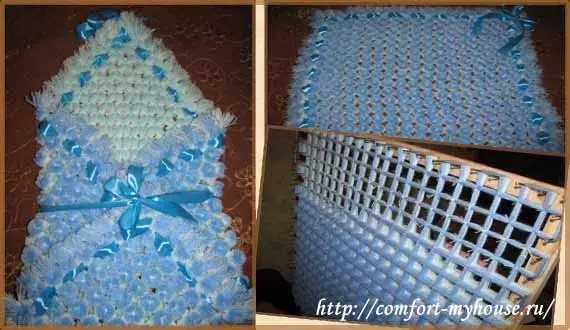
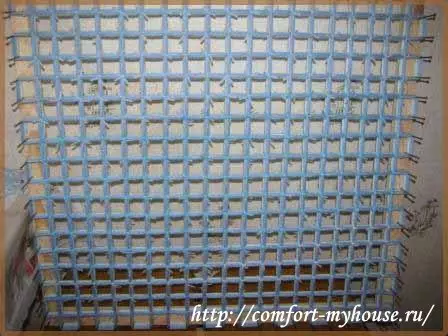
The photo shows where exactly cut, the red line indicates the case of the cut. That is, small sides of the fallen squares are cut in the middle.
Now it is to cut the plaid with nails. It is necessary to go through the entire perimeter of the frame and where the red line is marked in the photo below, it is necessary to cut in half, all the threads along with the basis.
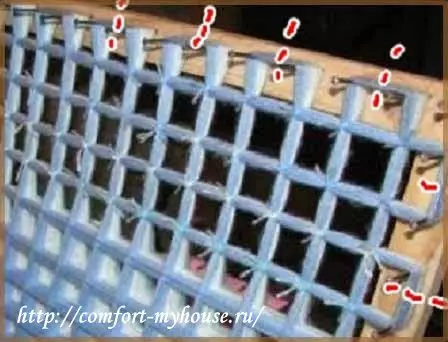
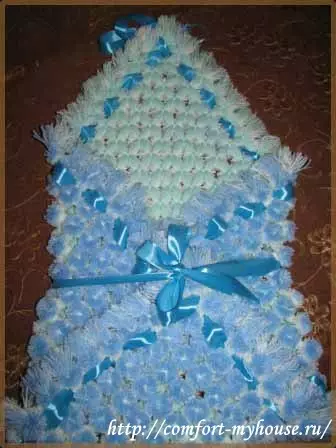
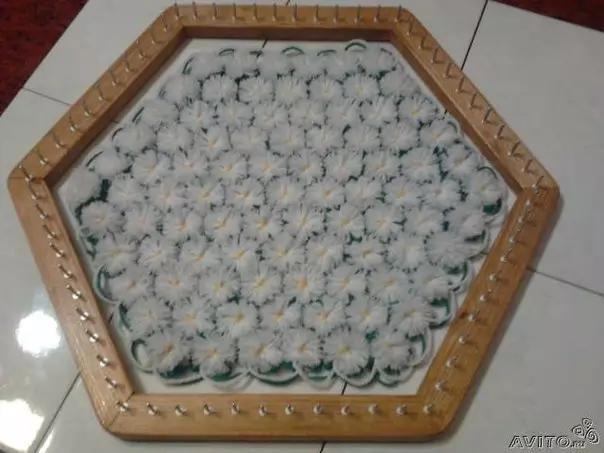
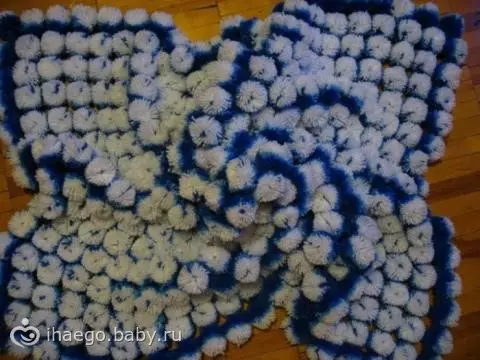
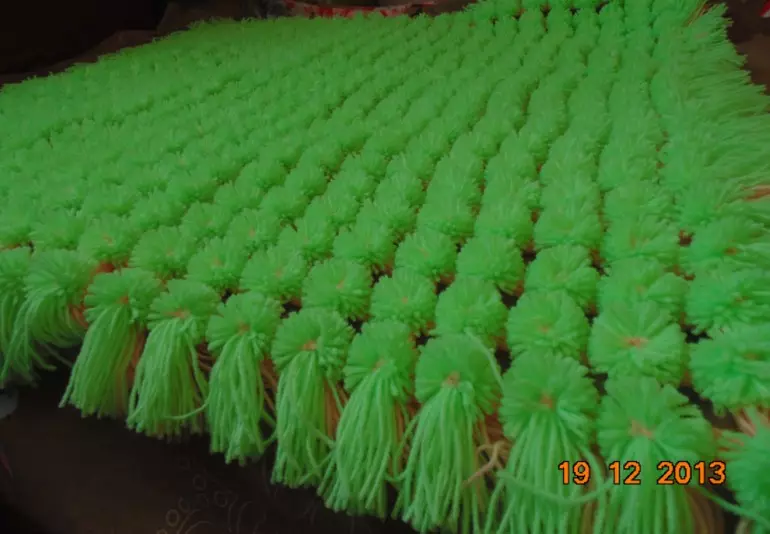
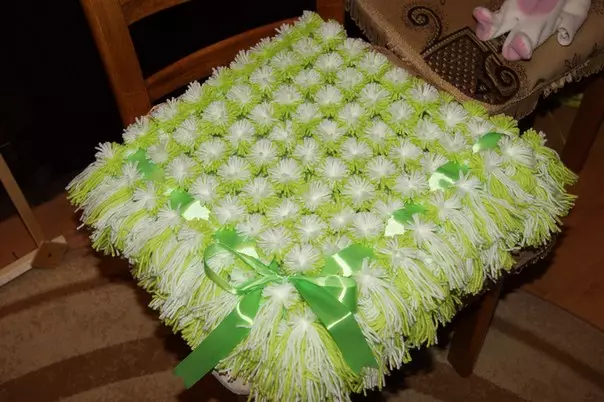
As a result, the entire plaid is cut, he himself is removed from the nails and it turns out such a wonderful fluffy plaid from the pumps made with their own hands!
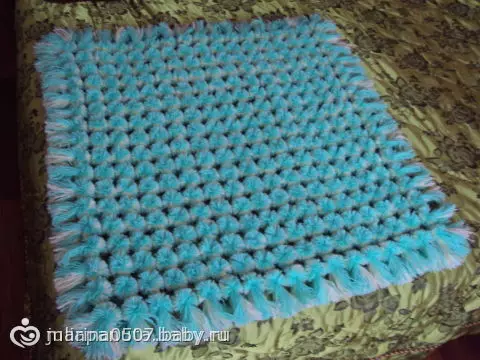
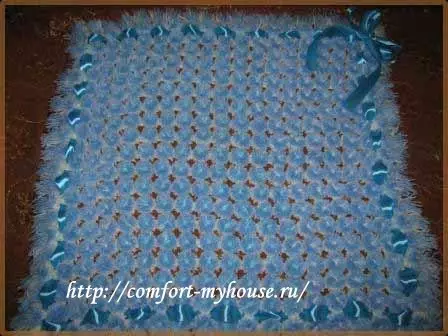
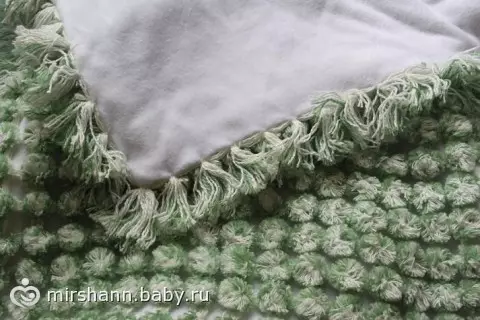
And the reverse side of the plaid from pumps looks like this:
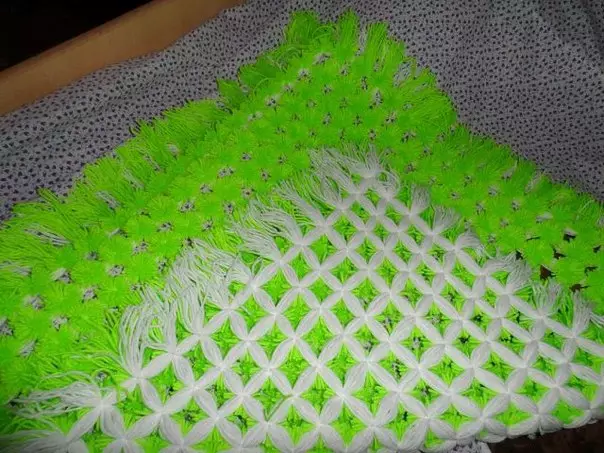
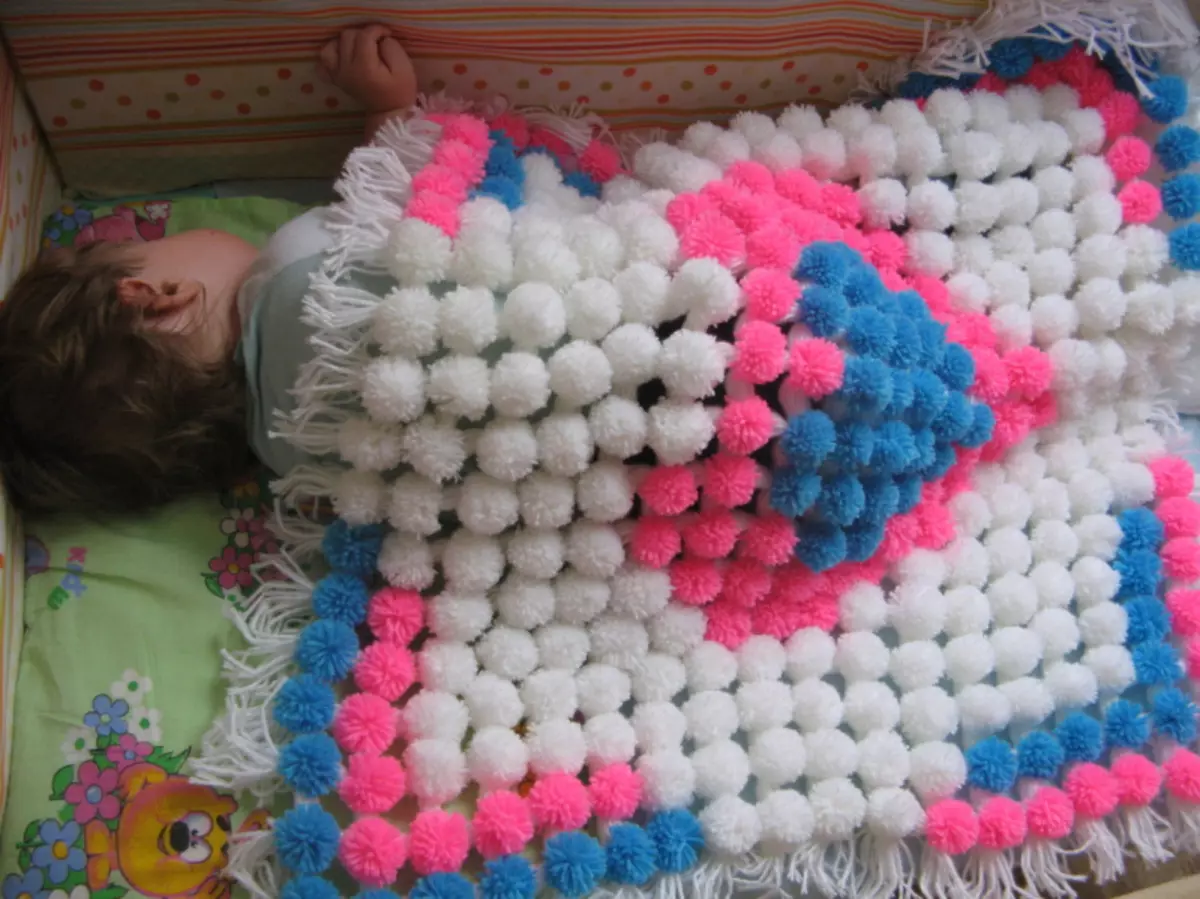
Here are more photos of such plaids from pumps:
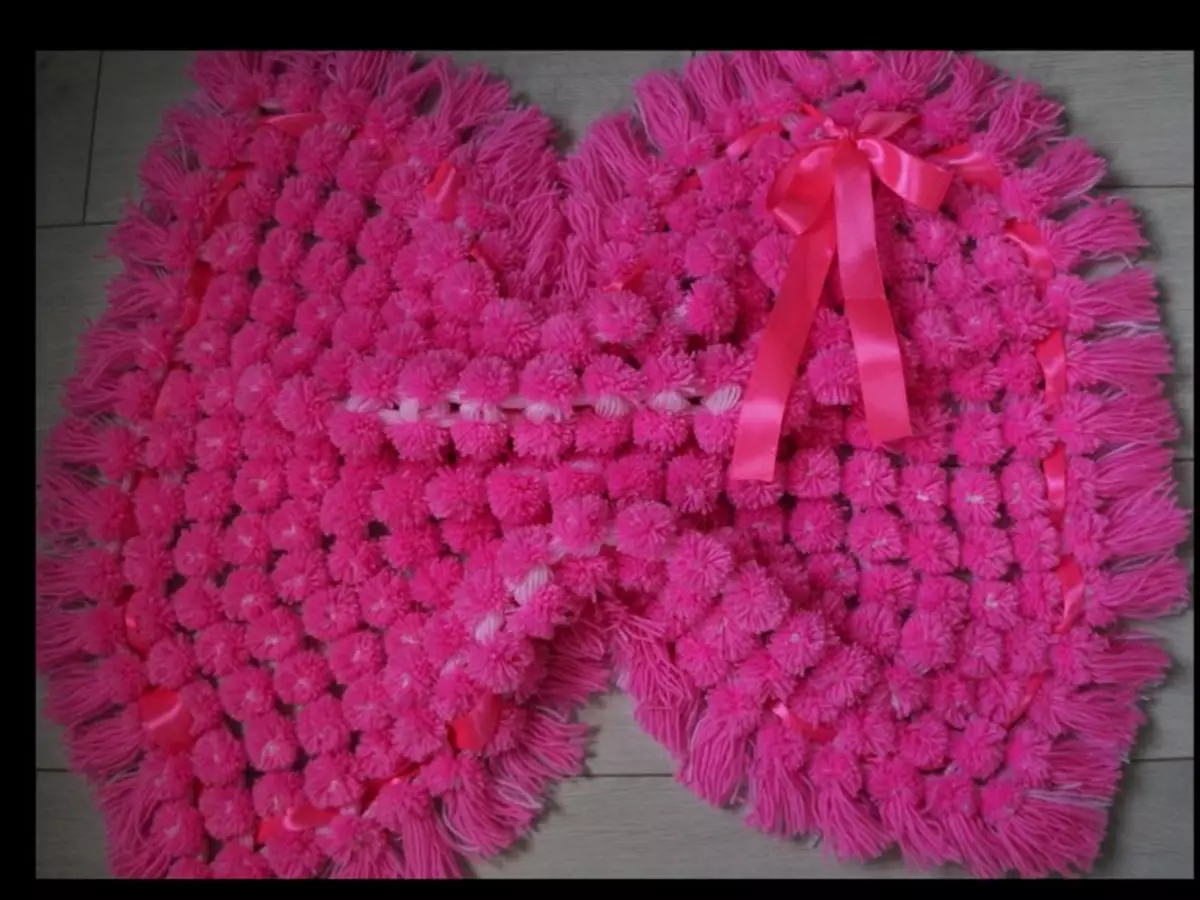
You can also roll the bright color satin ribbon.
To make the plaid warmer, the lining of the fleece or cashmere is laid.
Video on the topic
The video will help make such an unusual plaid from the pumps, for example, for a newborn.
Article on the topic: Chicken from threads and ball: master class with photos and video