
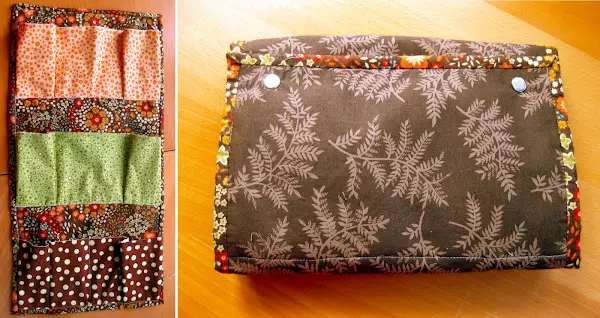
Dear readers of the Internet magazine "Handmade and Creative"! The vacation season is nearing, so it's time to gather on the road. In our new master class we offer to sew a road organizer with their own hands. It can be placed in it all the necessary jars and tubes with cosmetics and boldly go to the road. The organizer can be deployed and hanging in the bathroom for special hooks. By the way, very convenient.
Required materials and tools:
- Multicolored fabric loskuts;
- Fliselin;
- Buttons or tapes for the fastener.
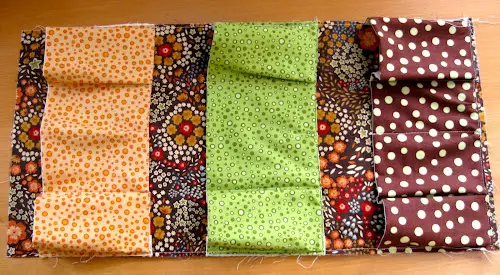
Cutting out
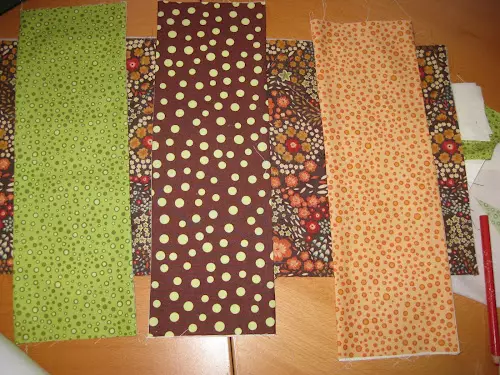
Cut one back of the organizer 34 cm x 24 cm, one frontal part of the same size. Cut the fliesline with a size of 34 cm x 24 cm - 2 pieces. Cut pockets with a size of 34 cm x 13 cm - 3 pieces. Cut the lining for pockets with a size of 34 cm x 13 cm - 3 pieces.

Production of pockets
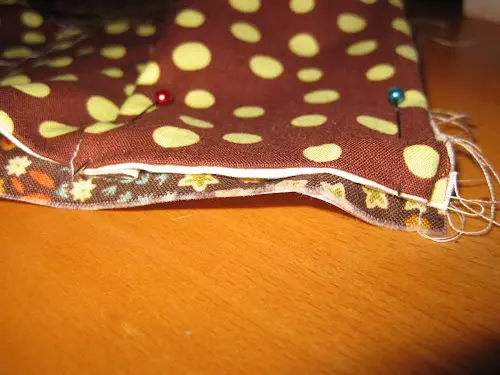
Using the iron, attach fliesline to the front and rear of the organizer. Align the lining and pocket with the front sides to each other. Stretch with a 6 mm seam with a seam on two long sides of the pocket, leave the other two as unprocessed.
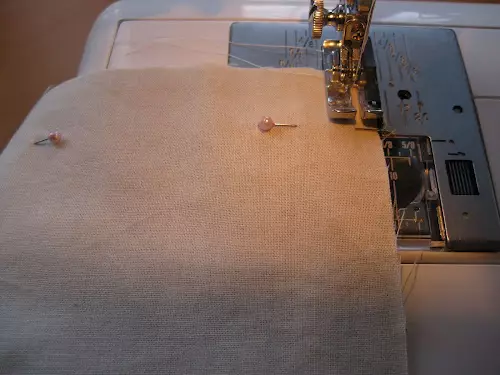
Remove the pipe is accommodated and join the iron. Repeat the same for two other pockets.
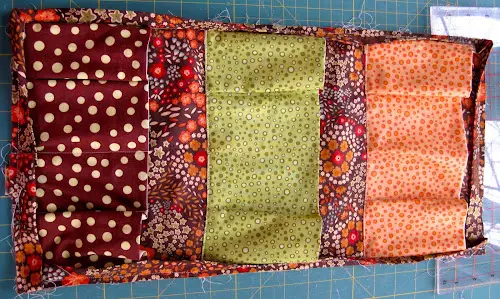
Sewing pockets
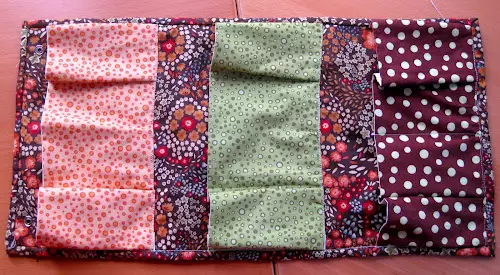
Determine where your pockets will be located, and which sections are sharing. Mark these places with a marker.
Print pocket with needles to the frontal part of the organizer.
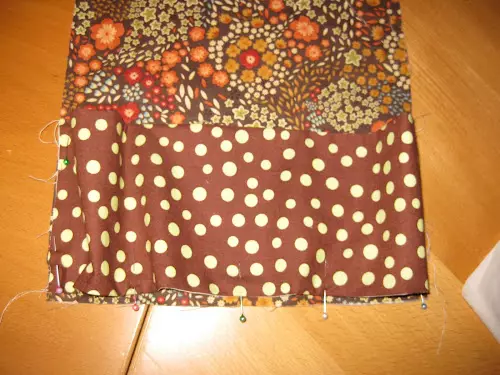
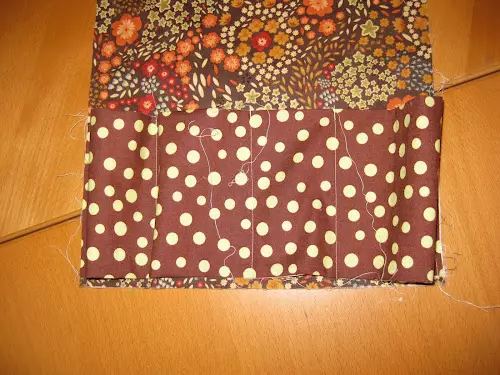
So that your pockets are volumetric, you can make such folds.

Scaliate all the needles, leave enough space for the seam.
First, step the pocket section.
Then step up on the bottom of the pocket.
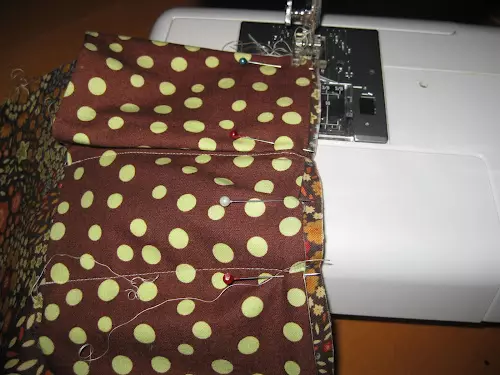
Repeat the same for two other pockets.
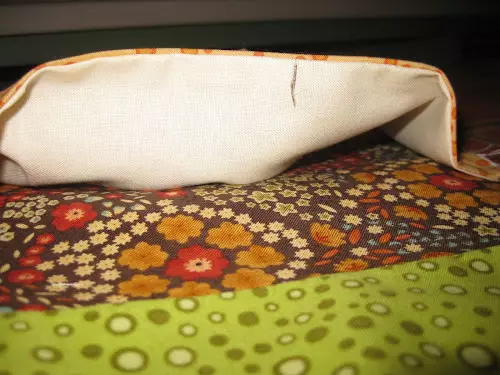
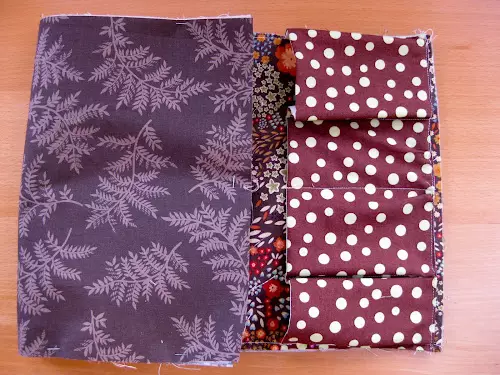
Connection of pieces
Scaliate the front and rear part of the organizer and place around the perimeter.
Article on the topic: how to use paper for scrapbooking with pictures
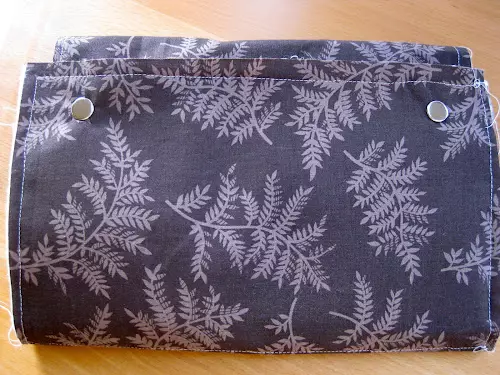
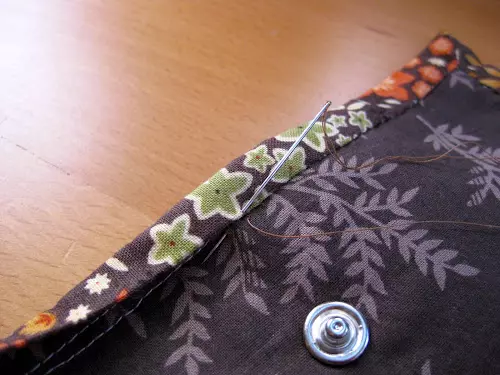
Now adhere to the organiser clasp, as shown in the figure. You can use the tape instead of the buttons as a fastener. It must also be sewed in this step.
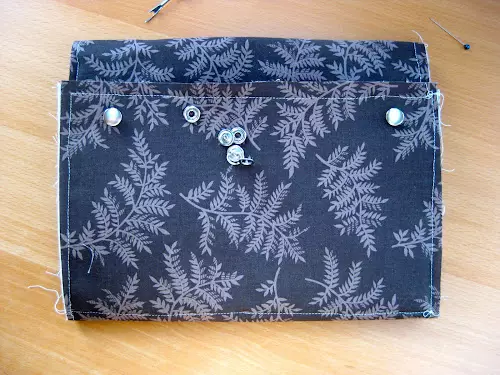
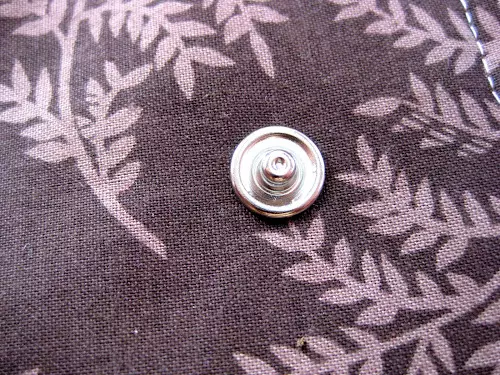
Button closer.
We have a subtle organizer. If you assume to the organizer to fold the bulk tubes, then you need to decide with the position of the buttons. Maybe it is better to shift them a little closer to the center.
Cut three strips with a length of 123 cm and a width of 5 cm.
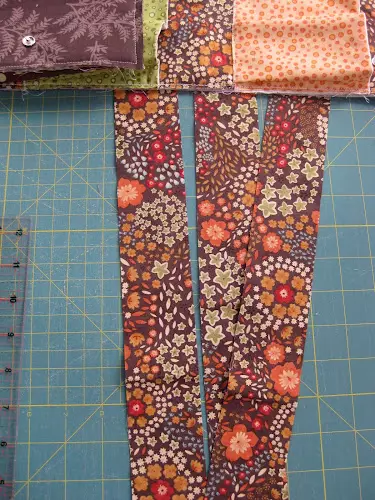
Roll the strips in half and endure the iron. Sun to the Organizer, as shown in the photo.
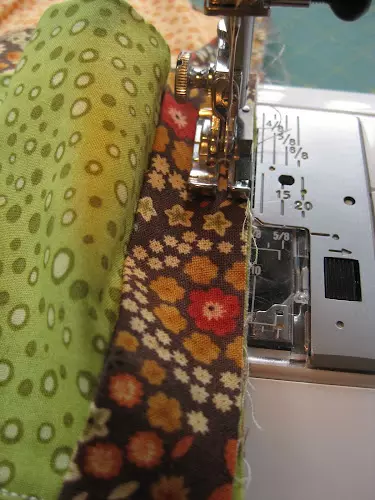
Once the edging will be sewn to one side, turn the organizer and enter the edging with your hands to the rear.
Try to hide the lines.
Comfortable road organizer is ready. Use with pleasure.
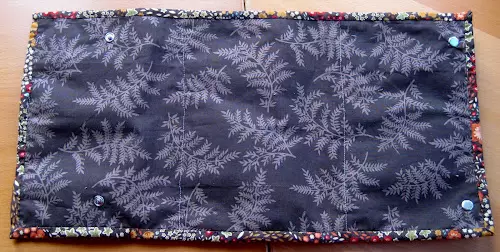
The reverse side of the organizer. Everything is very neat.
If you like the master class, leave a couple of grateful lines to the author's author in the comments. The simplest "thank you" will give the author of the desire to please us with new articles.
Encourage the author!