
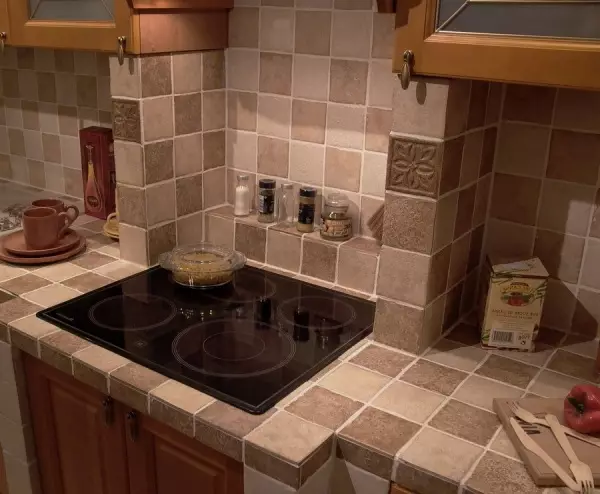
In modern kitchen, there are many details, without which it is impossible to present daily life: high-quality stove, comfortable, deep sink and, of course, a solid countertop. Highlighting its own home, each of us seeks to create the most comfortable conditions that meet all our requirements. Unfortunately, the manufacturers of furniture heads take into account our wishes, so we are increasingly thinking about such a perspective as the kitchen table top from the tile with their own hands.
Advantages of tile
The ceramic tile countertop on the kitchen made by their own hands does not only make it possible to implement your plans regarding the organization of the kitchen space, offering freedom to choose a shade, texture or general concept, but also has a number of unconditional advantages:
- Long service period. Prefer tile above the second class, and you will receive a practically unbound countertop that will not lose your qualitative characteristics even years later;
- strength. If everything is done correctly, such a tabletop will have an increased threshold of resistance to mechanical effects;
- moisture resistance. The tile is not afraid of high humidity, which cannot be avoided in the kitchen, which you can not say, for example, about the traditional version of the MDF countertops;
- Resistance to high temperatures. You can safely put a hot kettle directly on the worktop, and do not worry about the fact that it will remain characteristic traces;
- Easy to care. To clean such a surface, no specific cleaning or polishing agents are required;
- Easy repair. Even if during the operation, you damaged a separate surface element, you can easily and quickly replace it at minimal costs;
- Easiness and speed of manufacture.
Tools and materials
If you are firm in your intention to make a convenient, universal countertop yourself, do the preparation of tools and materials. From the necessary inventory you will need:- Construction level - thanks to it, the surface of the table top will be perfectly smooth;
- roulette;
- Standard tiles;
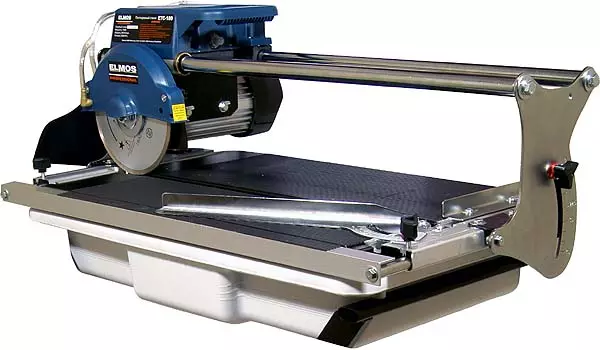
- Electrolovka or hacksaw for wood or chipboard;
- 3 spatula - rubber, ordinary, gear.
Article on the topic: Narrow washing machines
From the materials, bow to the sheet of plywood or chipboard (this will be the base of the table top), directly with ceramic tiles in the required quantity, glue for ceramic tiles, grouting for seams and silicone sealant. It is worth considering that the durability of your product will be directly dependent on the quality of the selected tile and material of the base.
Choose tiles
In order for the result of your efforts to be favorable, do not save on the tile: it must be shockproof (otherwise you will have to regularly change individual elements), resistant to the effects of acid and alkaline chemicals, moisture-proof.
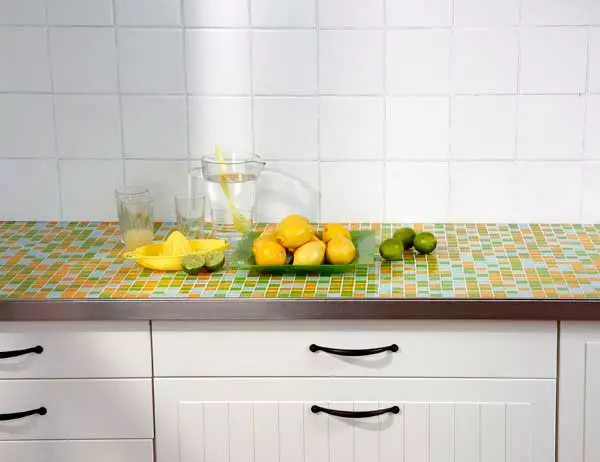
It is important to take into account the size of the tile: how it is larger, the easier it is to put it, and the care of it will be easier. However, we must not forget that the future countertop must meet the overall design concept: if the stylistics of the room requires a small or mosaic tile, lay it.
As a rule, for the kitchen room of standard sizes, there is enough tiles with a rebier of 15 cm, smaller parts are suitable for small cuisine. To arrange the edge, pick up the frieze suitable in size. It is better if the surface of the future tabletop is smooth and smooth - it will facilitate the process of further cleaning, because the contamination will not be accumulated.
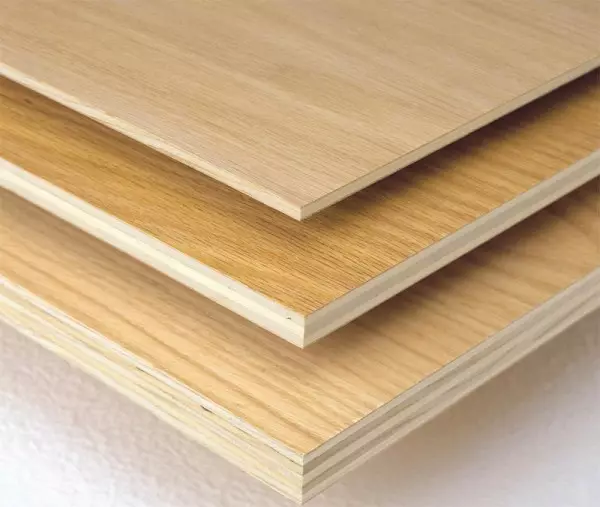
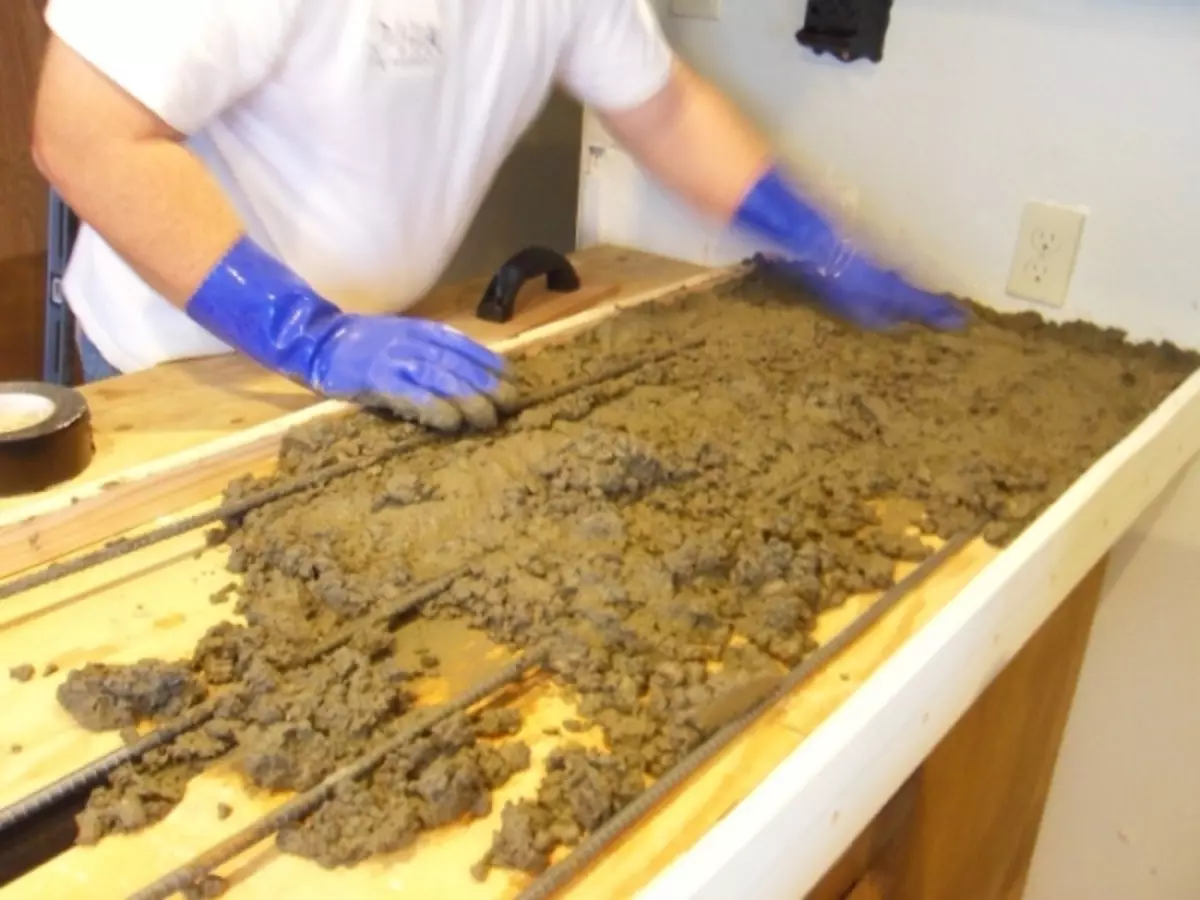
We do the foundation
Most often, the base-table base is made from plywood, but you can also use a chipboard or OSB plate. For whatever base material you stop, it must be treated with antiseptic and water-repellent compositions. If you want to get a thicker table top, boldly fasten a few plywood sheets with each other: while the first sheet must be attached to the base, on which, in fact, the tabletop will be located, and already put the next layer on it, covering it with glue and self-draws. Now we can make notches on the surface, and lay a special plaster grid. After that, we carry out the waterproofing of the structure. As soon as the protective water-repellent layer is dry, you can begin further work.
Article on the topic: crocheted curtains in the kitchen: photo ideas
Making the basis for the countertops, be sure to note that the finished design will have a significant mass, so take care of the additional strengthening of the framework on which the work surface will be located.
Laying tiles and decoration
Now it's time to do the most interesting - laying tiles. To do this, you must first install the rails around the perimeter of the countertop, in the thief with which you need to distribute the cement solution with a spatula, and to dissolve it. As soon as this layer is dry, an adhesive mixture is applied to it, gently distributing it with a toothed spatula. We recommend starting styling from the outside edge of the table top (what is closer to you): In this case, if you need to crop items, they will be located at the wall. Tile lay, as usual, not forgetting to control the width of the seam with the help of special crosstick limiters. The end of the countertops is made in a special frieze, or use the same tile as for the main surface.
Tip: calculating the required number of tiles, be sure to buy several pieces about the reserve. The tabletop will serve you not one year, and during operation, individual surface fragments may be damaged, for example, to split from an unnecessary effort. Challenged tiles get rid of you from the problem of searching for a suitable material (after all, manufacturers regularly update their assortment series by removing certain collections from production).
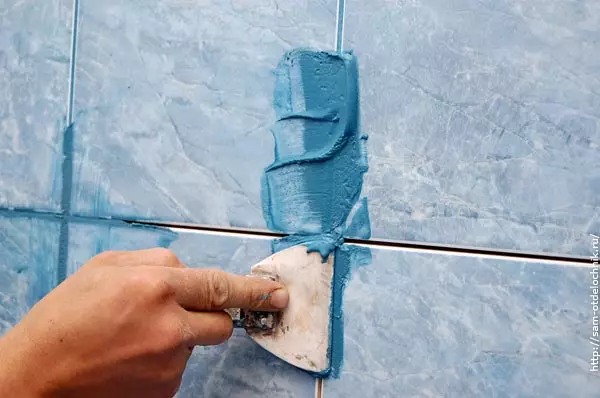
When facing works are finished, and the glue will completely dry, you can start the final stage of the finish - grouting of the seams. The composition is selected in color based on the tint of the tile. Considering the specifics of the surface, it is better to give preference to dark tones - they are less polluted, and the grout itself is chosen based on epoxy resin, it is more resistant to high humidity.
To apply a grout mixture, it is evenly distributed over the surface of the tile in the seams, and thoroughly rub into the recess. After drying the composition, the residues of the grout are removed with a wet sponge.
Article on the topic: bottom valve for shell
That's all, practical, durable, beautiful, and, most importantly, is an absolutely unique table top, made by you personally, ready!
Video "Kitchen apron and a tabletop from a tile"
In this video, it is shown how and with what sequence correctly lay out the tile on the working area of the kitchen.