
How to plaster slope on the windows? It is really an important question for people who have never come across him. This type of finishing work does not require great knowledge and experience. But the process must be taken to the special responsibility and accuracy, which will allow even a newcomer to qualitatively shut down the window slopes. In this article, I will tell you how to plaster slopes with your own hands.
Required tools and materials
Plastering, as well as the other type of construction, requires preliminary implementation of preparatory work, as well as the preparation of the necessary tool and material.
Material and tool:
- Stucco (it can be finished, or it can be prepared independently in the form of a cement solution);
- Correiler (preferably);
- Aluminum rule;
- construction level;
- Roulette and pencil;
- Window corner;
- Spatulas (better when there are several of them and necessarily a 5-centimeter), one of them should be rubber or plastic;
- Liquid container and mortar;
- Construction workman;
- Kirk hammer;
- pencil;
- Paint brush.
To perform the necessary work with your own hands as correct and efficiently as possible, not only the presence of this tool list. The fact is that every nuance of the process needs to know. For example, a very long level will only interfere. To work, it is better to use the tool is not longer than one meter.
Sometimes, before you start plastering the slopes with your own hands, it will be useful to be equipped with a knife and a gun for applying sealant. Also, perhaps will have to be built by mounting foam. In the case when preliminary work was not carried out and there were cracks between the frame, they need to be blown by foam.
As for the material, in the case when you will use a finished solution from cement as a finishing material, you will definitely use grater and half-sash. And if other types are involved, then prepare the middle spatula (about 45 centimeters), spongy grad and ironing of different sizes (preferably).
Article on the topic: how to make a plasterboard angle
Also prepare the staircase (stepladder). Even better - a building goat. By the way, it's not difficult to make it with your own hands.
Step-by-step instruction
Finishing window slopes with their own hands implies the performance of preliminary work, without which it does not make sense to work.
First remove all the slots that may be between the frame design and the slope. To do this, you can use the mounting foam. Do not spare the material, it is important to get rid of them. Thus, you will not only save on the solution, but also keep warm in the house.
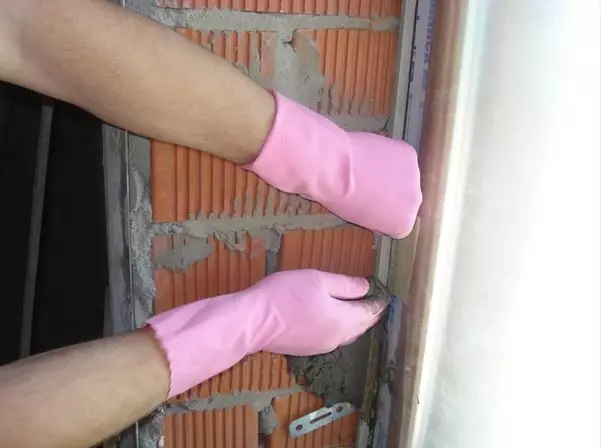
Prepare surfaces. They should not have any traces and fat spots, especially oil paint. The surface should not have a smooth base, since the plaster on it will not be firmly held. All protrusions remove pickle or hammer. If the window is new, then it is desirable to protect it from the solution from entering the solution.
Swap plaster should be performed at a temperature not lower than five degrees.
Prepare a mixture with compliance with the manufacturer's instructions. You do not need to cook it a lot, otherwise you will not have time to use the whole. She will freeze and it will have to throw it away.
How to plaster slope on the windows? Follow the phased instructions:
- Selection of light opening. You can arrange at a right angle, but it will give less light, and you can make the so-called "angle of dawn". To do this, you will need to prepare a special template (Malka), made with your own hands from a piece of plywood or old plastic windowsill. Its width should be a little more than the width of the slope. Cropped with it at an angle in such a way that it turns out to be smooth and acute edge.
- Marking and preparation. Stuccoings of slopes must be performed with markup, it is necessary so that all parties are symmetrical. For ease of marking, you can use a tilter. It should be noted the line at the bottom of the opening in such a way that one centimeter of deviations accounted for every ten centimeters of depth. These points are denoted below and at the top of our opening. Preparation is to remove from the surface of the old layer of plaster and other cement-sand materials. As well as applying deep impregnation primer to increase the adhesion of the new layer with the surface.
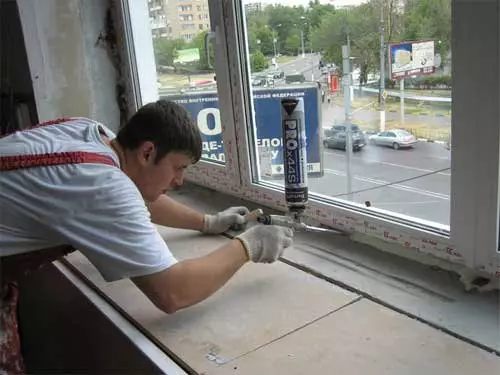
- Parosolation. As a rule, after installing plastic windows for isolation, a mounting foam is used. After drying, its excess must be cut off with a knife. Next, all the joints need to be punctured by a vapor barrier film or to handle the sealant. Such vaporizolation will prevent the appearance of fiber pumps during strong temperature differences. This is especially important if you have plastic windows not the best quality.
- Installation of metal corners. On the gypsum solution you need to install a greasy corner, which will rein the plaster and protect the corners of the design from mechanical damage.
- Installing beacons. Beacons are peculiar straight and wide rails. They have nothing to do with lighthouses that are used to concrete floors and laying bricks. They are installed on the inner side of the wall by screwing or navigation accurately for those marks that were designated with the help of a teller. They rather perform the role of the limiters, since their edges create the border of the new layer of plaster. To get an accurate slope, you need to install racks exactly by marks.
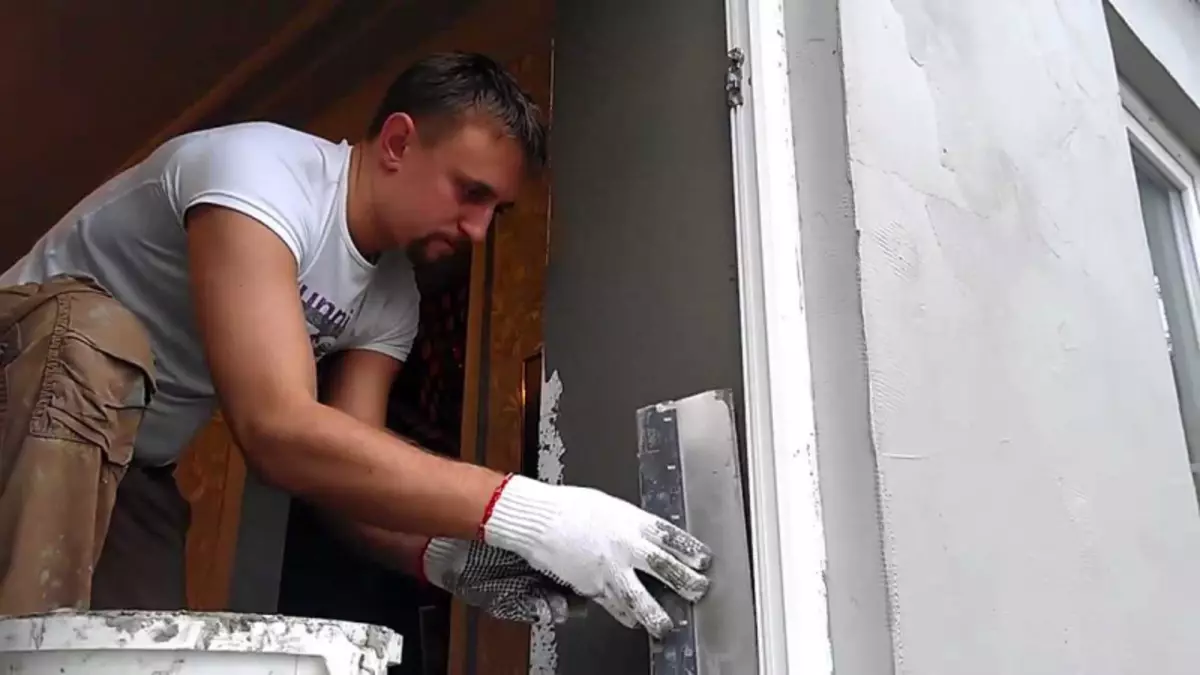
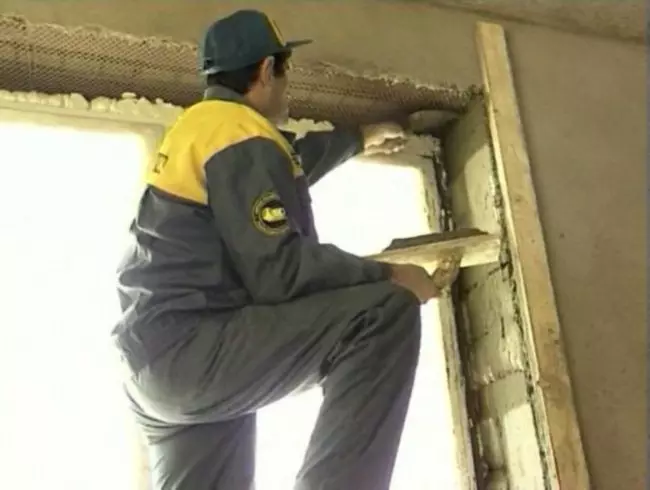
- Plaster. The solution is applied with small portions along the adjacent movements installed. The first layer close all irregularities on the surface. You need to give the first layer to dry. After the opening of the opening between the rails begins. The procedure and the amount of solution depends on the depth of this opening. Filling must be performed in several approaches. For cement-sandy solution, the optimal thickness of the first approach is the thickness of 6 centimeters. After the opening is filled with a solution (preferably with a slide), it must be aligned with the rule. Basically, the alignment occurs in one movement.
Article on the topic: How to get rid of wets in the apartment by people
After all the openings are filled and leveled, you need to give time to the solution to frozen. When he dried, the guide rails are removed and their places are closed with a solution.
If the solution remains in the bucket, it can be diluted with water and apply a thin layer - this will make a new finish stronger and protect the slope from cracking after complete drying.
How to plaster slopes with your own hands? Now it's not a mystery to you. I wish you success in endeavors.
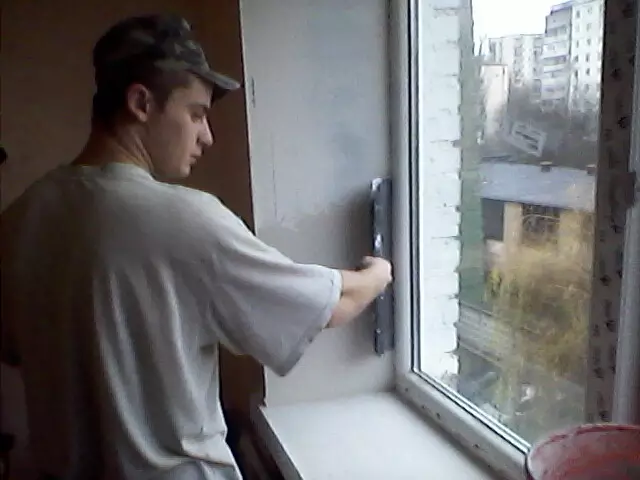
Video "Plastering of window slopes"
On the record, the wizard shows how to plaster the window slump. After watching this record, you can easily complete this process with your own hands.