
Topiaria from Beads - Is it so difficult? Many novice needlewomen doubt, do or not do such a product. They scares the prospect of gluing beads one thing. It is not necessary to scare, since everything is not really scary.
Composition from beads
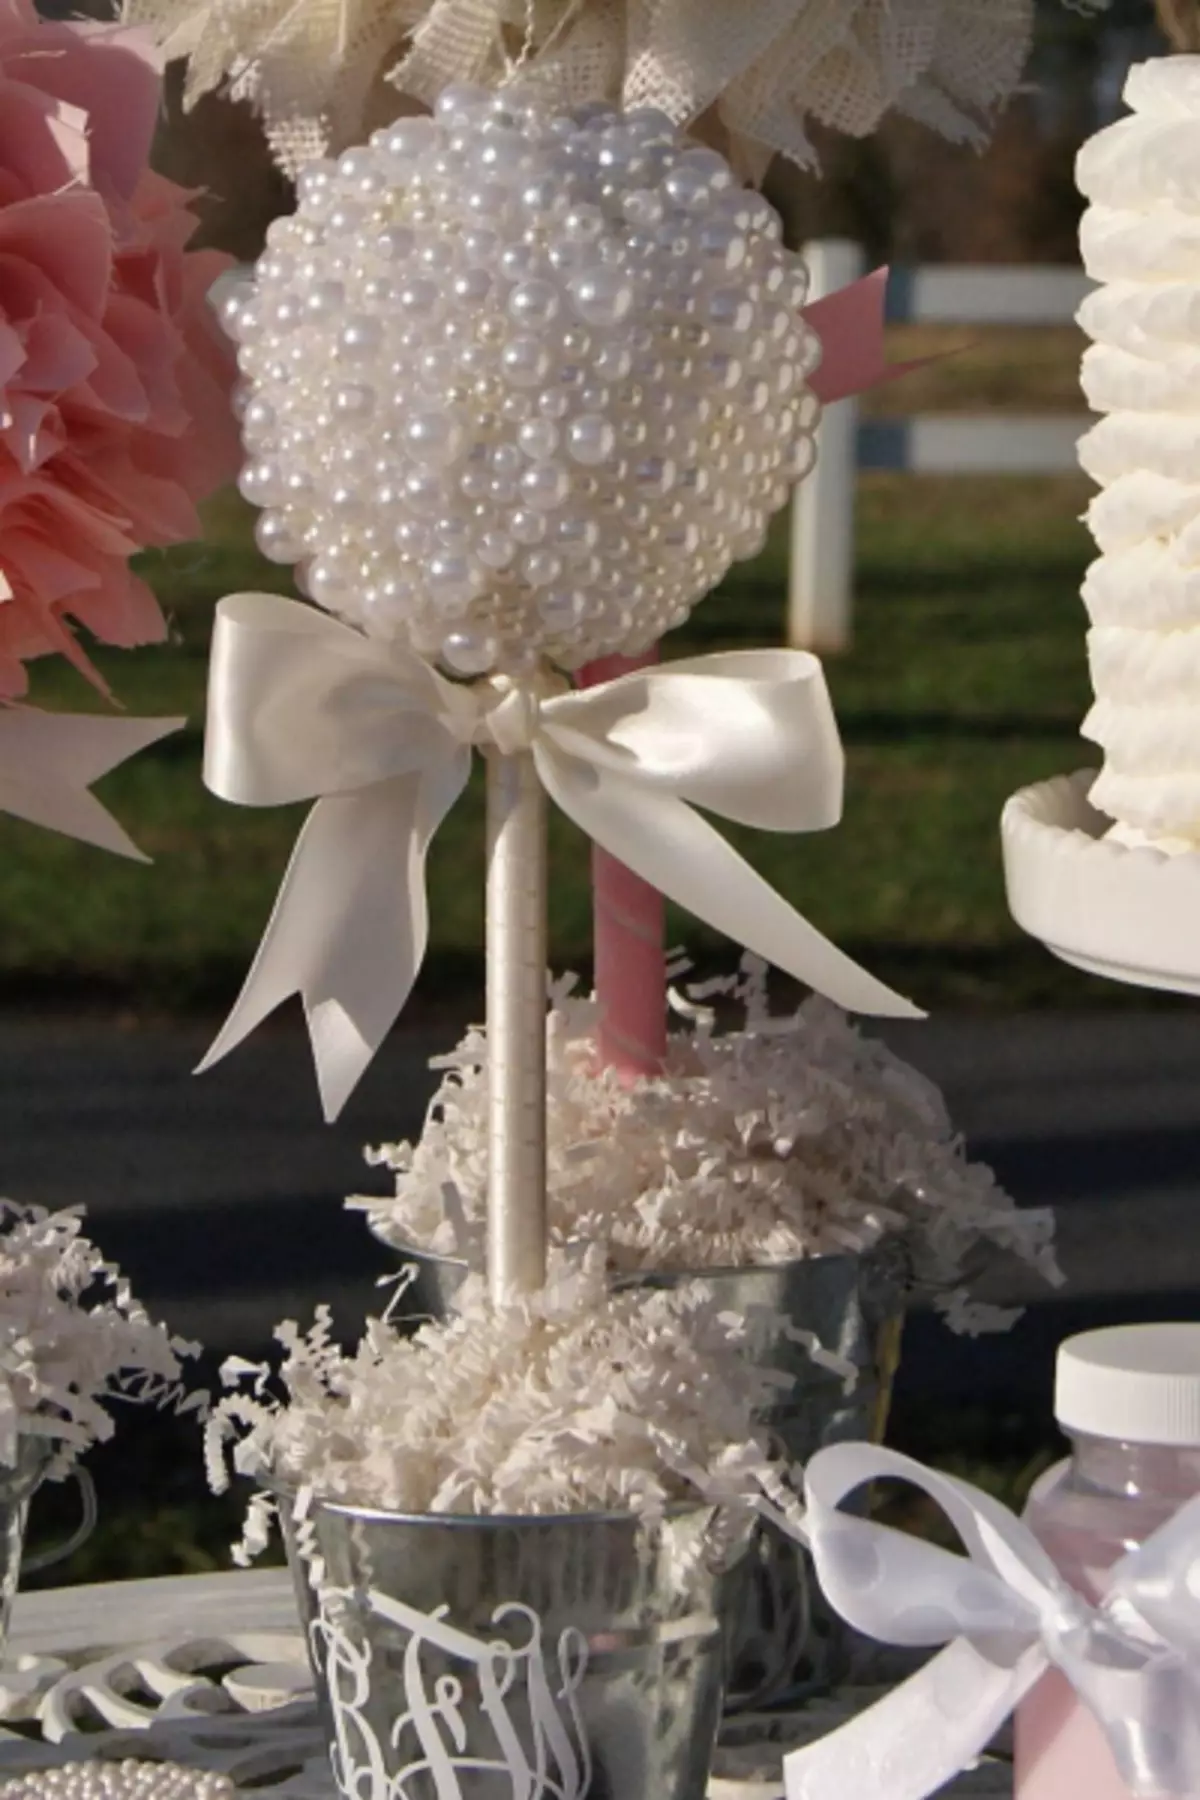
In the first master class will be shown how to make a topiary of a classic form. What is a classic form? Such a tree consists of the base or a ball, trunk and pot.
The process consists of several stages:
1) It is necessary to mark the place where it is necessary to insert the rod, but immediately do not need to stick, as it will complicate the process of cracking the crown by beads.
It is worth noting that the wire will enter a certain length and fixed with hot glue.
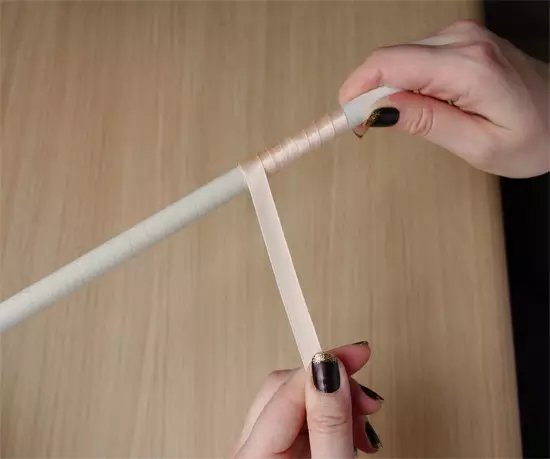
The chosen tree trunk is covered with a ribbon or any other similar material, but the decor should not reach the end of at least 5 centimeters. If the wire is not available, then wooden wands for food or the same spanks are suitable, but they will be required at least three pieces and they must be glued together in their entire length. They also must be covered with the same material as the trunk.
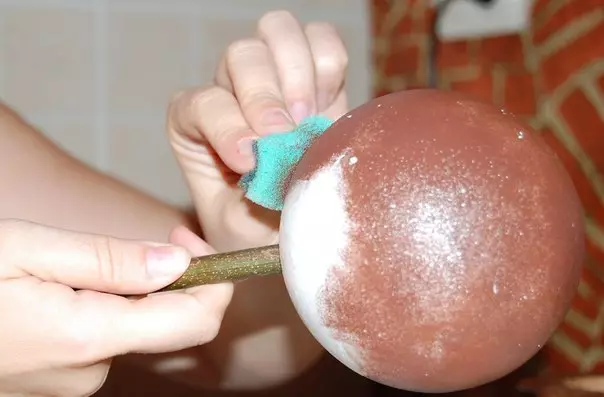
2) At this stage, it is necessary to carefully ride beads on it. It is best if they are identical color. There is the easiest option - buy all white. If the color of the crown is white, and other materials will differ in color, then the white color will shine and the desired result will not be achieved. However, nothing prevents the ball with an acrylic or canister with paint.
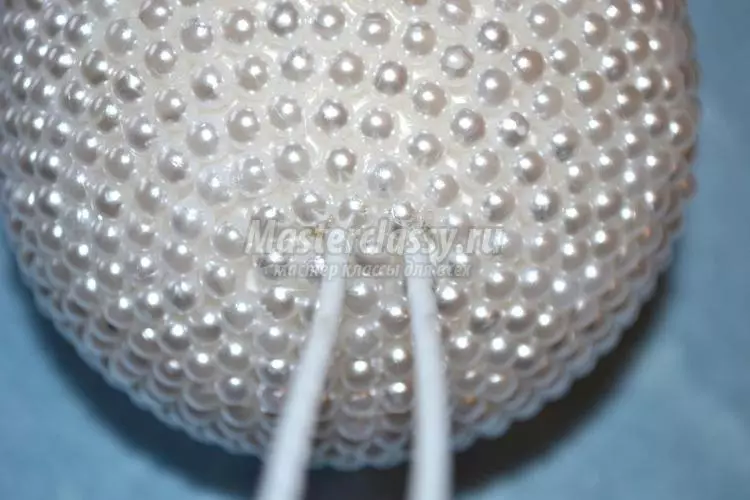
3) The ball is required to find a point with which the salary will go. The ends of the collected beads must be glued to both sides of the crown. The first bead is glued with hot glue smoothly to a previously defined point. The rest of the beads are simply glued in a circle, smearing with glue every bead no need, enough of the ball of the ball itself. After everything was glued to the entry point of the neck of the crafts, stick it and lubricate this place with glue. The place of the joint can be closed by any beautiful ribbon. The photo shows how the wire should enter.
Article on the topic: The most-fish cake. Gift for a man
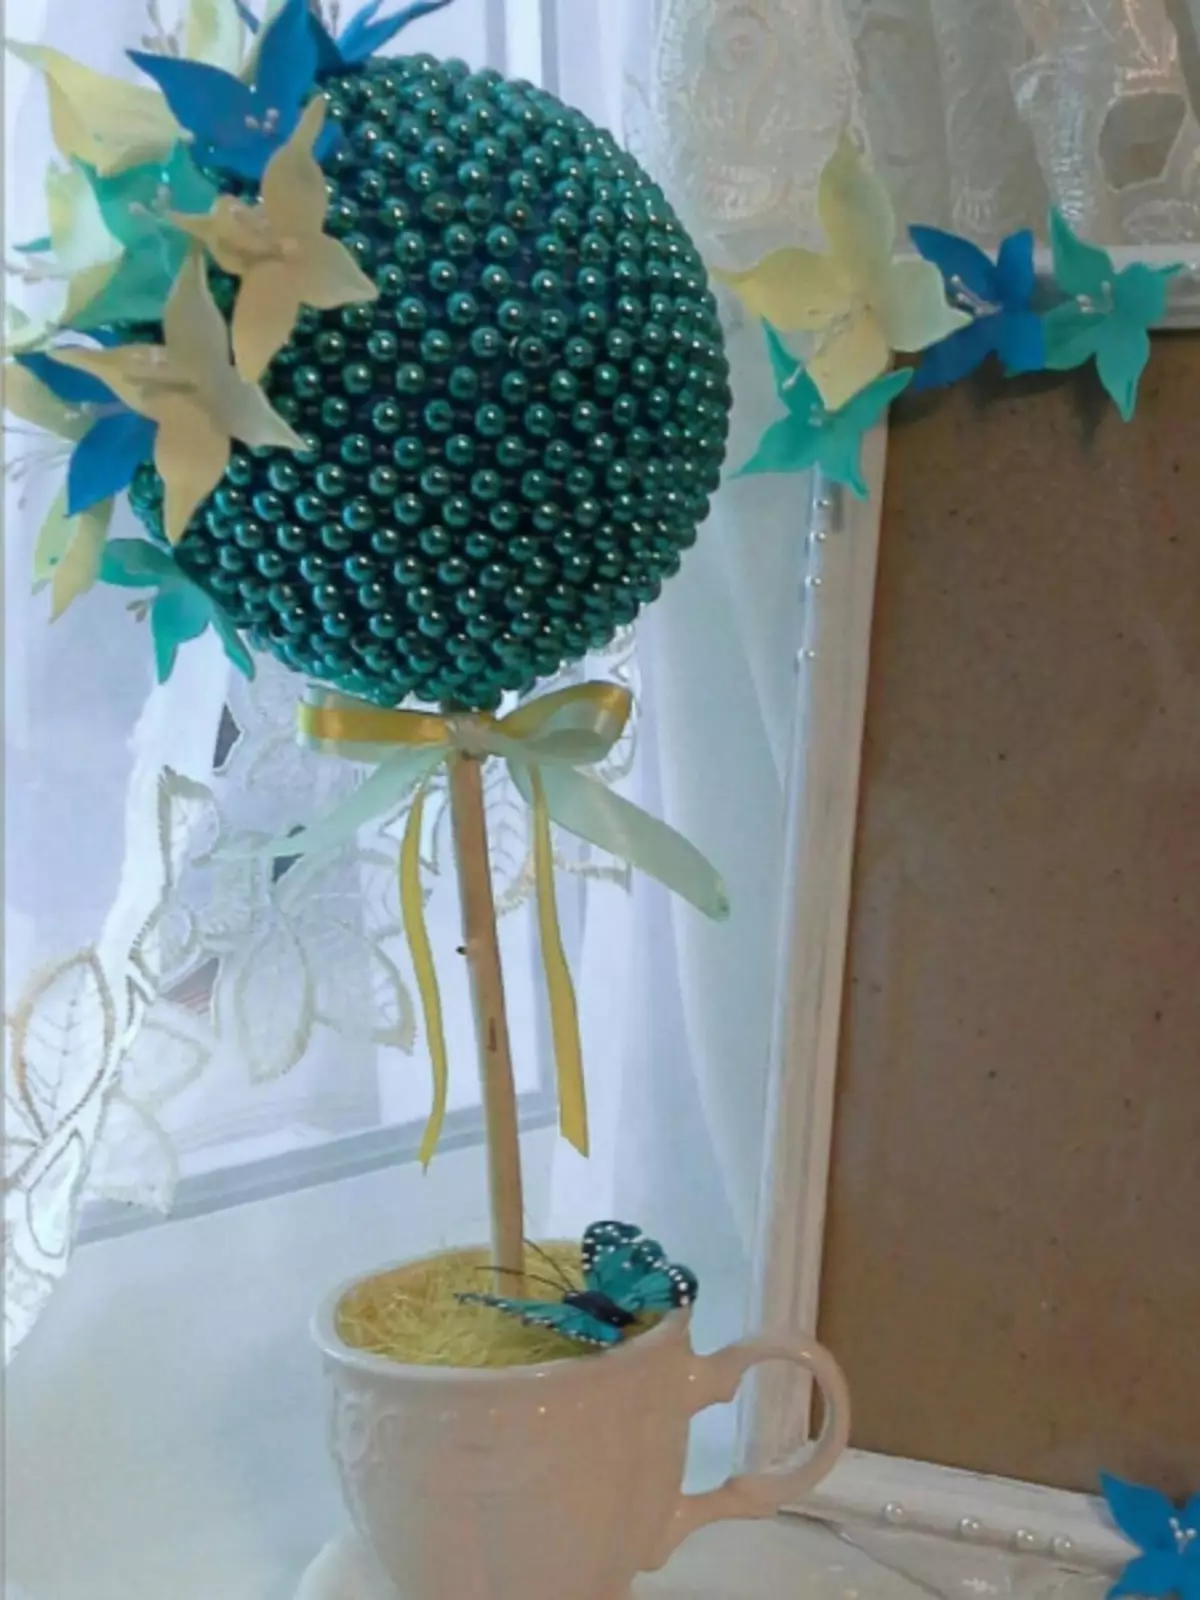
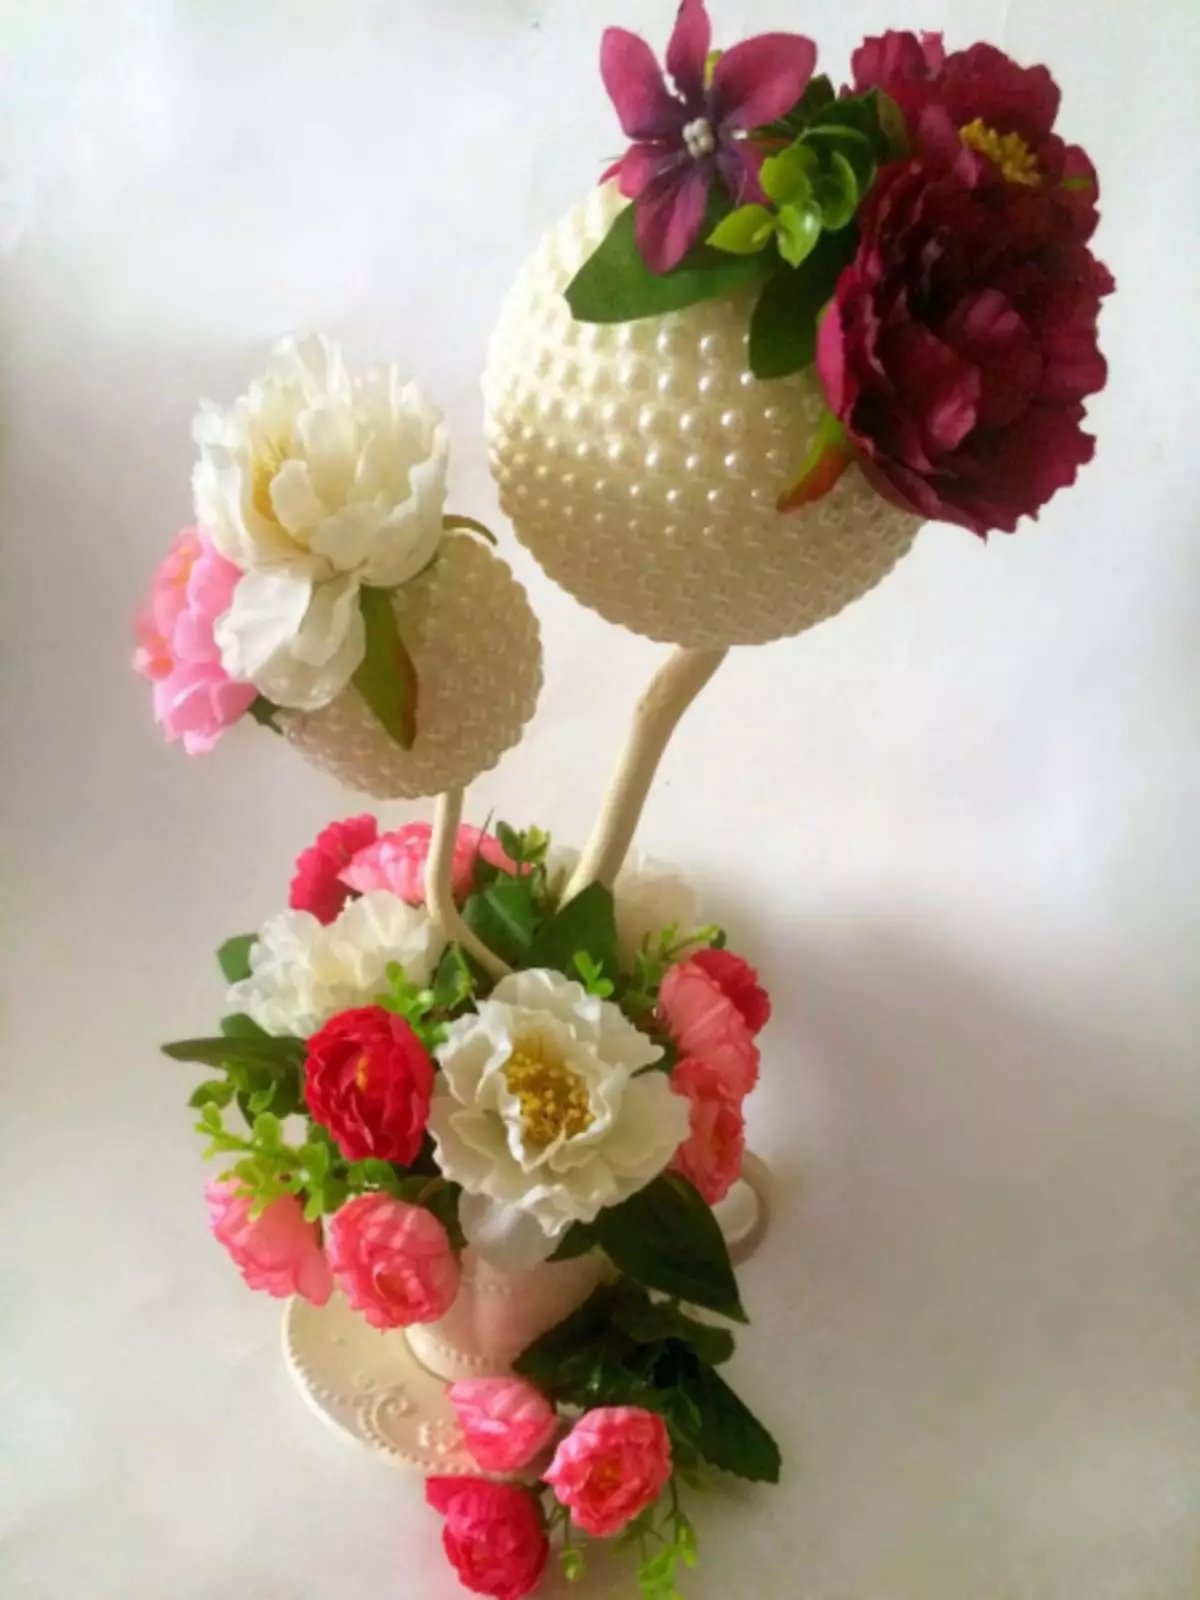
4) Decor. The ball, placed by beads, is difficult to call Topiarium. You can make a decor of the tape and glue to the crown or supplement the design with the same balls, but smaller in size. The pot also needs to decorate. The best option will make flowers from satin ribbon.
5) Now you can place the design. Gypsum is poured into a pot or porridge, the trunk is put in it. It is not necessary to keep it for a long time, as the gypsum freezes quickly. You can speed up the process if instead of plaster take the mounting foam. The so-called earth need to decorate with sisal, coffee beans or ribbons, and maybe something else.
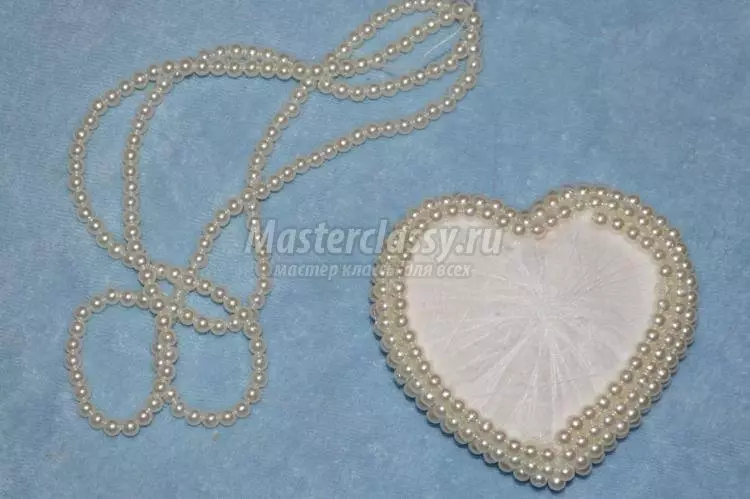
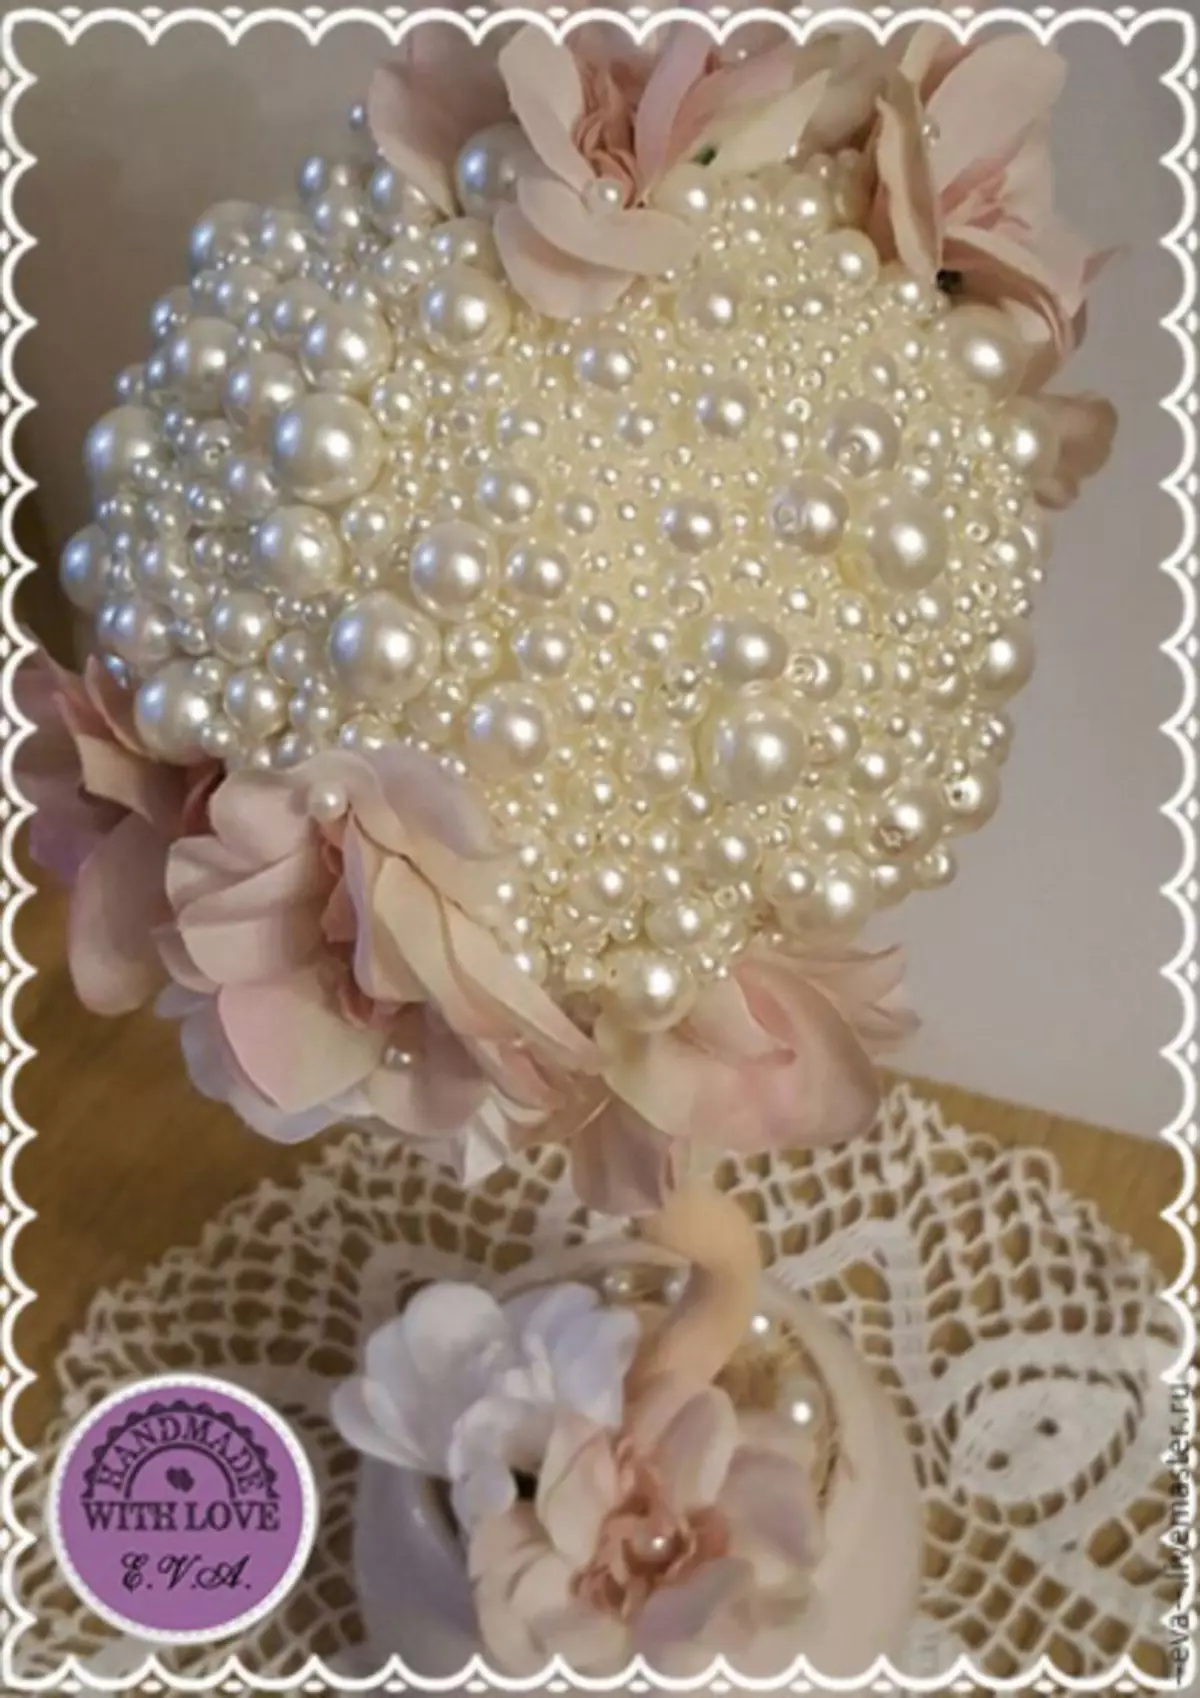
Pearl heart
The second option is more complicated, since the base of the craft is already different, namely the heart.
The creation of such a craft is practically no different from the very first:
1) All the same - you need to make beads.
2) Surely there is no ready-made form in which you could simply insert a wire. In this case, you can simply make a self-made form and so that the barrel does not hang out, simply bore this design with cardboard on both sides.
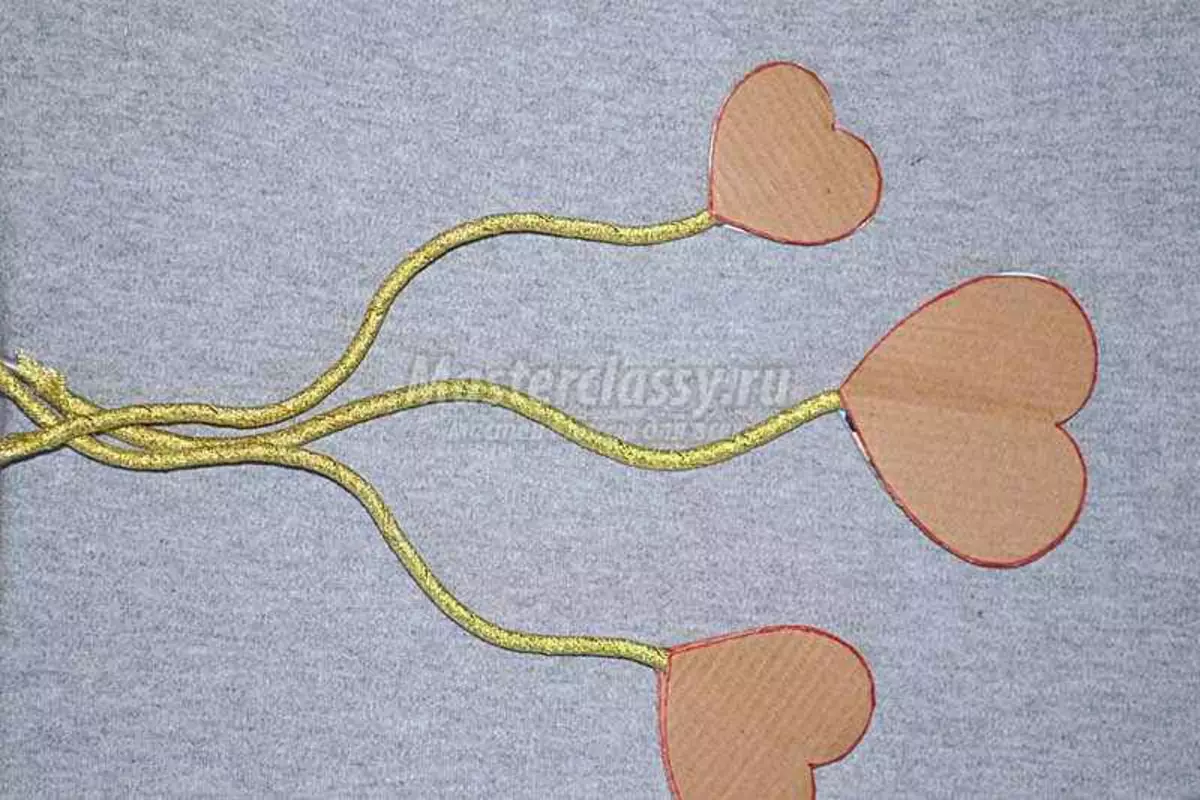
3) Begin to glue beads always need from acute edge, from the end, gradually moving to its plane.
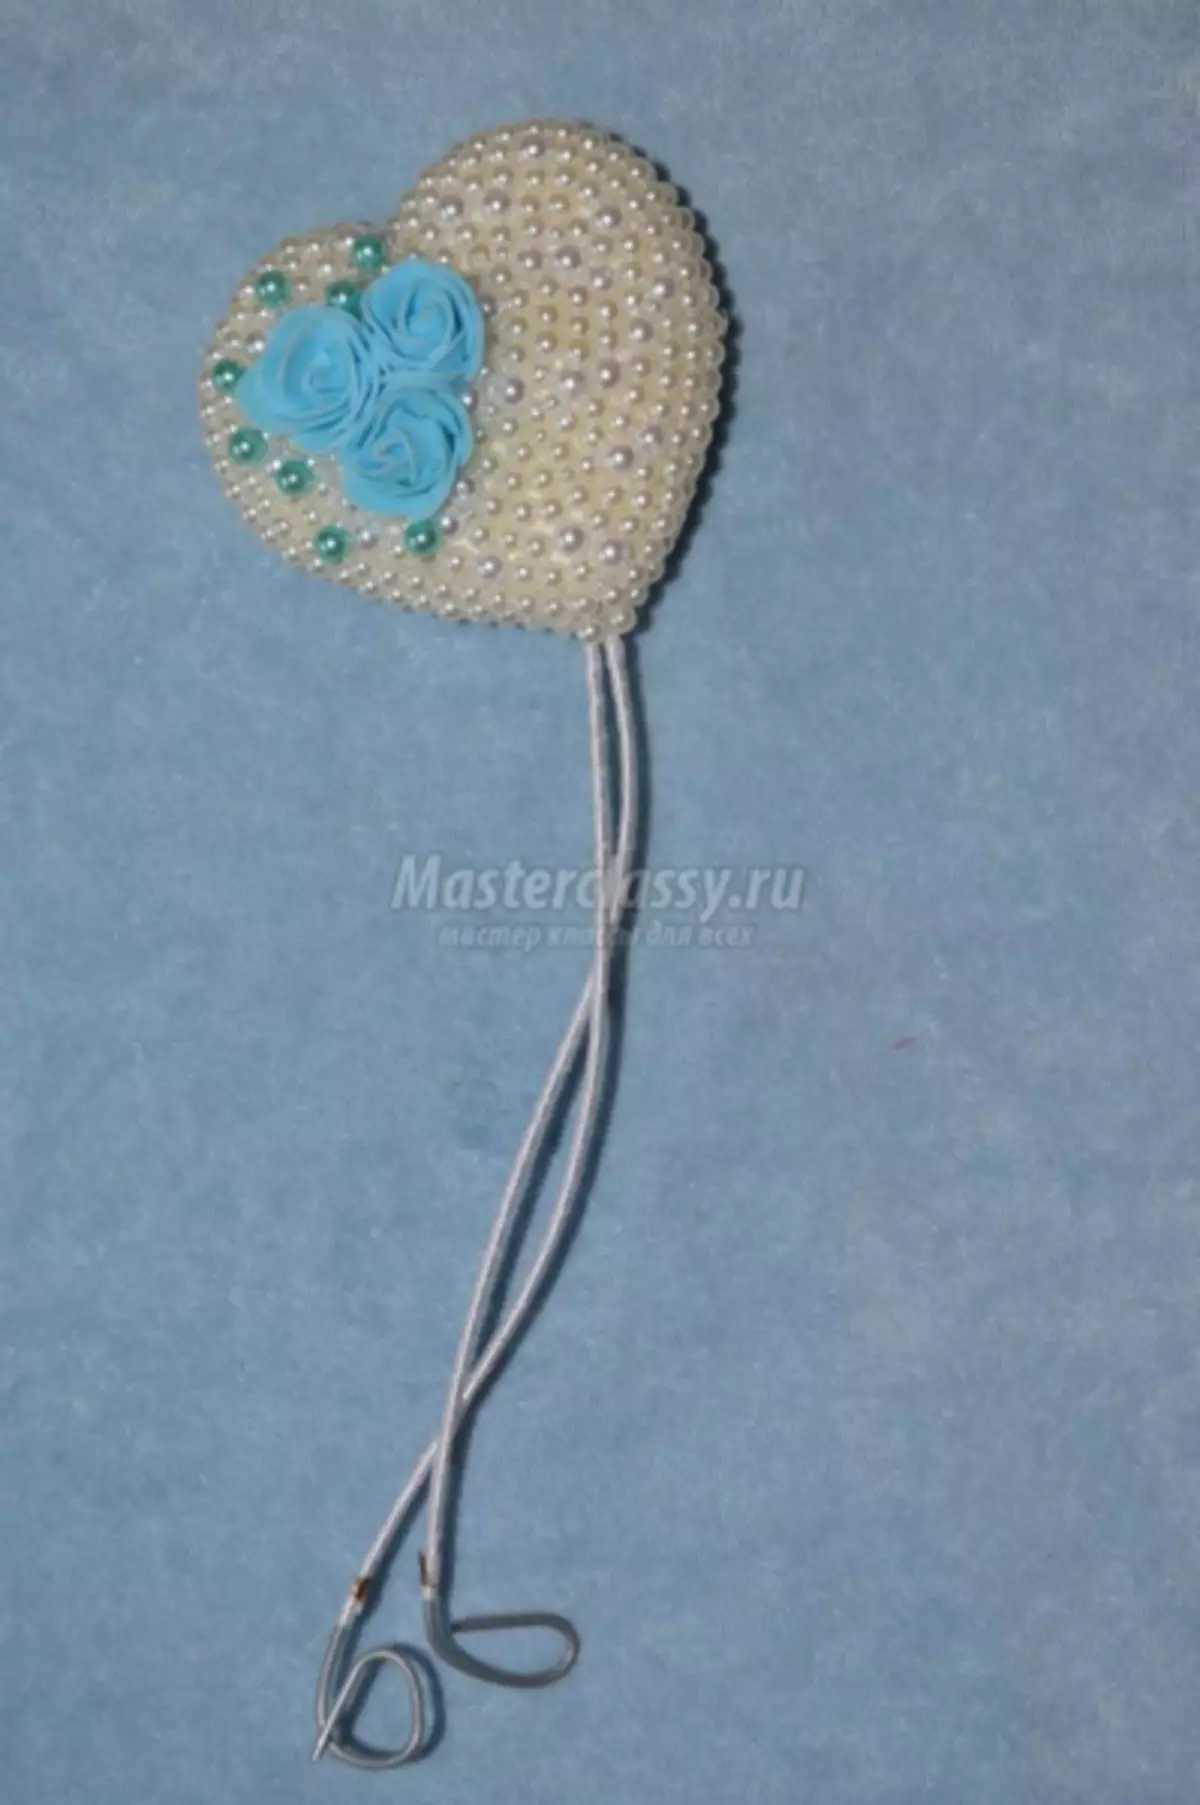
4) The crown of such a form can be decorated with anything, for example, make something from ribbons or organza. The bow on the stem in place is close to the joint with a heart.
In the trends there were not single Topiaria with straight trunks, but "multi-headed" with curved. It looks likely, but at the same time beautifully. If it turns out it is good to create these options, you can try to make a multi-headed Topiary.
Spectacular ball
The third type is made almost as others, just the size of the beads varies. In addition, the principle of manufacturing the previous two and the same. The thread from the beads was glued to the basis of a spiral or rows. Similar trees are beautiful, but even lines look quite boring, so the last option will be more unusual and original.
Article on the topic: Pyrography: burning on wood, sketches for beginners with video
For its creation, materials can be taken the same as they were only picking beads in size. On Krone, you need to note the point where the mount will be inserted, and then it all depends on the fantasy of the creator of this craft. Starting on top of the ball, large beads are glued, there are smaller beads around them, and the gaps need to fill in very small beads or even beads.
To add a souvenir of effectity, you can use their different shades. For example, large take beige color, and smaller beads are pearl. Of course, bright colors are also suitable.
The creation of such topiaries is not such an unbearable task. In this case, preferabity and patience is required, then everything will turn out.
Video on the topic
For those who want to learn more about creating such trees from Beads, there are entertaining videos on this topic: