After the holiday on the sea coast, a large number of seashells appear in the house. In order not to give an abyss of natural material and keep yourself in memory of the holiday truly original souvenir, you can create a seaside composition in the form of a tree of happiness. Topiaria from seashells will serve an excellent addition to the interior of the apartment or at home, even if marine style is not provided there.
Seafood
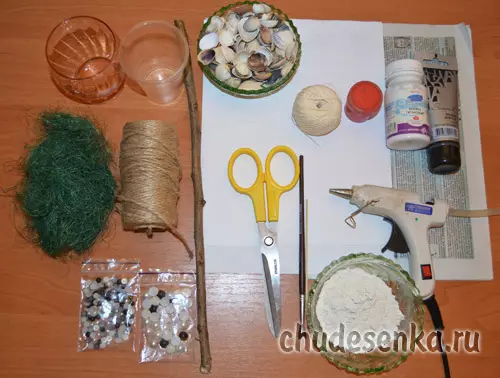
To create a shell composition, it will be necessary:
- seashells;
- polymer glue;
- newspaper;
- branch of coniferous tree;
- threads;
- Acrylic paints and varnish;
- Gypsum, water;
- plastic bottle;
- Rock or glass bottle.
A dense ball is formed from the newspapers, which should be thoroughly wrapped with threads. Starting from the top to the surface of the ball, seashells are glued. Make it more convenient to polymer glue.
The glue is applied to the singular part of the shell and fastened firmly to the base. Work begins with three shells fixed in the center of the ball a narrow part of each other. Each subsequent shell row should be slightly on the previous one. Thus, the similarity of Fish Schee is created.
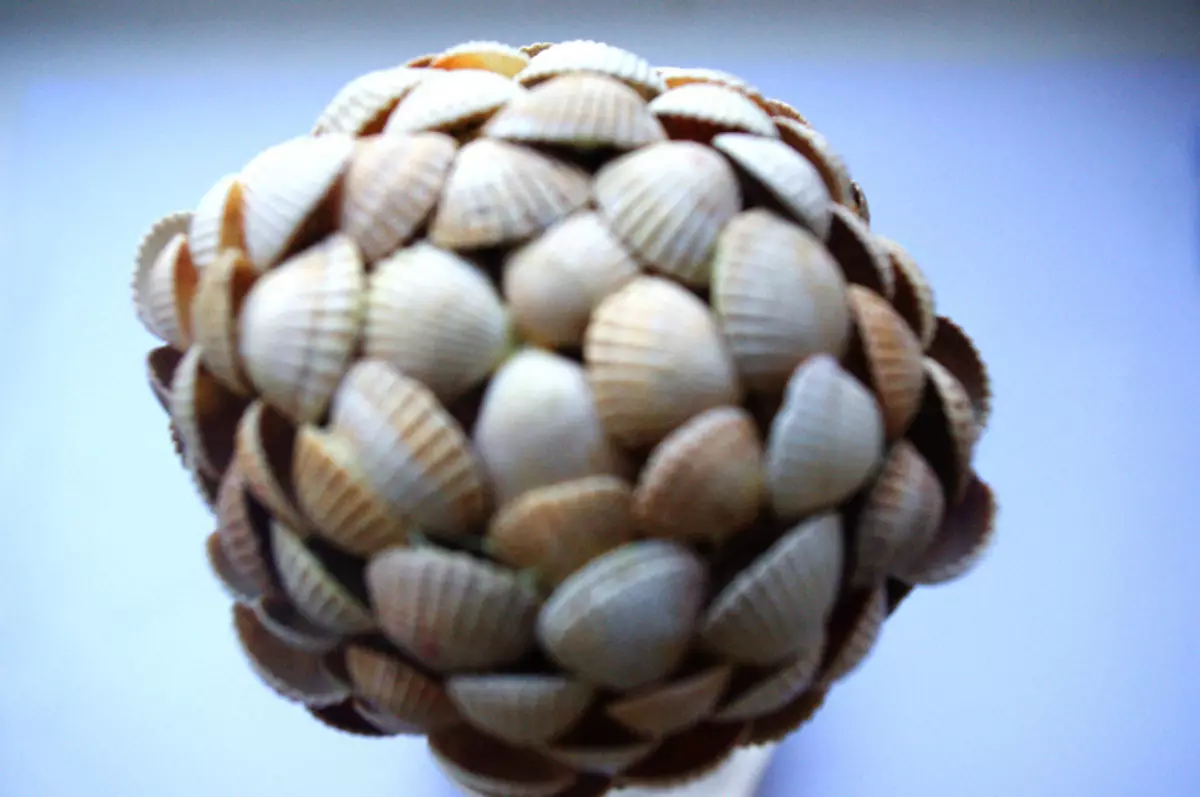
When half the ball will be filled with seashells, you need to break this occupation for a while. It's time to insert the trunk to the future tre. It is best for the composition to use the branch of a coniferous tree, as it has characteristic irregularities over the entire surface. This will give the finished work additional originality.
A hole is done in the ball, where the branch is injected. In places contact the details, it is advisable to walk with glue.
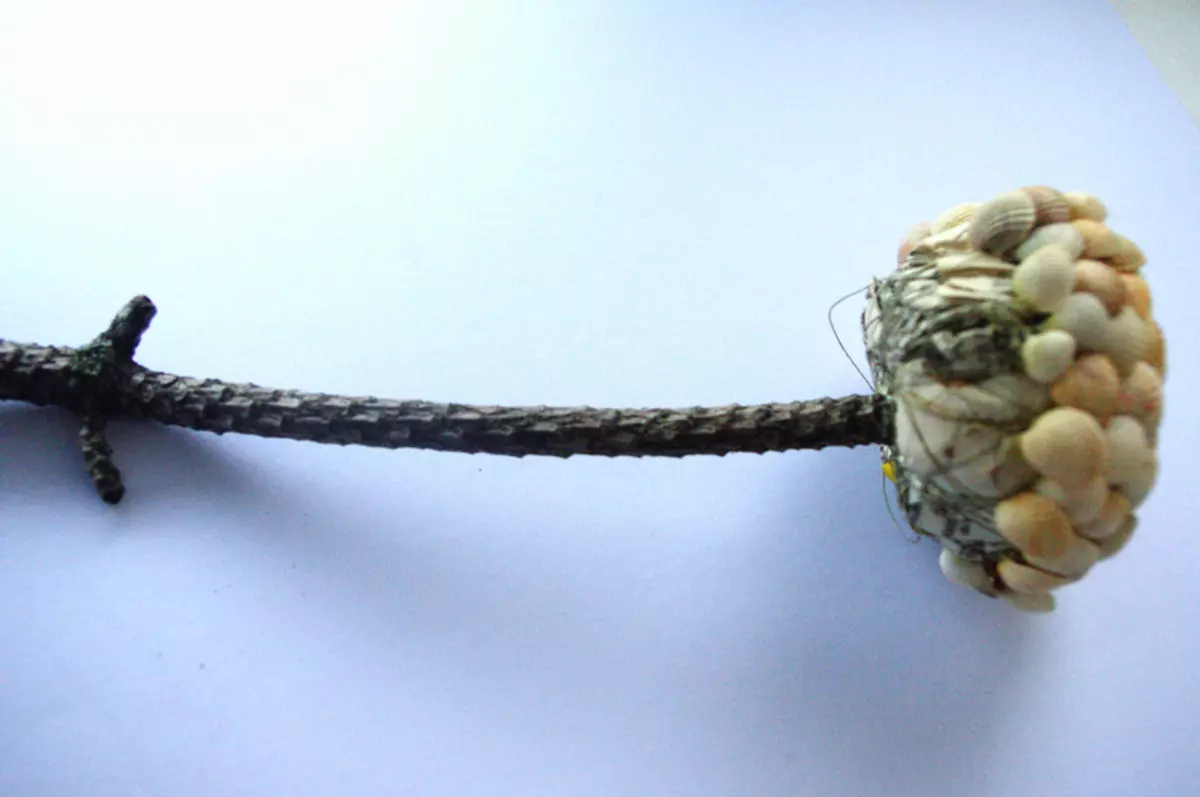
The barrel is installed and you can complete the design of the base of the shells.
The branch is covered with acrylic paint white.

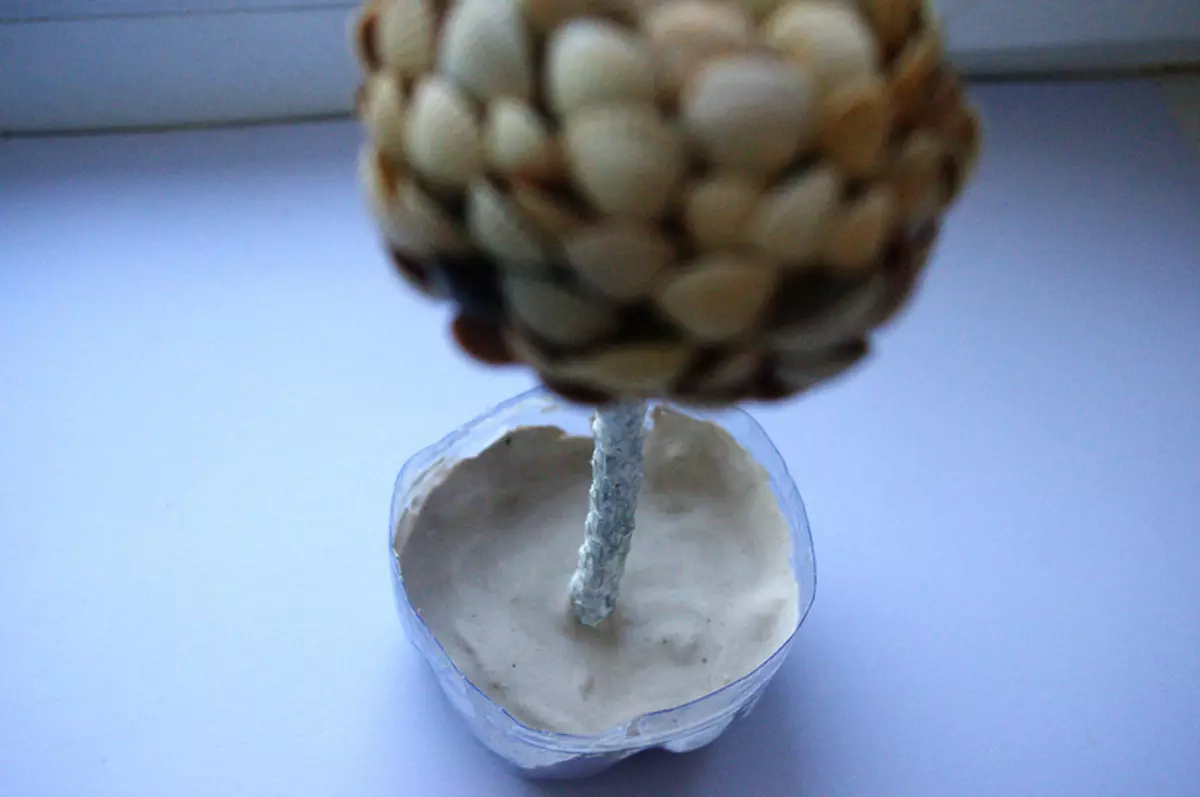
The plastic bottle is cut down the bottom with low walls. It should be like a small cup.
Gypsum is divorced by water. The resulting mixture is poured into the plastic container and the topiary is placed in the center.
Article on the topic: How to make a dream catcher with their own hands - 11 best master classes
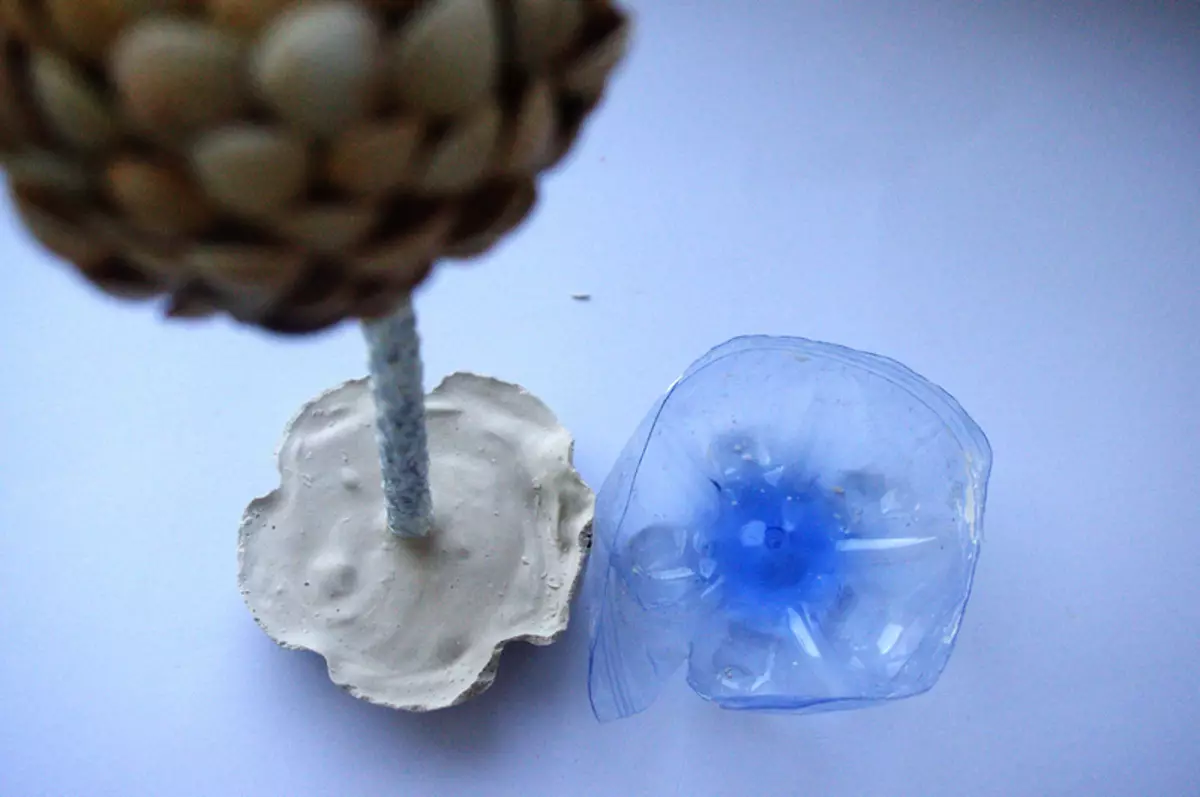
Divka needs to be able to dry well. When the plaster finally froze, the plastic is neatly cut and removed. There remains a curly base for the village.
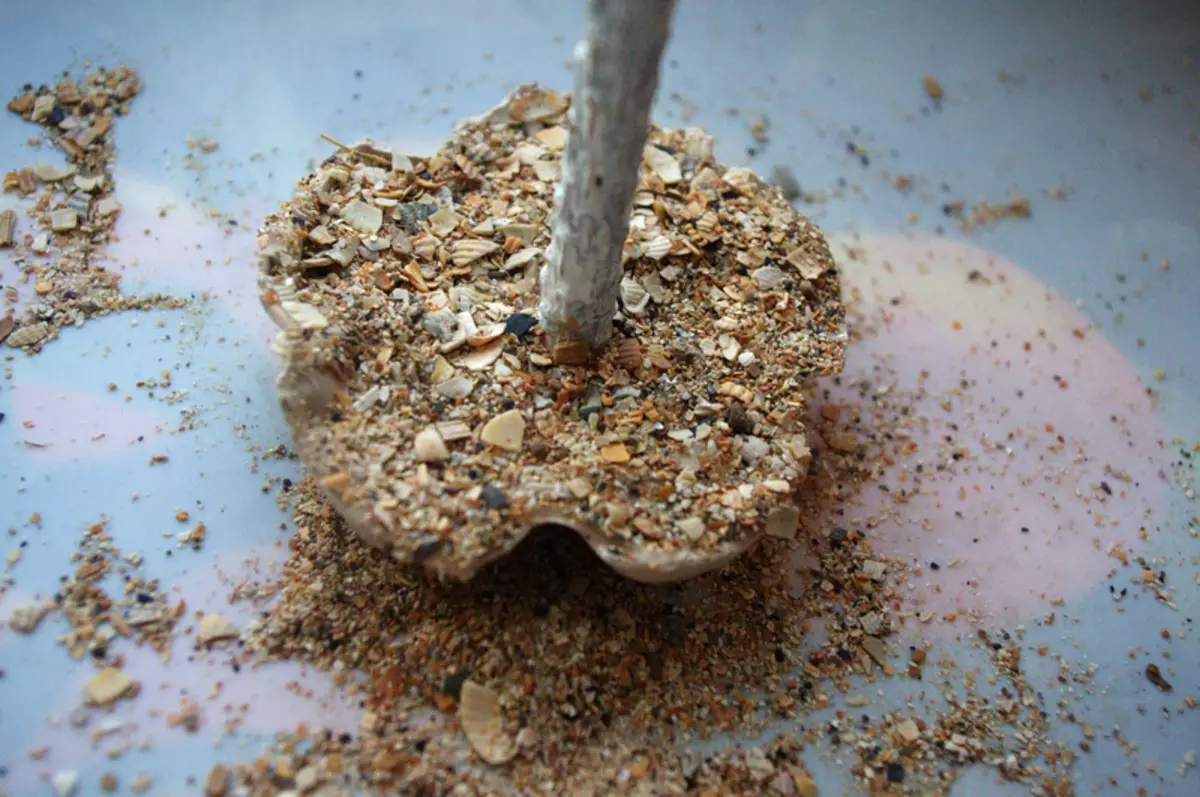
Part of the unused seashells is placed on a regular sheet of paper. The second sheet is covered on top. For seashells, you need to repeatedly go through the rolling pin, shredding them to the state of a large crumb.
The gypsum base is labeled with glue and falling asleep with a crumb.
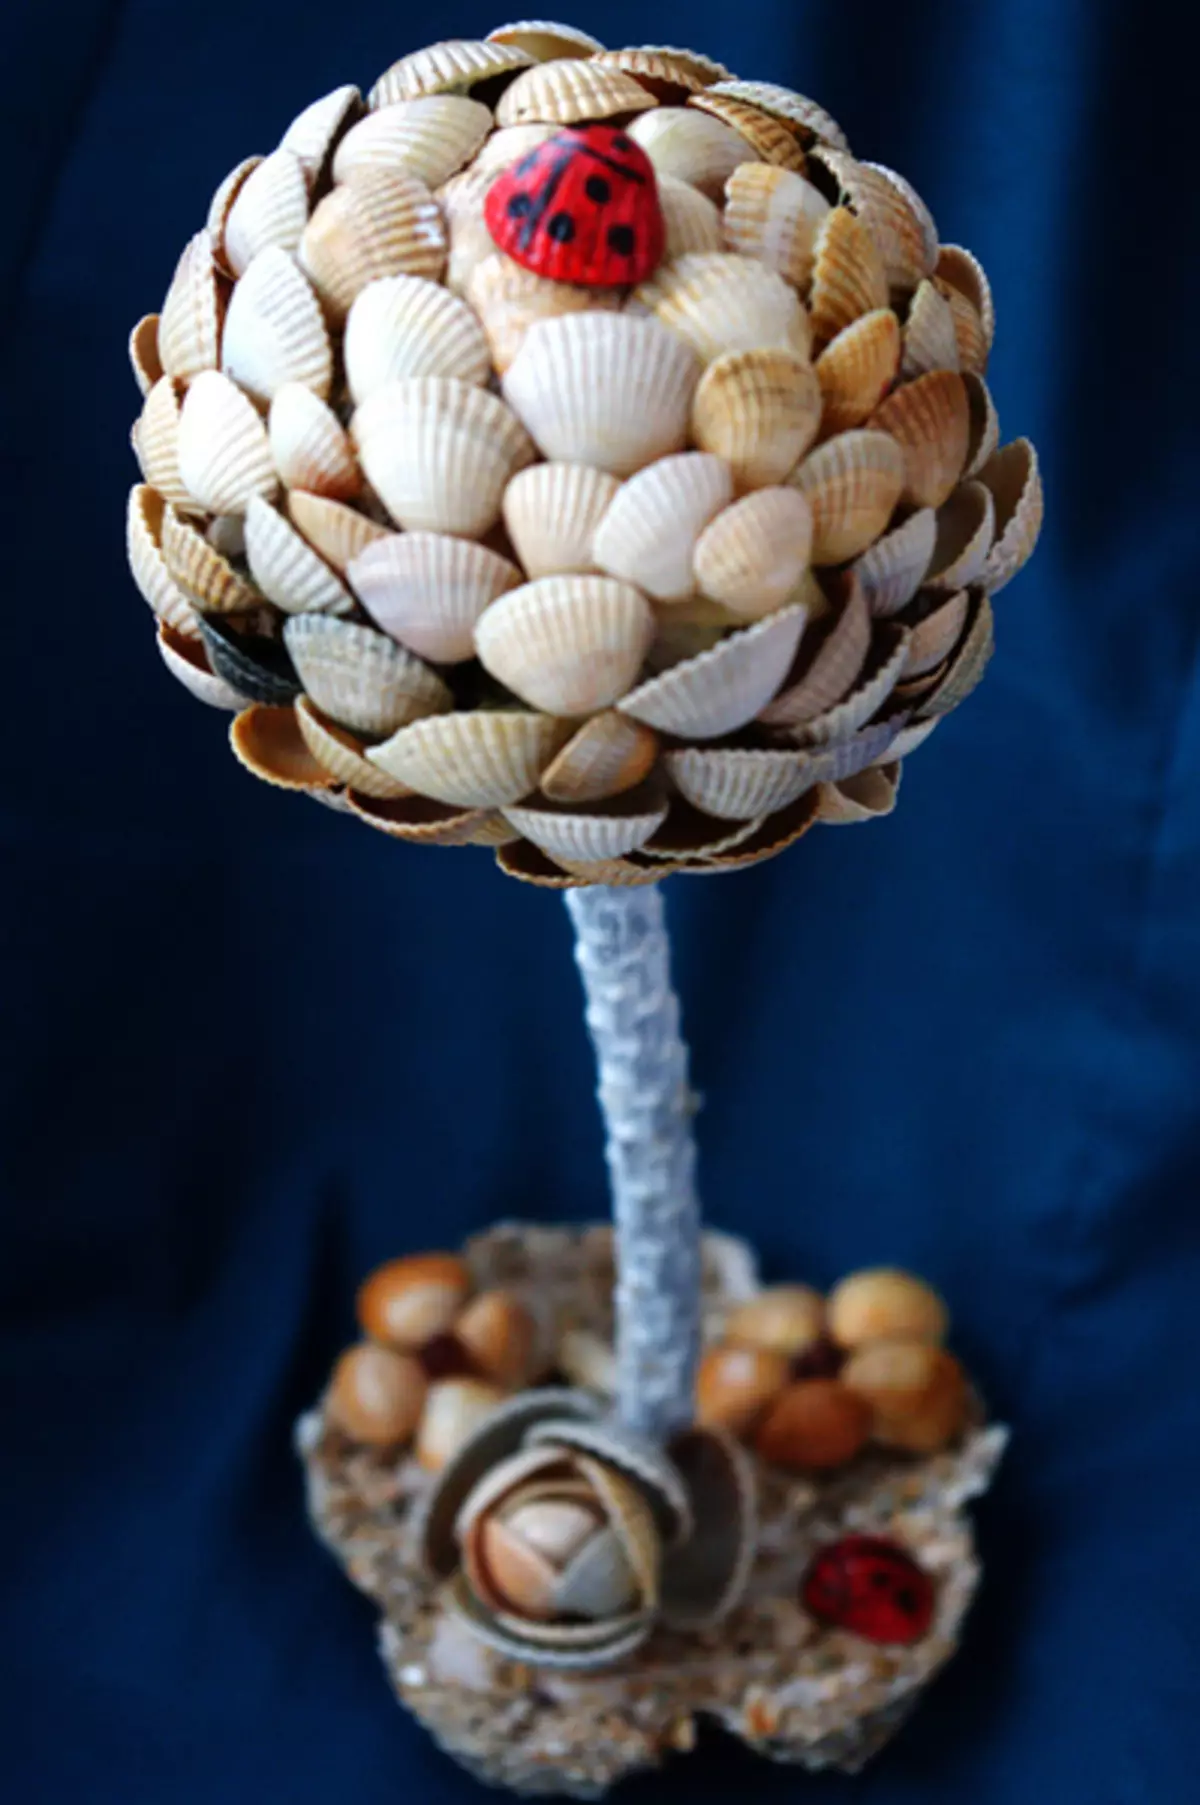
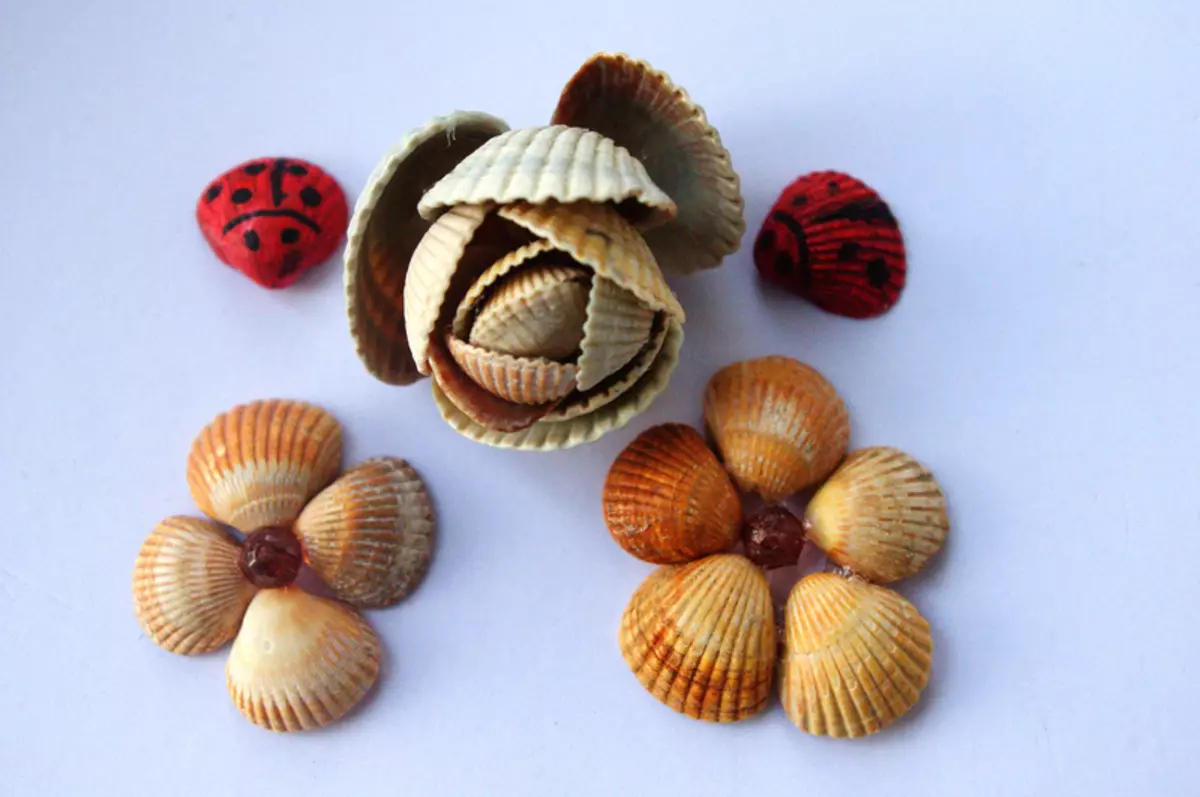
An additional decor for Topiary is uncomplicated crafts from the same shell.
Two of them are painted in the likeness of the ladybugs, flowers are created with a core-beading, and several seashells glued together with a narrow part, converting into a rose bud.
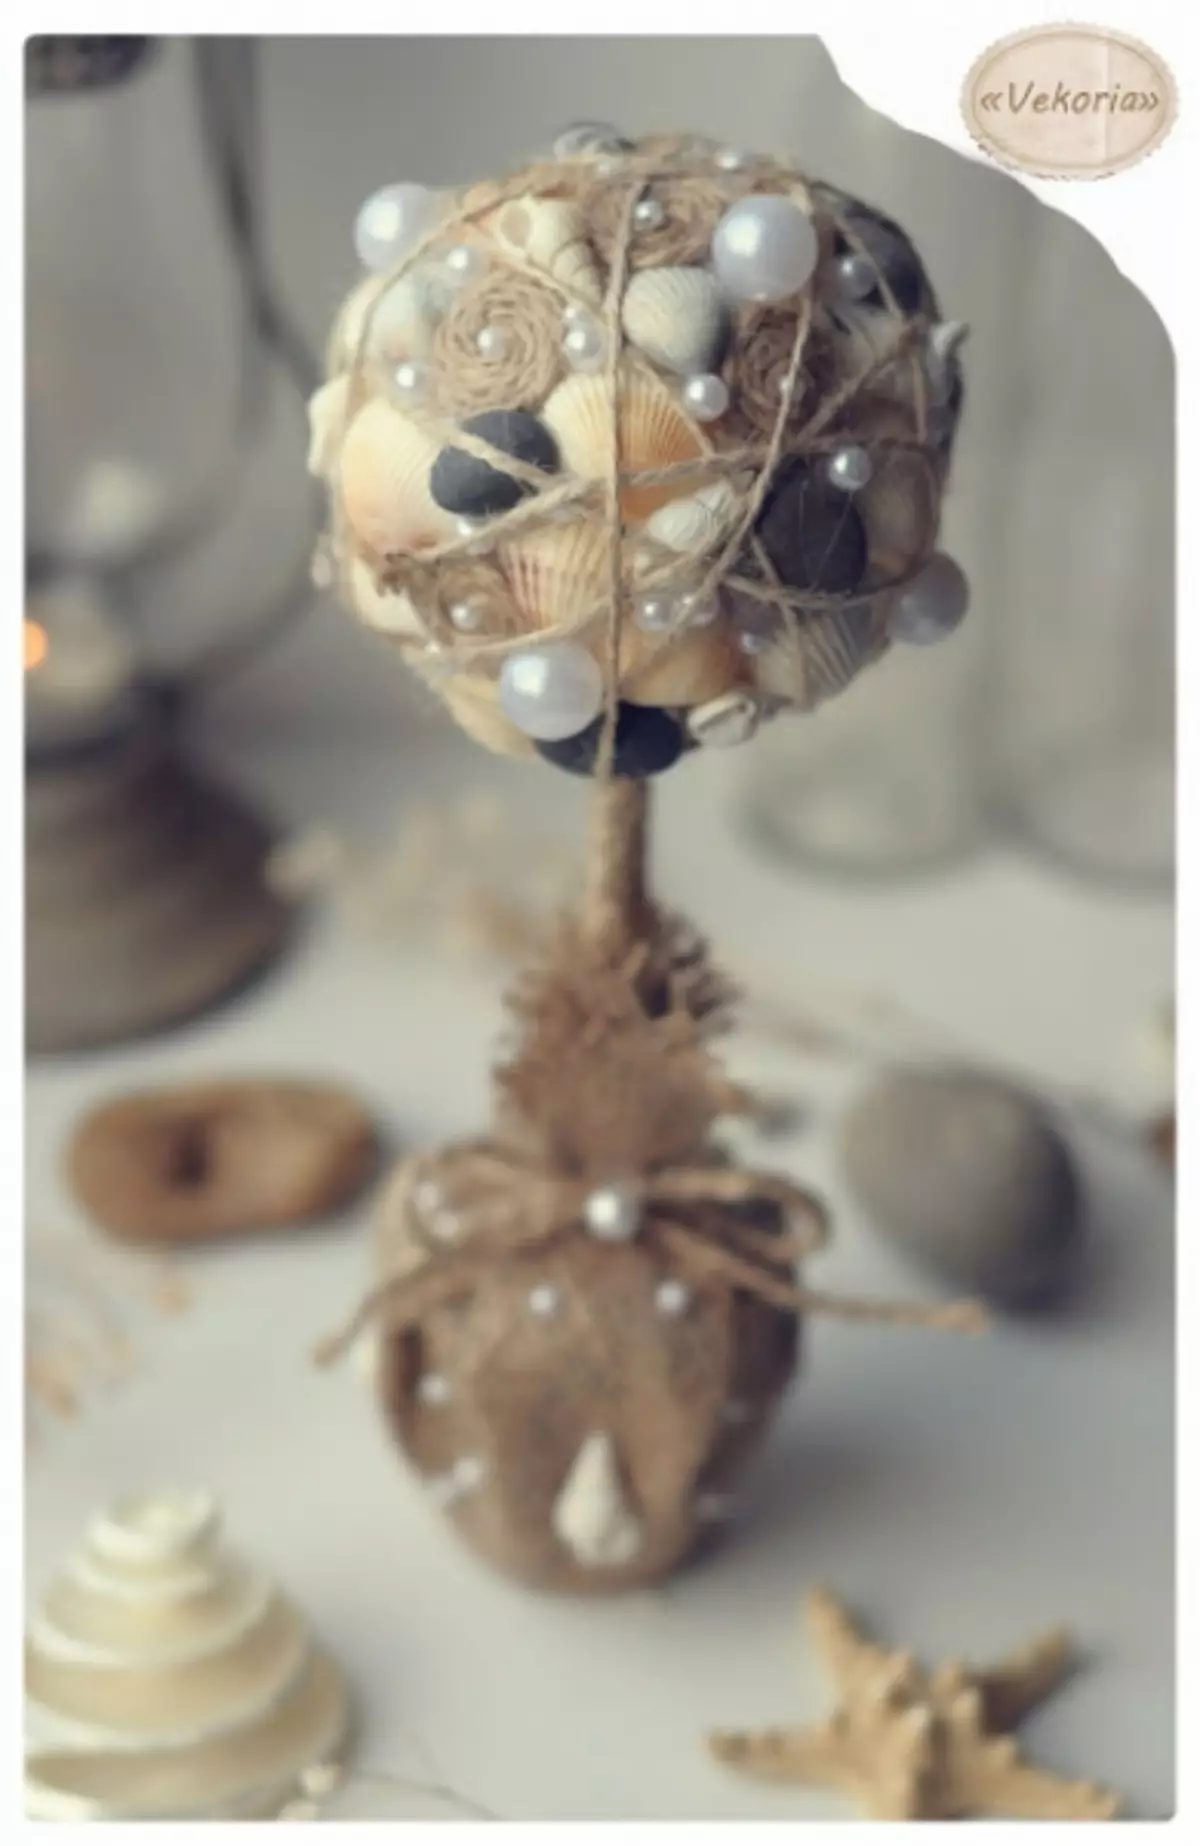
Sea composition is ready.
The above-described master class can easily include the use of other natural materials. It is only necessary to be guided by the fact that additional elements must be echoing with the maritime subject. The work perfectly look at the pearls, the twine, starfish, etc.
Thematic supplement
From the sea, not only seashells are brought, but also sharpened water smooth peas. Their adding to the creation of sea topiary will be absolutely relevant.
Description of the work on the product includes a step-by-step photo that will help to better understand the creative process.
What you need to cook:
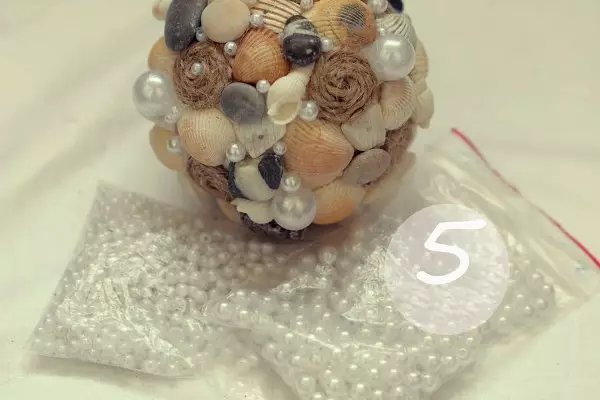
- Sea shells, stones, beads;
- foam ball;
- Wooden wand;
- plastic cup and gypsum;
- burlap, twine;
- glue gun;
- plastic bag.
Gypsum is divorced by water to the state of medium density. The cellophane package is placed in the plastic container and the gypsum composition is poured.

The mixture is placed in the center of the center, provided for the stem. The design is supported until the gypsum is set. When the workpiece is dried, the trunk is tightly wrapped in the twine.
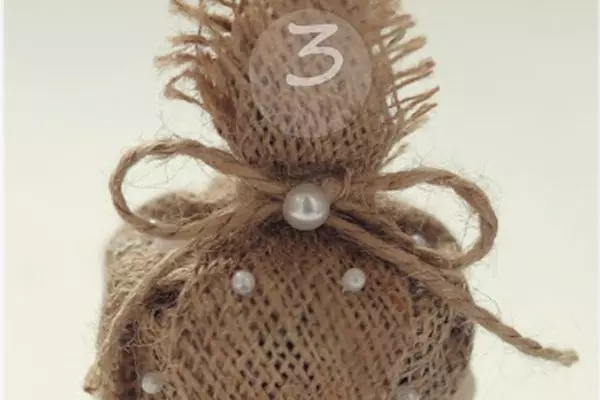
The free edges of the cellophane are coated inside and glued. The cup turns into the burlap, which is seized by the node around the trunk. From the twenty you can make a bow.

The stand is decorated with a small amount of beads stuck with thermoclaim on burlap.
Article on the topic: The heater on the teapot crochet. Knitting schemes
A ball is taken from the foam, in which the hole for the trunk is cut.
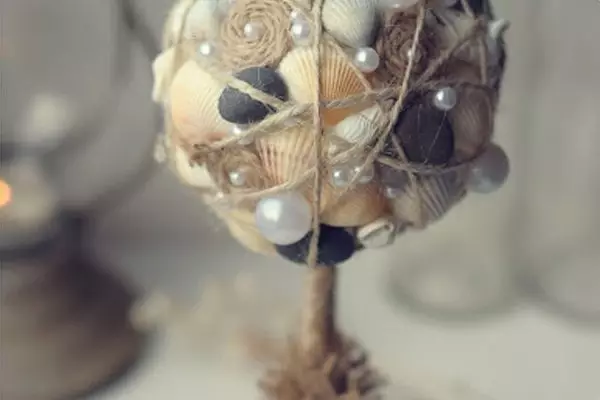
The foam ball in chaotic order is glued with grooved pebbles and shells. It is possible to move natural materials with pearls and twisted spirals twisted.
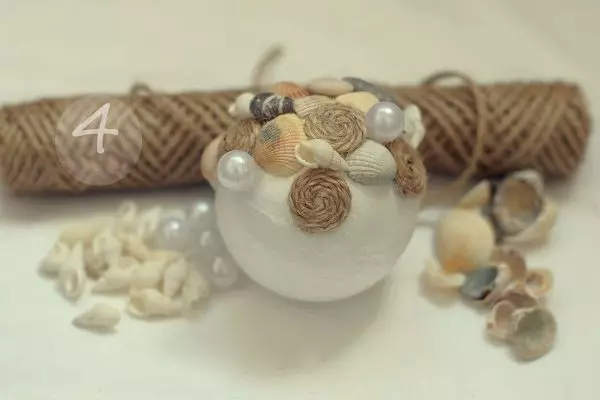
The remaining lumens between the elements are labeled with glue and fall asleep with decorative sand.
On a note! During the decoration it is important to remember that the hole under the trunk should remain open.
The finished crown of the village is stripped on the trunk and attached to the reliability of glue.
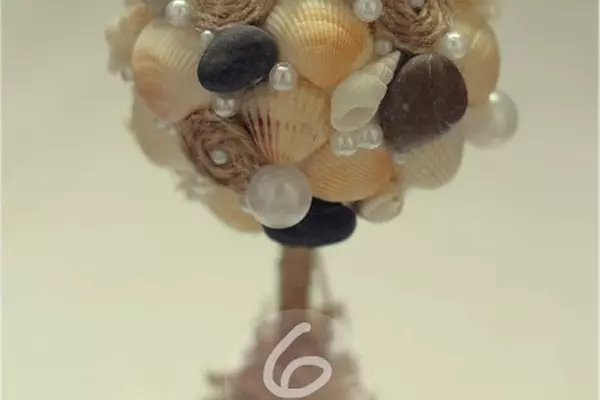
Crafts from seashells and stones is ready.
If you want to make more unusual in the work, you can quickly with the Topiary Topiary with the twine or thread thread.