
No interior design costs without cute decor items. The most common among them are Topiaria from a variety of materials. To decorate the kitchen area, a lightweight tree from napkins is ideal. Make it easy, and you can admire infinitely. To understand how the topiary is performed from the napkins with your own hands, it is recommended to familiarize yourself with the appropriate instruction.

Depending on the technique of creating napkin colors, the finished trees may look completely different.
Twisted roses

Roses for such topiary are created not quite in a standard way, so the finished work looks rather original.

For the creative process you will need:
- Single paper napkins of three colors (yellow, red, green);
- scissors;
- knitting needles;
- glue gun;
- wand;
- corrugated paper;
- Empty jar from under the cream;
- spool of thread;
- newspaper.
First of all, the main elements of the product are made - Flowers. Red and yellow napkins are cooked for them. The napkin is cut into 4 pieces along the bend lines.

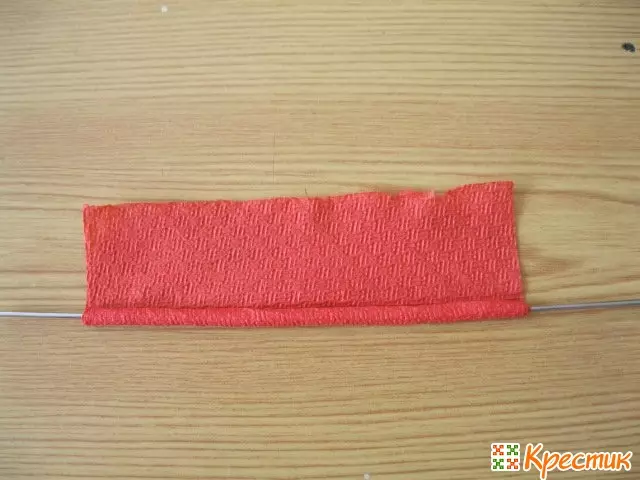
One of the parts is placed on a flat surface. The knitting needles along the edge of the napkin. Gradually checked paper on the needle.
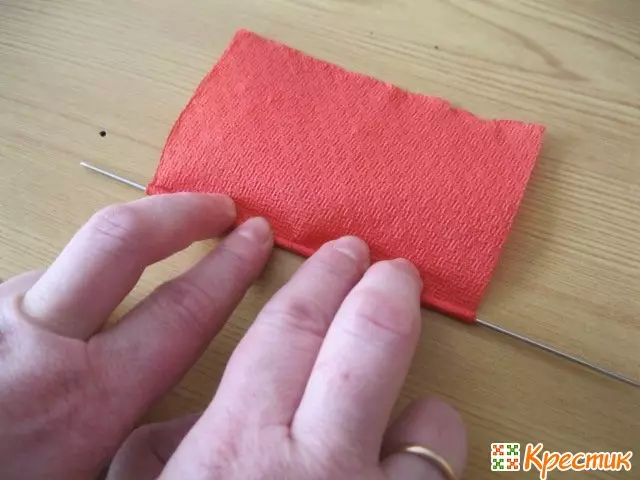
When 3-4 cm left to the edge of the napkin, the twist is completed.
Paper located on the spice shifts to the center. The needle is removed, and the resulting tube is folded in the form of roses, as shown in the photo.
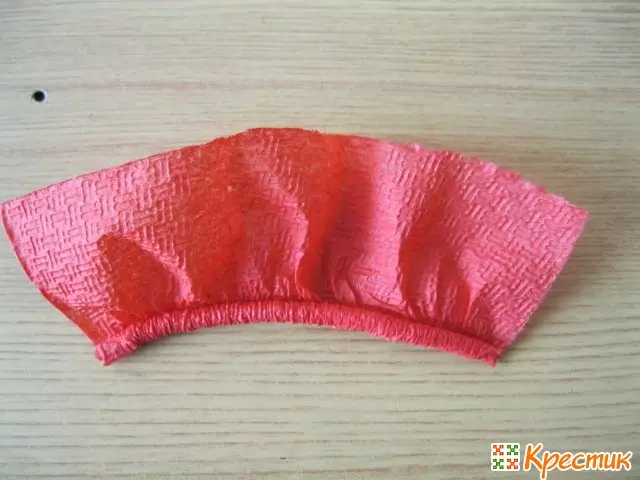

So that the flower looks lush, it is desirable for one rose to use at least three twisted napkins-described method.
The lower edge of the flower is wounded by threads, the extra part of the napkin is cut off.

Similarly, all other roses are formed. Work goes to the manufacture of leaves.
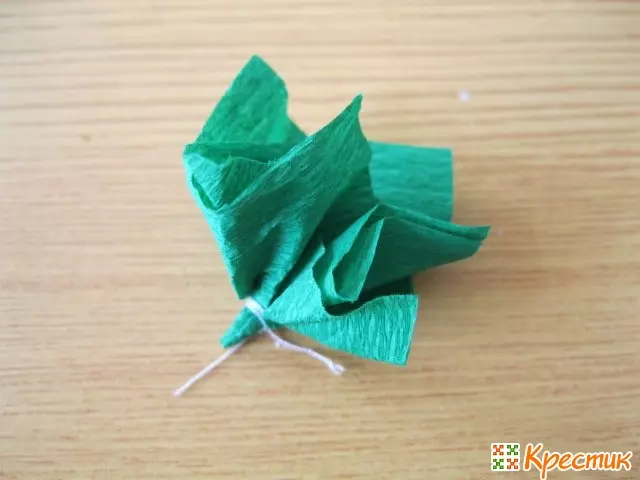
A green cloth is cut into four parts, two of which are superimposed at an angle to each other.
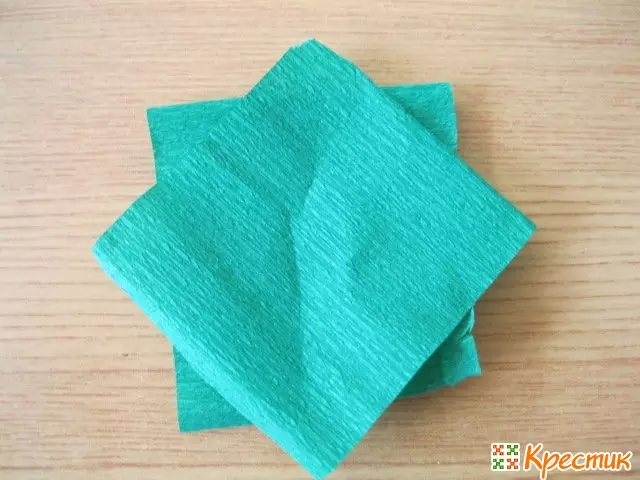
Details need to be taken in the center and all the angles to raise up. It turns out the semblance of a kulechka. From below, you need to fix the napkins by threads.
Article on the topic: Crafts from Origami modules: big animals and swan with MK and video
A ball is formed from the old newspaper and shakeped with threads. Hard roses are pasted on it in chaotic order. In the intervals between the colors are placed green leaves. The composition is rolled on a stick - the stem.
A sculptural plasticine of black is placed in a jar from under the cream, after which the trunk is inserted there. A jar is decorated with a decorative braid. Plasticine is closed by the remaining green blanks.
If desired, such a tree of happiness can be decorated with a sisal resembling herbal. If you combine paper napkins and cotton wheels in a single work, you can get a unique topiary resembling snow-covered flowers.
The master class on the creation of a "snowy" treet will help to deal with the nuances of manufacturing the product.
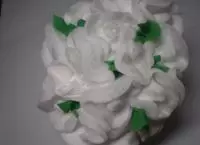
Snow-covered crown

In essence, the toopiary consists of white colors framed by greens. The use of napkins and cotton discs in the creation of buds and leaves gives the treated characteristic softness resembling a snow cap.
To work on the tree it will be useful:
- cotton discs;
- Green paper napkins;
- album sheets, threads;
- Pencil or tree branch;
- Plastic cup from yogurt;
- gypsum;
- hot glue;
- beads and beads for decor;
- stapler;
- Piece of fabric.
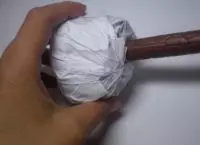
Work begins with the manufacture of colors. To do this, the cotton disk is folded into the kules.
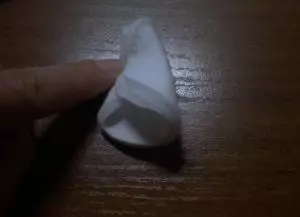
By narrow side, the part is fixed with a stapler or twisted with threads.

The disk turns on the other side. It turned out a miniature rose.
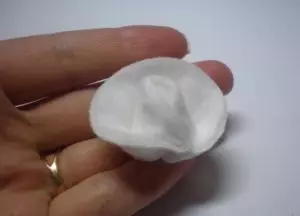
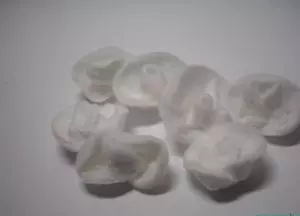
In this way all the colors are performed.
3-4 sheet album paper are formed in the ball and covered with threads. So that the ball turned out smoother, it is recommended to be treated with glue. It will be the base of the village.
In the ball scissors, a hole for a stick is done, after which you should drive the basis for the trunk.
The ball is drawn up harvested colors. The glue is applied to the bottom of the rose and the part is tightly applied to the surface of the base.
Flowers need to be located closer to each other. Paper part should not peck through them.
Article on the topic: Master class on bead daisies: Weaving scheme for beginners with photos and videos
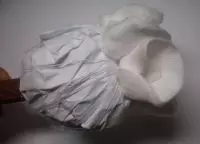
In order to close the lumeges between cotton disks, the composition is complemented by artificial foliage.
Greens is created from napkins. The napkin folds fourly, the lower edge is fixed by the thread.
A gypsum mixture is divorced in a jar from under yogurt. In the thickness, the composition should resemble sour cream. The stem is inserted into the center of the tank. The composition is left for drying.
After soaring the gypsum, the surface is treated with glue and covered beaded beads. The unsightly jar is decorated with cloth and is tied up with a silver braid.

If desired, pearl beads are added to the crown, and the barrel is chosen to the pearl thread. Topiary is ready.
The above step-by-step instruction can serve as a basis for subsequent fantasy work. So, if you want to add contrast into the crown of the tree, you can handle the external edges of the buds with a red or pink color, or make rosets multi-layered. In the latter case, several layers of cotton discs from all sides need to be put down to the existing workpiece.
Video on the topic
Thematic ideas of the works presented in the selection of video will be accessed to create new, unique Topiariyev.