
As we all understand, the perfectly smooth and smooth surface cannot make the usual interior original, and the finished texture plaster is quite expensive, and not everyone can use such mixtures.

Instrument plaster from ordinary putty
There is a way out of such a situation - to make texture plaster from the usual putty with your own hands. Independent kneading such a solution will cost you much cheaper.
Further in the article, we will tell you what kind of textured plastering from ordinary putty, and also we will tell how to make such a composition with your own hands.
Preparation of the surface to decorating

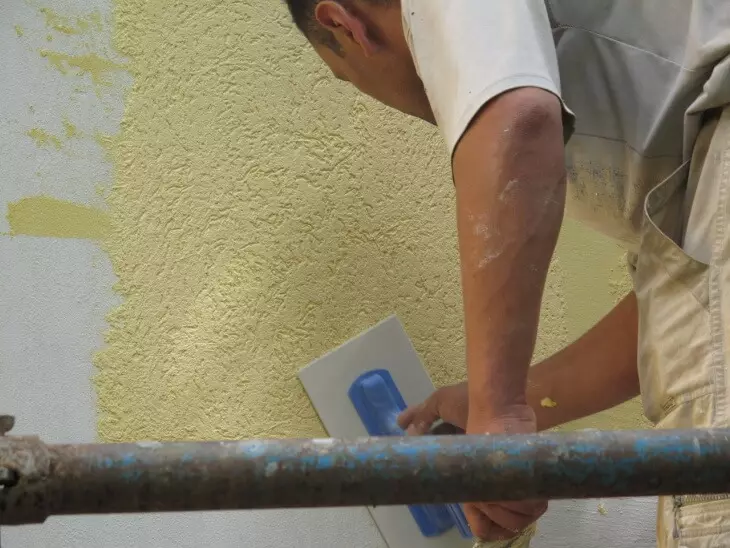
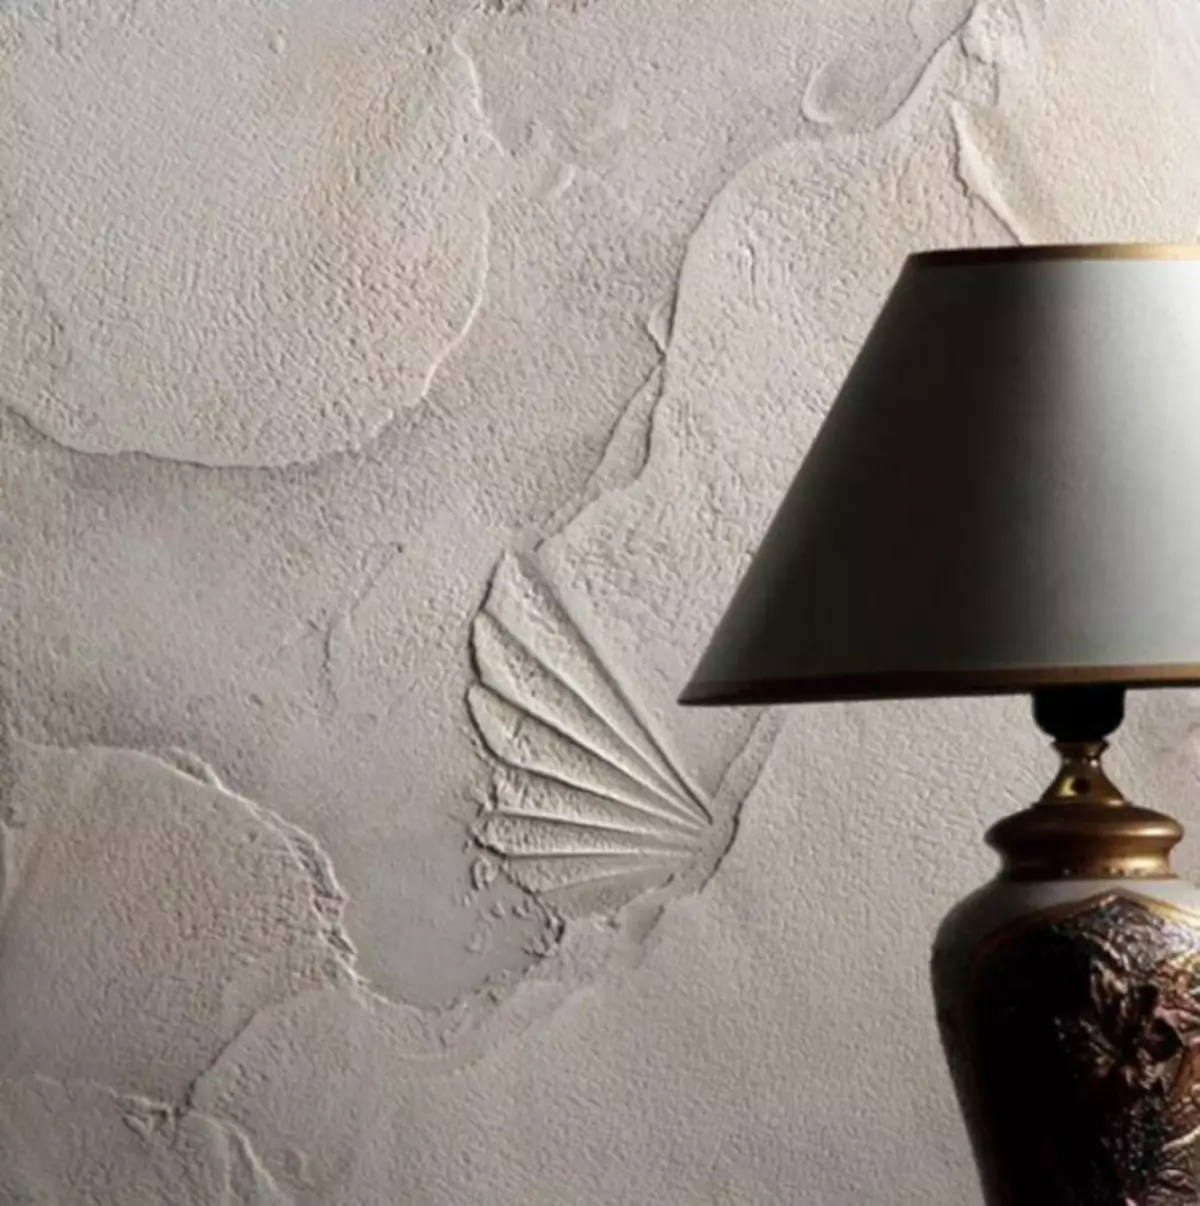
Finishing texture plaster
To begin with, you should decorate where you want to decorate, and then choose the texture for the future surface decoration.
After that, you should proceed to the preparatory work, which are as follows:
- Measure the surface area and calculate the future costs of plaster - it can be both ready-made powder, and dry mixes that need to be kneaded with their own hands. If you want to decorate a room with high humidity, buy a putty from cement for such a finish, which will last much longer in a wet environment, rather than gypsum.
- Next, it is worth taking care of the acquisition of the necessary tools and devices. To do this, you may need:
Putty for finishing textured plaster
- bucket for cooking plaster;
- Building mixer or drill with a suitable nozzle (you can work with your own hands using a simple stick);
- Metal grater to give textures;
- trowel;
- Spatula and other devices that will help you make the necessary texture (urine, brush, cellophane package, curly spatula, roller with different nozzles, etc.).
- Clean the walls from all kinds of garbage and pollution, treat the surface of the primer, and crack and gaps to the cement mass. Remember, the better the surface will be prepared, the easier it will be to follow the subsequent decoration, and its result will be better.
- Strengthen the surface, and if it is not so reliable - cover it with a reinforcing grid, which will avoid in the future cracking of decorative plaster. If the surface is quite durable, cover it with a solution of primer, which increase the adhesion with subsequent layers.
Article on the topic: Painting of wall roller: tools, order of work, recommendations
Variants of textured plaster
Putty for wall decoration under the textured plaster
The technique of applying a textured putty may have distinctive features, depending on what texture you plan to make with your own hands in the end.
The table shows the characteristics of the most popular finished compositions for decorating the surface.
| Indicator | Makeup species for decorating | |||
| Mineral | Acrylic | Silicate | Silicone | |
| Main component | Cement, Lime or Gypsum | Resin (acrylic) | liquid glass | Resin (Silicone) |
| Cost | 550-900 rubles / 25kg | 1300-2600 rub / 25kg | 1100-2800 rub / 25kg | 2200-3600 rub / 25kg |
| Water absorption | high | Low | average | Low |
| Parp permeability | High | Low | High | High |
| Elasticity | Low | High | average | High |
| Wear resistance | Low | High | High | High |
And so, let's consider the most affordable options for decorating the surface with a conventional putty.
- Scaly structure
This technique is easily carried out with your own hands.
A layer of putty in 3-5mm is applied to the prepared surface, and the spatula make uniform strokes, moving upwards or vice versa. Such movements the surface of the wall is covered by the "scales", and on how dense there was a layer of plaster, the bulk of smears depends. When the solution on the wall serves, the surface can be painted in any shade.
- "Cave"
This method is also elementary for embodiments with their own hands, but allows you to give the room an unusual structure.
Decorative plaster from ordinary putty
To implement such an idea, you will need to apply a layer of putty on the surface, then using a polyethylene package or a film, slightly touch up to a non-frozen solution throughout the perimeter of the wall. When you delete the package, in those places the solution is formed in the form of a stone coating, creating a cave imitation.
But, be careful, the consistency of such a solution should be a "golden middle", so that the mixture simultaneously and did not flow from the surface, and did not stretch behind the tool.
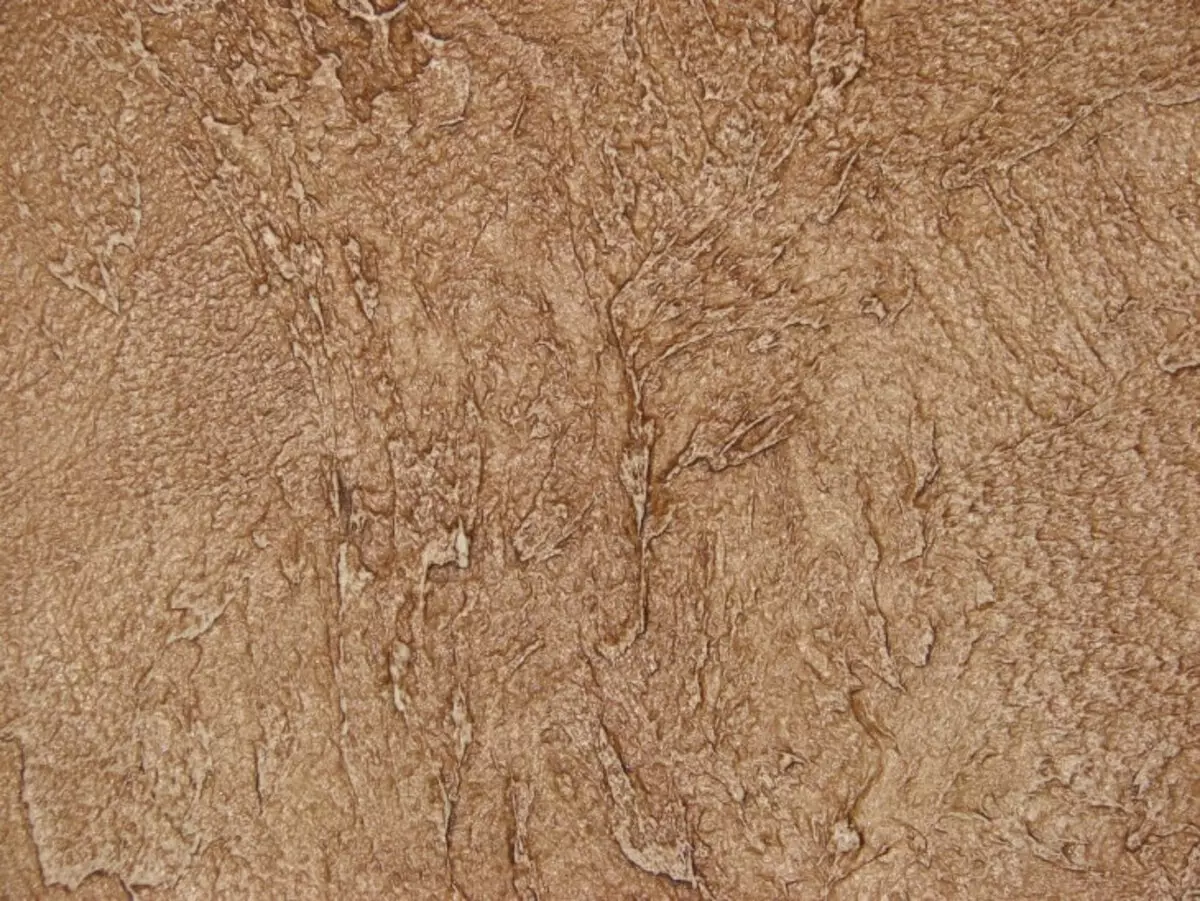
- Rock texture
Article on the topic: Repair of interroom doors with their own hands (photo and video)
To implement such a coating, it is necessary to treat the wall with a solution of 3-5mm with a solution, then with the help of a metal smooth metal, making lines that mimic splits and cracks on the rock. Such a coating is better to apply at an angle, because it is so much more effective.
These were presented the most elementary methods for decorative coverage, which can embody even newcomers into reality.
You can also take advantage of a variety of textile rollers, foam sponges, stencils and many other handicrafts, giving originality and unusual to their room.
What coating can be migrated using a putty?
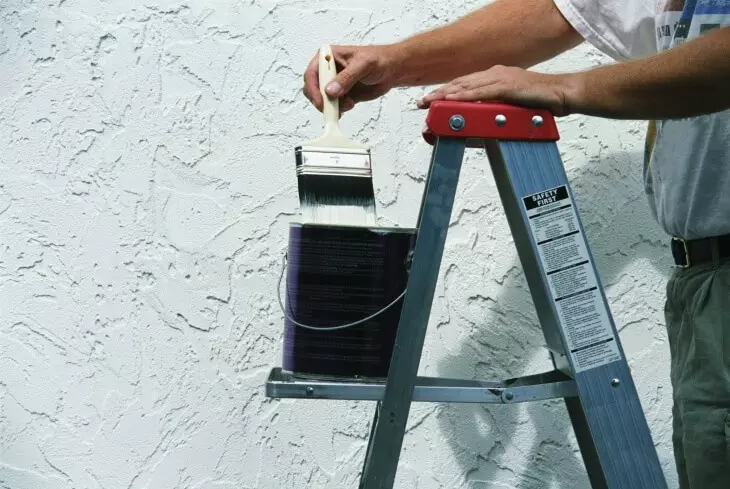
Wall decoration with putty under decorative plaster
Creating a textured surface is a creative process. Using different equipment and tools, the walls can be covered with "waves", chaotic lines and unique drawings. Next, consider the most popular options, with which you can imitate various textures.
To simulate broken insect wood, the croroede is great. This composition is applied to the surface, they give dry, and then with the help of the tool produce circular, vertical or horizontal movements.
The snowball technique is very similar to the creation of Venetian plaster, but in this case paints of contrasting shades are used: the dark base is applied first, and light shades are used to splashing. To maximize the "snow" effect, it is better to use white paint for spray.
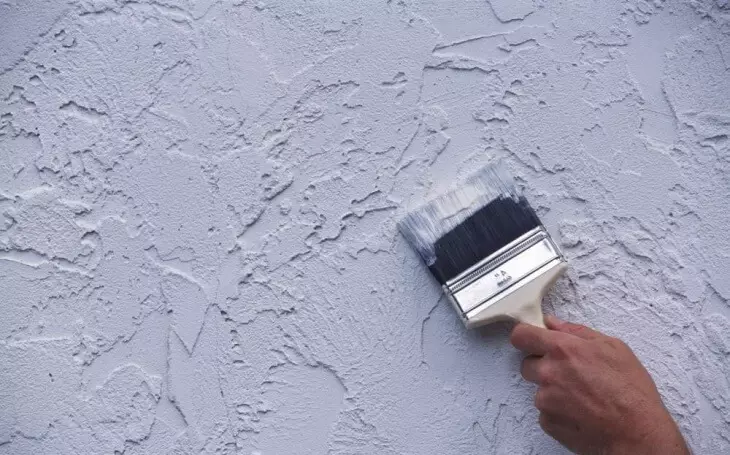
Normal putty for textured wall plaster
Mimic "Silk Walls" is also simple as "cave". To perform such a coating, it is also useful to polyethylene. Works are performed in such a sequence:
- The walls are applied to a putty with a layer of 2-3mm;
- Next, the treated area is imposed by a polyethylene film, trying to preserve all the folds as much as possible;
- Then, processing a certain area, proceed to pull up the folds and twisting them in separate places, forming chaotic patterns;
- After 10-12 hours, it is necessary to remove the film and give the wall time finally ventilated;
- When the surface is completely dry, you can proceed to its stripping, thereby burning too sharp and protruding sections of plaster;
- At the next stage, painting is started, and with the help of a roller or a foam sponge cleaved part of the color and again give time to graze;
- Further, to give the surface of "silkiness", the surface is covered with pearl pigments.
Article on the topic: Types of stained glass of loggia and balcony
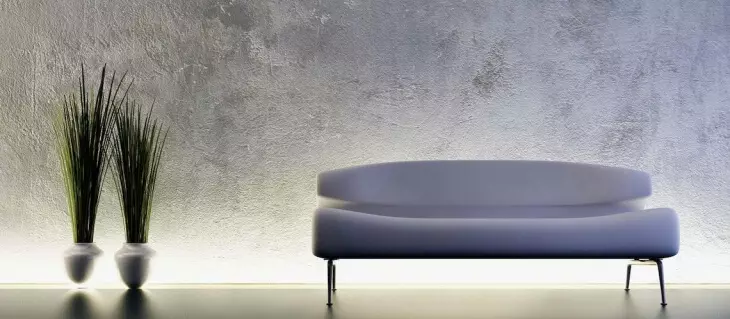
Conventional putty for decorative wall plaster
That's all the technology that will make your walls with silk and give the room of elegance and sophistication.
As you can see, various patterns can be imitated on the surfaces and embody all your fantasies. If you have a talent and dissenting taste - texture plaster to help you.
Of course, to display complex paintings and textures, it is better to ask for help for the masters of your business, but if you still want to perform a decorative surface finish with your own hands, we hope that our article will help you in this.