
Photo
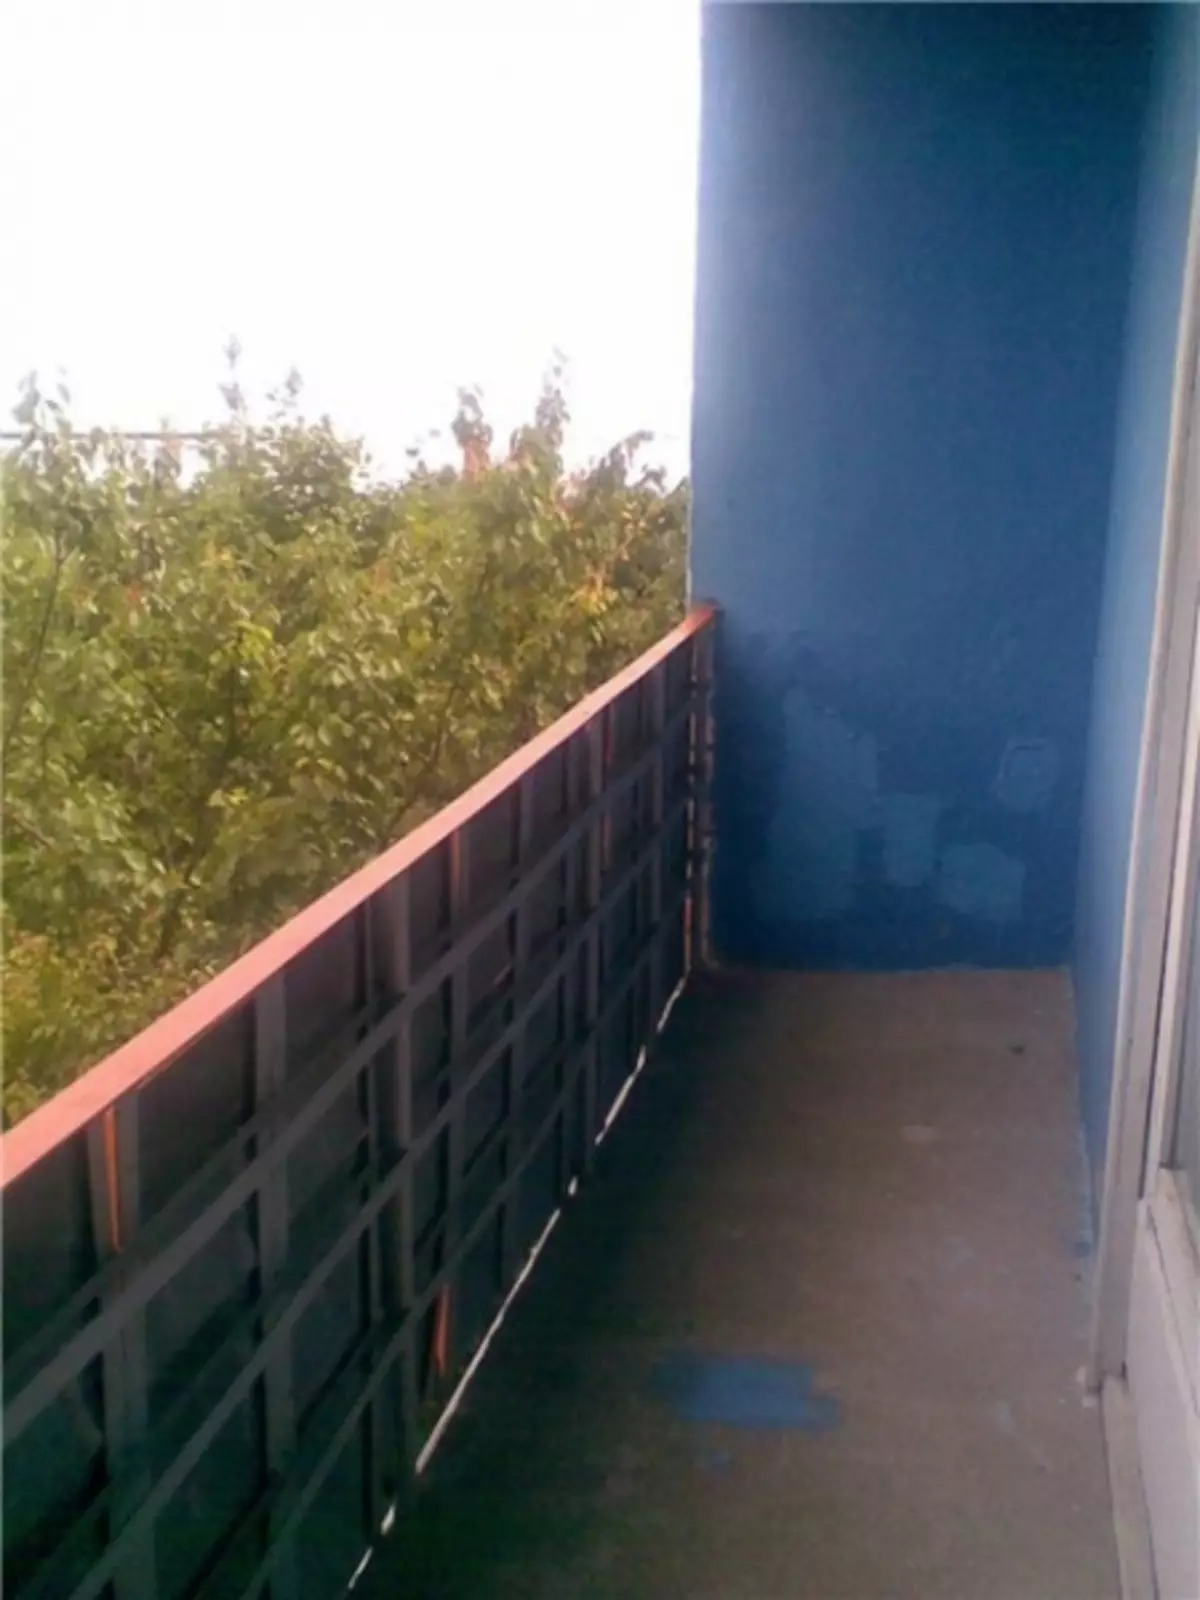
Balcony is available almost every apartment. Some landscape it and turn it into an extra room. But most prefer to use loggias as a warehouse of things. Of course, you can just throw everything on the balcony, hoping that at the right moment you will be able to find the necessary thing. But it will be much more practical to make the shelves on the balcony, where everything can be neatly folded. In this case, the loggia will be the order, and the necessary thing will be easy to get.

Racks make not only accommodation on it unnecessary things, but also for decorating the walls of the balcony with flowers or decor.
Some prefer to buy a ready-made closet or order it at the master, because It is difficult to choose ready-made products in size. But if some skills, then why overpay Stridor? You can make shelves on the balcony with their own hands ! The rack will not only save the place, but will look good. A little effort and patience, and in a reward you will get a beautifully decorated balcony. The number of shelves for the balcony can be any. The main thing is not to overdo it and not clog out the loggia.
Instruments
- simple pencil;
- roulette;
- screwdriver;
- Electric jigsaw.
Before making the shelves for the balcony, appreciate its size and determine the size for yourself, you need not only beauty, but also convenience.
Wooden boards, steel corners (50x50x5 mm and 25x25x4 mm), dowel-nails, edge ribbon are also required.
First, remove all things from the loggia. It is necessary that it becomes completely empty. Look and think about how many shelves on the balcony and what kind you want to do. It should be repelled not only from the type and area of the balcony, but also on the number of things you are planning to storage. If there are few objects and in size, they are small, then you can do the corner. But if things are many and they are quite voluminous, then the ideal solution will be the rack with wide shelves. Locate the racks better along the side walls of the loggia. There they will be the least noticeable. If you do not want things to be visible on the rack, they should be closed by doors.
The easiest option is along the wall. It's not so difficult to make them if you have ever dealt with plumbing tools.
Manufacturing technology

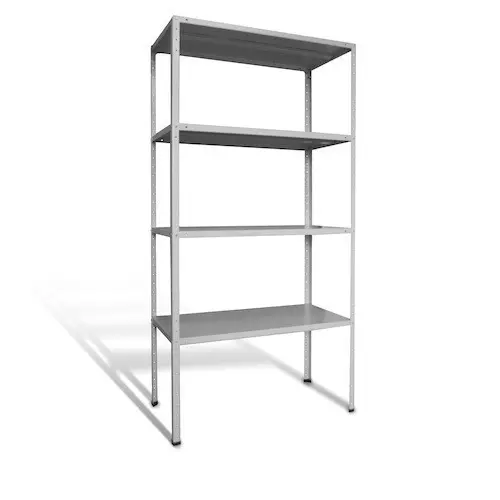
It is possible to buy the usual quick-planning rack of the desired dimensions and work in the finish.
- Decide how many shelves you will install. Make the necessary measurements of length, widths and heights. If the shelves are somewhat, then it will already be a rack. It makes sense to think about it to diversify it a little. For example, make shelves of different heights or install partitions;
- Steel corners that will be required for fastening, it is advisable to paint in advance in the desired color if you want to make the design more attractive. By the time of manufacture, they should be prepared. One requires 3 corners of 50x50x5 mm and 2 corners 25x25x4 mm. If the length of the shelf will be more than 1.5 meters, then 4 corners of the first type will be needed;
- From the corners it is necessary to do something like a metal frame. Using a dowel-nail steel products to secure on the wall. Corners 25x25x4 Install on the wall perpendicular to the shelf, and 50x50x5 - in parallel, at the same distance from each other. Just carefully measure everything! All corners should be located at one height. This is necessary in order to avoid skewing design. Install the frame for each shelf;
- From the available boards cut the shelves of the desired size. So that the products looked more careful, and you accidentally did not get the opposite, make the edge. Measure the edge ribbon of the desired length, cut and take it gently at the edges of the product;
- Install each shelf on the frame intended for it. With bolts and screwdriver, attach the product to metal corners.
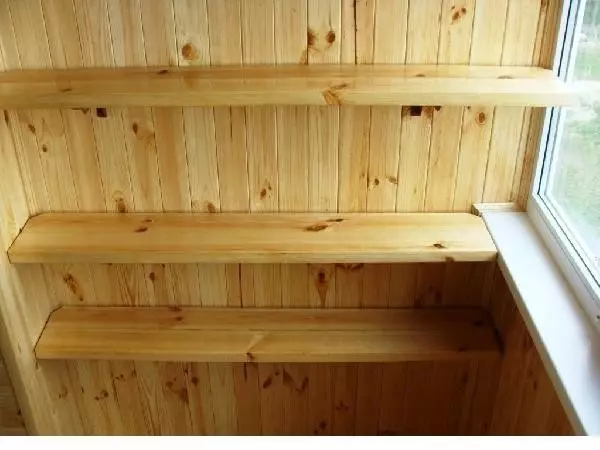
As a result of the actions, you will get a comfortable rack in the loggia, where you can store things. Do not necessarily make the shelves are the same in height. The rack with different intervals between the shelves will look much more interesting. Also, partitions can also be made to create compartments for various items. As a partition, cut off the wooden board with the necessary width and height and attach it to the shelves with bolts.

Article on the topic: how to use sawdust as a heater