
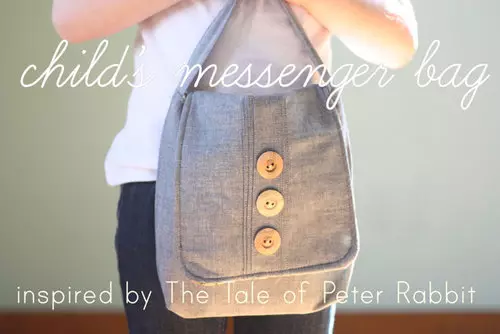
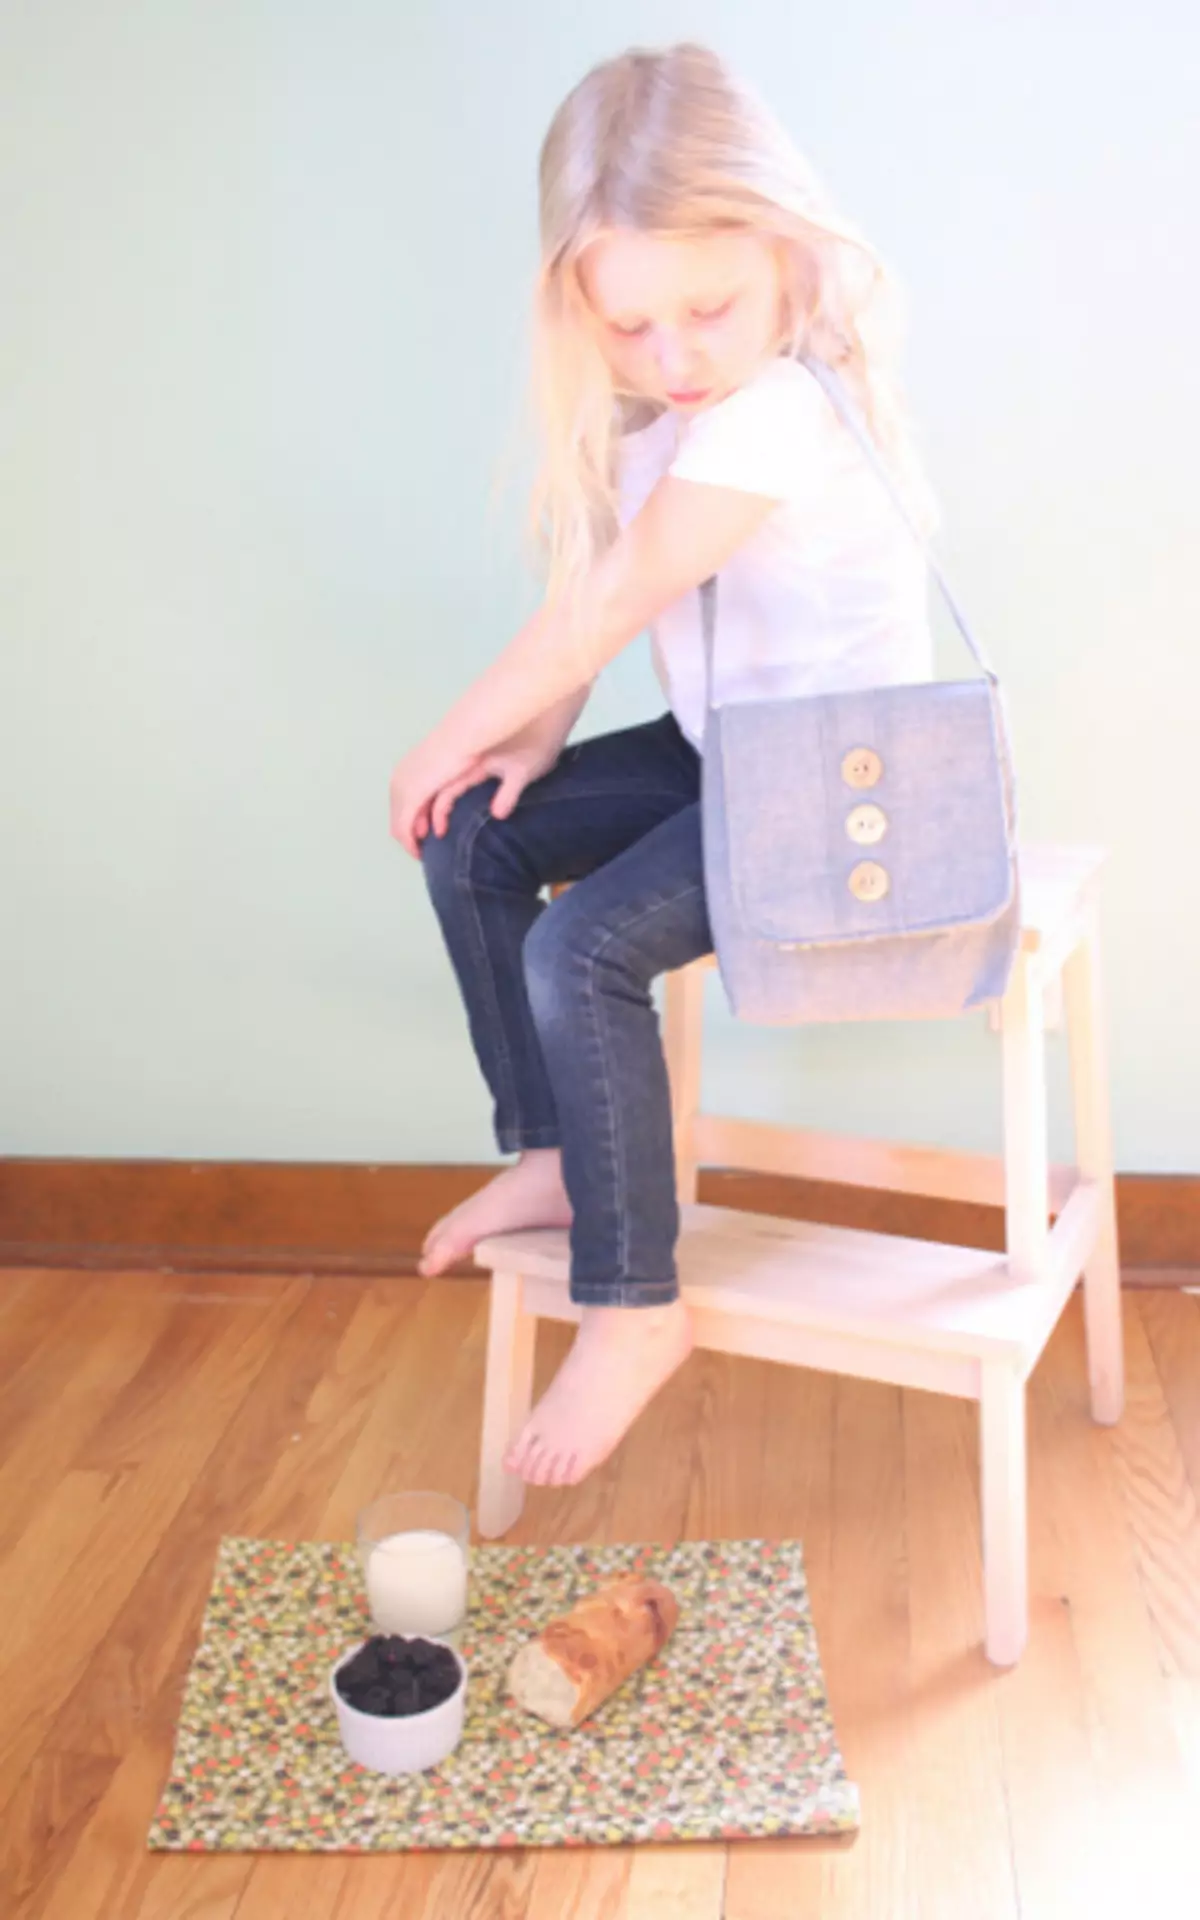
My daughter is a little fashionable. She tries to imitate me in everything. I recently wanted to take my favorite book in kindergarten. On the way, she dropped a book. Then we had an idea to - buy a bag for my daughter. Bags of the desired size, which would come in for the girl, we did not find. Some are too children's, others - for adults. But the exit was still found and we decided to make a children's bag with their own hands - this is a great gift for the child. We together with my daughter invented the design and chose a cloth for the bag. It turned out great!
Required materials and tools:
- dense fabric for top;
- Lining fabric (siter fit);
- gliding tissue on adhesive basis;
- Buttons;
- Threads, scissors and sewing machine.
Strip details
As with any other product, we need to make a pattern, it will take some time, but that a children's bag, made with their own hands, was beautiful and tidy, you need to carefully carefully take this step.
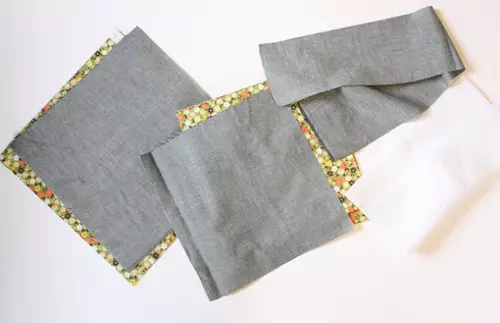
- Two parts for the top of the bag 25x25 cm;
- Two details from the gasket tissue of the same size;
- Two parts for lining 25x25 cm;
- One detail for the outer part of the belt 53x10 cm;
- One detail for the wrong part of the belt;
- One item from the stripping fabric for the belt;
We make a folding lid
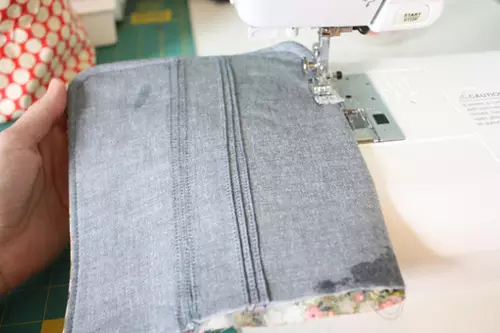
Take the rectangle of the fabric, in the center. Draw two vertical strips at a distance of 2.5 cm from each other. Now spend two more lines, retreating 0.5 cm from previous stripes.
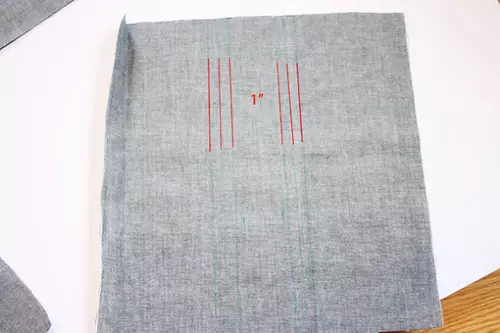
Then step these lines close to the edge to make the assembly
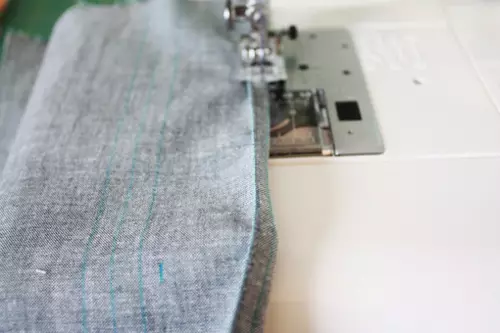
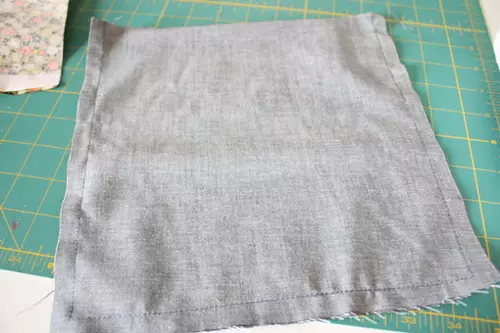
Press the fold towards the edges. Fold the fabric face rectangle with the lining detail of the front parties. Pencil round the corners of the details. Stretch, cut excess fabric with corners.
Article on the topic: Openwork cap crochet for babies: master class with video and photo
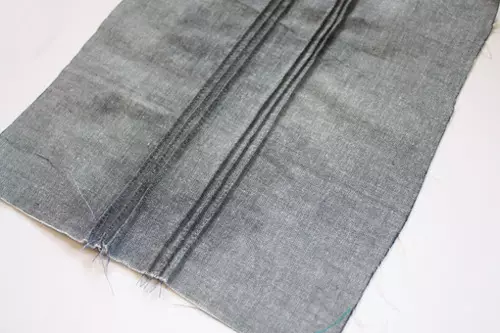
Cut the corners of the gasket item and put on top on the stitched parts.
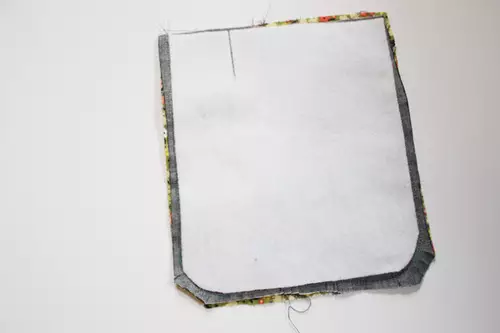
Remove on the front side and build on the bottom edge and both sides. Set aside.
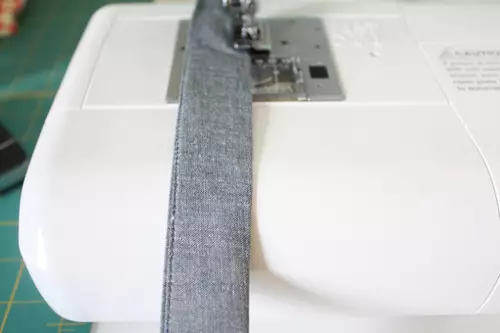
Manufacturing knob
Take the blank for the belt, put a plug-in fabric from above, turn the part with the raw edges inside, and then roll in half.
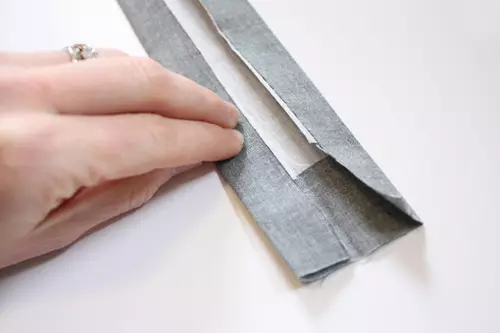
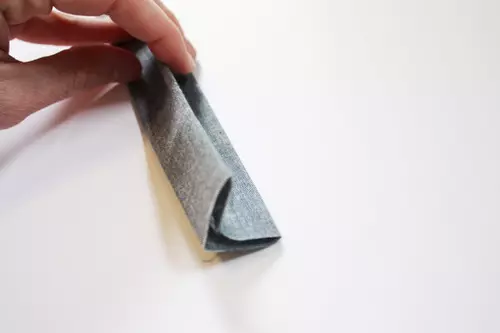
Stop the strap from two long sides.
Also important and the fact that when creating a children's bag, your child will rest and develop, and if you work out a little, then there is also a lot of laugh!
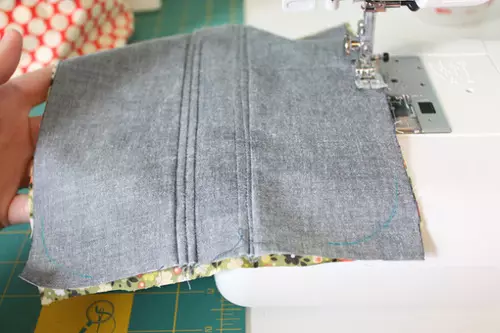
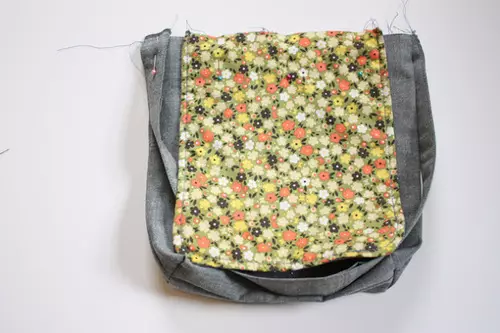
Manufacture of housing
Fold out the external parts of the bag with the front parties together. Stop off the bottom and on both sides.
Now re-seam on the same line with the lower seam on every corner. Stop through this triangle on each side. Cut excess fabric.

Take the lining details and sew the front parties together. It is necessary to scribble along both sides and below, but this time you need to leave a gap of about 7 cm along the bottom edge.
Connection and completion
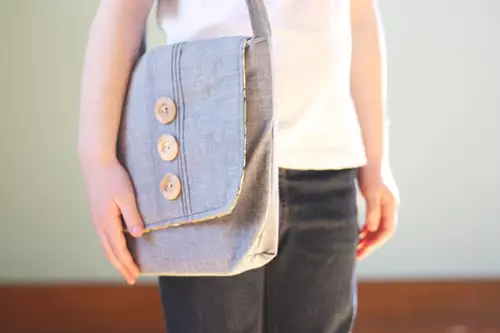
Attach the belt handle on both sides in the outside of the bag, aligning untreated edges. Make sure that you do not twist the belt. Print pins folding lid bags in place, aligning untreated edges. Stretch the bag op perimeter. Remove through the hole in the lining. Sew lining, wrapping inside raw edges. On the finished bag are decorative buttons. Bag is ready!

If you like the master class, leave a couple of grateful lines to the author's author in the comments. The simplest "thank you" will give the author of the desire to please us with new articles. You can also add an article on social bookmarks!
Encourage the author!