
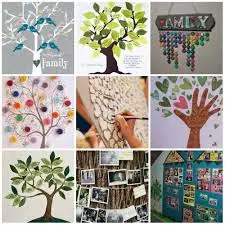
Nowadays, many want to touch their roots and learn whose descendants. In the family tree, relational relationships are usually indicated in a certain order. The location of the ancestors, especially if they are in the program, follows the scheme - at the bottom of the tree is the founder of the genus, up the trunk of the main line of the genus, and on the branches other lines of the pedigree. On the leaves, there are usually the most extreme ancestors. Of course, you can make a family tree with your own hands.
First option
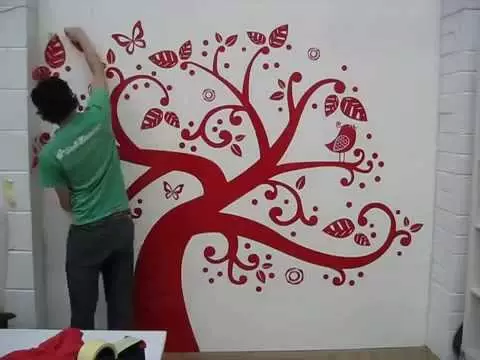
An interesting way to decor your home can be a tree with photos on the wall.
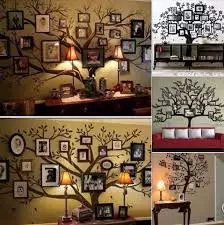
When creating such a tree, you can use ready-made wood patterns or vinyl stickers. And you can draw a tree yourself.
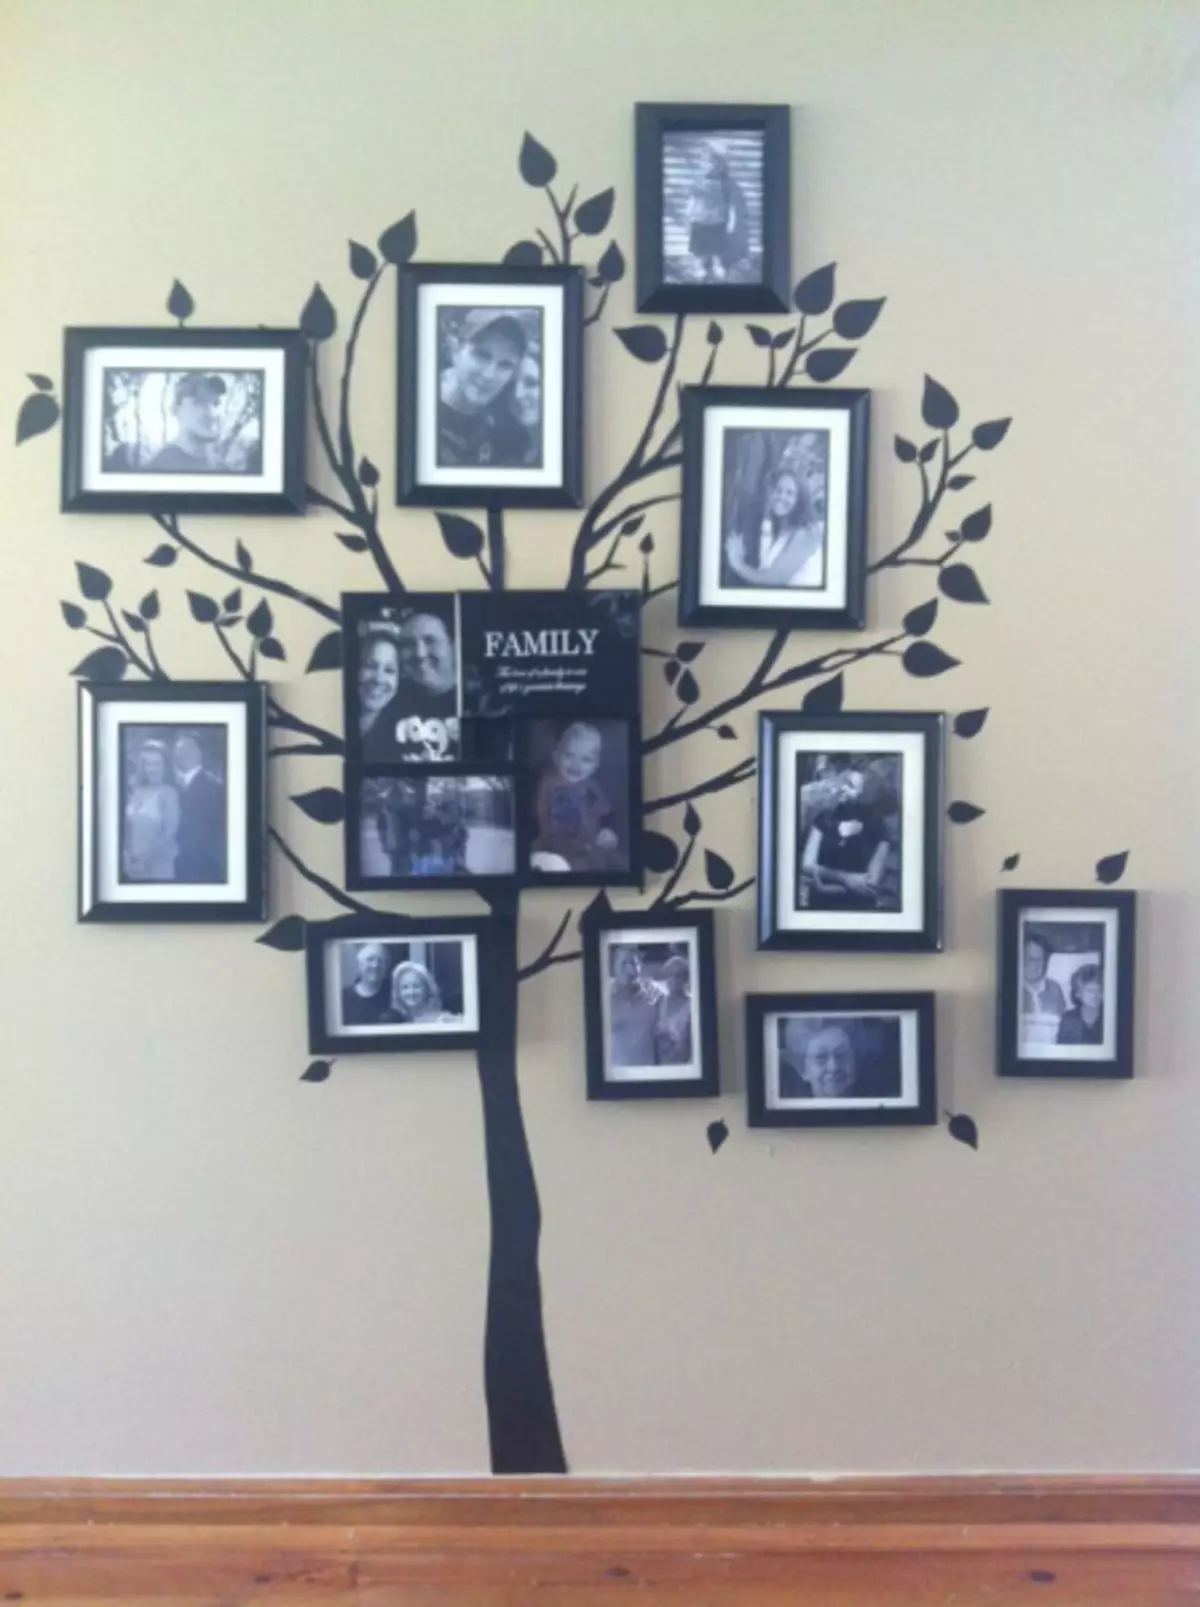
For wood, you will need: sticker, frames, photos, nails, hammer.
To begin with, the place is selected where the tree will be. Then you choose and print photos of good quality. If there are no desired stickers in the store, it can be ordered.
We glue the sticker on the wall and on the finished tree we mark space for the framework. You feed the frames with photos and admire how the finished family tree perfectly fits in the interior!

Option number 2.
This way can easily create a beautiful family tree. In addition, weaving from newspapers is a very exciting occupation.
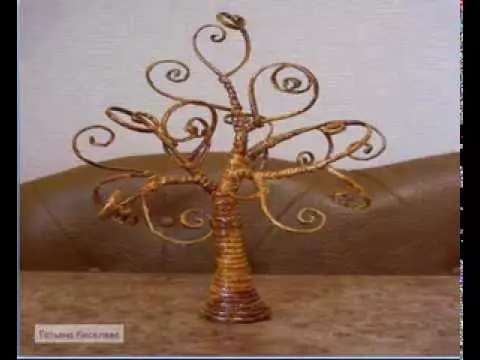
Below is a small master class of crafts from newspaper tubes.
For the manufacture of wood you need: a newspaper (about seven sheets of large format), glue, paint, brush, varnish and thread.
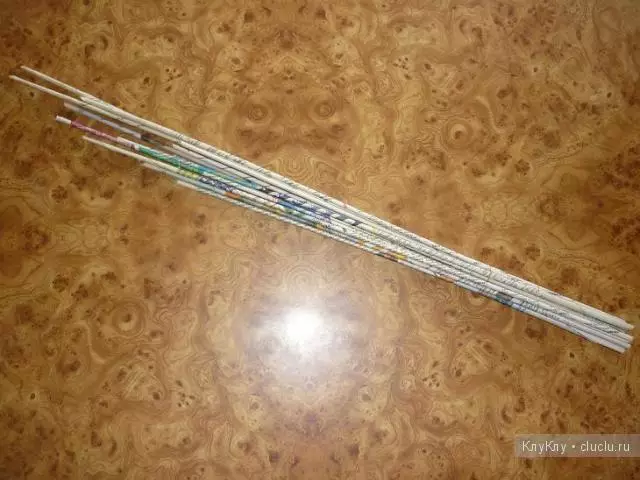
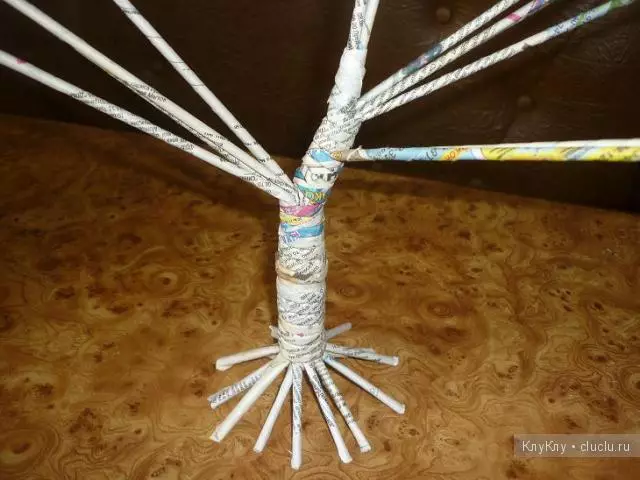
To begin with, roll the newspaper in the tube. For the foundation, 13-15 pieces will be required. They need to be connected together with thread and paper.
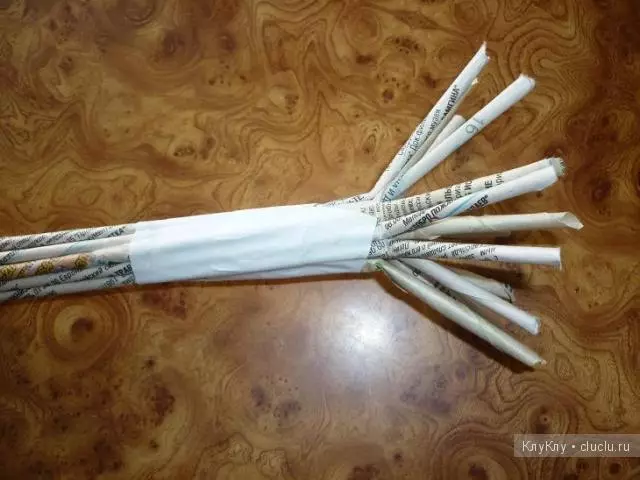
The clermed tube gradually wrap the trunk to the desired height.
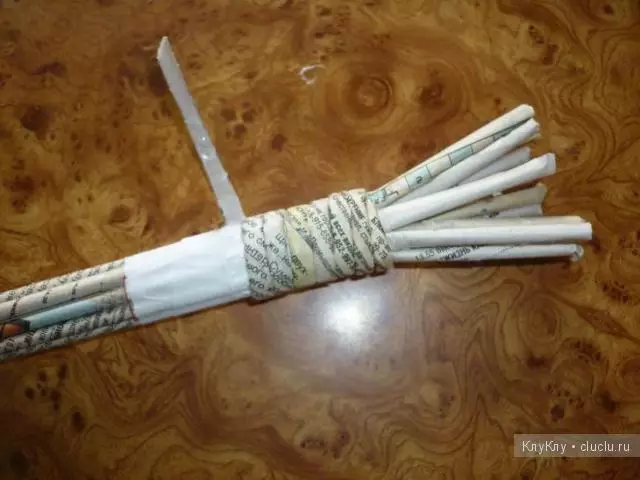
Next, we form the main branches of the tree, for this tube divide on different parts and again wrap the newspaper.
Article on the topic: Shawl transformer: Scheme with descriptions and video on working with knitting needles

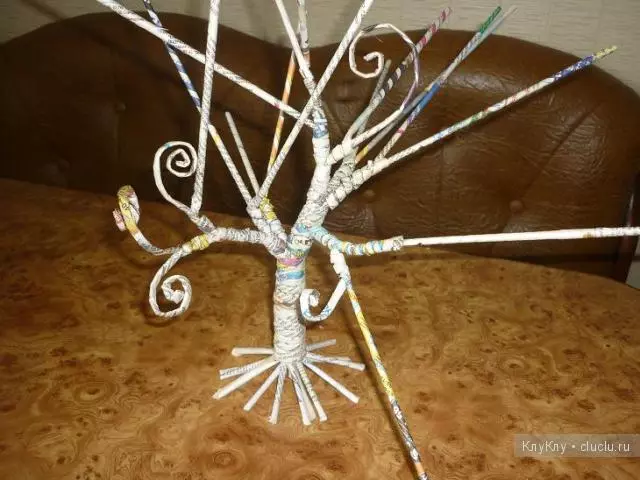
Then new tubes are added for the length of the branch and are turned up, before they are not left in one thing.
Then the tubes are cut to different sizes and the tips curl.
Now the formed product is painting a mixture of white paint with glue.
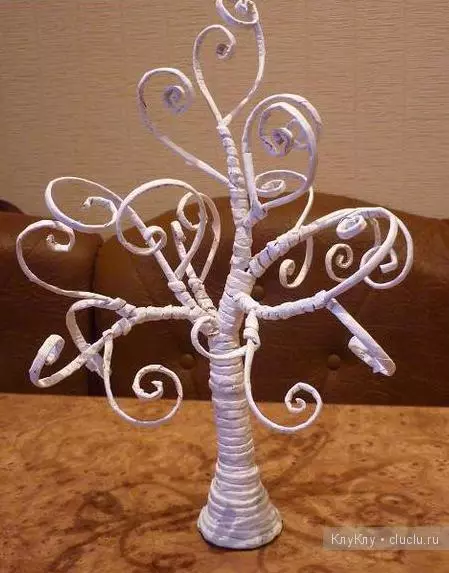
After drying on top covered with varnish.
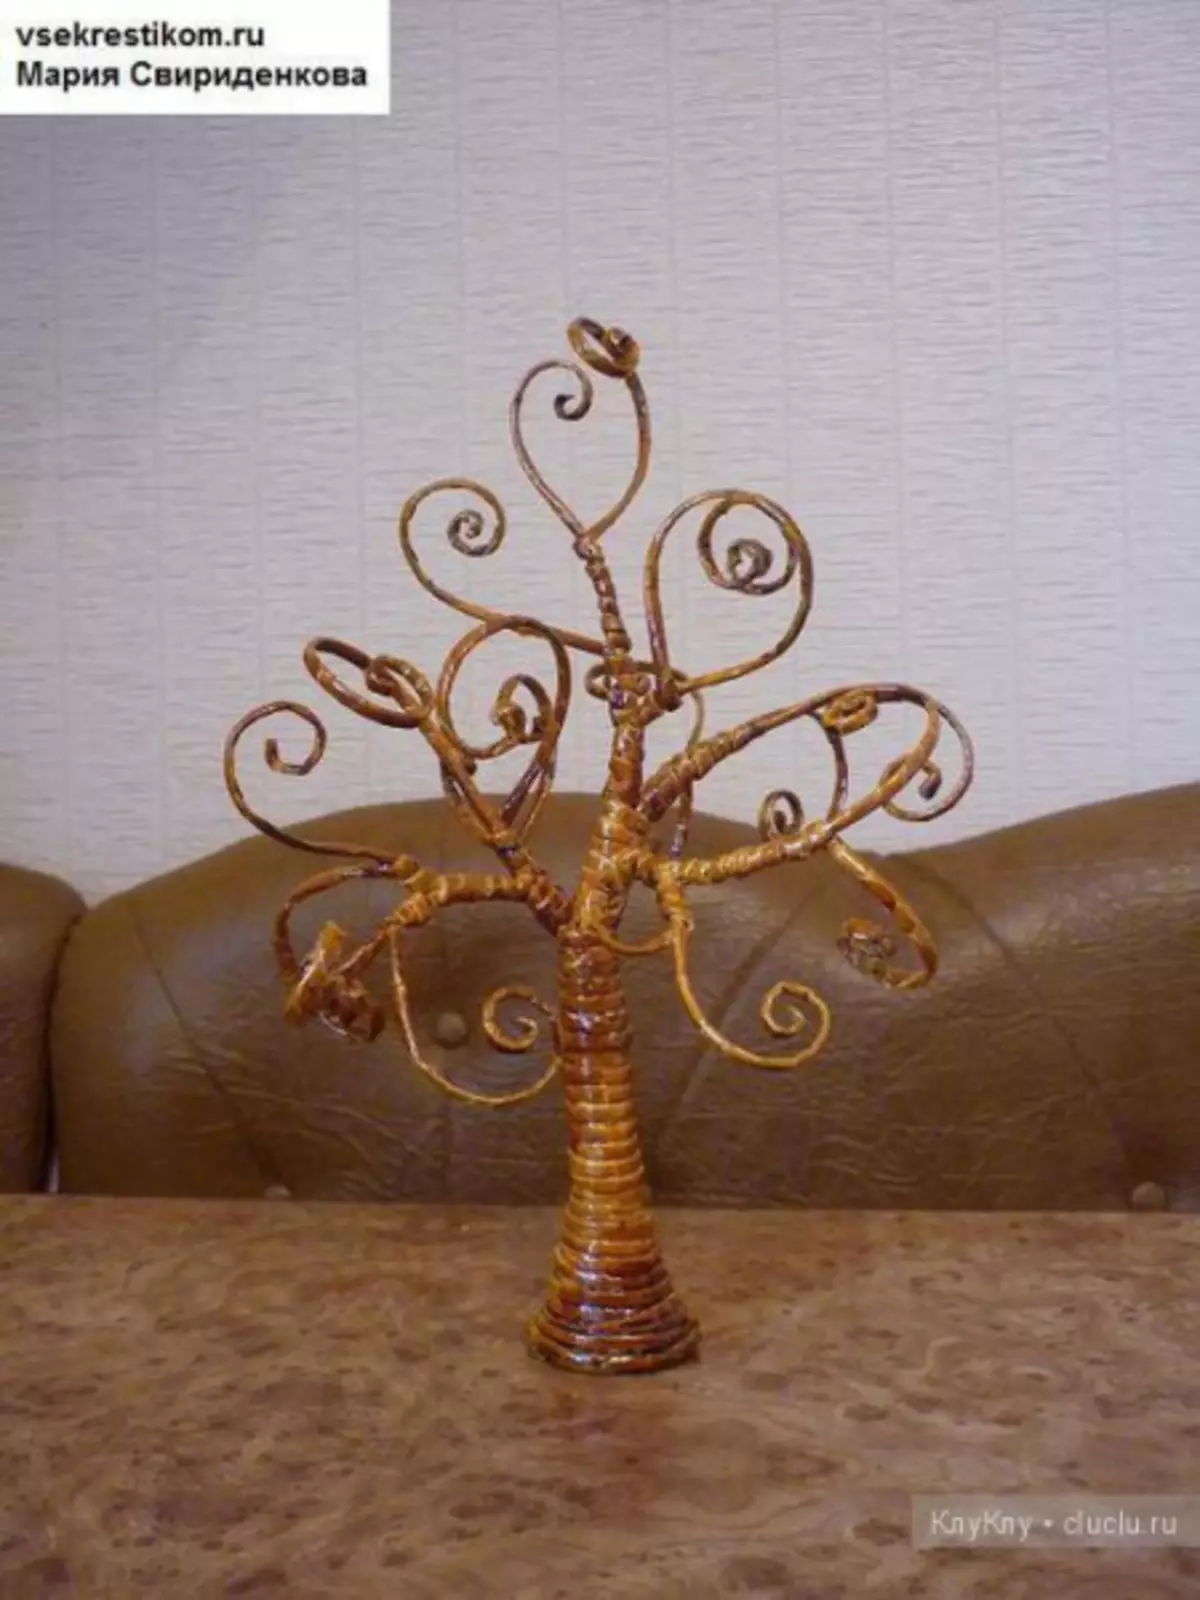
On the curls are attached photos. It is so easy to make a paper tree.
Third way
If there are young children in the family, then you can make a wonderful fingerprint tree with them.
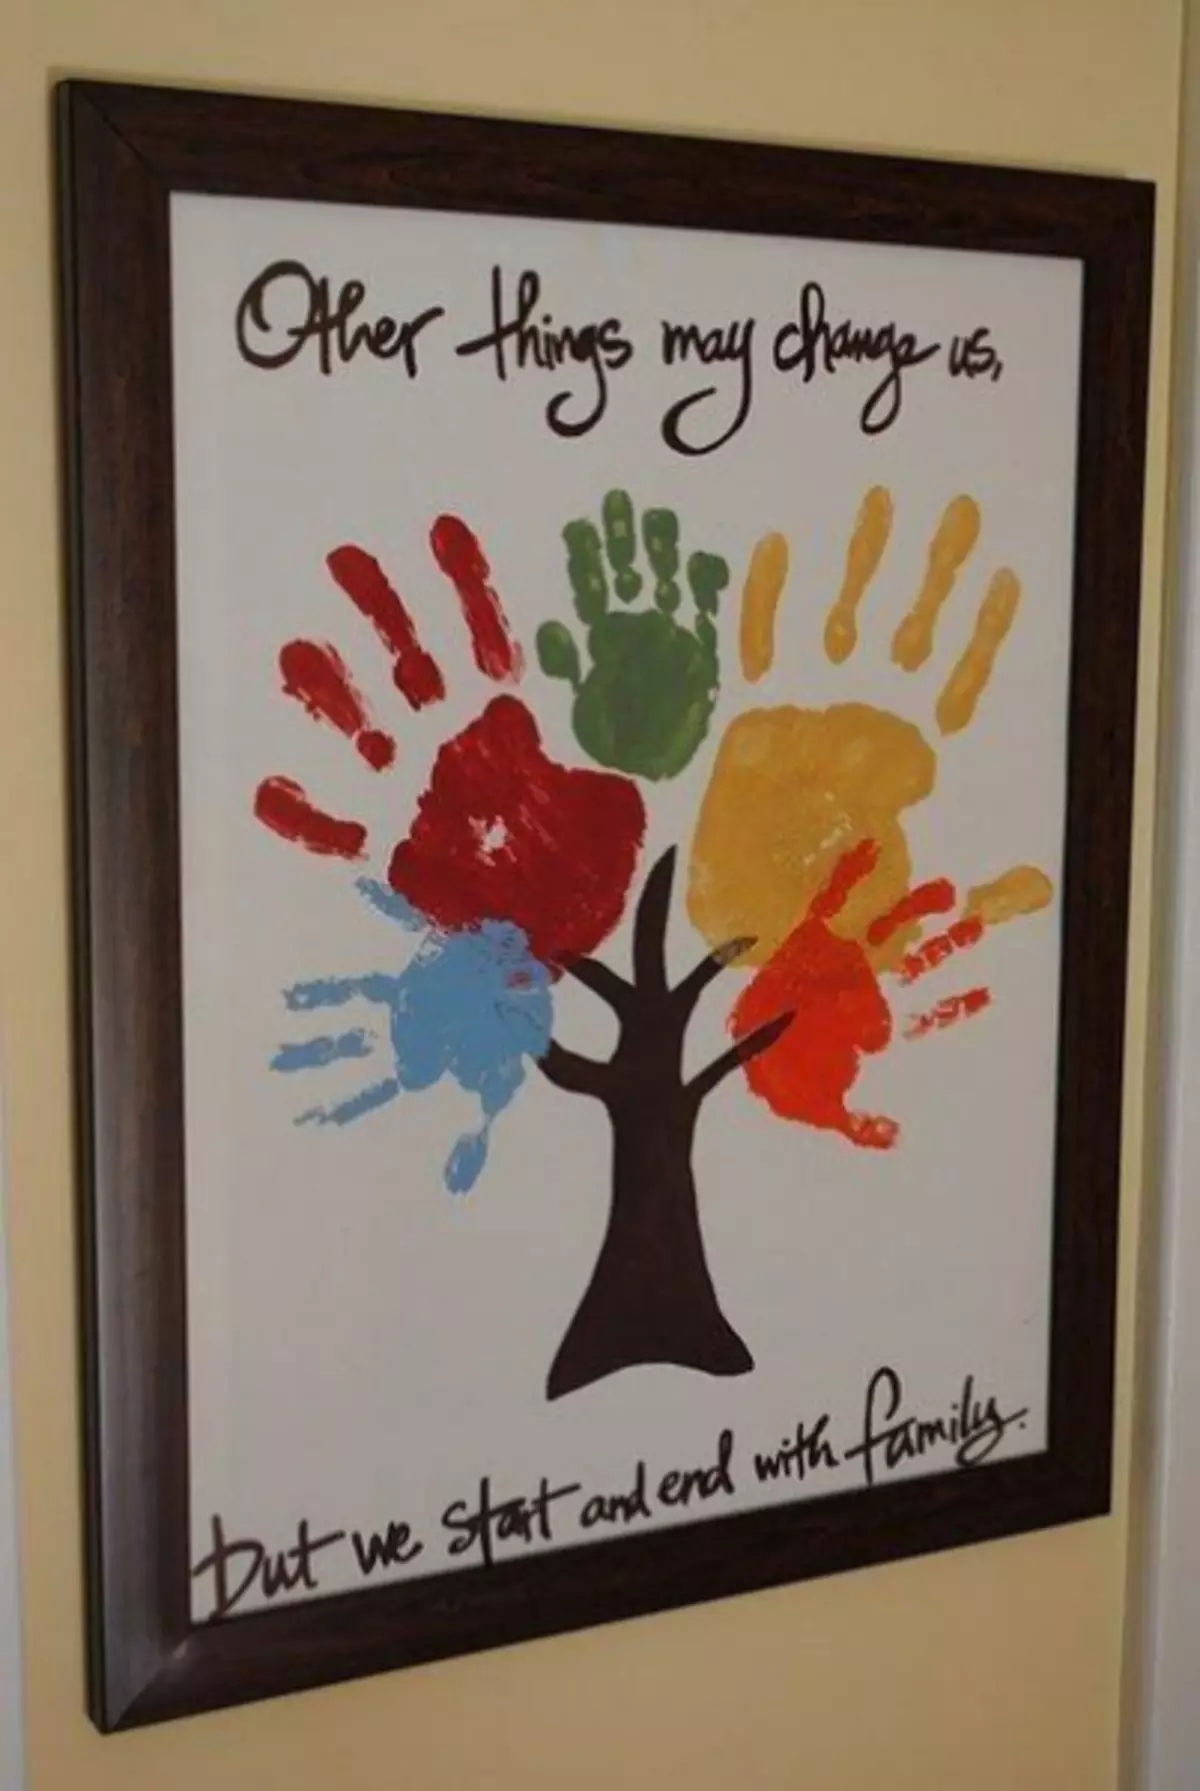
To create it, you will need: paper, paints, brushes and palm of the whole family. First draw the trunk of the tree, then, starting with the highest members, put the prints. At the top of the tree are the smallest palms. We subscribe prints and tree done!

You can make prints from colored or black and white paint.
Such a light handicraft can be made even in kindergarten.
Fourth tree
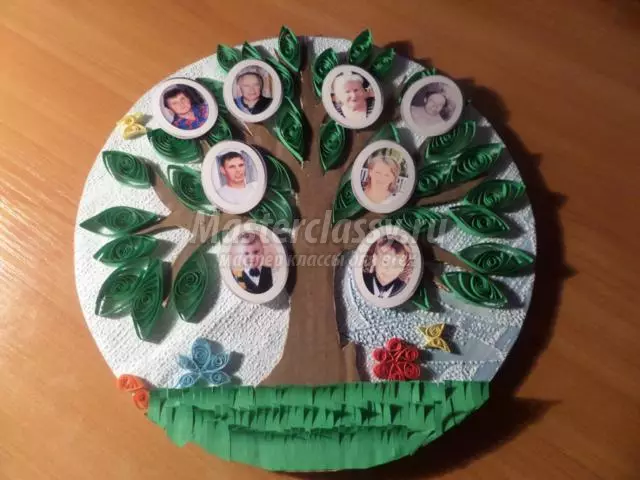
Family tree in quilling technique.
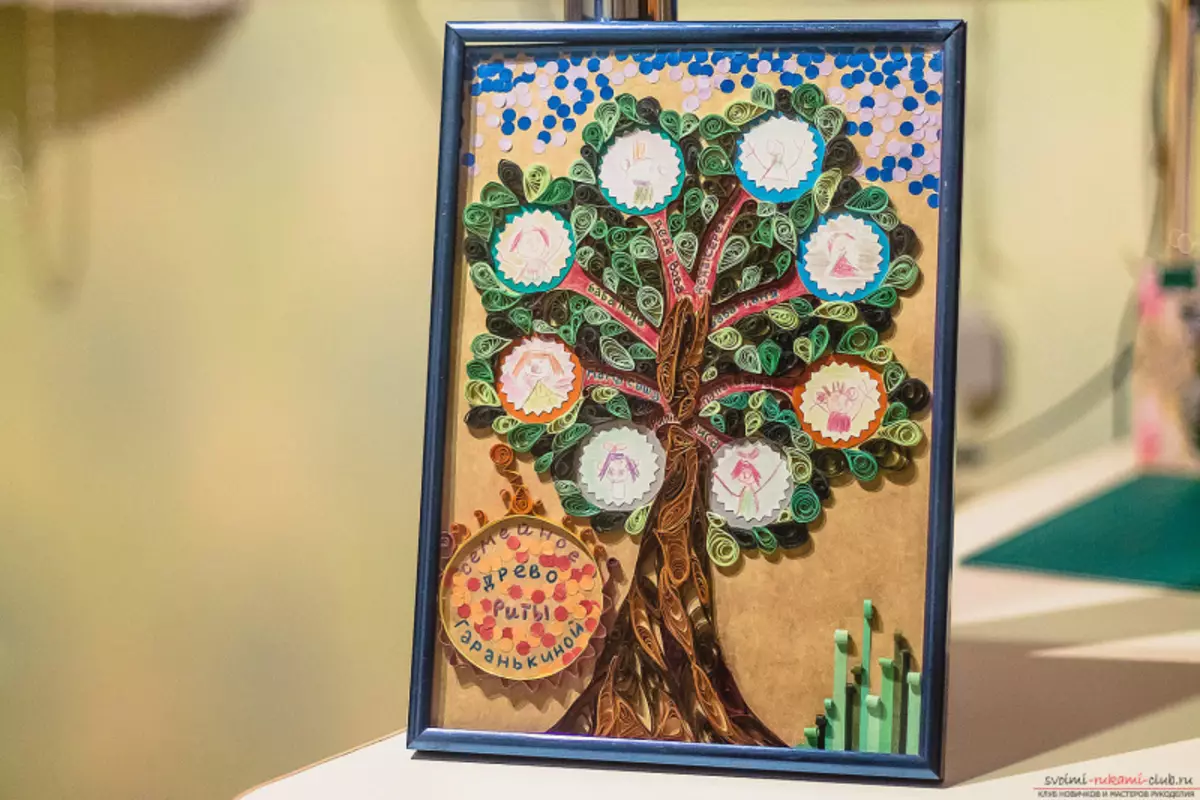
Required materials: Cardboard, Qwing paper, Colored paper and paper paper (you can use wallpaper), scissors, cover from cake for the base, glue, paints and photos.
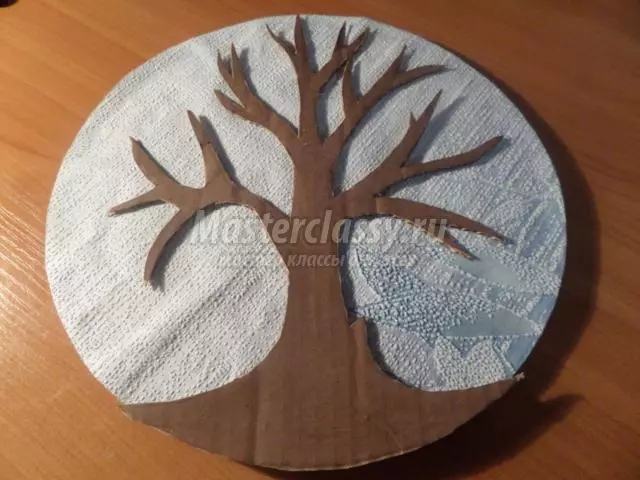
Blacks on cardboard circle and inside it draw a tree.
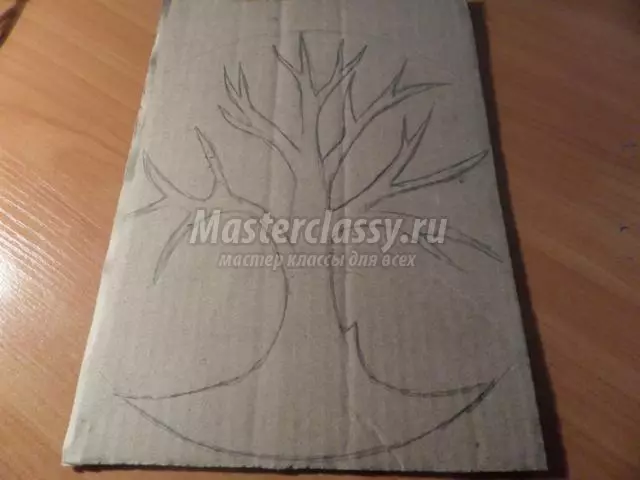
Mobile tree and cut out.
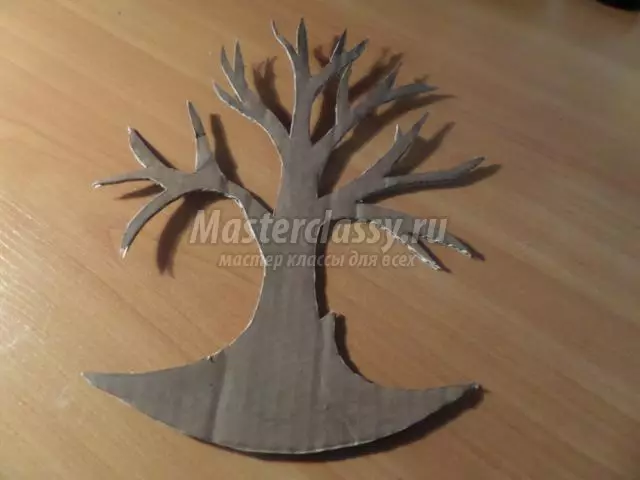
Basis are gluable paper or wallpaper and glue on it.
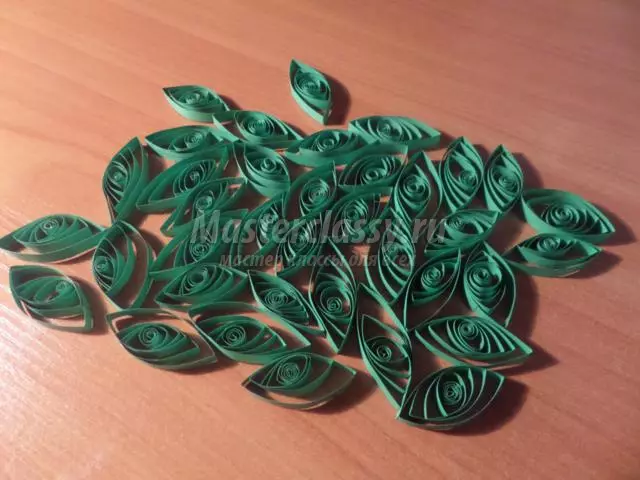
From green paper for queening by twisting, make leaves.

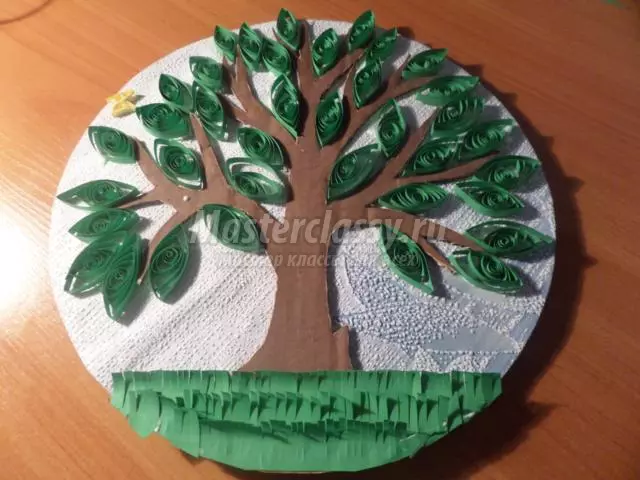
Fresh finished leaves on a tree. From the green paper, cut the grass and glit from the roots.
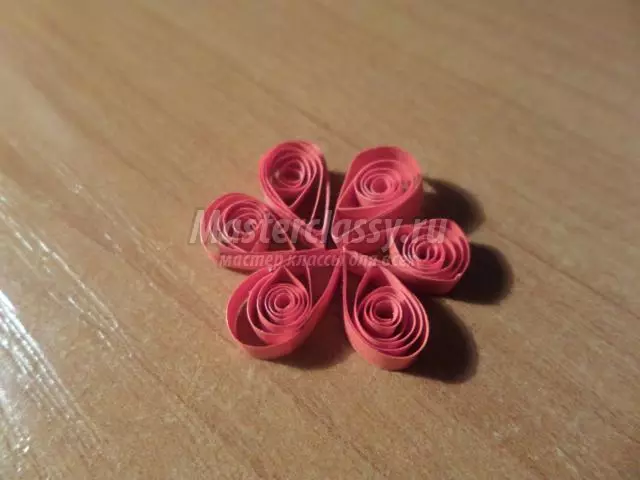
From the strips of yellow, red and blue paper we are folding the blanks for colors and butterflies.
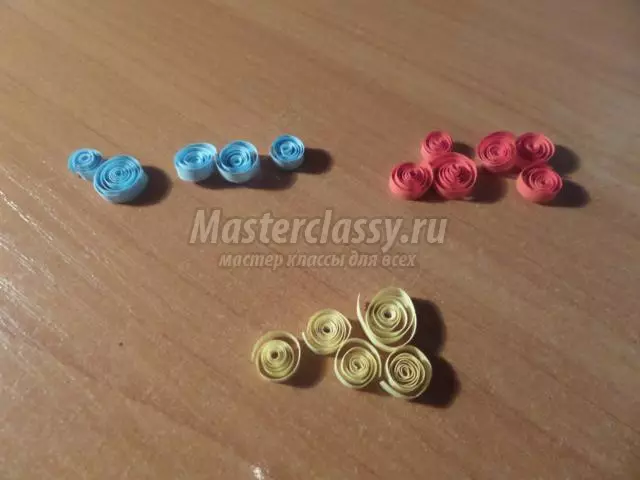
I give the shape of a drop with red mugs and glue.
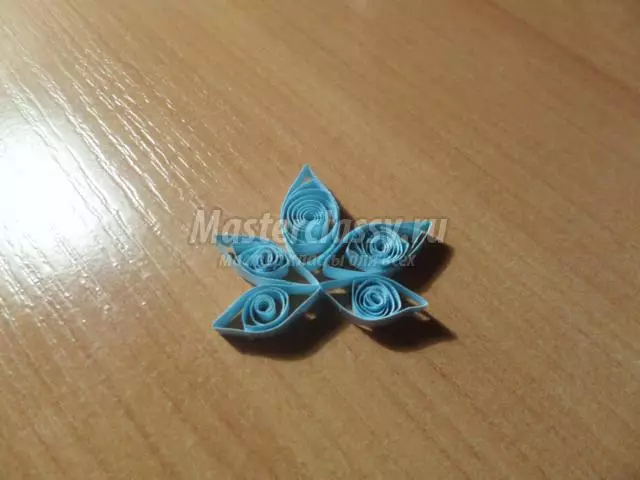
From blue blanks there will be a flower, so we give them an eye and glue.
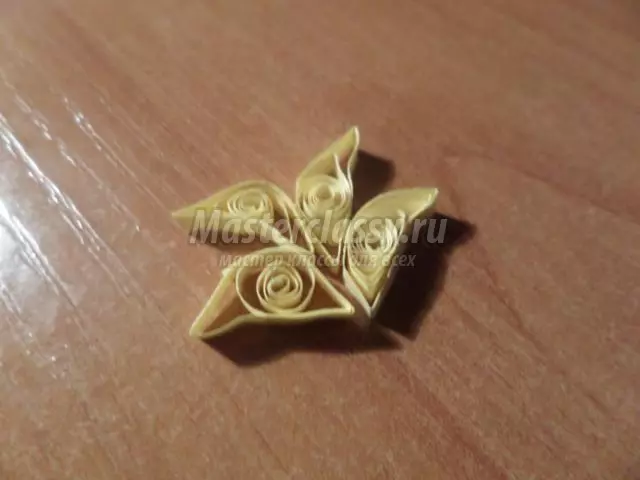
Butterfly glue from yellow mugs in the shape of a crescent.
We glue flowers, butterflies and photos to the product.
Article on the topic: Toy rifle with your own hands
Fifth option
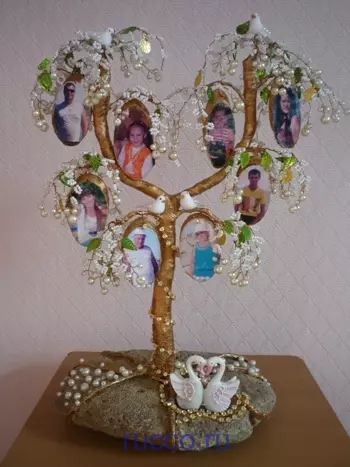
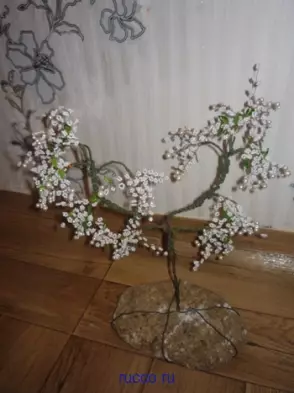
Very nice looks family tree of beads. It will decorate any home.
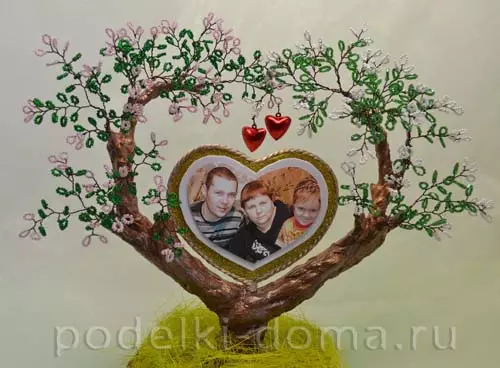
Such a tree will be an excellent gift at the wedding. And you can make it a thematic gift for a 30-year anniversary by adding pearls.
For the manufacture you will need:
- Beads under pearls;
- white beads;
- Wire of different thickness;
- leaves - sequins;
- scissors, nippers and passes;
- coins;
- Stone for the basis of a tree;
- Floral tape and greasy tape;
- Acrylic paints: bronze, brown, varnish;
- gold glitter;
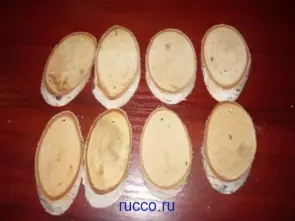
- wood sections;
- photos.
First we are determined with the location of photos on the tree. Then create its detailed schema.
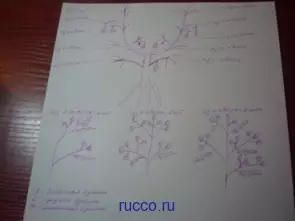
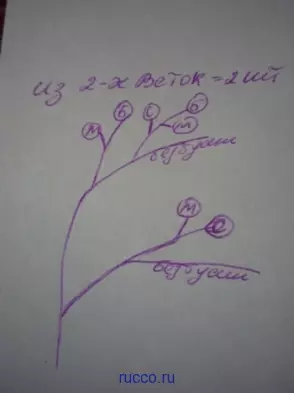
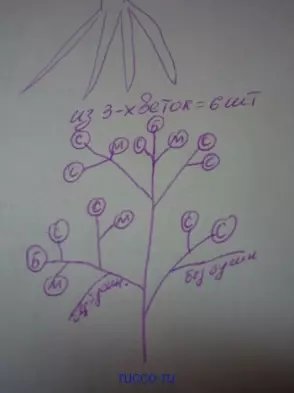
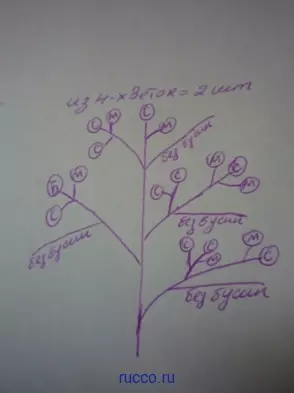
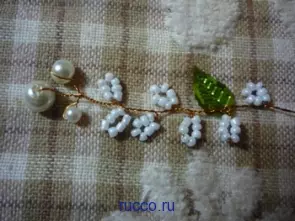
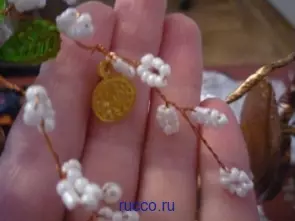
For the future tree we make branches made of thin wire and pearl beads, as shown in the pictures.

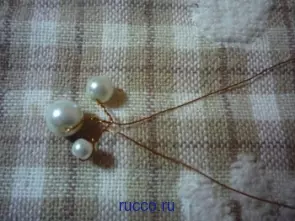
After 1-2 cm for one end, the wire is gaining a white bead loop.
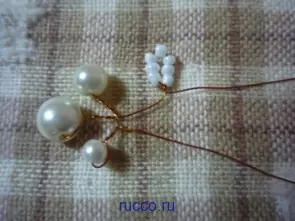
We also repeat from the two ends of the wire.
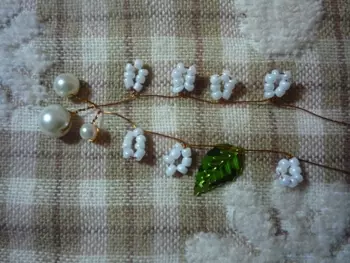
Add leaflets and form a twig.
We connect three such twigs in one thick branch and weave the number of twigs still necessary for the volume.

Branches are tumping thick wire and floral ribbon.
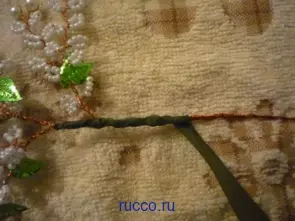
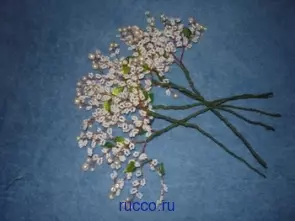
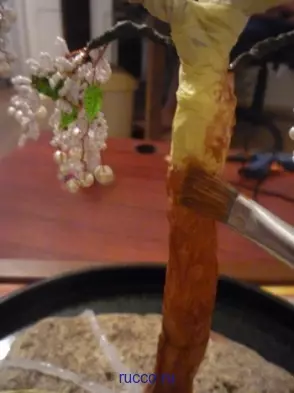
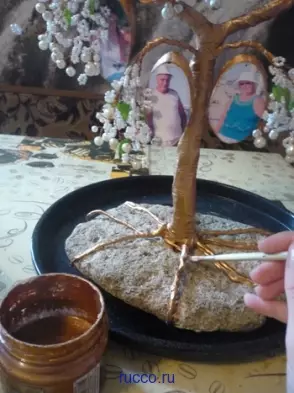
Of the very thick, poorly flexing wire forming the trunk of the tree and attach it to the stone.

Add a branch to the base.
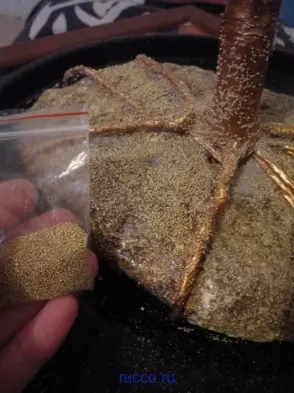
For thickness, wind the tree is still a thick wire and painting tape, paint.
We can add a root tree with a glue gun.
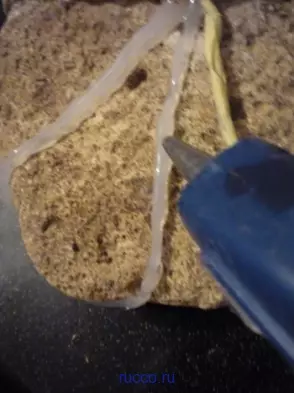
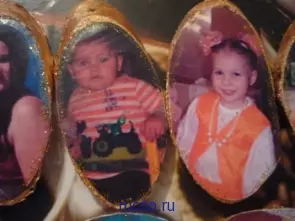
On wooden birch sections, we stick photos and make small holes.
Prayer trunk, roots and branches of bronze paint, cover from above varnish.
We decorate the finished tree with coins, golden sand, rhinestones and swans figurines.
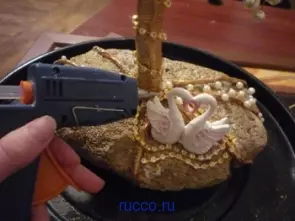
Beauty is ready!

Video on the topic
Interesting selection of video: