
Preparation of walls and their further finish - a multi-step process, which is:
- removing old wallpaper;
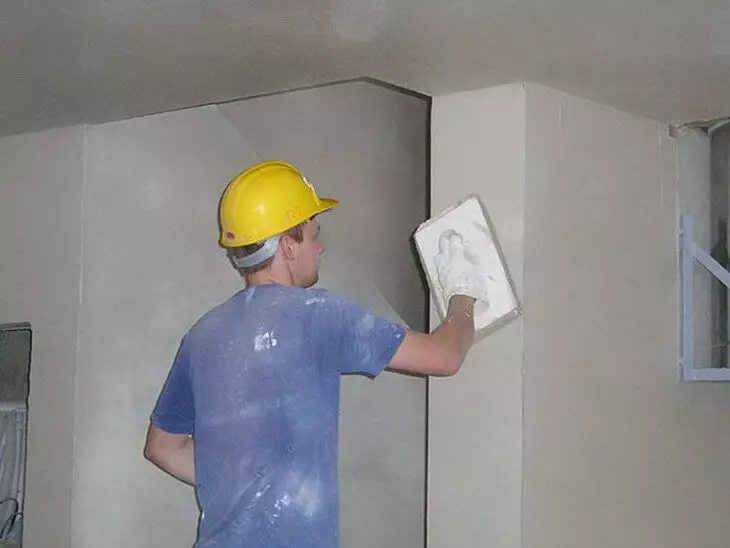
- applying plaster;
- priming surfaces;
- Skuring the walls;
- re-applying primer mass;
- Finish decoration (painting or pasting wallpaper).
Wall alignment is a combination of coarse and fine finishes. When even the most experienced masters are applied to the walls, small defects are always formed due to sharp corners of the spatula used. So that such irregularities were as little as possible, it is customary to use a spatula with a large working web. But, even at the same time, the errors on the walls will still be visible, but only the subsequent squeak will help to eliminate them.
Wall plastered after putty
Then we will tell you what is the slices of walls, and which tool is better to use for this.
What is the grinding of the walls?
Plastered walls after putty do it yourself
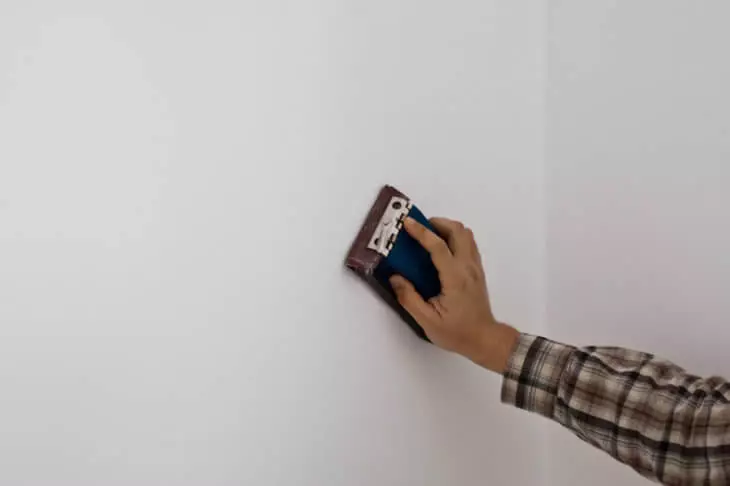
Stretching walls are mechanical actions that are carried out on dry and pure putty, without applying primer mass.
Relative to the type of surfaces of the walls and its area, the correct selection of the most appropriate tool for the sump of wall will help to significantly save both the forces and the time.
Which tool is best used in a specific situation, let's tell further:
- If you need to pelt a small surface in the area, give preference to hiding grouting with a grinding bar;
- To process a large area, it is better to take a plane oxyl-blasting electromashin, but all the angles and hard-to-reach areas will still have to grind themselves alone;
- If the territory being processed has a large area and various complex bends and protrusions, look for eccentric grinders with high power.
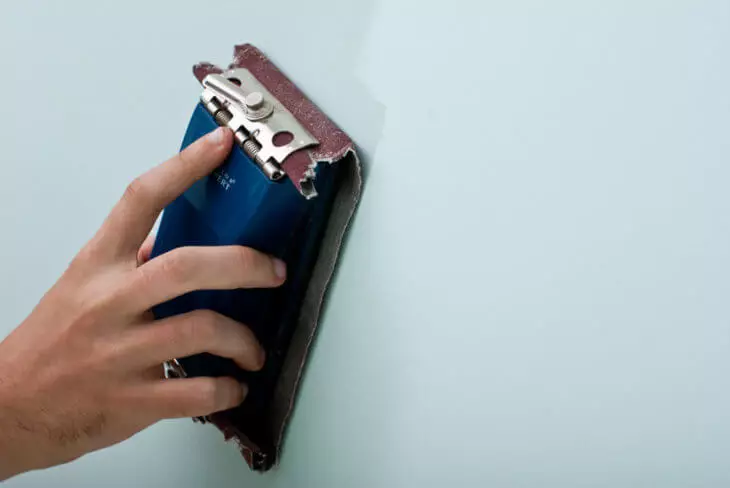
And so, besides the base and holder with the clips for the grinding bar, you need an imaging with a certain graininess or grinding grid. Since the abrasiveness of the emery paper is very quickly erased, stocking of a large fleet and spend it in a timely manner.
Specifically, to say which tool it is best to use for grinding of the walls - it all depends on your choice.
The advantage of the grinding grid is that it is slightly clogged with dusting during Okurization. But, it is worth such a material for an order of magnitude more expensive than the stacker. No matter how cool, the grid also needs to be changed periodically. Replacing the web is needed if the canvae was worn out (you will immediately notice or feel, because the work will be carried out not qualitatively). You can buy a grid already in the finished form, choosing the desired size of the size of the bar.
Article on the topic: How to get rid of scale to the kettle with lemon?
The replacement of the sandwich is required much more often, so the cost of its purchase will also be essential. It can be bought, both in the roll and in the sheets of the required size. If you bought a cloth in a roll, immediately decide how you will cut it to reduce the number of "waste". During the abrasive cuts, take into account the moment that you have to make a break for fixing paper on the bar climb.
Independent plastering of walls after putty
Specifically, the example of the abrasiveness of the canvas is difficult, it is better to make samples and errors. Choose for testing the loskutka of different graininess and try them on some small and not noticeable segment of the wall. Pay attention to the smaller the number of graininess, the more rude will be abrasive, and vice versa. From how small the grain fractions will be, the abrasion of paper will depend on, which leads it to unfortunately.
Depending on how you plan to decorate the surface of the walls in the future (painting, glue wallpaper, apply decorative plaster, etc.) depends on the level of its smoothness.
If you want to paint the walls, they will have to bulk them twice:
- The first squeaking is carried out by a rough skin (for example, at number 60) to remove large defects;
- The second - fine-grained abrasive or grid at a number 100 or 120, to give the surface of the maximum smoothness.
If your plans include a simple blowing of wallpaper - one grinding even a rough abrasive will be quite enough.
An example of labeling and varieties of eathes are shown in the table.
| Marking | Sphere Use |
| 22-36r. | For rough black work |
| 40-60r. | For rough grinding |
| 80-120p | For primary stripping walls |
| 240-280 | For hardwood processing |
| 400-600R | To polish the surfaces of the walls before applying paintwork materials |
| 1000r. | For processing plastic, ceramic and metal products |
| 1200-1500r | For finishing polishing walls and other surfaces |
Of course, if you have a grinder, the time spent on the surface of the surface can be significantly reduced, because such performance will provide you with an ideal surface and will not allow the formation of a large amount of dust. Today, such copies of grinding machines that have an ergonomic design of the holder have been developed. From such a device, your hands are not tired, and if the device in addition is equipped with a telescopic handle - work on the ceiling finishing can be performed on the floor.
We make a tool for sowing walls with their own hands
Wall shockting
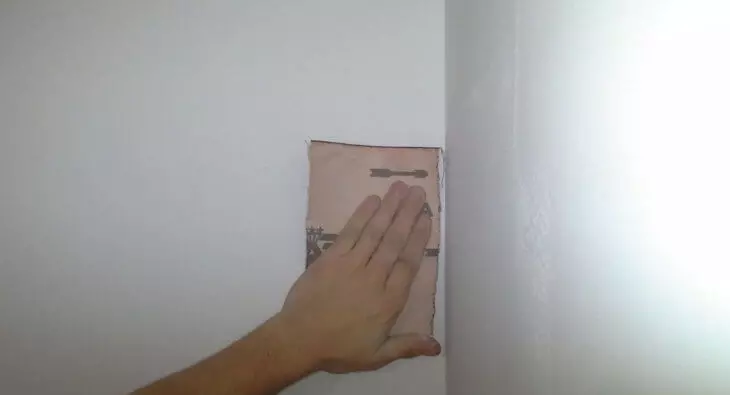
Okuring smooth surfaces is not a complex process, but the treatment of corners, joints and niches often cause difficulties. But, it is possible to make it easier for myself, independently dealt with an uncomplicated device.
To do this, you will need:
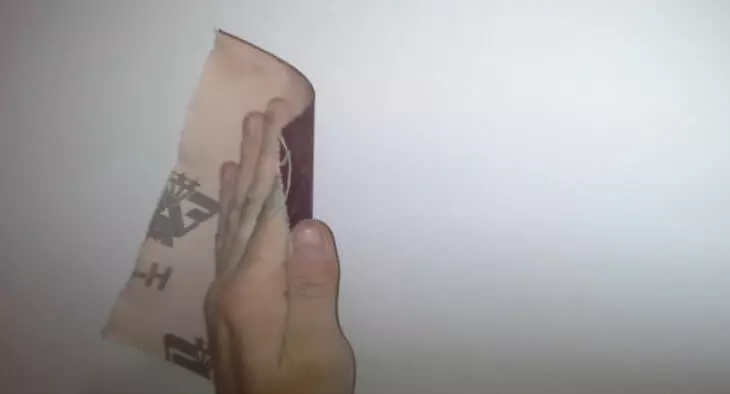
A small piece of plastic profile cut a smooth strip in 7cm;
On the back of two-way scotch and glue the sandpaper;
cut the plastic cloth into fragments of 15-20 cm;
sharpening the angles in such a way that the shape of the grater resembled a pencil.
Please note that on one surface of your homemade grater you can combine different materials on the grain.
That's all, now you have a practical device, which will help solve the problem with the squeak of hard-to-reach areas. In this angle, you can work until the edge is erased. After its unsuitability, the corner can simply cut off and continue the slicer.
How to protect yourself from dust?
Wall decoration after putty
No matter how hard you tried, but avoid dust during the sump of the surfaces of the walls you will not succeed. The smallest dust can penetrate the gaps of the doors and spread all over the room.
In order, at the end of the molding of the walls, it was not possible to spend a lot of time and strength to bring the apartment in order, spend more efforts to prepare and protect your housing.
To do this, buy a special protective film and cover it all that it will not work out from the processed room, while firmly attaching all the edges of the tape film. The windows can be drilled or flushed throughout the perimeter. Then you can moisten with water 3 towels:
- one hang over the door;
- the second to close the vertical gap;
- Third put on the threshold.
During the work, put the respirator and glasses to protect the eyes and respiratory organs from the harmful effects of building dust. After working, the clothes need to shake well, and then stretch.
Technique Skuring Walls
Wall plastered after putty in the apartment
After you prepare the necessary tool and protect everything from dust, you can start work.
Please note that the lighting is an important point. Near the surface being processed, install an additional light source so that it highlights all defects.
It is advisable to designate plots on the walls that require special attention: pits, cracks, protrusions and other errors.
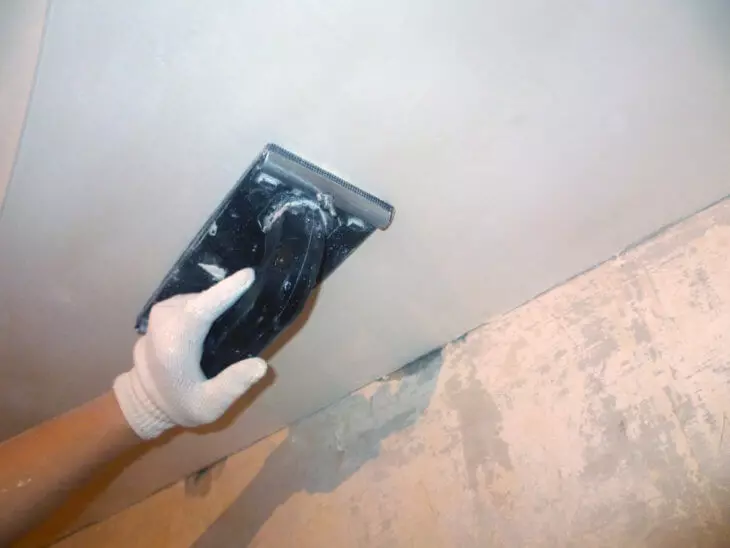
Okrun The wall surface is standing from the angle, moving down (the processed section of the wall is reasonably about 1m width), after which it is necessary to raise up and repeat the actions by the same scheme. Grinding should be carried out by spiral movements, slightly applying efforts.
During the sowing of the walls, control the process all the time: if the processed area is sufficiently puffed, do not dock in one place, and all the time change the front of the work, otherwise there may be holes in the spacure layer.
Note if you started work with one name of the sandwich, they will also have to finish work. It is not allowed to use different numbers of abrasive for grouting one section of the surface of the walls.
When the work is completed, you can check its result. For this there are 2 ways:
- Direct the bright light source closely along the entire obstum surface. The light clearly "will allocate" all flaws in your work.
- You can also apply the level to the wall plane and lead them along, watching whether the gaps between the level and the wall are formed. If you see the enlightenment - it means that you put the walls with a spacing on some sector of the wall. It is possible to correct such errors with a grinding timber.
But, on this work did not end. After grouting, the walls are covered with a layer of dust that will not allow wallpaper or paint smoothly and firmly to lie on the walls. You can remove dust with an old vacuum cleaner or brushes with a soft pile and a slightly damp cloth.
At the end, I would like to add that putty is too soft and piercing the mass, to simplify the work with which you can, taking into account our simple recommendations.
Article on the topic: Floor alignment plywood: how to level the lags old, concrete doom and a wooden screed with plywood