
The new year is a wonderful, fabulous time, whose offensive is awaited, from Mala to Great. For the New Year holidays, we traditionally decorate our homes expensive, purchased things. But is it worth you only? Crafts of the winter house made independently, perfectly complement the decorative interior items purchased in the store, and will reveal your creative abilities. And the main thing is that on their manufacture you will spend very little time and even less finance.
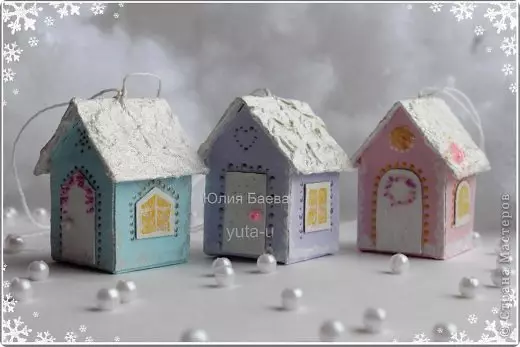
Houses on the Christmas tree
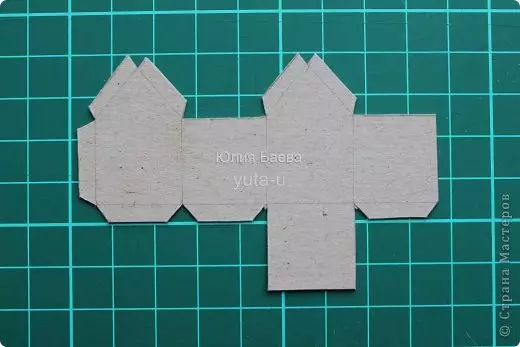
Before you start directly work on houses, we need to find a template for which we will cut the form. If our houses do you like, you can simply attach a sheet of paper to the monitor and put in a pencil.
Cutting a template, do not forget about the indents about four millimeters. On them we glue our house.

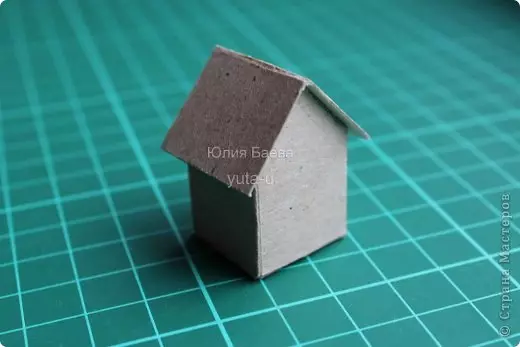
Next, along the lines of the gluing, we raise the edges of our house.
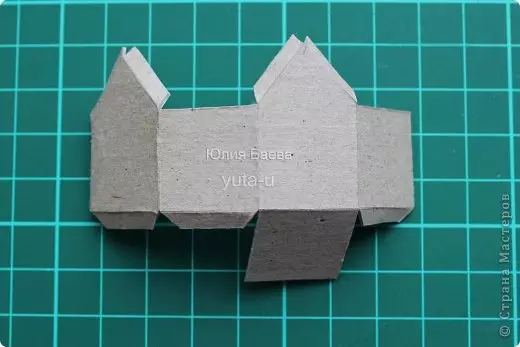
We glue the bottom of the house and its wall.
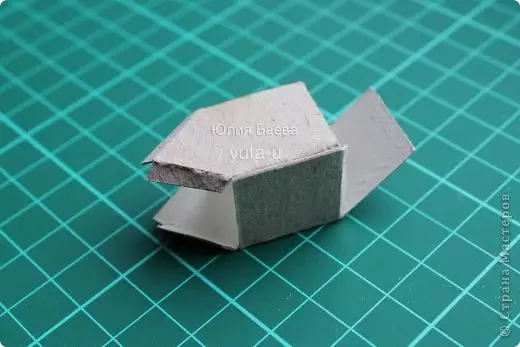
The roof also needs to be glued.
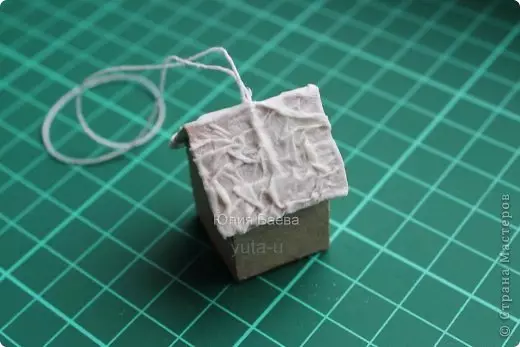
We take a thread and cut off from her such a segment, which in our view is suitable for a house. You can glue a thread at almost any glue.
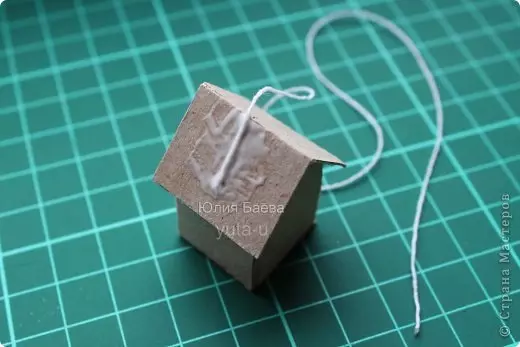
So that the thread keeps it better, fasten its base with a piece of napkin. So do it from both sides.
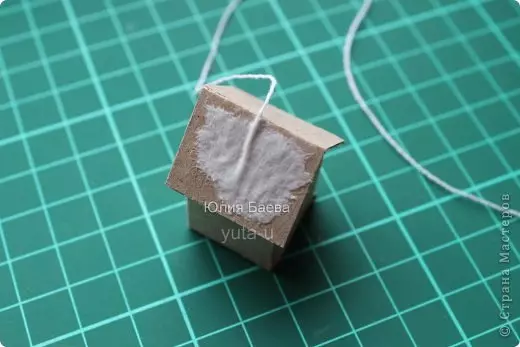
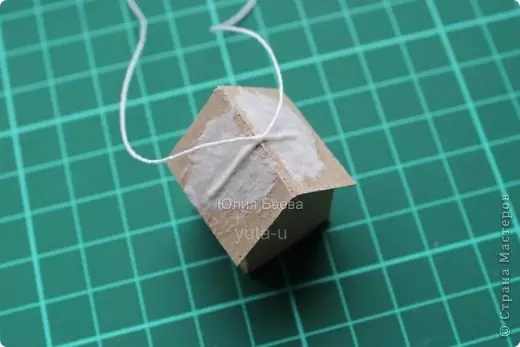
In order to lay the roof on our roof, we glue a piece of napkins, pre-impregnated with glue.
The napkin can be replaced by cotton. It looks too very good.
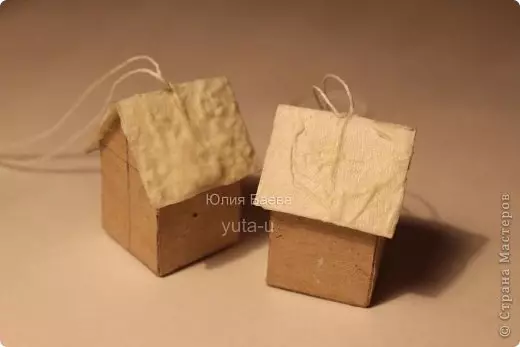
The houses apart in any beautiful color, and the roof is traditionally covered with white.
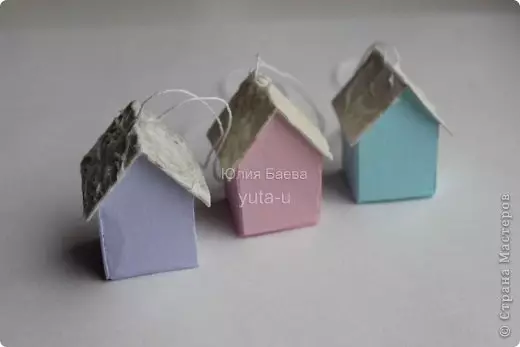
Now we can only decorate our houses. Its further appearance depends on your imagination. Doors and windows can be cut out of paper, minor parts can be disappeared with markers, the roof will look beautiful if it is sprinkled with a white beads.
Article on the topic: How to tie a hood knitting needles: a diagram and MK for beginners with video and photos
All is ready. We made an original Christmas decoration with your own hands.
Decor of old magazines
If unnecessary magazines have accumulated in your house, do not hurry to throw them out. If we are armed with a marker with glue, scissors and one of these magazines, you can make an interesting handicraft in the style of "Winter House".
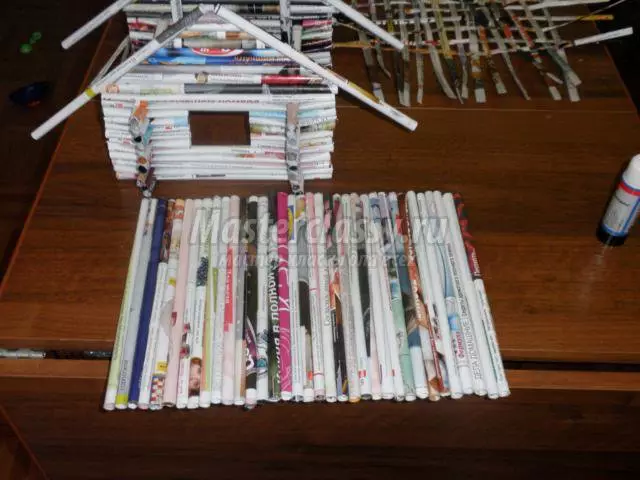
Getting to work. Twenty-five pages of our magazine must be cut in half and twist into flat flagella. Everything should get fifty flavors.
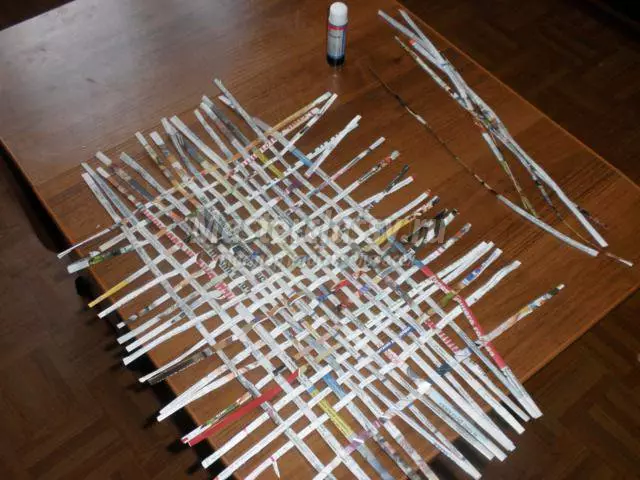
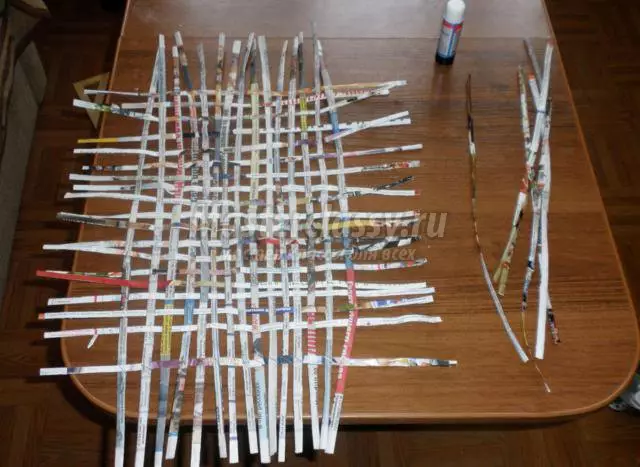
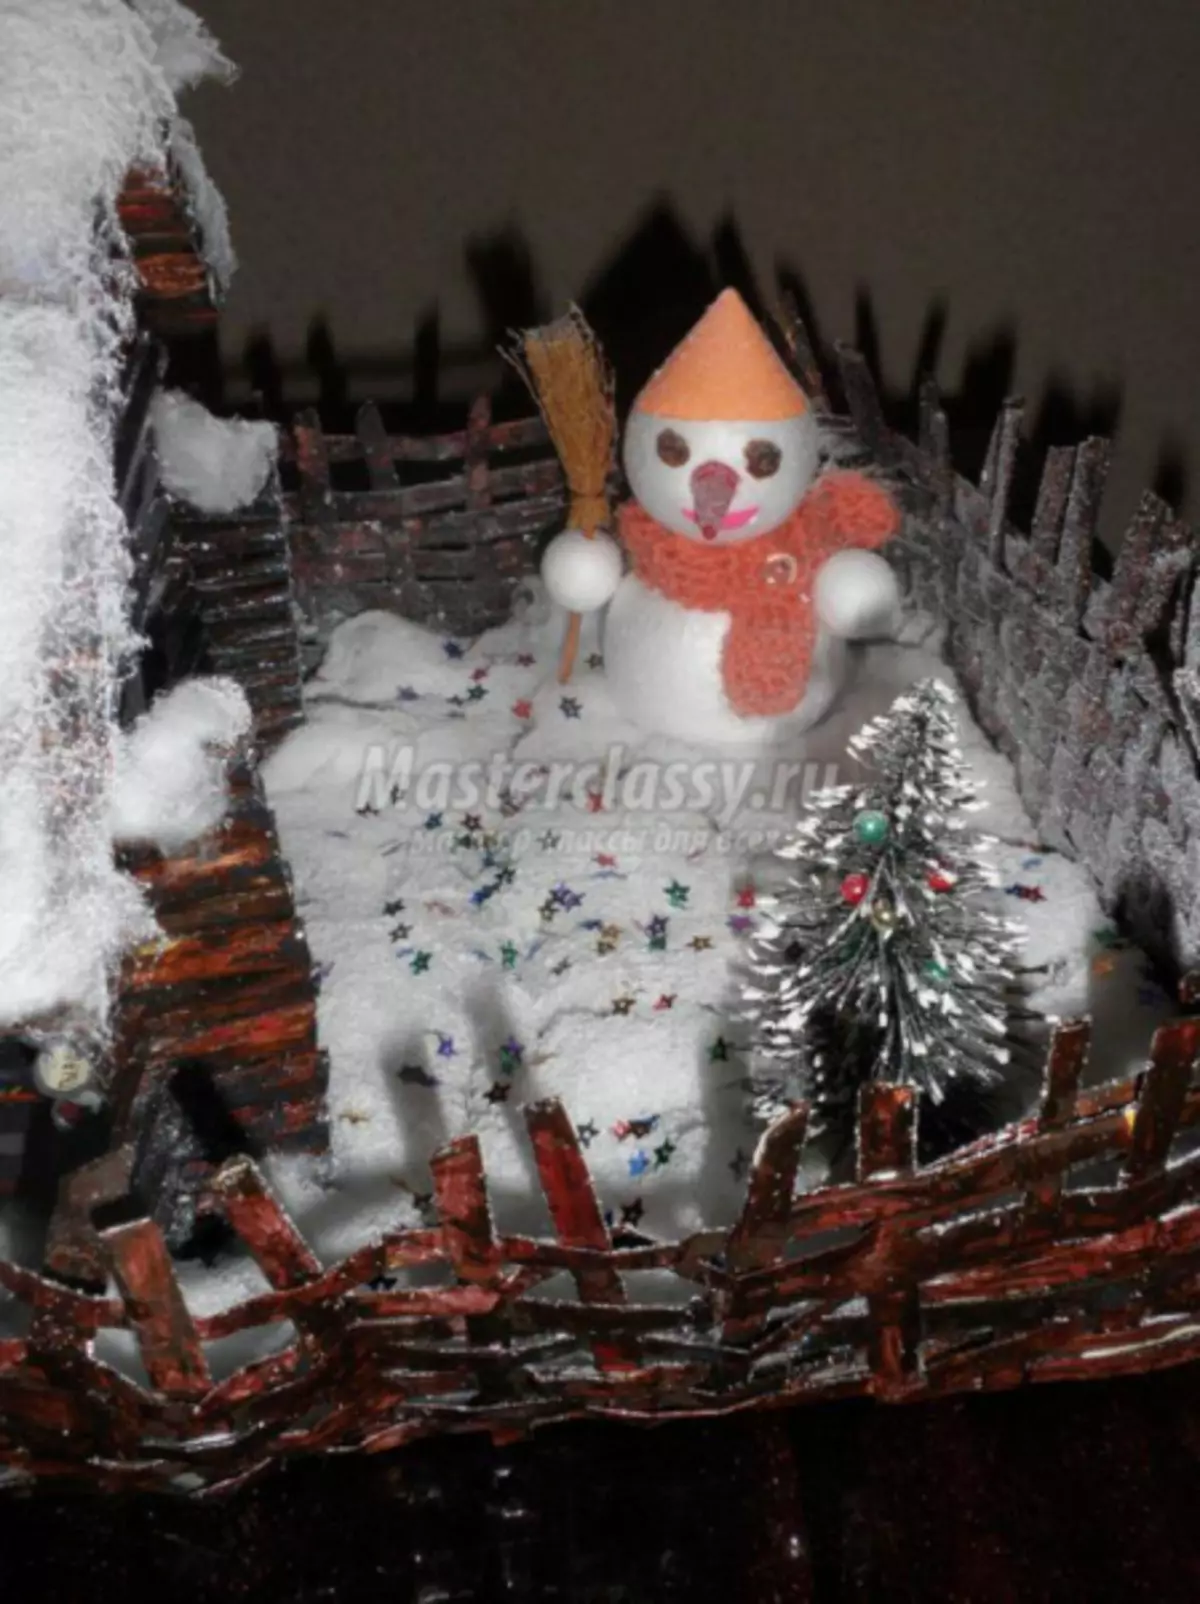
From these flavors weave the grid, which gradually turns into a basket.
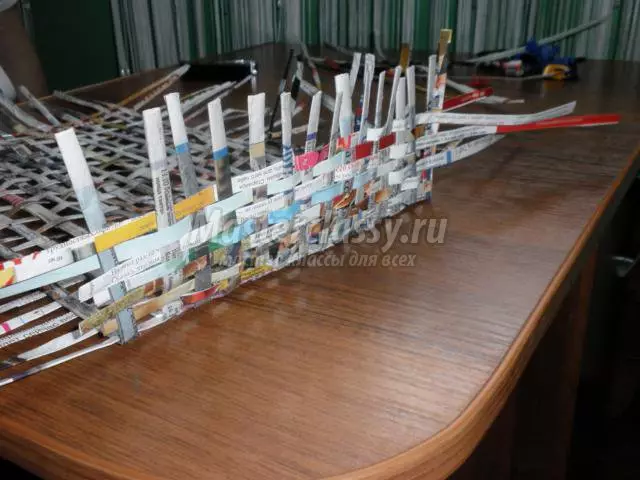
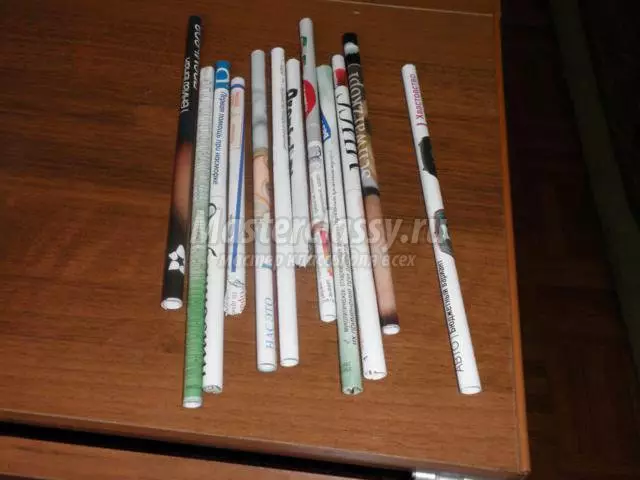
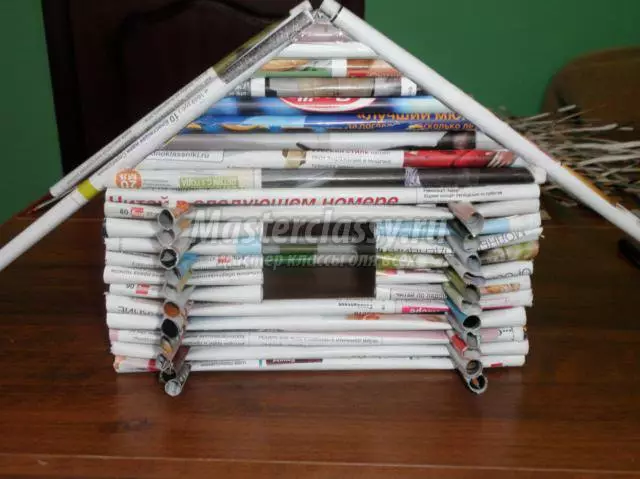
On the house and roof we twist a hundred pages of the magazine. Accordingly, it should be a hundred dense logs.
I spread the logs and sample between each other so that they keep better.
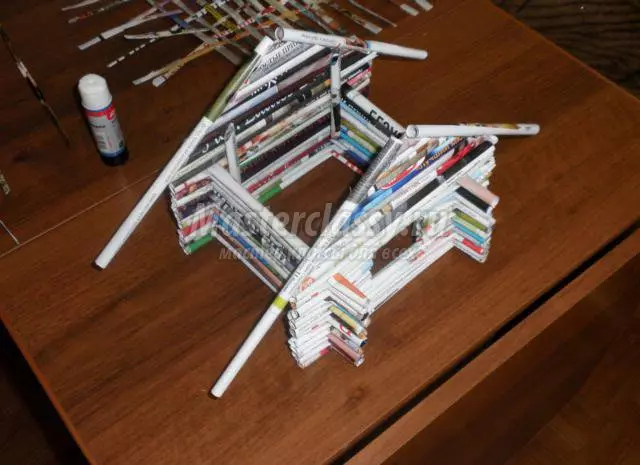
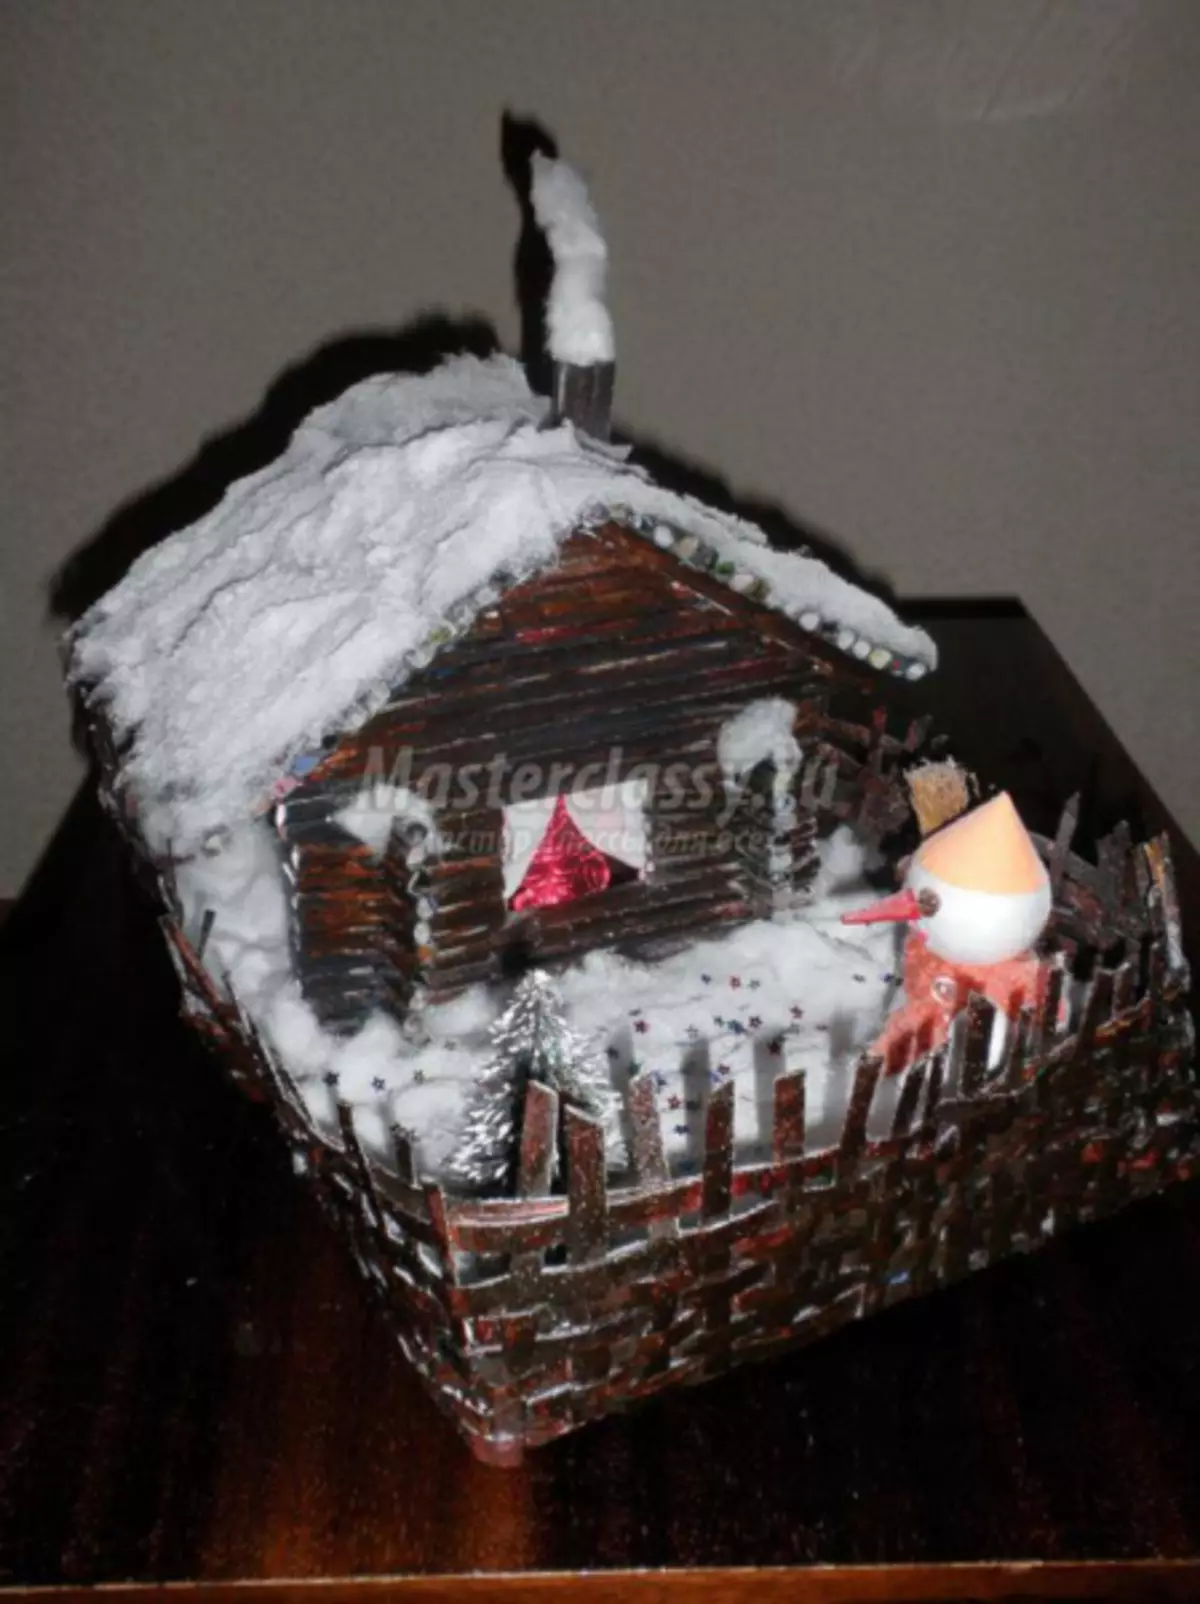
Snowman make from two or three foam balls. Scarf for it can be connected from yarn or cut out of any fabric. The house is first covered with paint under the tree, and then varnish.
It is important to use glossy magazine pages, they are not so wedged with damp paint. By the way, wet paint can be replaced with a paint from the canister.
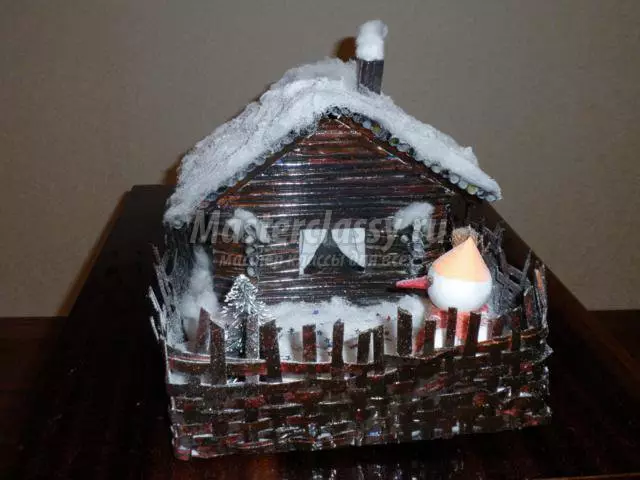
The roof and courtyard of our house decorate cotton and sparkles.
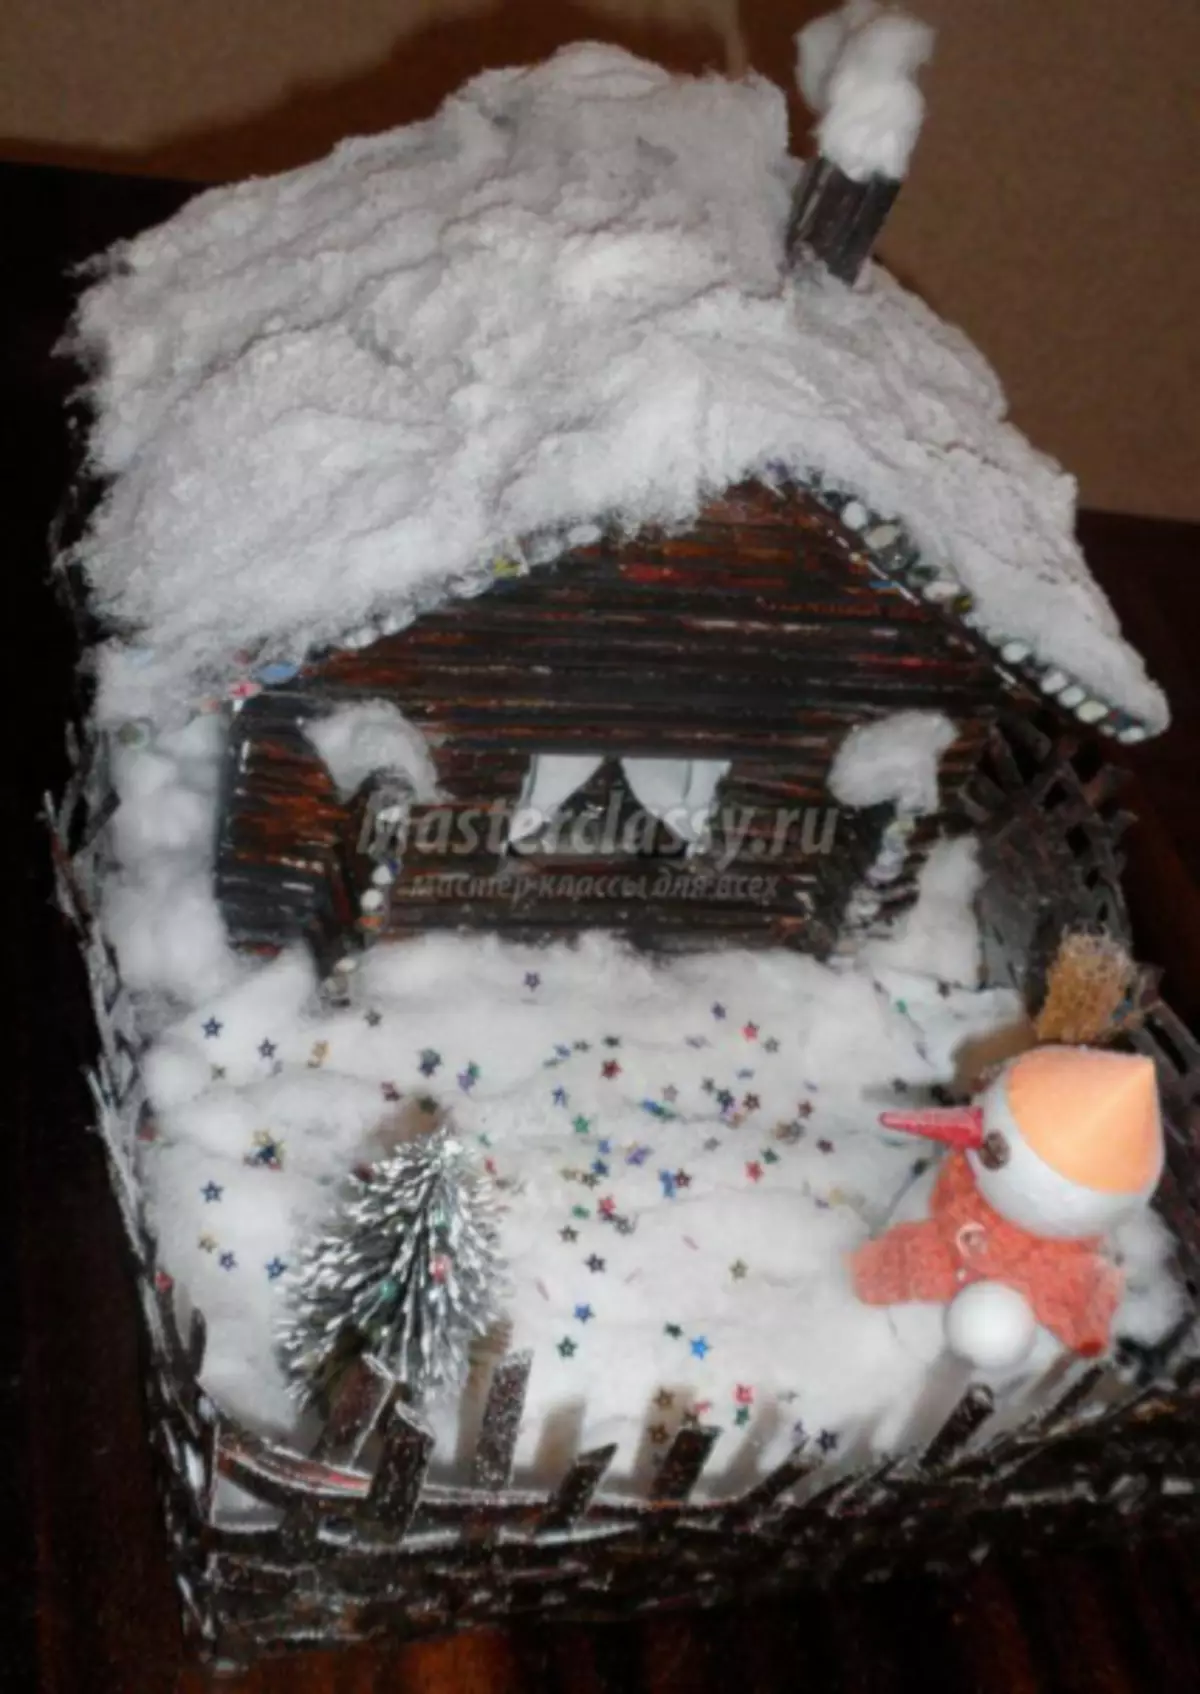
The remaining parts in the composition can be added at will.
House-candlestick
Surely many of us there are a para-triple of small jars of glass. They can also be applied to the decor of the house, and they will look at all as purchased.
What we need to work:
- glass jar;
- Multicolored polymer clay;
- little candle tablet;
- Metal shapes;
- Stands for kebabs.
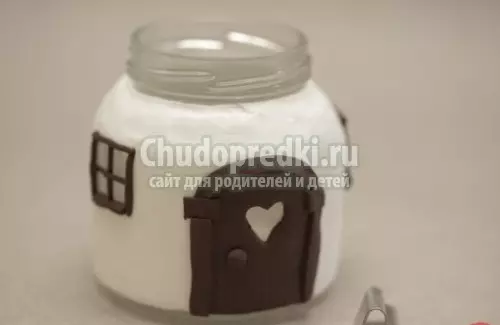
Getting to work. White polymer clay roll out like a dough for pizza. In the middle of our pancake, we make a round hole with a sizing with a jar. We put on our pancake on a jar through this hole and smoothing your fingers so that the clay is tightly sat down on the jar. With the help of a metal mold or a stationery knife, cut the window in our clay.
Article on the topic: Topiary from coffee do-it-yourself: Master class on sunflower with photos and video
Now it will take the clay of brown for work. It is also thinly rolled and cut out with the help of a stationery door knife and jewelry for the window.
Next, we need to additionally decorate our jar. With the help of the same stationery knife, we cut the Christmas tree and any other details of the candlestick, glue to it. The photo shows the spring trees, you can do them, but then this house will cease to be winter. In the door, cut the window in the form of a heart, sculpt and attach a door handle and neat loops.
It came a turn to work on the lid, which will perform the role of the roof of our house. Roll over a thin layer of brown clay and glue onto the lid. Follow the clay to lie down exactly, otherwise bubbles may appear when driving. As soon as we blocked the lid of brown clay, we attach the white clay strips on it. It will be snow on the roof of the house. The house is almost ready, it remains, following the instructions on the packaging of polymer clay, bake it in the oven.
After you have taken out a house from the oven and gave him to cool, it should be covered with varnish. On the lacquer from above, you can add a little sparkler and give the house to dry. When everything is ready, boldly insert a candle into the house and enjoy the fairy-tale atmosphere, which you have done.
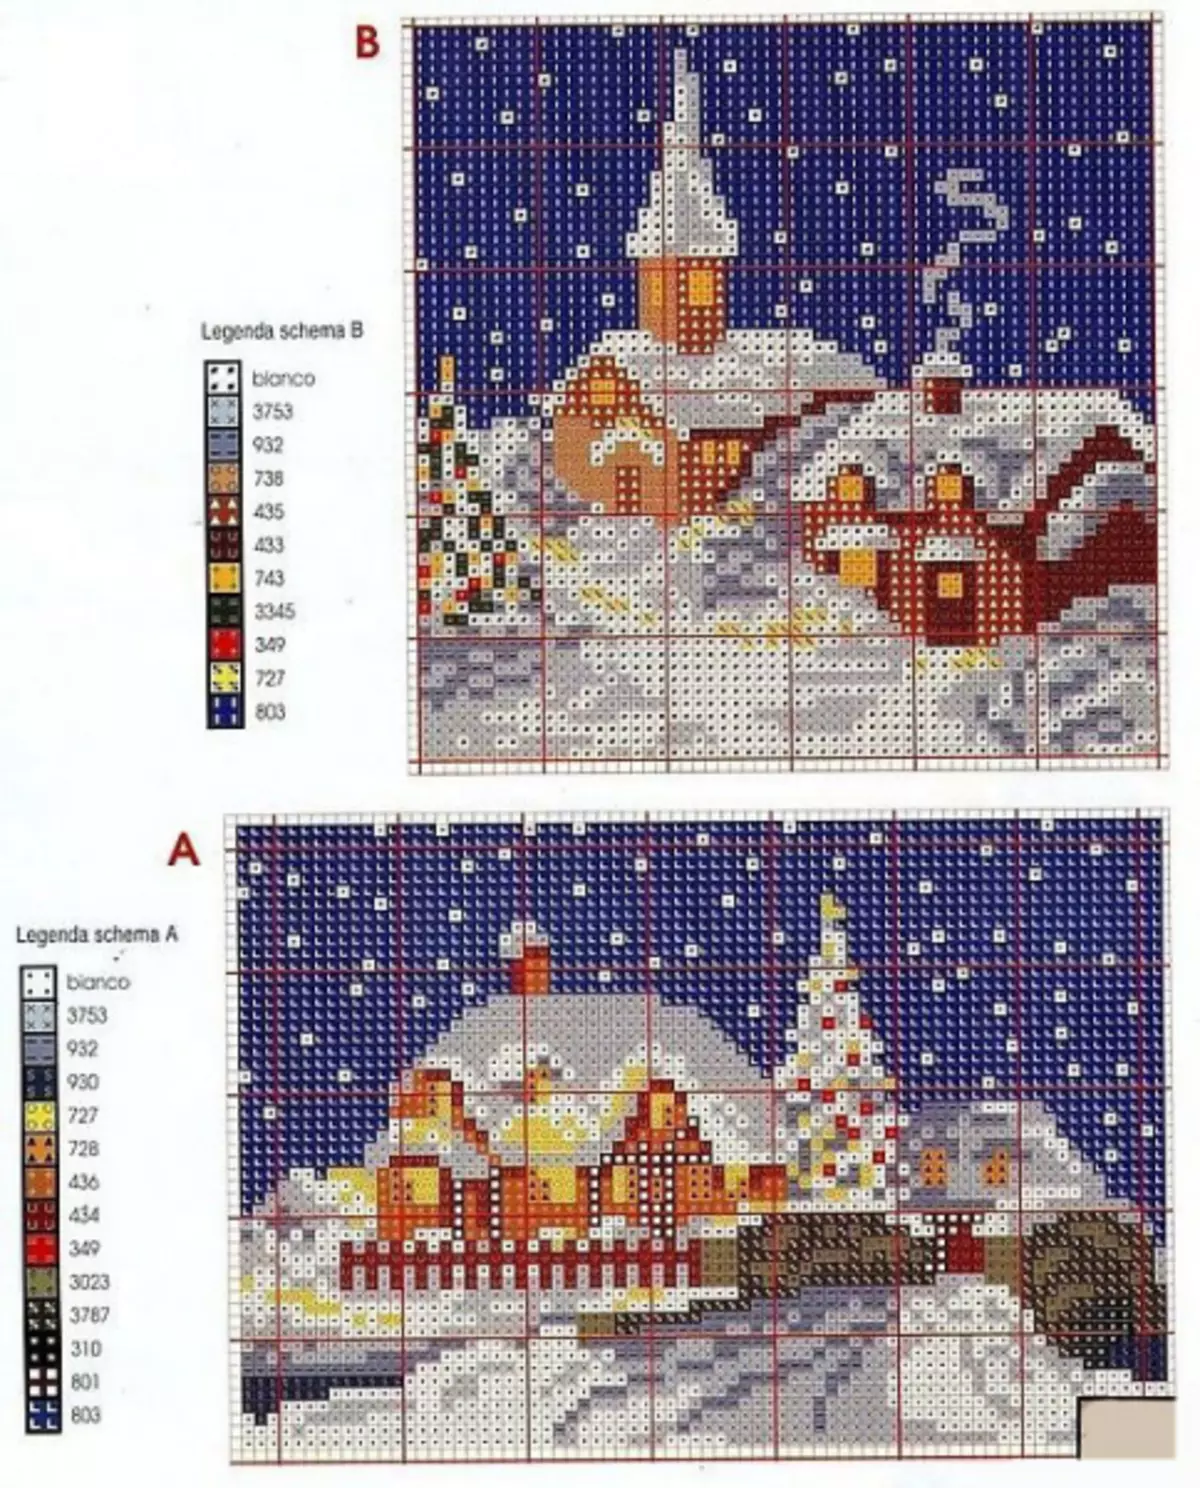
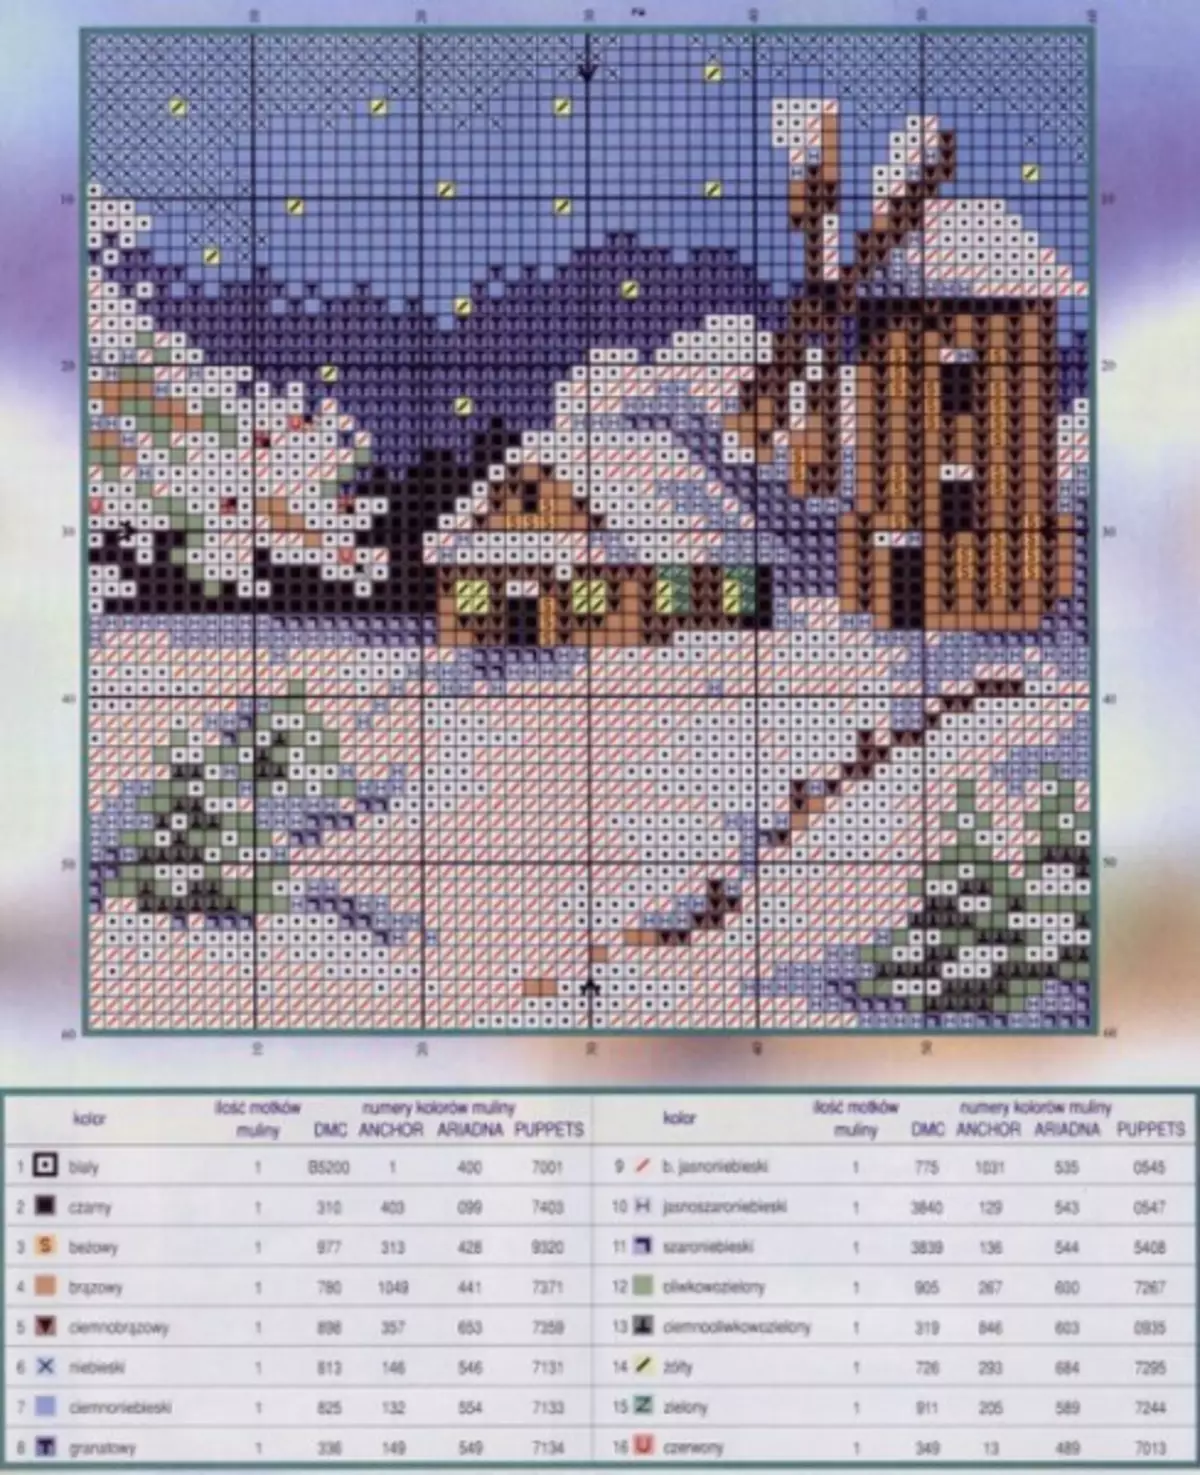
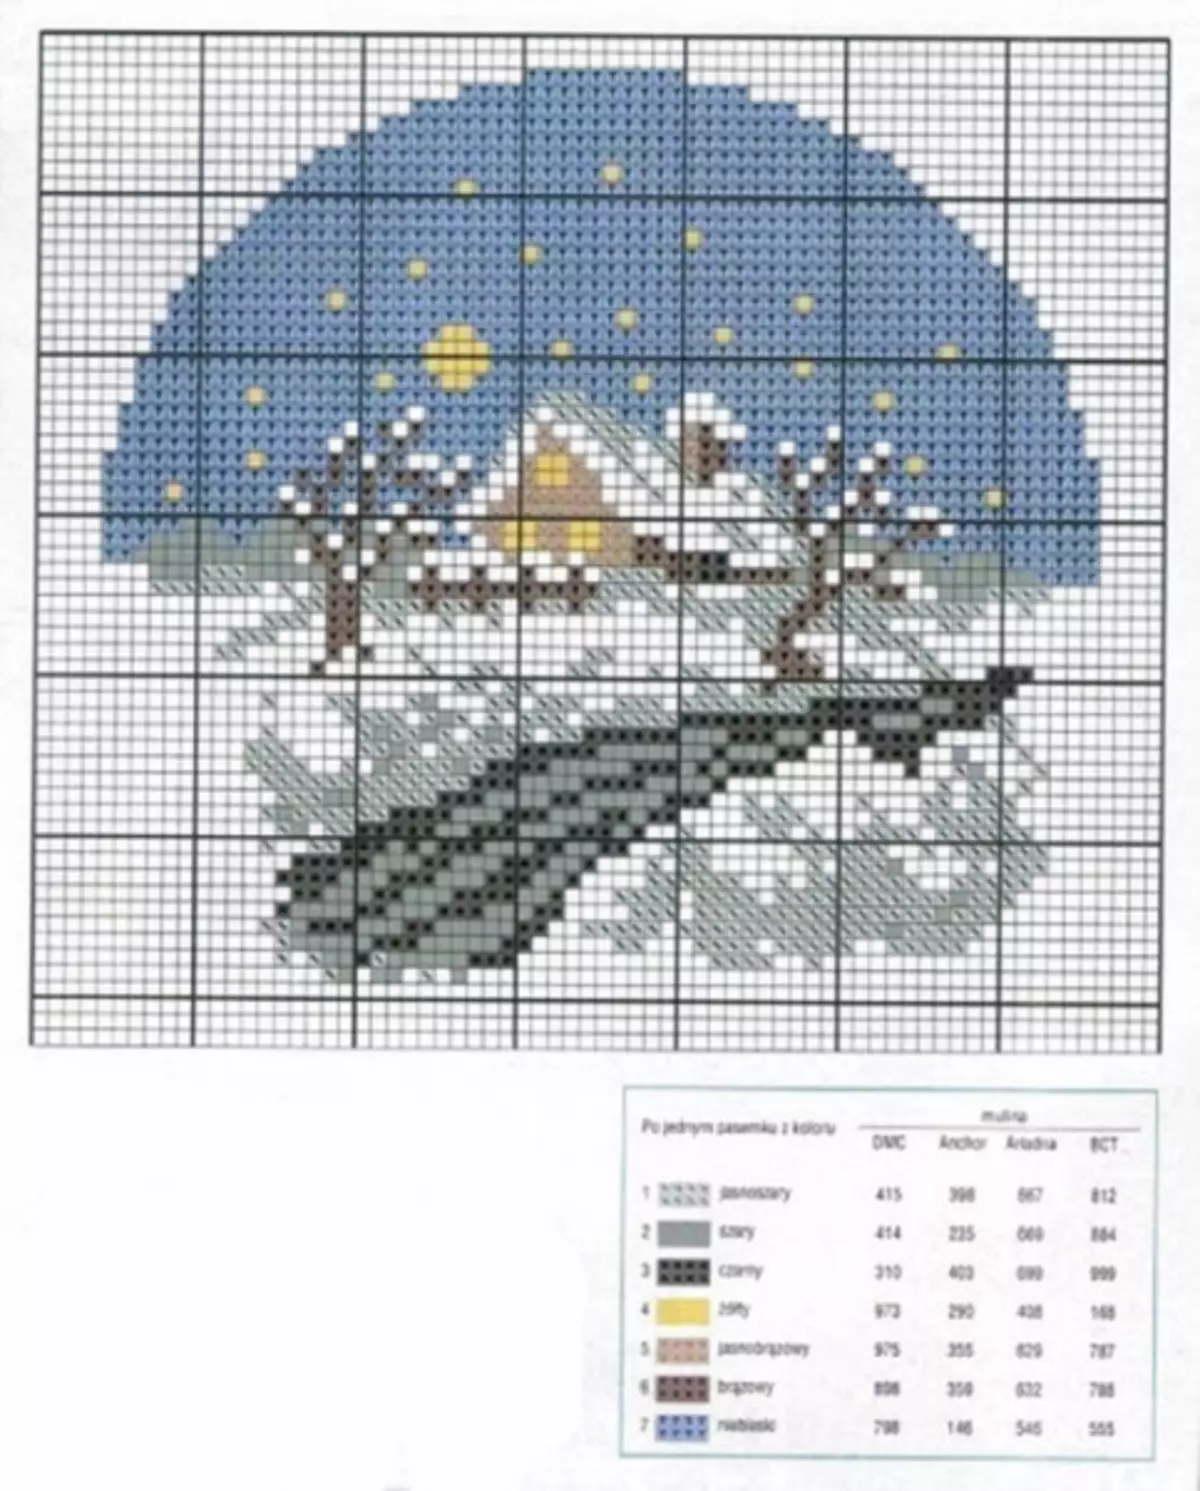
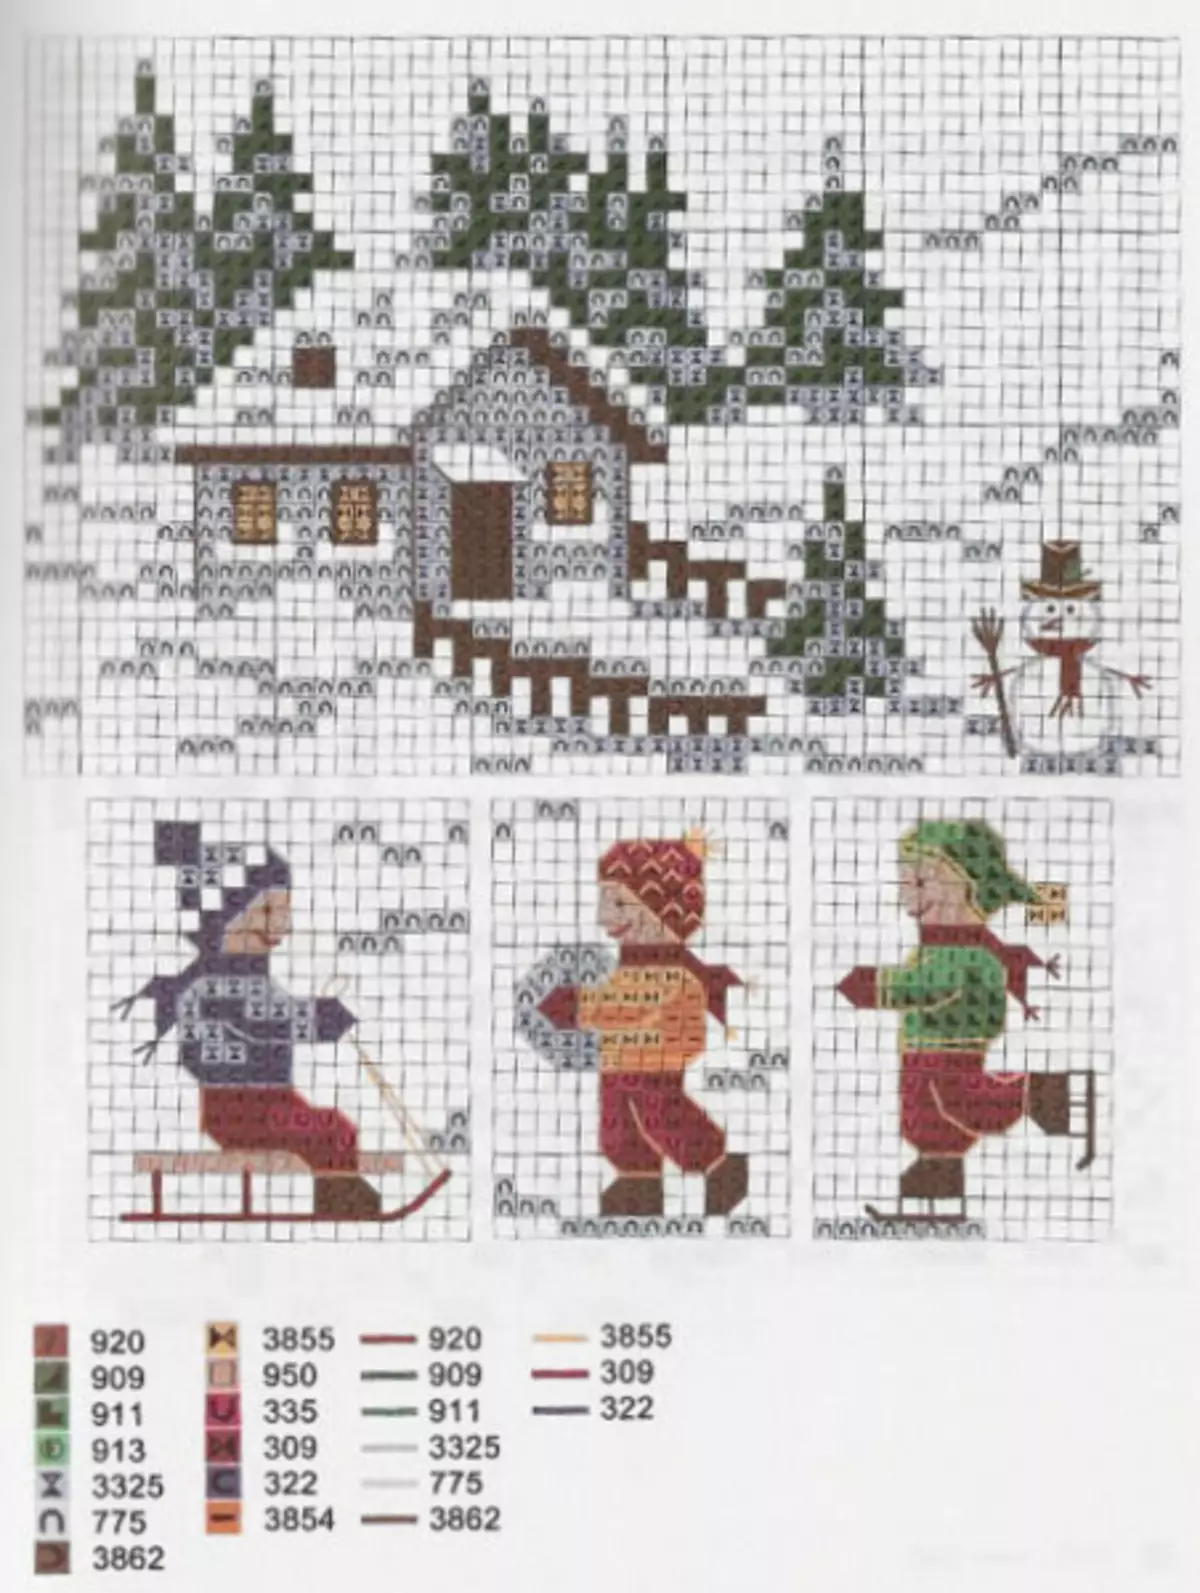
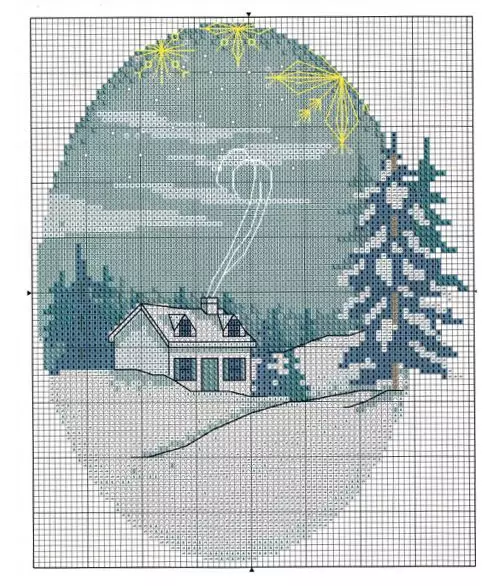
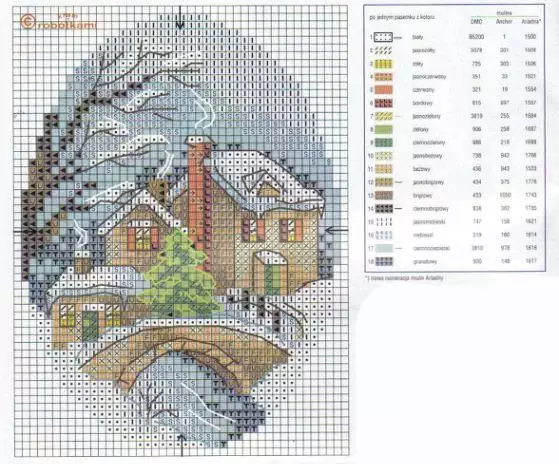
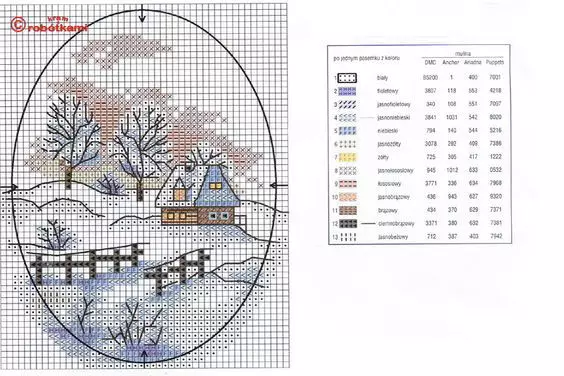
Winter house-embroidery
Speaking about winter houses, do not forget about a variety of cross-embroidery. We have prepared for you the most interesting and bright schemes.
Video on the topic
Look even more interesting on the video: