
Handworking in price is always, therefore, in the circle of interior designers, it became very popular to create textured canvas on the surfaces, using the long-familiar putty mass. You can do this creation with your own hands, the main thing is to have a creative mind warehouse, fantasy and at least small skills in drawing.
After drying, align the surface with the sandpaper and apply the drawing, you can use the copier.
Create paintings from putty - the occupation is not for lazy people, and may take quite a long time. But the result will be so unique and not expensive that all the time spent is worth it.
To decorate the surface, you can use material on a different basis. The most popular compositions are shown in the table below.
| Indicator | A variety of decorating mixtures | |||
| Mineral | Acrylic | Silicate | Silicone | |
| The foundation | Cement, Lime, Gypsum | Resin from acryla | liquid glass | Silicone resin. |
| Price category (rub / 25kg) | 520-940 | 1240-2500 | 1070-2950 | 2130-3800. |
| Plasticity level material | low | tall | middle | tall |
| Life cycle | short | a long | a long | a long |

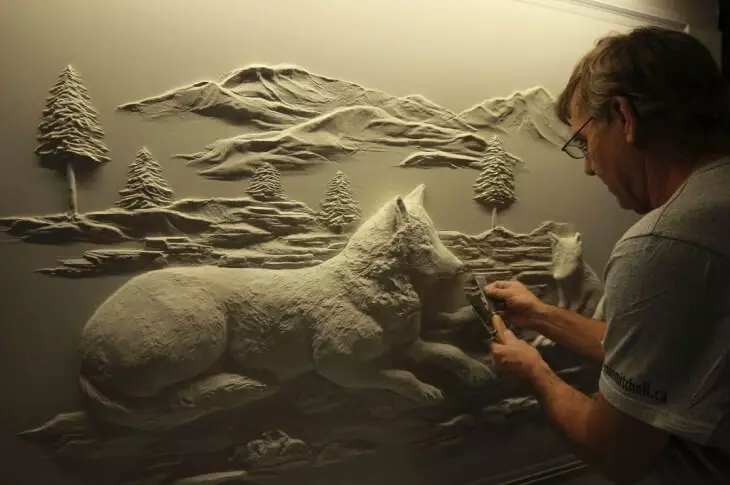
Volumetric pattern with putty
No need to immediately select complex drawings. To begin with, it is better to accommodate some skills on the draft surface, and then begin to finish the punk on the wall.
To create a picture with your own hands, the spatula is not always required. Be sure you need gloves to protect the skin of the hands from the impact of the solution, but thus feel the texture will be much more difficult. Therefore, it is important to decide what is important: dry skin and long-term laundering of the solution from the hands or the duration of the process and not such a high quality of the elements created.
Also using your own fingers, you can create various forms and abstractions that will have similarities with Roman frescoes.
Article on the topic: Anticorrosive and heat-resistant Paint chrome for metal and plastic
Next, we will tell about how armed with a conventional syringe can create works of art and which techniques are still used to decorate surfaces.
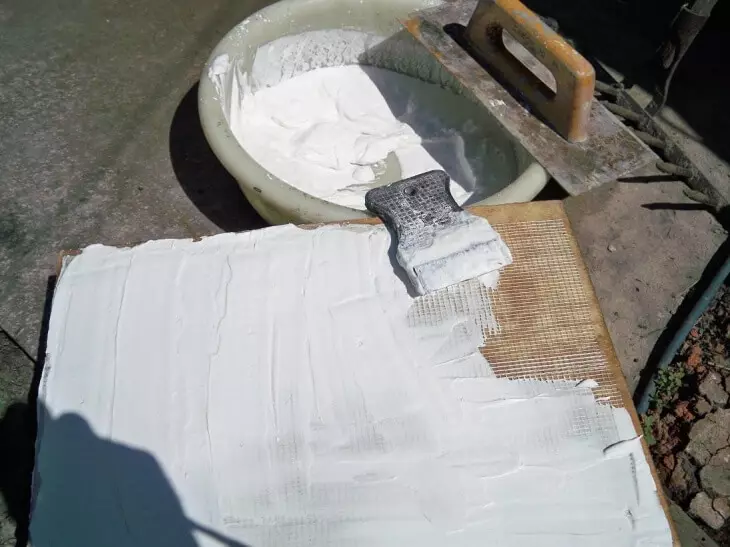
How to prepare a surface for drawing?
Paintings from putty do it yourself
Of course, as any other process on the decoration of the walls, the creation of the pattern requires careful surface preparation. Before applying the future panel, the wall should be placed and give it maximum evenness and smoothness, so that the future picture is distorted by various defects and damage to the design.
For preliminary surface preparation, it is necessary:
- The surface on which is planned to apply the drawing must be pre-lubricated with the primer solution;
- When the primer is driving, it will be necessary to create a background cover for a future picture;
- After performing the aforementioned actions, the image can be transferred to the surface.
Please note if you have chosen an acrylic-based putter, it quickly freezes, so after 2-3 hours you can transfer the sketch of future creation with the help of a pencil on the surface of the walls.
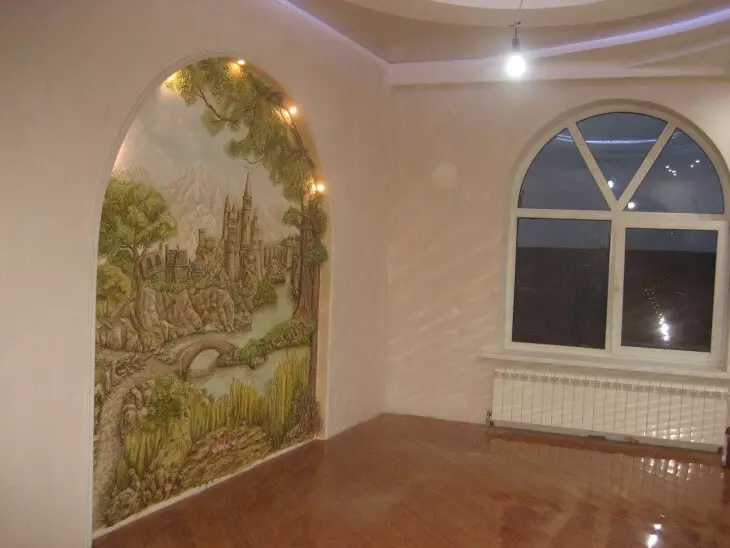
Wall decoration with their own hands
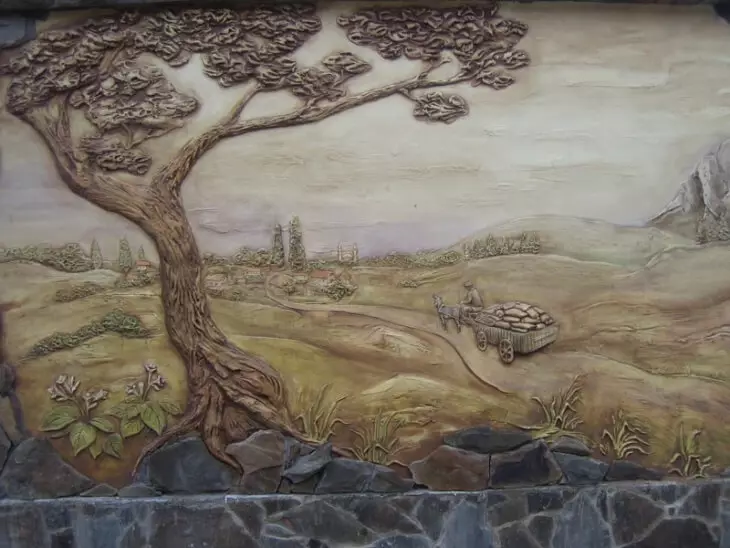
In such a picture, there may be all sorts of butterflies, birds, flowers and leaves, etc. But if you have an artistic talent, the complexity of the picture can be enhanced and try to display on the design of the city street, portrait, landscapes, etc.
Also, to transfer the picture to the surface of the wall can be using a copy, but try not to pick a very complex image, so that when applying putty, you have no problems.
Creation technique with a spatula
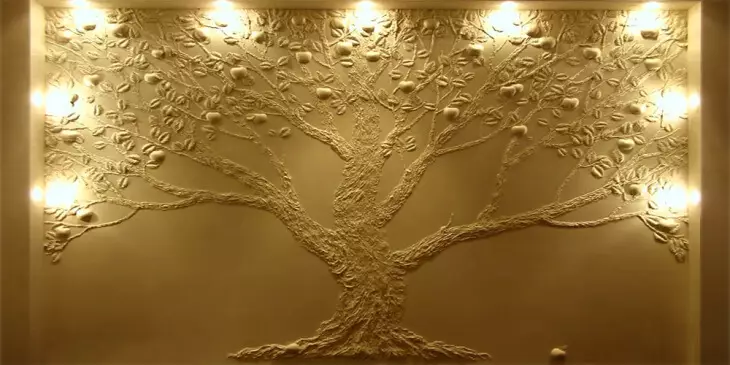
Creating embossed patterns with putty
In order to appear on the wall of the wall, the stalks can be used 2 techniques for performing work.
The first technology has the following sequence:
- The surface is drawn on the line, put the spatula near it, after which the tool is carried out with a smooth motion along its length, while the spatula should be pressed at a certain angle in the direction of itself, which will help the solution to drain into the area of the pencil outline and laid in the form of a roller along the stem length;
- If you have excessive material, it must be removed using a free spatula (as a rule, the excess is formed from the opposite side relative to the spatula);
- Then the surface must be given time for graze and comply with the same technology to continue to work on the rest of the surface.
Article on the topic: Homemade tripod for the camera or cameras do it yourself (photo, video)

Pictures on the walls of putty do it yourself
The second option is also not distinguished by difficulty:
- A spatula with a solution is applied in parallel to the surface on which the outline of the future stem is drawn, but it is necessary to direct it along the line, but perpendicular to it;
- Excess mixtures are also removed by a free spatula, as at the first method;
- Next, with the help of the second spatula, the stem is formed, because the tool along the pencil outlines.
In this way, you can also create petals of colors.
After all the decorative elements are ready, the picture is left for graze, after which, if necessary, paint paints.
If you need to fill your hand, a featured canvas for draft work serve plasterboard sheets, on which the technique can be counted, and then proceed for the finishing of the wall.
How to draw a picture with a syringe?
Decoration of walls in the apartment
Another way to create a decorative panel on the wall is a drawing with a putty using a syringe. Such a method is good because it is so possible to simply repeat all the boundaries and outlines of the future image, leaving your hands clean.
The technology of performing work with the syringe looks like this:
- Initially, it is necessary to remove the piston from the syringe, fill the cavity with the solution and return the piston into place;
- Next, gradually squeezing the putty from the syringe, to lead it along the drawn line;
- When the outlines of the image will be constructed with a putty, you can proceed to drawing the rest of smaller fragments;
- Then the panel must be left for drying at no time;
- At the next stage, the paint is bred on a water-emulsion basis with various colorful pigments and apply it to a picture using a foam sponge (small fragments can be carefully noted and left clean);
- When the background is applied and succeeded, you can proceed to draw small fragments using thin brushes to keep the schematics and accuracy of the lines.
Article on the topic: What wallpaper coloring is recommended to pick up for the hall
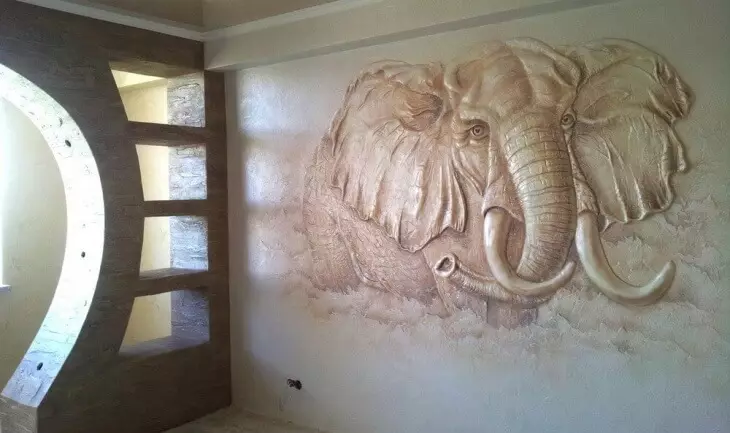
Picture of spacure
To staining the future panel, it is necessary to approach creatively, using all of your fantasy and a sense of measure as possible, you can also conduct an experiment using different dyes.
Most often, the work performed ends with the receipt of an unusual copyright creation from putty. But, if the first attempt to draw a picture on your wall was not crowned with success, do not lower your hands. Check out the video lessons that are now a huge amount on the Internet, take off the skills on the draft surface and everything will turn out!