
How to properly produce corners and walls, interesting for many newcomers in the field of construction. The main problem at this stage is directly the creation of a qualitative border, because without certain skills and knowledge to achieve a good result will be problematic.
Splice angles
How difficult did this task seemed to not seem, in practice, everything looks much easier. To align the necessary surfaces you will not need specialized equipment, there will be enough tools and small luggage of knowledge.
Finishing angle putty
The most popular varieties of putty are shown in the table below.
| Manufacturer material | Recommended Layer thickness | Material consumption on 1m2. | Price 1 bag | Parasovka |
| Wetonite | 1-2 mm | 1.1 kg / m2 | 599 rub. | 25 kg |
| Knauff | 1-3 mm | 1.2-1.7 kg / m2 | 675 rubles. | 20-25 kg |
| Glims. | 1-20 mm | 0.6-1.5 kg / m2 | 338-639 rub. | 15-25 kg |
| Sittro | 1-5 mm | 1.4 kg / m2 | 949 rub. | 28 kg |
| Stovetonit | up to 3 mm | 1.1 kg / m2 | 285 rub. | 15 kg |
How to form outdoor angles?
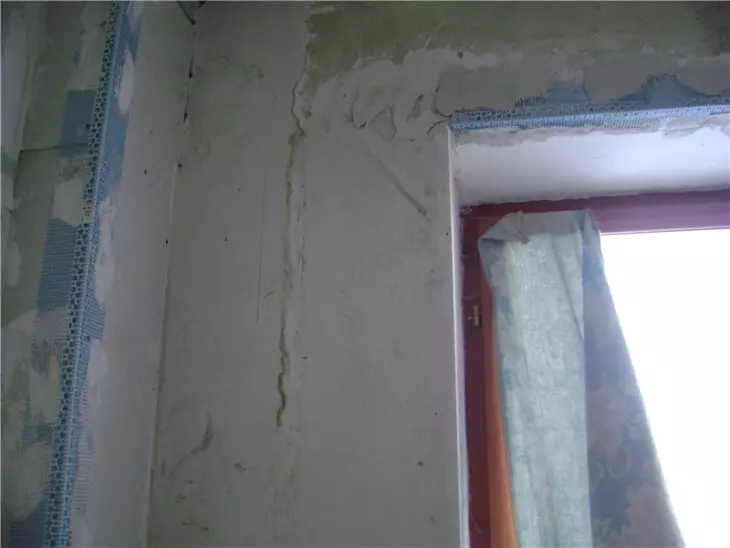
During the alignment of the walls with a putty, always puts the task of drawing the joints of the materials, and most often at an angle in the 90th. In contrast, these corners are located, they are classified on the internal and exterior, the finishes of which have certain differences.
Clean the angle of the wall
And so, let's start with the outer corners.
So as not to break the head and not to reinvent the bike, more experienced finishers found a way that has significantly facilitated their work. They, before applying putting on the corners of the walls, record a special lining.
These lining, in turn, are divided into such varieties:
- Metal
Metal corners are made mainly from aluminum or galvanized steel. Such perforation not only facilitates the weight of the product, but also allows you to completely hide it under the layer of solution. The disadvantage of such a device is its tendency to corrosion, especially if the material was damaged or scratched until the coating.
Please note these angular nozzles for walls, externally, very similar to corners for plastering. You can distinguish them by the feature that the corners for putty are made from a thinner material, be careful!
- Plastic
Put the corners on the walls in the house
In terms of shape, plastic linings are practically no different from the metal, but after a certain period of time, it is not possible to corrosion. Such a material is better to use for finishing not too smooth walls, because a substantial thickness of the lining can lead to the fact that it will be necessary to hide under the thick layer of putty.
- Flexible
This is a special kind of overlays that use to align the arches, separate the curved elements of mounted ceilings from drywall, etc. Due to its flexibility, this material is easily bent in any sides, protecting the edge of the product from deformation.
All types of angular linings are used only in that situation if it is necessary to align the surface of the walls that come into contact with each other only at an angle in the 90th. The stupid corners are put off without the use of auxiliary materials.
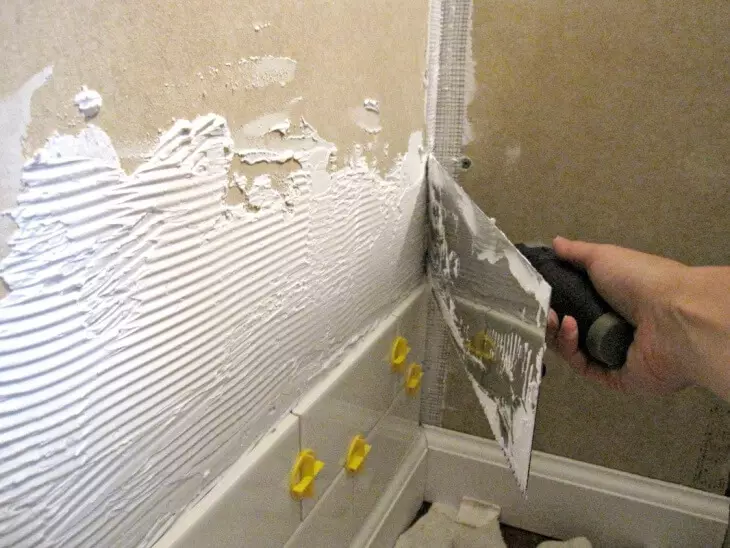
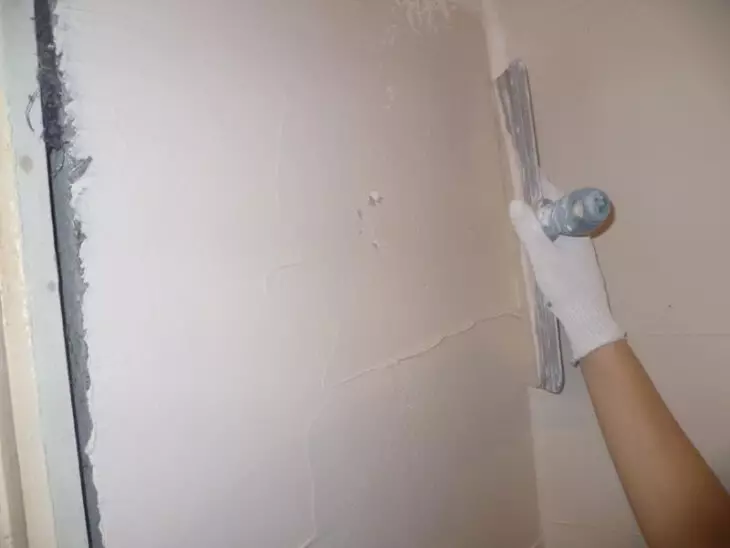
Technology performing work
Wall decoration putty
The spacing of the corners must be performed according to such a scheme:
- It is necessary to apply a solution of putty throughout the area of the corner;
- Press the corner to the surface and drown it in the solution;
- Set an angle in terms of level (if required, you can add a solution under the base).
When the spacing mixture is well fixed on the surface, you can begin the final finish.
Please note that the incidence of angle must be periodically verified using a level, because even initially correctly installed perforated angle during the shrinkage of the solution can break a little.
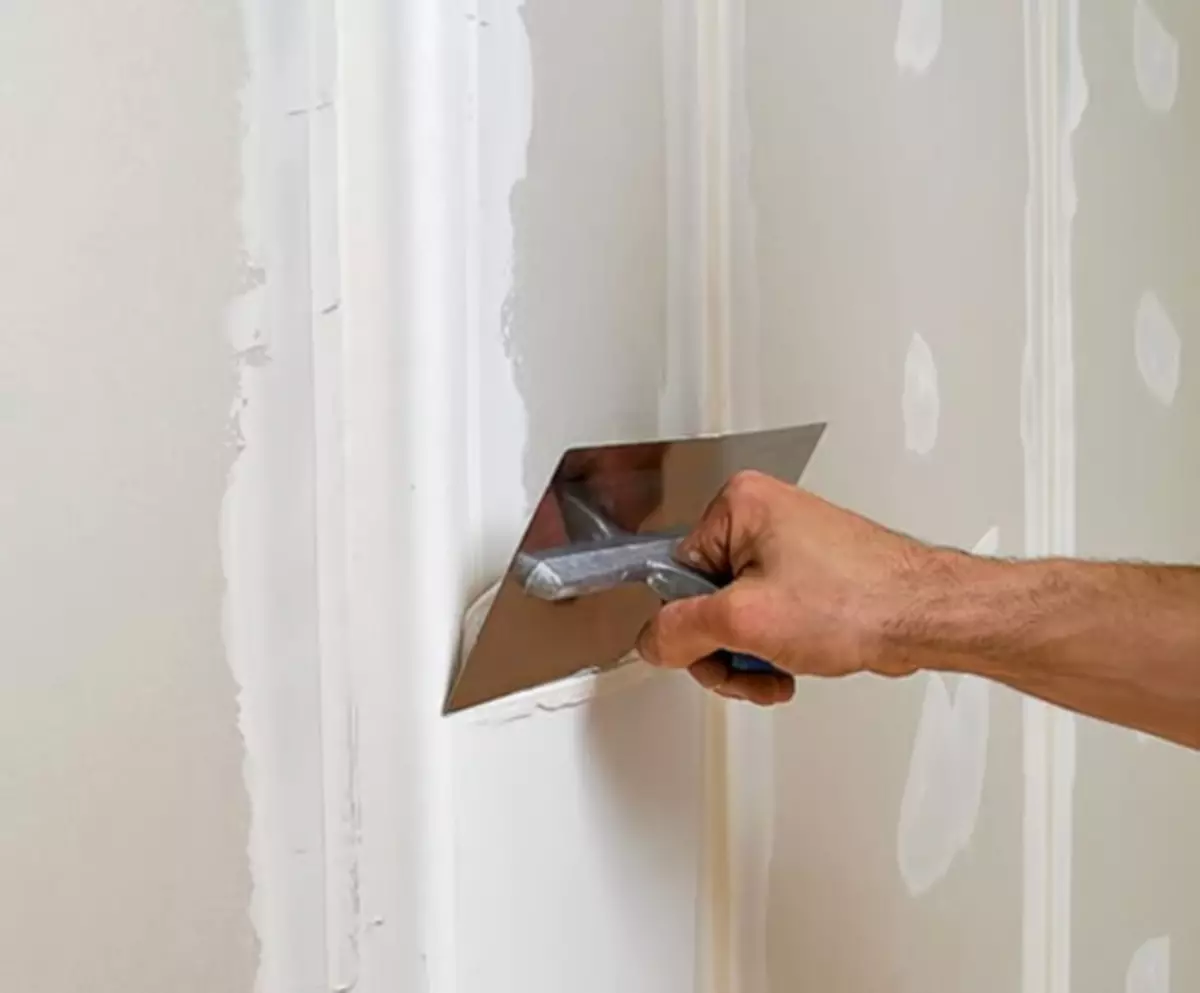
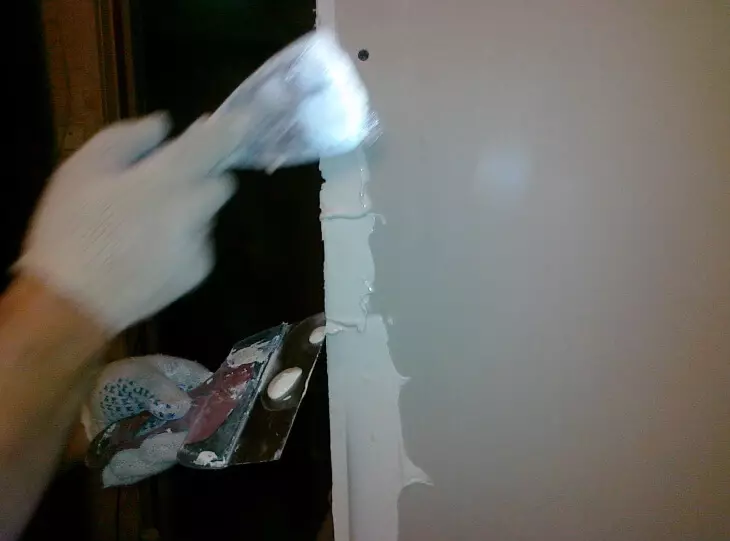
How to put the corners?
The lining must be processed in this way:
- with the help of a spatula, apply a certain amount of solution on one side of the wall;
- do the same actions for the other side of the surface;
- remove excess solution;
- Trying not to leave on the surface of the furrow, the longitudinal movement of the hand should be aligned with a solution on the wall area.
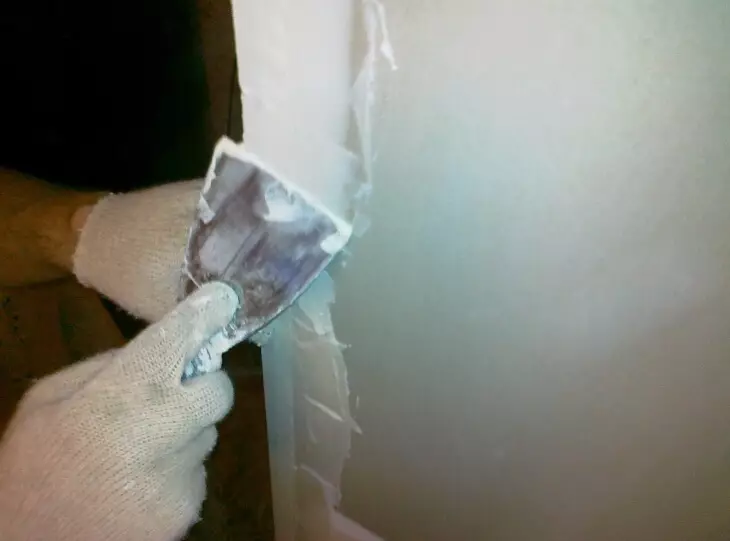
After these manipulations, giving a drying time, we produce grinding angle, soaring it with a primer solution and apply if it is required, the finish coating. Next, we grind the surface again, trying not to cut off the sandpaper layer of putty and not talking the perforated corner.
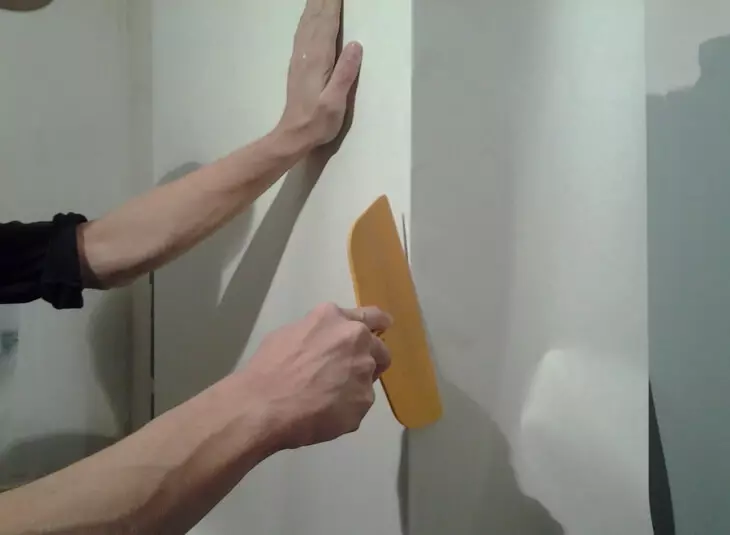
Features of putty inner corners
Pull the corners of the walls
To level the internal angles, you need to act a little on another scheme:
- determine how the angle is twisted from the ideal in the 90th, because sometimes the putty will not save and will have to apply a dense layer of plastering (if you have several twisted angles in a small area of the wall, decide which one must align perpendicularly, and which is not very, mostly The advantage is given to inner corners);
- Next, it is necessary to align all the flat surfaces, applying their closely into the joint;
- In the gaps formed near the corner, it is necessary to put the solution, removing all excess on both sides of the perforation (to facilitate the work, you can purchase a specialized spatula, which is not very expensive, but helps to highlight the internal angles);
- When the main primary work is completed, check the correct plane using the level and the kit (if required, you can repeat the processing process, but the layer of the re-applied solution will have to be reduced).
Wall decoration and putting the corners
We hope that our information was useful for you, and you have learned a lot of interesting details for yourself.
Remember that without practice, it is hardly possible to do without practices, so test the surrounded skills on the draft surface, and only then proceed to perform the finishing spacing of the corners.
Article on the topic: Cockfish: Original Japanese "Green" Idea Decorate House