
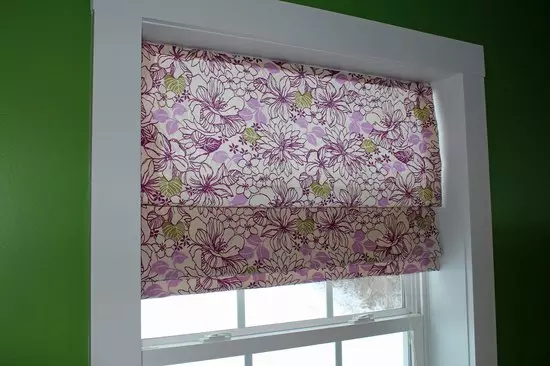
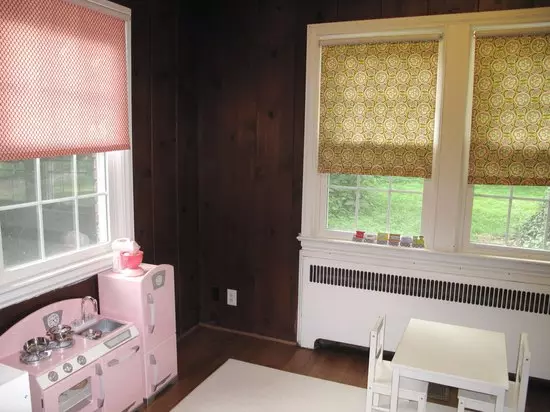
Currently, the market offers in a large assortment Rolets to install on plastic windows that can perform not only the protective function, but also decorative (see photo). From a technical point of view, both types of rollers have the same design - a cloth of a fabric or metal, coated on the shaft, with the help of a special mechanism can be unwound and return to its original state. In this case, the canvas moving along the guides can be fixed in any position.
Rolling on the window

Types of role
- Protective metal rolling shutters. They are installed on plastic windows from the outside, because in their characteristics are not inferior to metallic lattices.
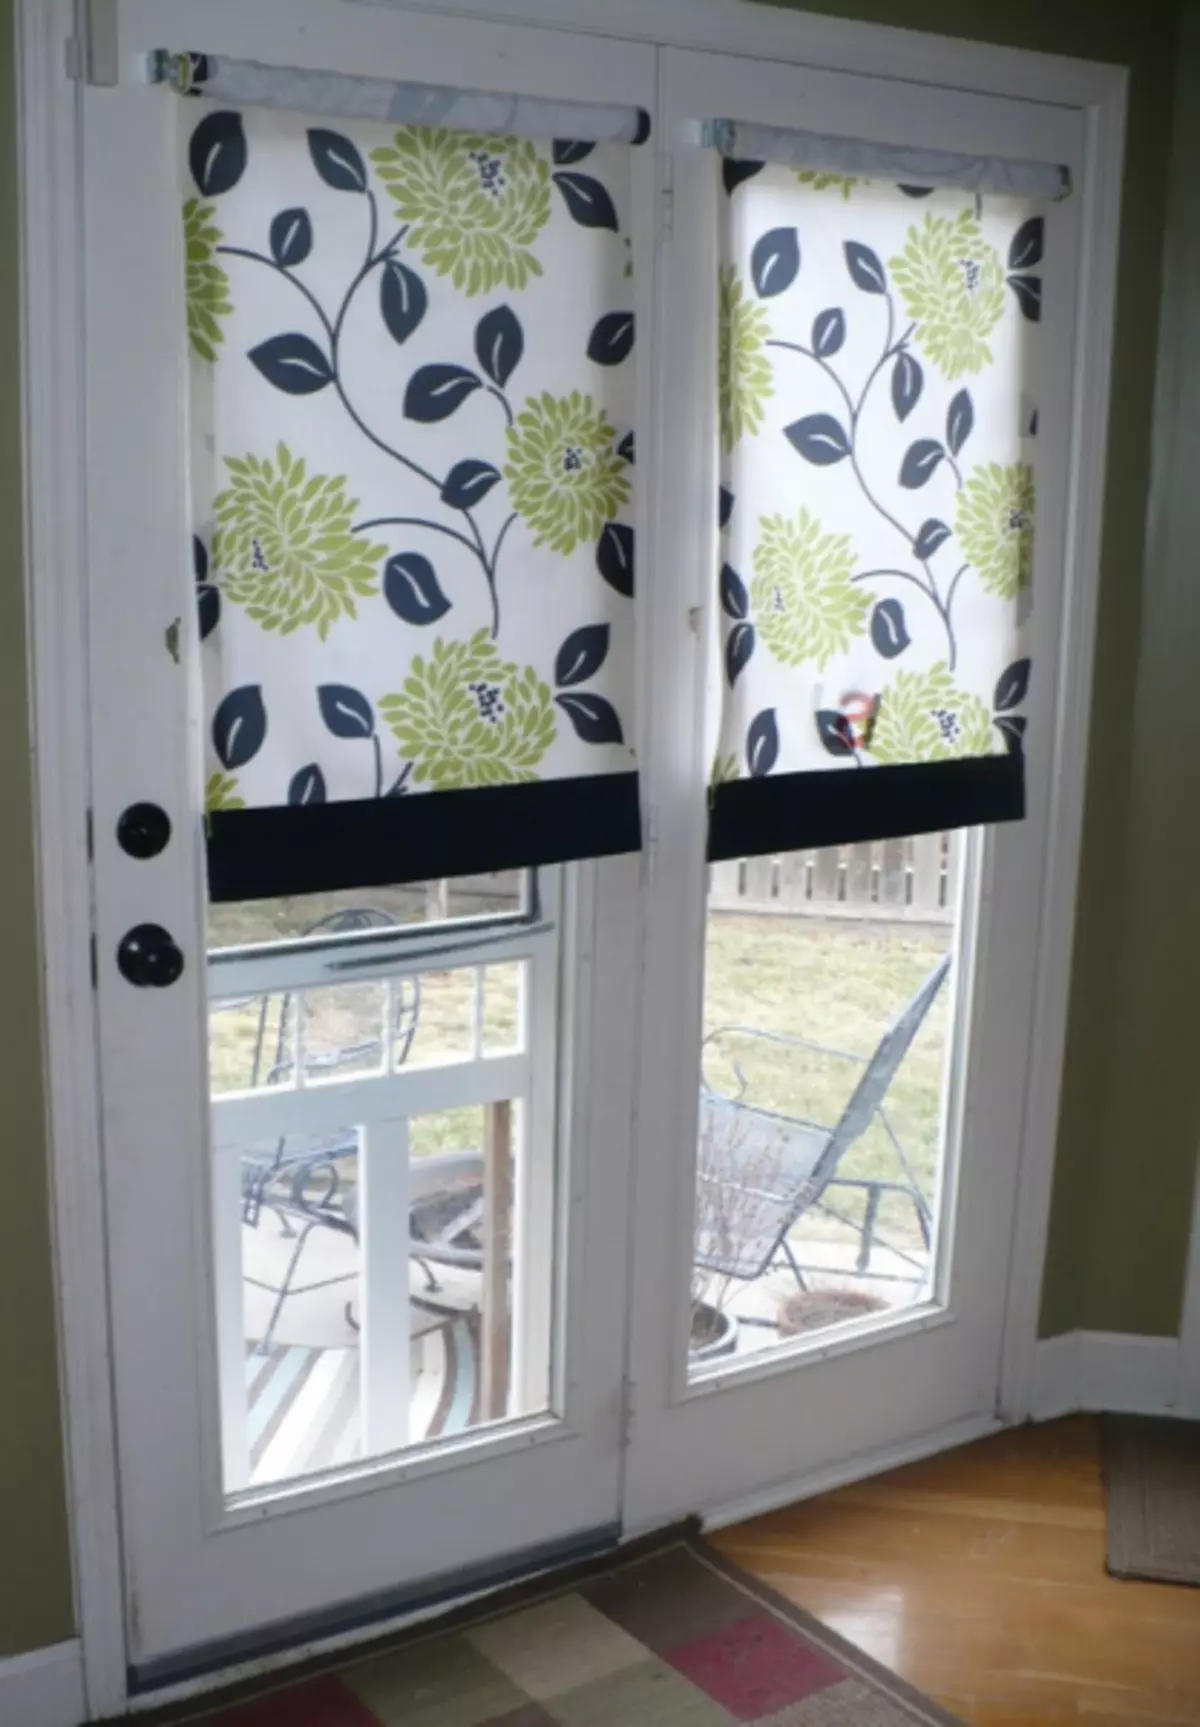
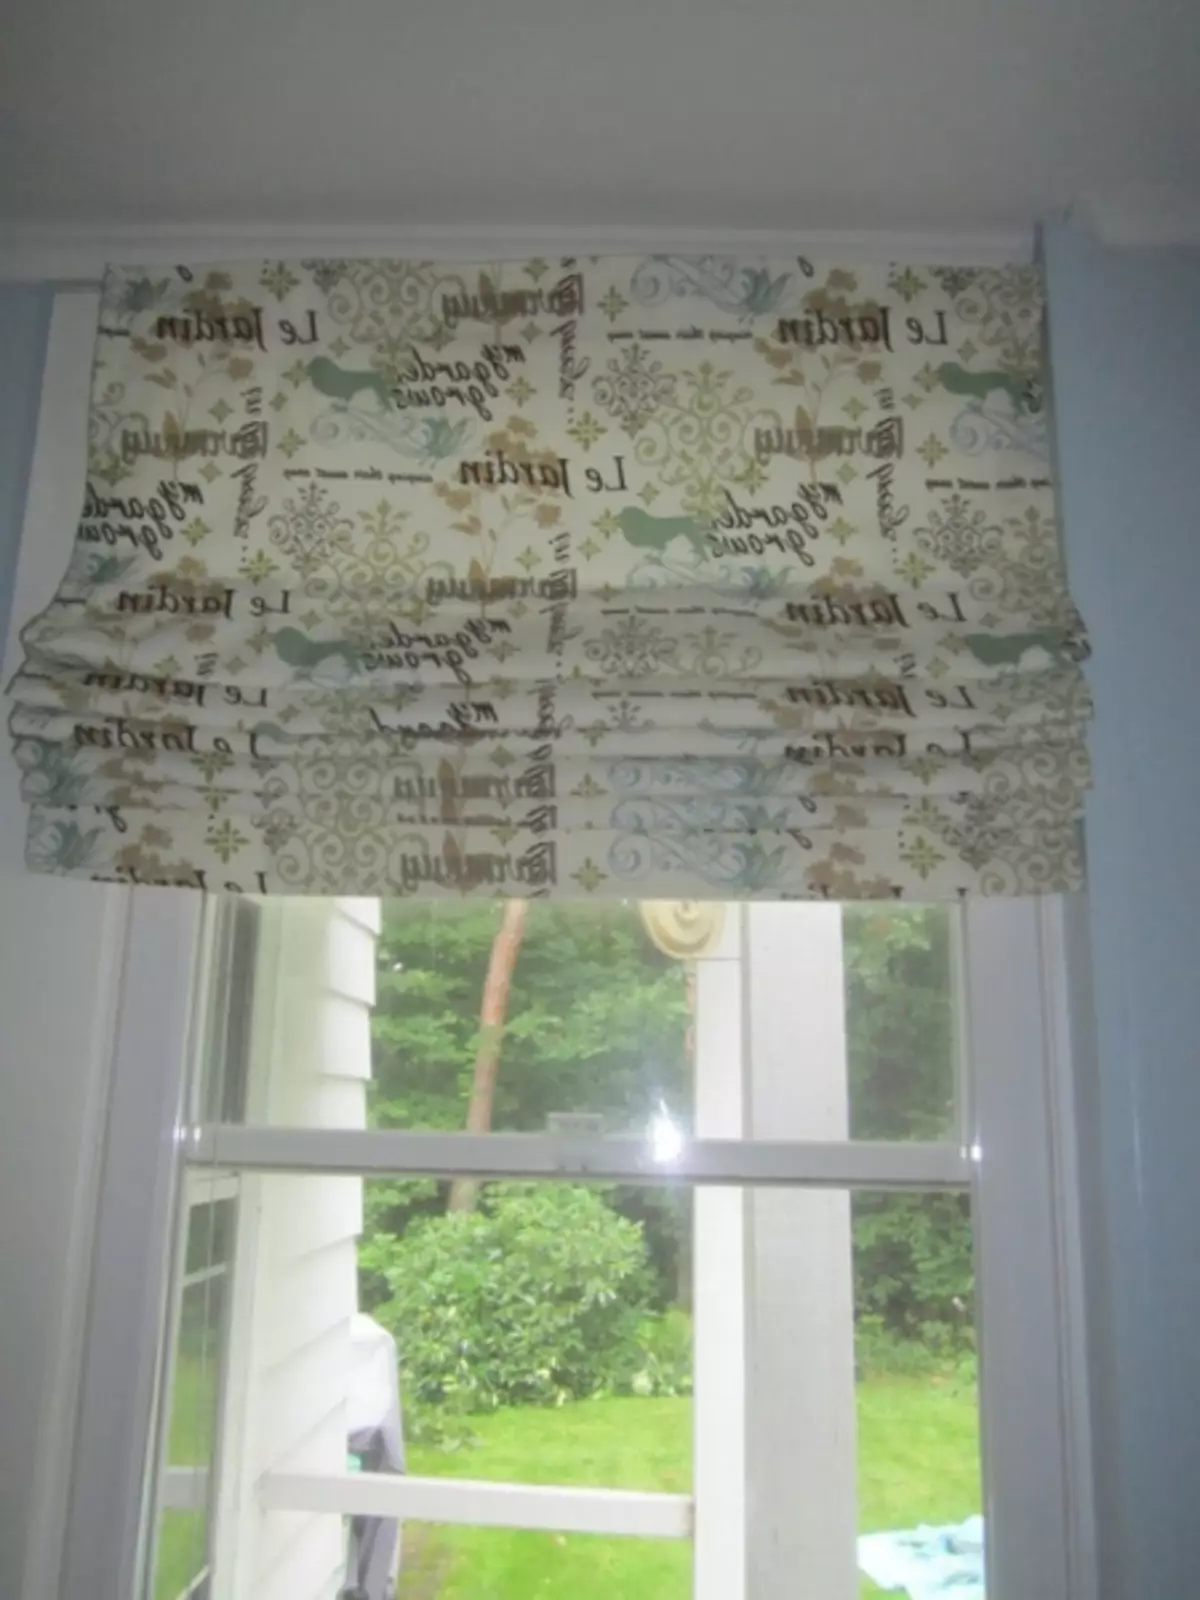
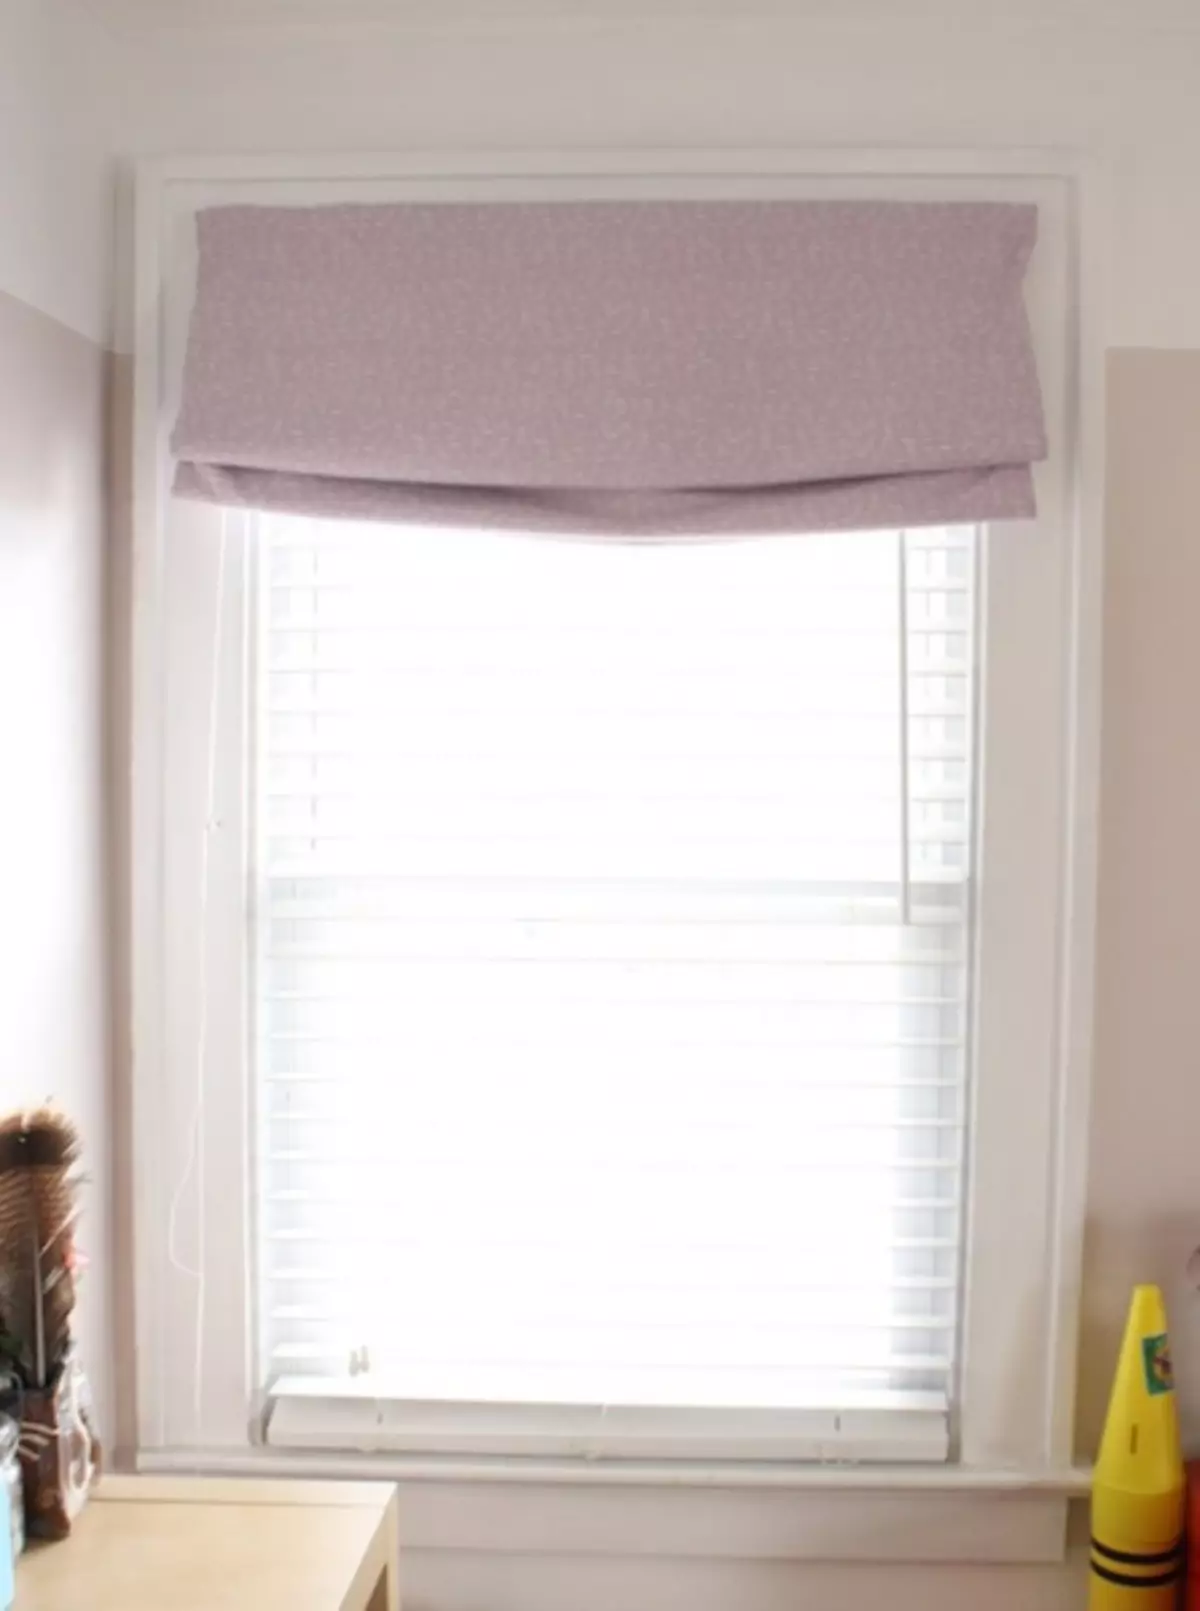
- Fabric rolets. They perform a decorative function, so they are called rolled curtains. By the way, only this type of curtains can be installed, for example, on the attic windows of the inclined type. Such rolets are very impressive when the drawing on the fabric, from which they are made, is made by means of photo printing.
These rolets are divided into functional purposes:
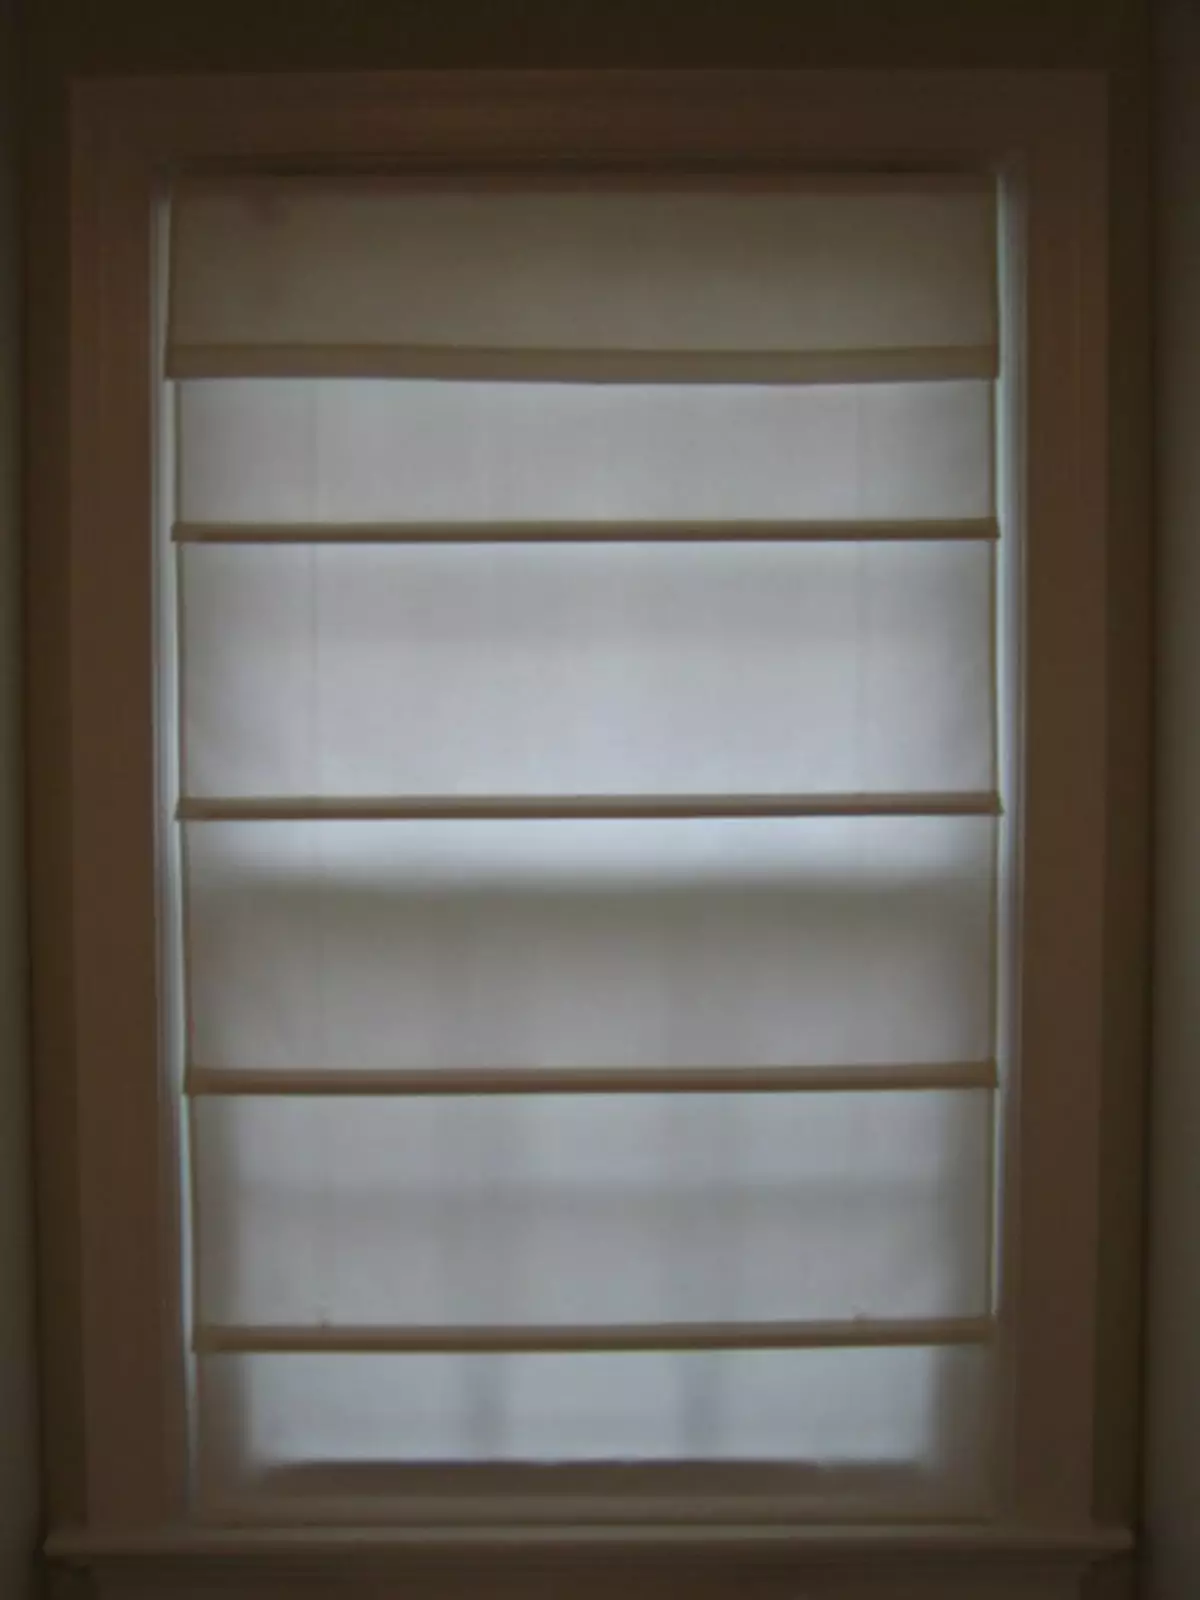
- for blackout;
- For dispersion of light.

And protective and decorative rolets can be installed both with an open shaft and with a shaft hidden in the box.
The advantages of this type of curtains
- Unlike, for example, from blinds, fabric rolets that are installed on plastic windows can be made of any tissue, which makes it possible to choose them under a variety of interior.
- Unlike conventional curtains, rolls do not fade in the sun, as the fabrics for their manufacture are impregnated with special compositions. Thanks to such impregnations, fabric rolets have a dust-repellent property.
- With the help of darkening tissues, you can protect against the penetration of daylight into the room. This is especially true for children's rooms.
- Roll curtains allow you to close only some part of the window to protect yourself from direct sunlight.
Installation of rolled outdoor curtains with your own hands
- Make sure that in the kit there is everything you need to perform mounting on plastic windows. To do this, unpack the rolets and deposit completeness with the list that is specified in the manufacturer's instructions.
- Claim the curtains by placing inserts into the brackets and connecting them with the shaft.
- Fully discharge the scope from the shaft. Attach the speed to the window (at the location of the alleged attachment) to make sure that all the glass is closed.
- With the use of self-tapping screws, you need to install a bracket that is not controlled.
- Unwinding and winding fabric, fixing another bracket (with control) with free hand, check the absence of overcasts. If any, then adjust the horizontal of the shaft.
- Now you can fix with screws and the second bracket.
- At the final stage of installation, the height of the chain is adjusted, as well as the installation of restrictive elements holding the slope in a certain position. For example, to fix the scope at the bottom, the restrictive elements on the chain itself are installed.
Installing closed type roles with your own hands
- After checking the package of purchased curtains, the degrees of the intended setting of the shaft and the guides using a piece of fabric and alcohol.
- The guides of the right and left sides differ from each other with cuts of side protrusions. Thanks to these cuts, the protrusions will not be removed when mounting into the edge of the lower stack of the window. After applying one of the guides to the window, mark its upper end (right and left) so that then it does not have to be shorted when installing the protective casing.
- Before starting the installation of the casing, it is necessary to remove the sidewalls from it, not breaking the plastic mounts.
- After removing the film that protects the adhesive base, proceed to the installation of the box. To do this, you need to stock tile, pencil, screwdriver and self-drawing.
- Using the chain, give the curtains to turn around so that it completely covered the window glass.
- Gently, so as not to let the casing thoroughly, attach it to the window in the place where it will be attached, and adjust the horizontal and center of the rolled curtains.
- Sillar tick the place of fastening of the shaft by self-drawing (first on the side where there is no control mechanism). After fixing, make sure that the curtains are correct, checking it with winding and unwinding with the chain (the cloth should go strictly parallel to the side staps of the window).
- Secure the second bracket by self-draws.
- Install plastic guides. If you need to cut these items, then it is necessary to shorten them from above, not the touch of the lower side slice. If everything is fine, then glue the guides by removing the film that serves as protection for the adhesive base.
- Get starting to regulate the chain in the lowering mechanism. At this stage, it is also necessary to establish limiters that fix the scope in any position.
- Set the sidewall of the protective casing.
Article on the topic: how to make a fountain: 6 types
By the same algorithm you install the roles with your own hands on all other plastic windows in the house. For a more accurate view of the installation process of roll curtains, we recommend watching the video that is presented on the site.