
When there are already some needlework skills, you no longer want to purchase things in the store that the master can do it yourself. First of all, it concerns accessories. No woman will give up a new bag, and even knowing that there is no such thing anymore. As a summer option, a bag of macrame is perfectly suitable with an interesting openwork pattern.
Before starting work on the product, it is recommended to study some techniques of weaving Macrame. To simplify the task, schematic images of the applied nodes are made to the master class on the manufacture of a fashion accessory.
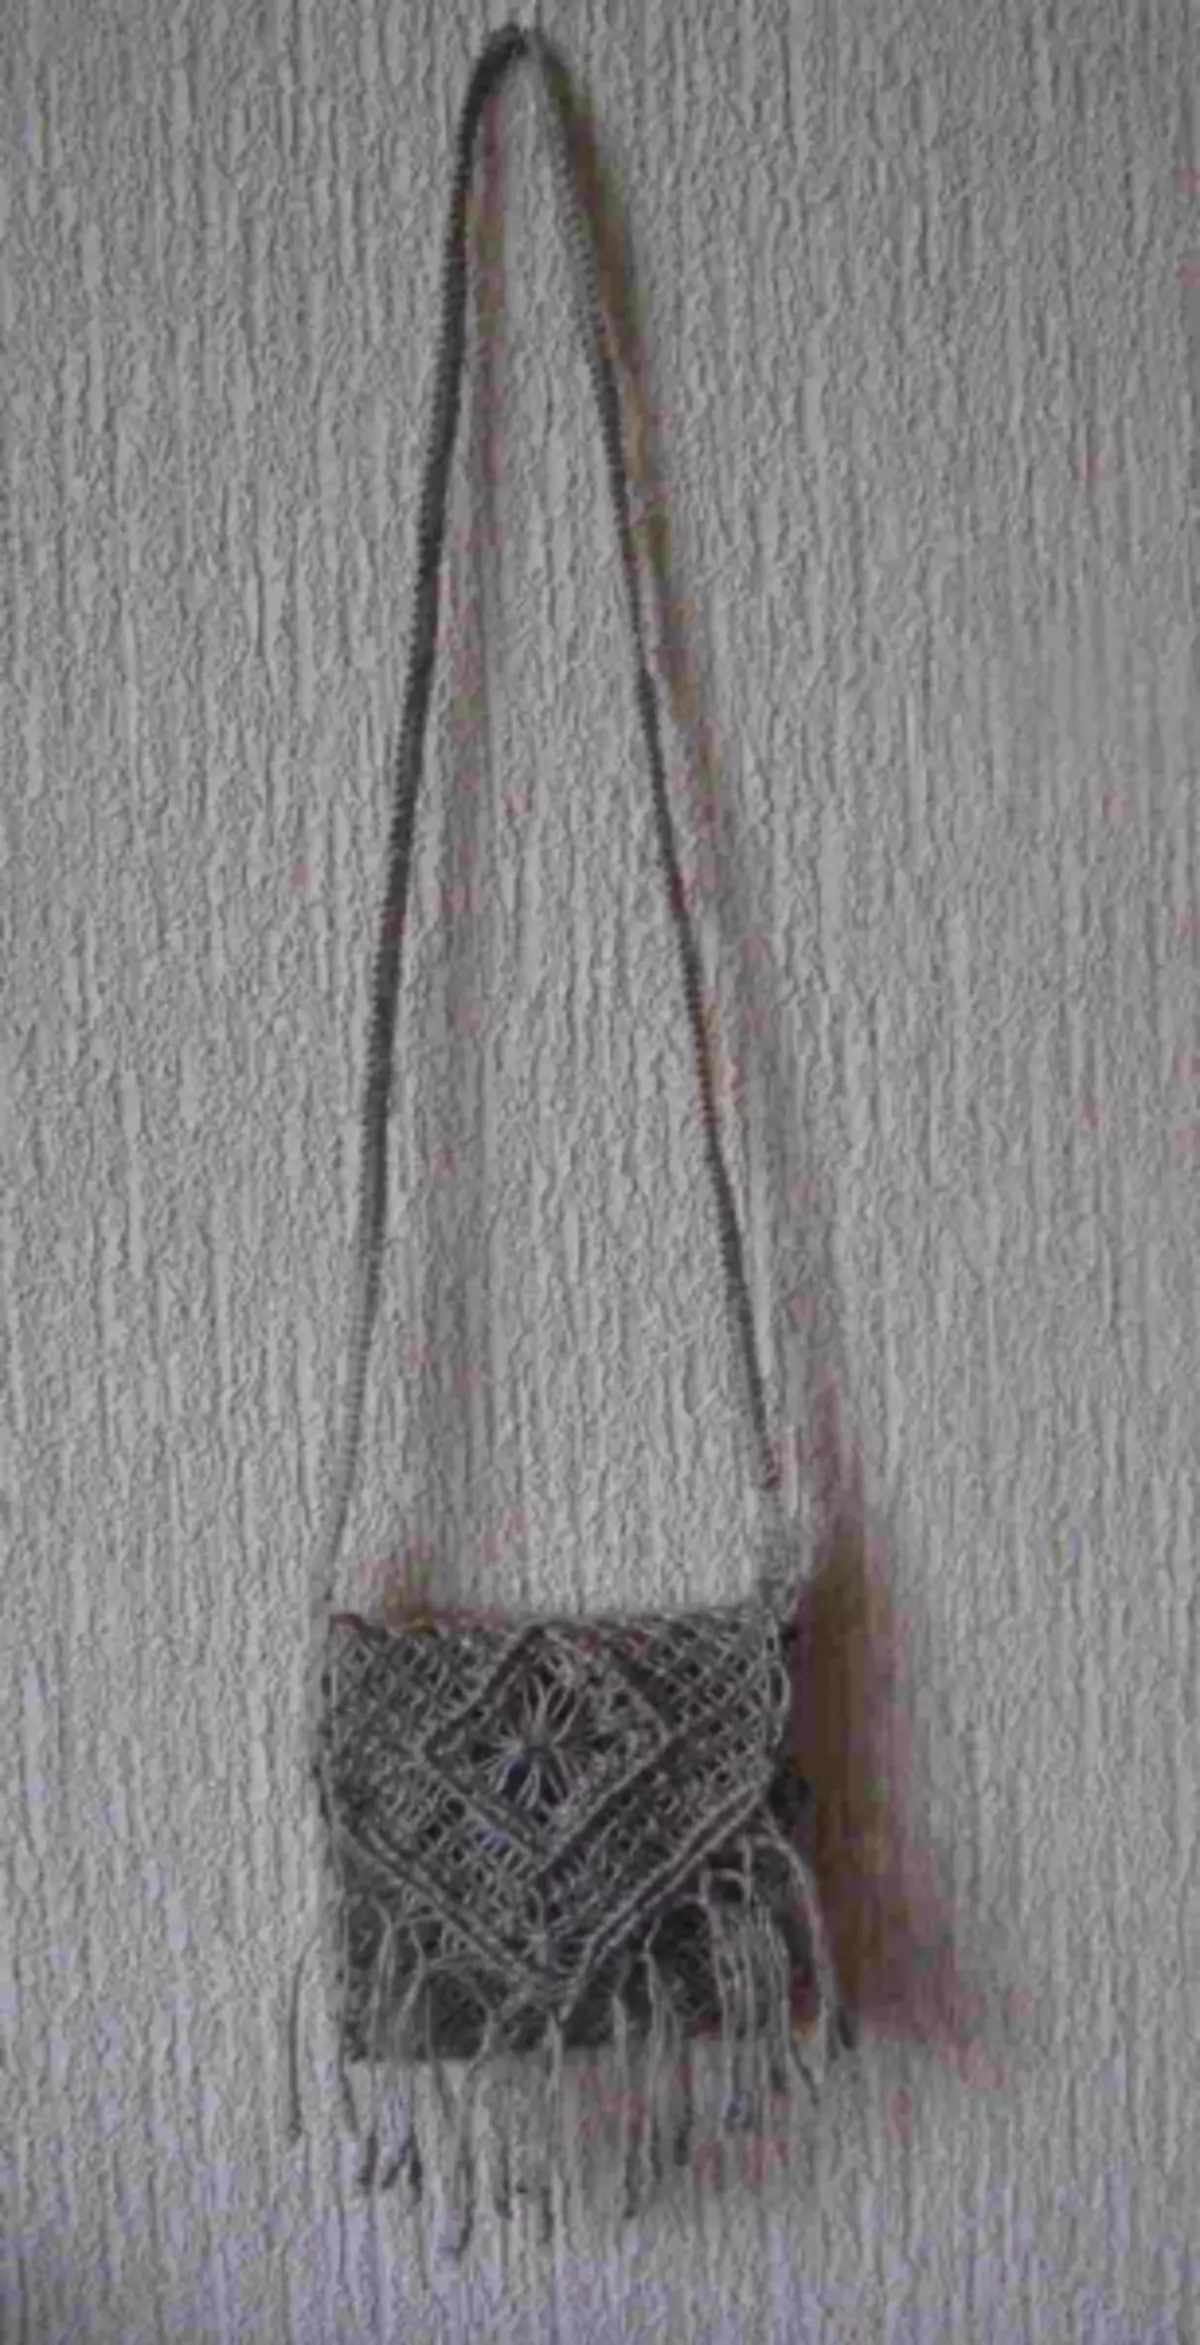
Handbag from twine
A small handbag intended for long summer walks. A comfortable long strap allows you to wear such an accessory over the shoulder.
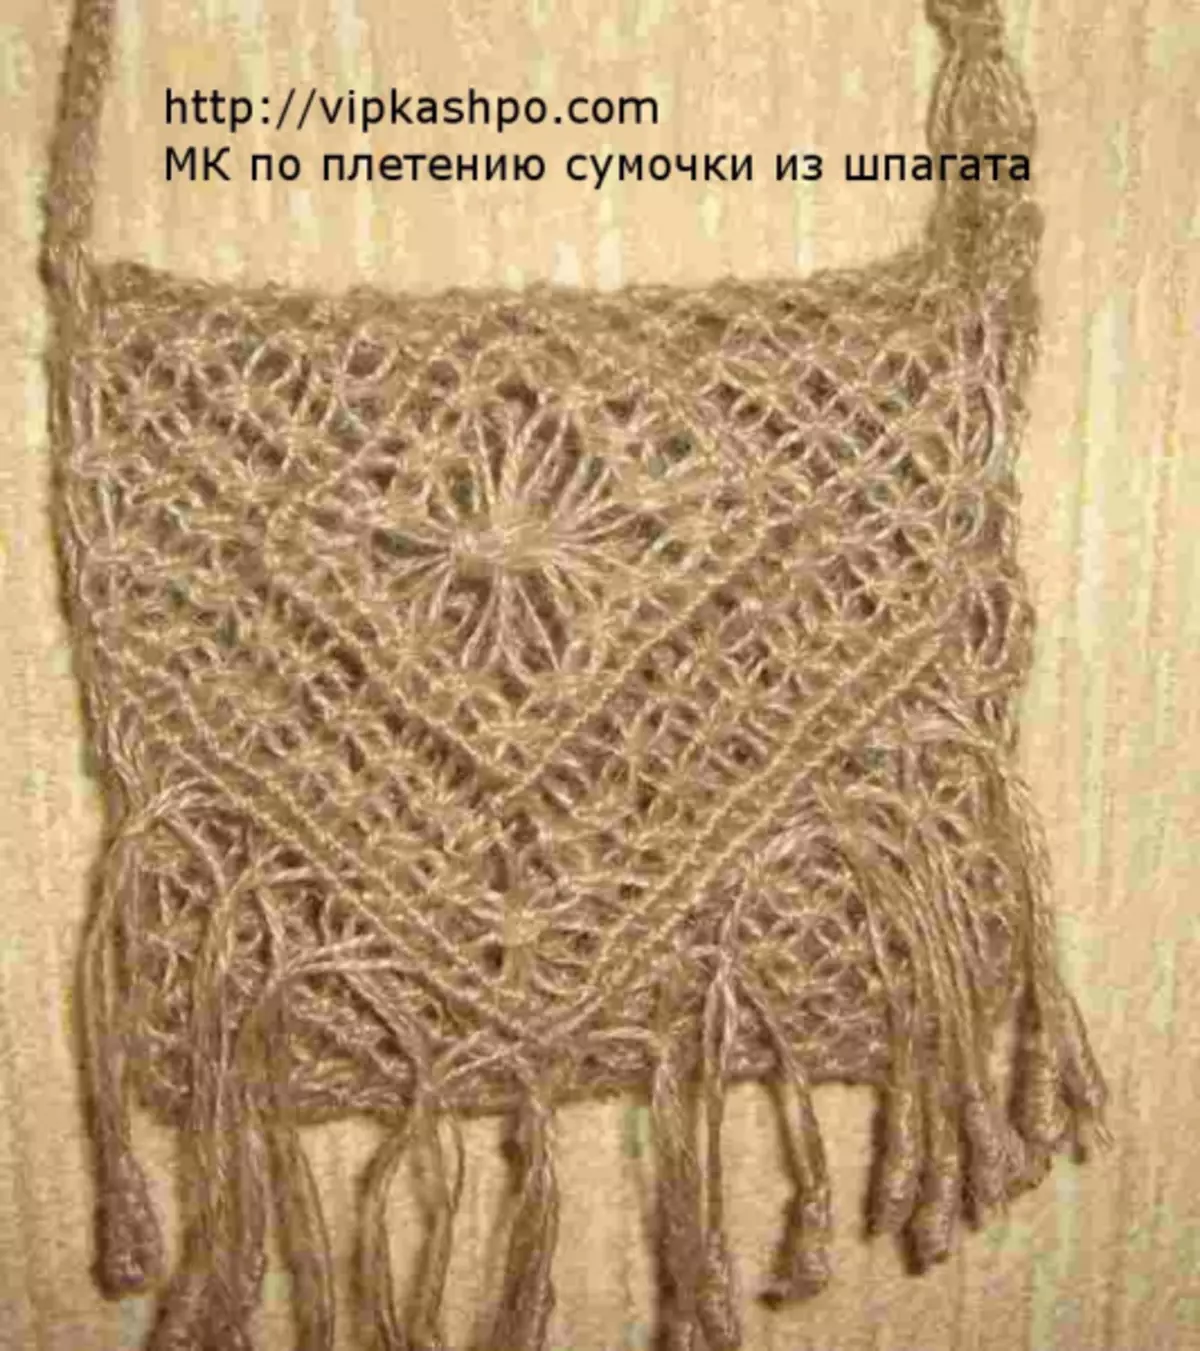
The size of the finished product: the width is 15 cm, the height is 14 cm, the length of the handle is 100 cm.
What you need to cook for work:
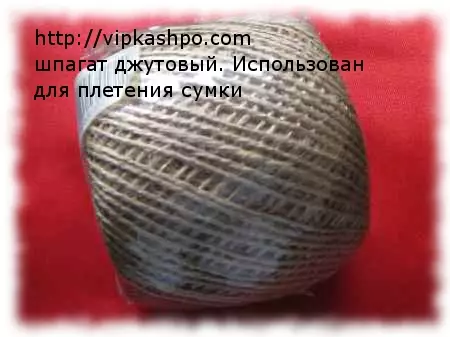
- jute twine twisted in two threads - 100 m (1 motion);
- Pillow for working with macrame;
- Portnovo pins.
1 filament of twine is cut off with a length of 4 meters and is fixed on the pillow of the straight line. In the center of the cord pins pins. The threads will be hung in the left and right side of the middle.
Next, 19 threads of 4 m are cut. The extended fastening technique is fixed on the main cord.

It turns out in the operation of 40 segments of the twine (2 end with each naked thread plus 2 end with the main thread).
If the thread is thin (in 1 mm), it is recommended to use a larger number of segments or hang the first row using simple flat nodes to avoid large gaps in the woven grid.
Starting on the left side, a number of reps nodes are formed.
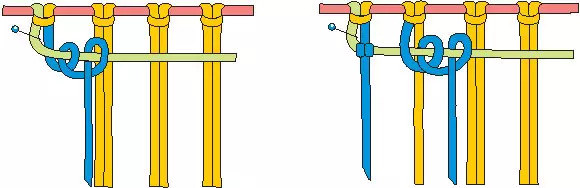
All subsequent rows weave a square knot in a checker order.
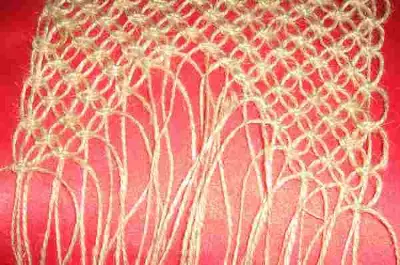
At a distance of 36 cm from the start of the work begins the formation of rhombus. From the middle of both sides, brdines are wearing a reps. In the creation of rhombus, the 10 ends of the cord are involved.
Article on the topic: Fenhek diagrams with drawings and logos
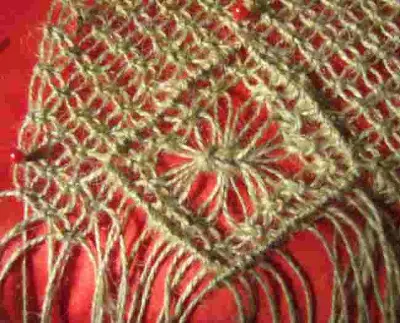
The Roma Center is formed by square nodes, where the nodes come from the left side, starting with the left thread, and on the right side, square nodes starting with the right thread.
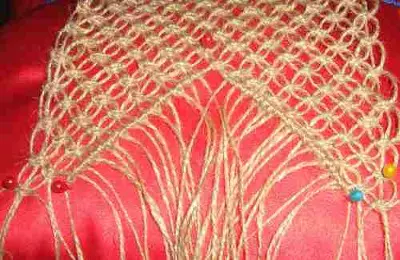
How the Roma Center is made: two threads of three nodes are taken from the right and left sides in order, starting from the second. There are 4 central segments between them.
All the collected threads, except the central, are tied by a square node around four cords located in the middle.
Starting from the large total node inside the rhombus, left-sided and right-sided square nodes. A rhombus is closed by a number of reps nodes, as shown in the photo.
A general node is tied at the top of the lower angle, and then an additional node is performed on the right side. Weaving continues with square knots in a checker order to the corner.
After completing the two rows, brdis brdines are formed on each side. For the Fortress, the repition knots are repeated two rows. On this weaving ends. It remains only to form a fringe on the bottom of the bag.
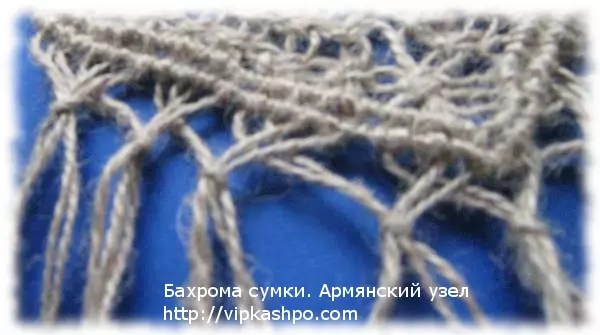
From the end of weaving at a distance of 25 cm threads are cut. Then, starting on the left side, two extreme threads are taken, the third and fourth do not touch, and the fifth and sixth thread are captured.
Armenian knot woves on four threads.
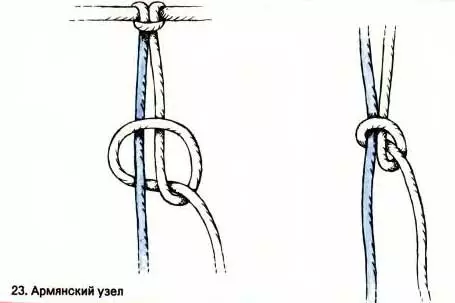
Next, the third and fourth threads are taken, the seventh and the eighth are skipped, and the next Armenian knot, the next Armenian knot, together with the ninth and tenth. In this way, the entire bottom of the product.
Then the ends of the threads are distributed in two and tied to the Kapuchin node.

Came a turn of gossip side sides of the handbag: a woven mesh folds twice. You should consider indent to the product valve - 20 cm. On the collapse of the web, using extreme loops, you need to fix 4 threads, two of which 4 meters (they will be central), and two - 7.5 m. As a result, 8 segments should be .
Article on the topic: 21 ways to take revenge on all the neighbors for everything!
On the central threads a double flat knot. Next, two more of the same nodes are created in checkers with the involvement of extreme threads. The process is repeated until the length of the braid is 15 cm.
Eight threads remaining from weaving the side of the product are collected in the bundle. Of the two, the longest of them, a double flat knot around the rest is created. Next, the braid of the threads with a similar node continues until the tape reaches a length of 1 meter, this is a handle bag.
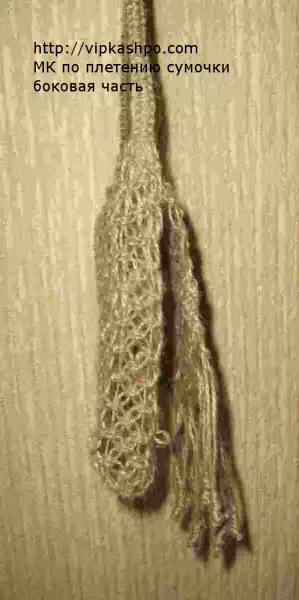
The second sidewall bags are formed from the remaining segments of the twine: the threads are wearing, periodically clinging for extreme loops of the product. At the end of work on the side wall, the thread bags are removed on the wrong side.
Bag is ready. Natural shades of twine make it possible to combine such an accessory with clothing in any color scheme.
Video on the topic
In the video presented below, information on weaving bags of different directions and subjects is collected. Perhaps someone it will open to the creation of his own masterpiece.