
In everyday life there is often the need to apply various boxes for things. In order for such items to organically fit into the interior, you need to pay attention to the appearance of each box. Unfortunately, not always what is offered in profile stores can be combined with the style of its housing. The best option here will be an independent manufacture of boxes of the desired size. Do not be used for this expensive materials. Old newspapers and a little fantasy are all that will be needed in work. How the box of newspaper tubes is done, prompts the appropriate instruction with a detailed description.
A budget option
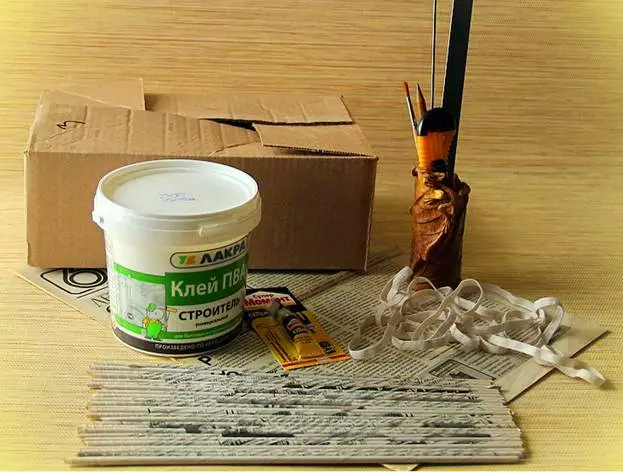
Before starting work on the product, you need to cook:
- newspapers;
- old cardboard box of desired size;
- knitting needles (1.5 mm);
- PVA and instant glue, brush;
- pencil, ruler;
- scissors (can be replaced by a stationery knife);
- clothespins or stationery clamps;
- tweezers;
- acrylic paints, brush;
- decor elements (tapes, fabric flowers, etc.);
- Fabric (for inner case).
Work on the product is steady for a better understanding of the process.
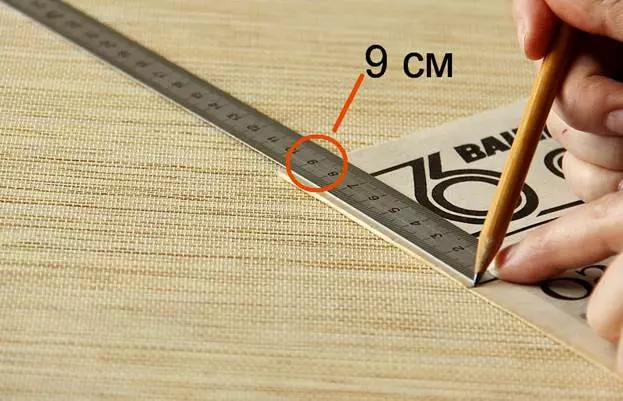
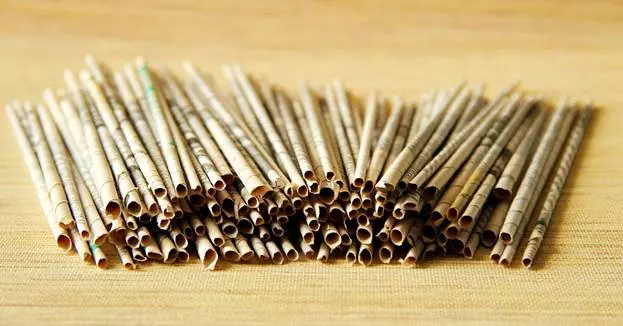
At the initial stage, the material should be created directly from which the formation of a decorative box will begin. Such material is newspaper tubes. The newspaper is rated on a strip of 9 cm wide in a horizontal direction. Sheets are subject to cutting on the outlined lines.
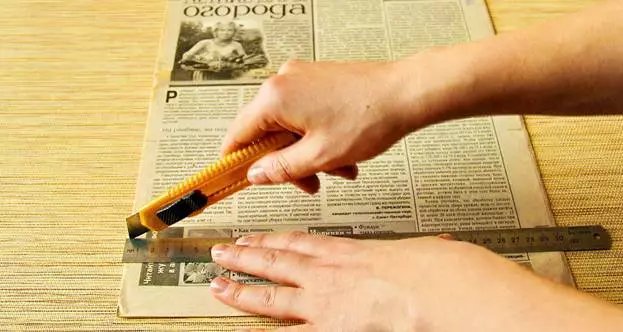
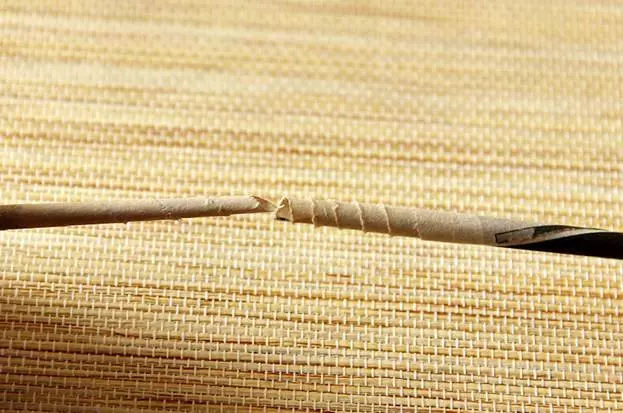
Next will go hoisting each strip on the needle for creating the tubes.
This master class provides for the use of two types of tubes. Some must be more dense and short than others.
To perform various-caliber billets, the angle of inclination of the knitting needles should be varied with respect to the edge of the newspaper strip.
Remember! The greater the degree of inclination, the longer the tube. But you need to take into account the moment that long tubes will come out more fragile.
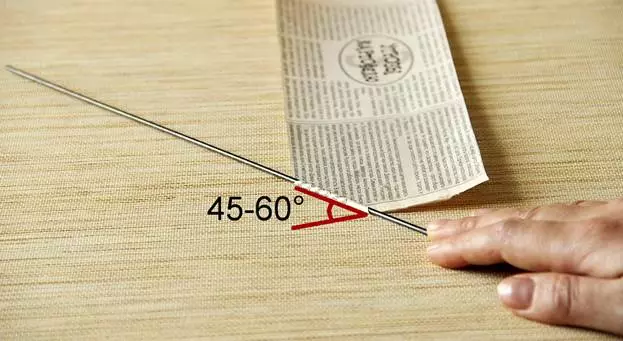
From the edge of one strip, the needker is superimposed at an angle of 45-60 degrees. The paper is tightly screwed on the needle, the free end of the newspaper is fixed with glue.
Article on the topic: Openwork socks with spokes with schemes: how to tie a warm updress with video and photos
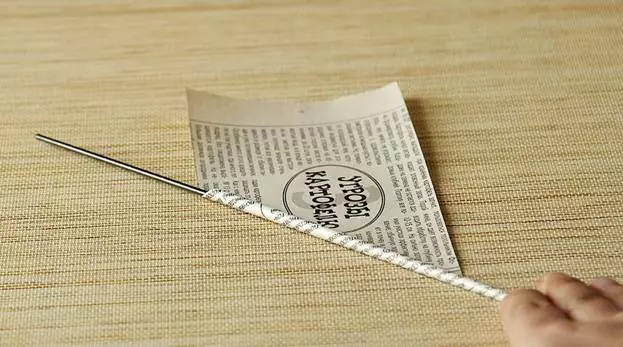
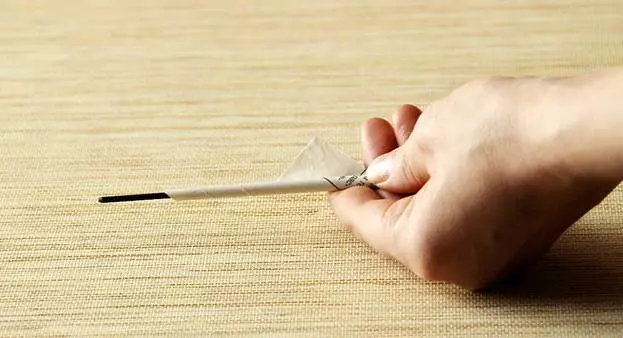
The needker is gently displayed from the tube. In this case, a mechanical pulling of paper from the inside of the tube will occur. The resulting billet will have an unequal thickness.
Such a nuance will help in further work on the product.
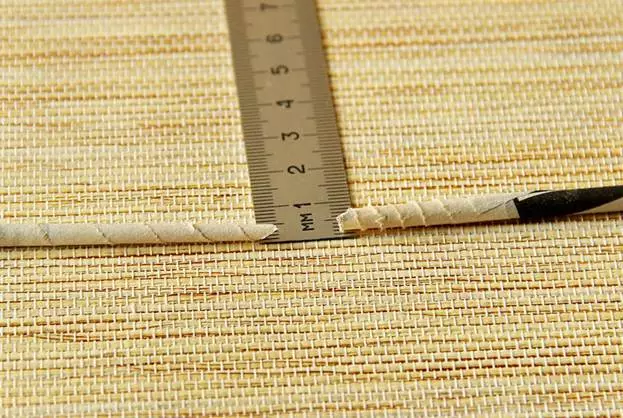
It is necessary to create a large number of similar tubes.
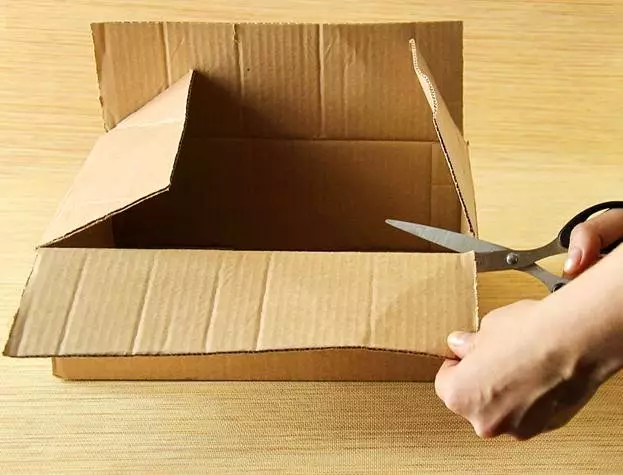
The next step implies directly work on the box.
From the prepared cardboard framework you need to cut the top (cover).
The product has the simplest weaving, so work on it is suitable even for beginners.
When absorbed the basic principle, further production of boxes with complex patterns may be further. At the bottom of the base, make marking around the perimeter. It is necessary in order to fix the vertical tubes. Through them will be interlaced.

The number of such racks should be odd. It is not recommended too frequent arrangement of vertical tubes, because in this way the general pattern of the product will be "will".
This paper provides the width between the racks - 3 cm. The prerequisite is the location of the racks at the corners of the base.
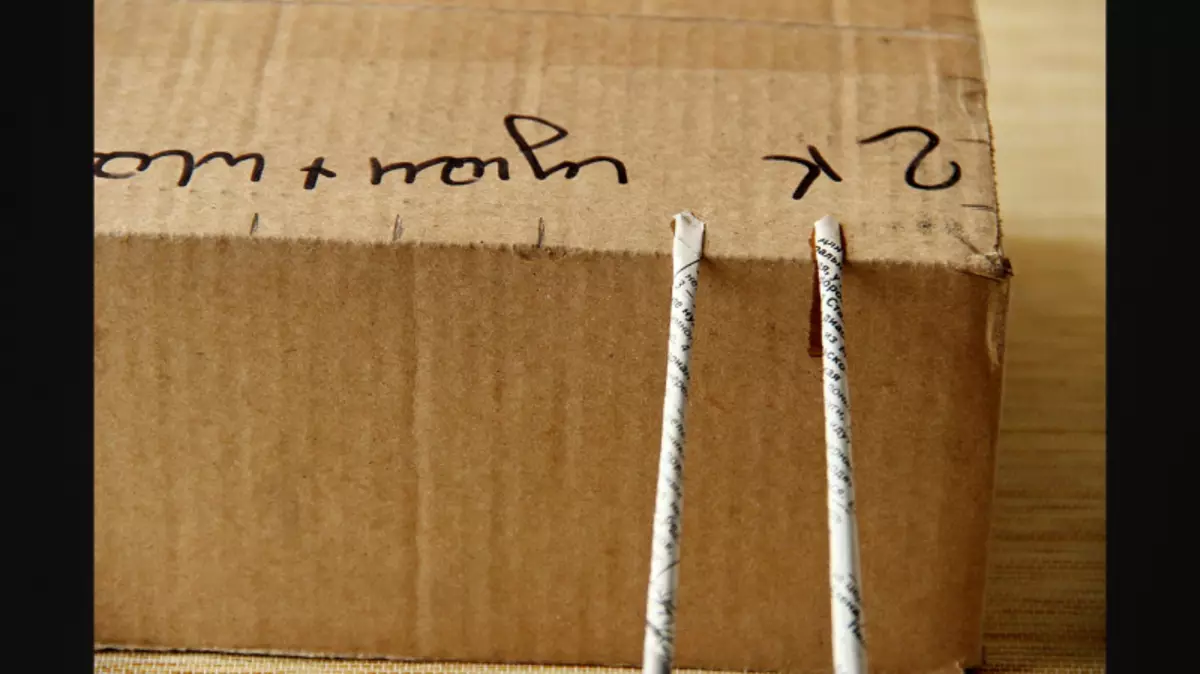
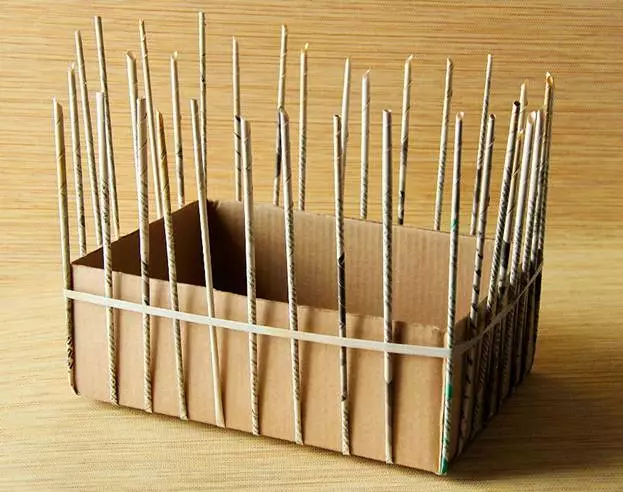
The tubes perpendicular to the bottom of the cardboard box are glued on the applied tags. At this stage of work, shorter and durable tubes and instant glue should be used.
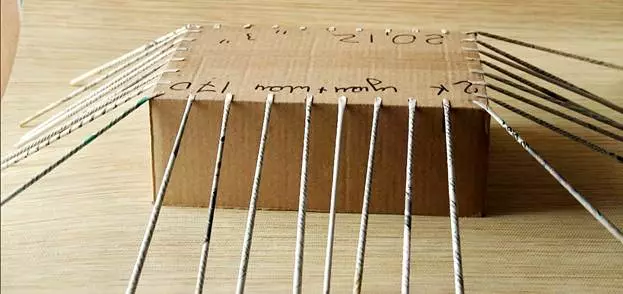
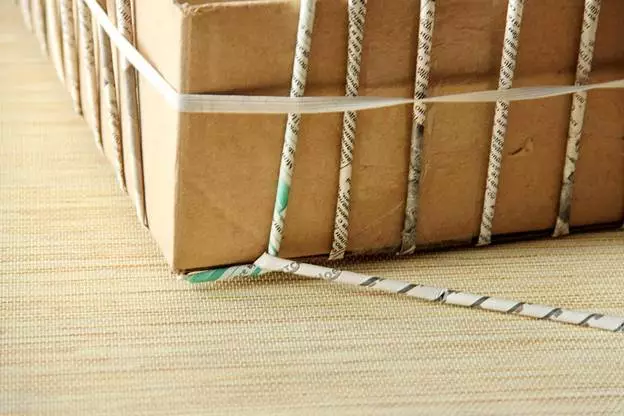
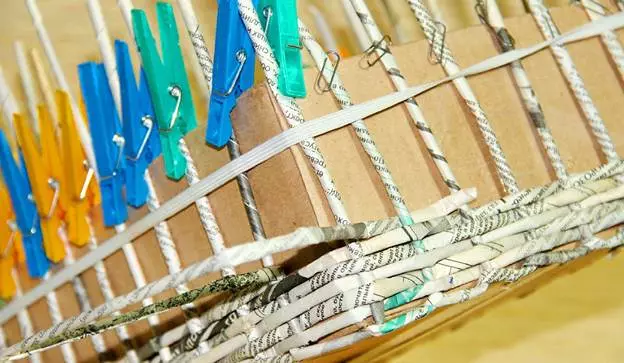
The base turns over, fixed earlier tubes bend upwards and along the entire surface are attached to clothespins. To do this, you can apply the usual gum.
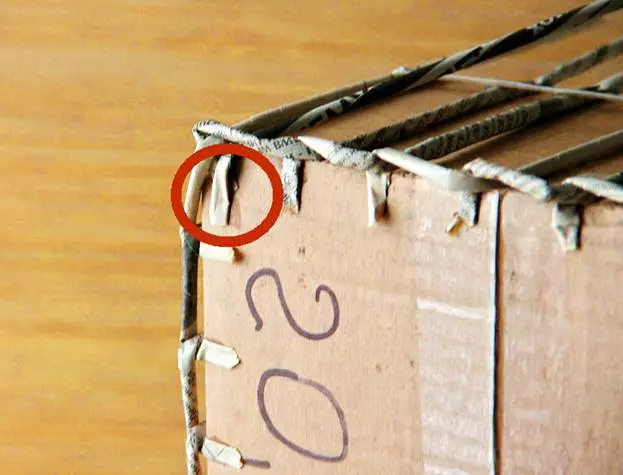
One of the racks takes and wraps over the neighboring.
After that, the one for which the first tube was gained, in turn, turned over the next one. Such a process must be carried out with each vertical counter. An extra tube is glued to one of the corners of the foundation with its wide end. From it and the main weaving will begin.
The working tube produces a braid of each checker stand. That is, first the tube is conducted from the upper side of the rack, then from the inside of the next rack, etc.
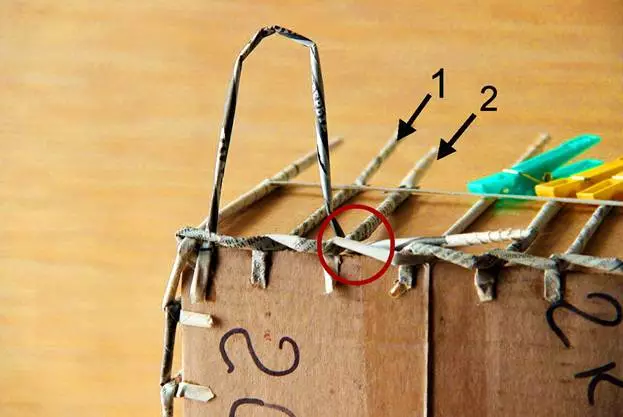
When the working tube is over, it should be increasing with your own hands through the neat introduction of the narrow end into a wide part of the new tube.
Article on the topic: Lanterns do it yourself from threads and ball: master class with video
The joke is fixed with glue.

In this way, the entire cardboard basis is fluttered.
This product provides decorative tape in the center of the box. Therefore, after a few rows of weaving, you should leave a free place to decorate. It is necessary to complete the ranks by gluing the end of the working tube to the base.
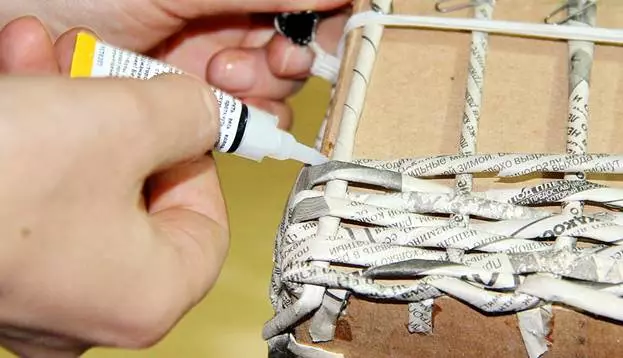
Measuring the required distance for the tape, the current work should be resumed. To do this, glue a new tube and carry out a braid in the same order as in the previous row.
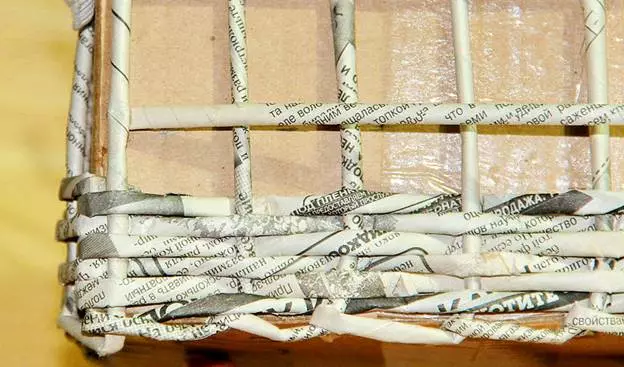
When the entire base is broken, the working tube is fixed with glue, and its end is refilled by tweezers for the nearest rack.
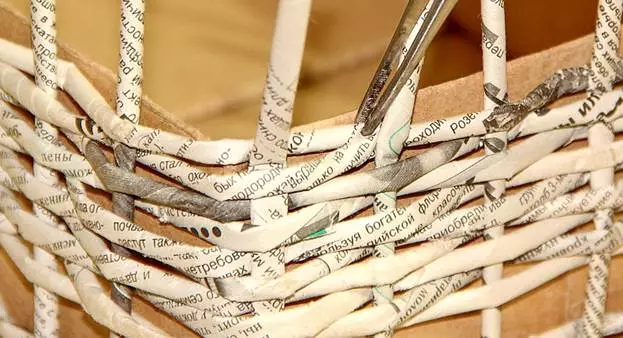
It remains to "hide" vertical tubes inside the product. Each stand passes two adjacent and refills for the third with a tweezers.

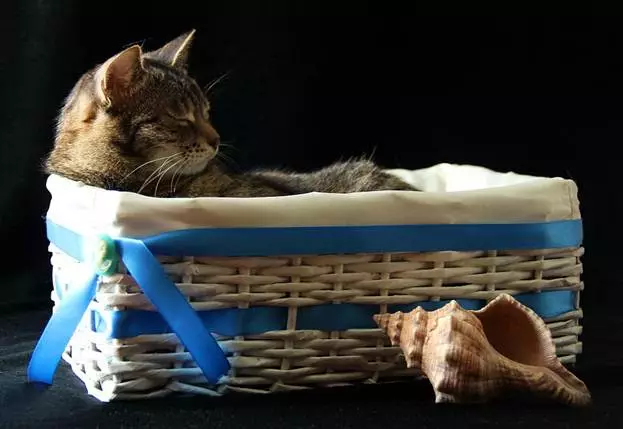
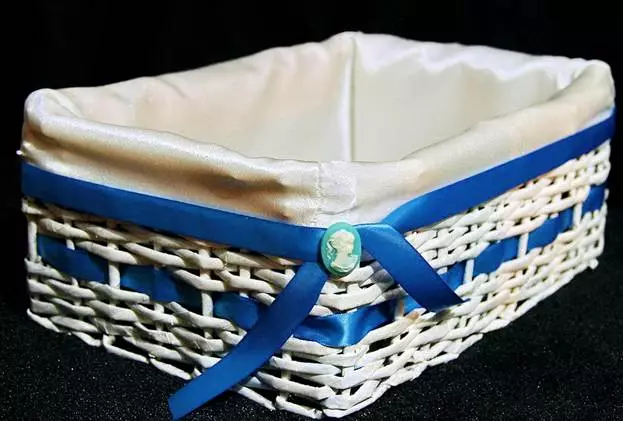
Box ready. It is subject to solid staining. Where the place is left, the satin ribbon is like. Separately sews a fabric case and inserted inside the product. Additional decor of the box is carried out at the request of the masters.
Video on the topic
In the selected video, various options for the manufacture of similar boxes are demonstrated.