
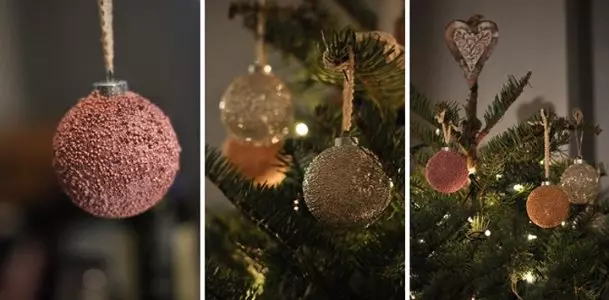
Each new year, seeking to update your festive spruce, not at all be sure to buy Christmas toys. You can independently decorate the balls you have already existing using the techniques that we demonstrate you in master classes and by connecting your fantasy to create even more original crafts for the holiday. In this master class, we will show you how to decorate the surface of the ball by the usual beads, making it the texture other than the usual Christmas decorations.
Materials
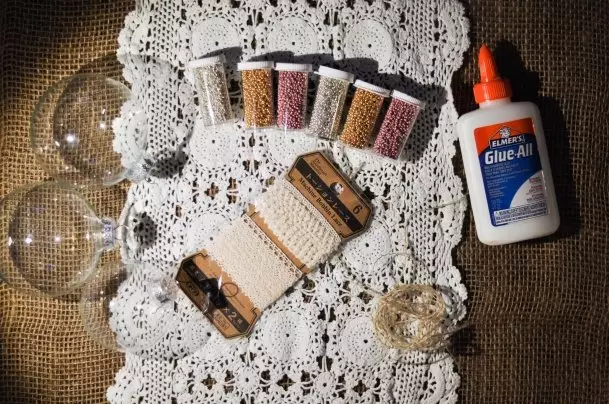
For the decoration of the New Year's balls beads with their own hands, you will need:
- balls themselves, preferably without decor and drawings;
- beads;
- glue for decoupage;
- ribbon lace;
- varnish spray;
- twine;
- brush;
- plate.
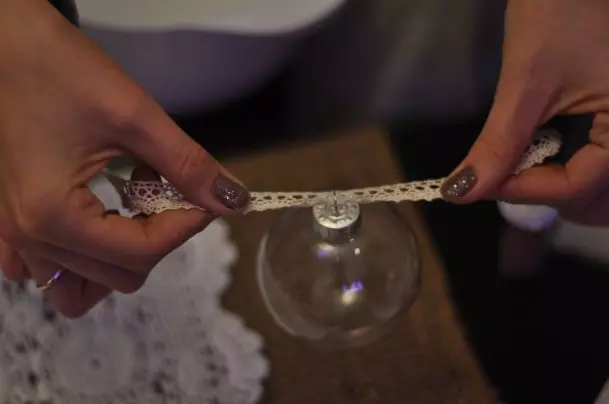
Step 1 . Make a fastening for the New Year's ball. To do this, in the metal loop of the ball itself, a piece of ribbon lace, which is often used in scrapbooking, or replace it with twine. Tie a tape with a bustard.
Step 2. . Glue for decoupage Apply to the surface of the ball. It is worth using glue for decoupage, since it is suitable for working with many materials and, moreover, it does not leave traces on the surface after drying.
Previously, for the best coupling of materials, you can deflect the ball. Just wipe it with a soft cloth moistened in alcohol or acetone.
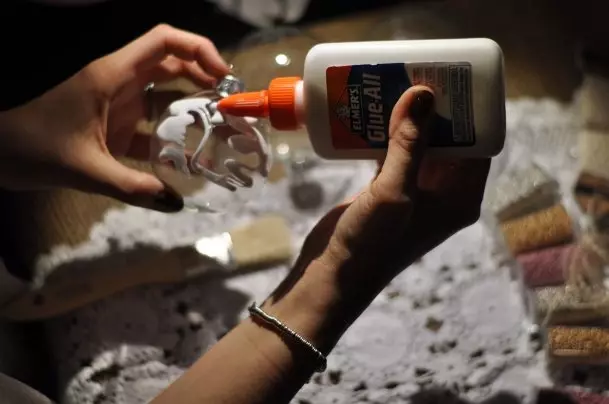
Step 3. . Glue distribute over the surface of the Christmas toy with a brush. Try to lay the glue to be as dense and smooth as possible.

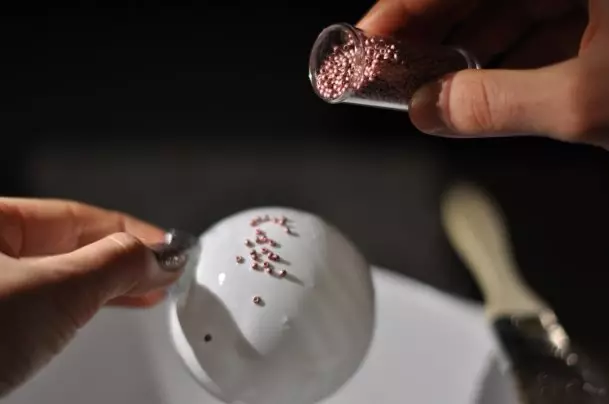
Step 4. . Put an empty plate or a container on the table or other working surface. Holding her ball over the mount over her, start graciously sneak it with beads. Ball, as the surface is filling in this material, turn over.
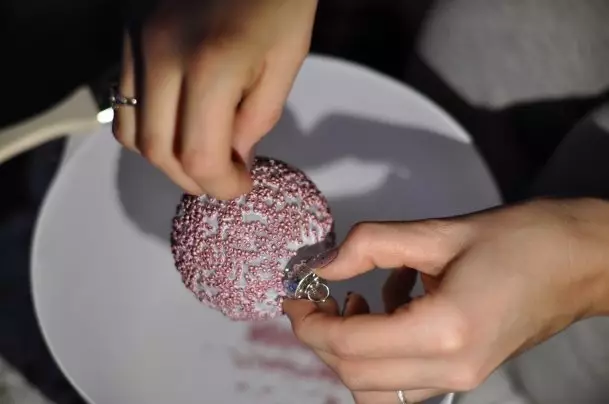
Step 5. . During the work, you are formed small empty areas, they will need to be filled with beads manually. To do this, you can take a needle or thin wire and simply move the beads over the ball until the glue is dry. You can glue beads pointing to the glue on them and adding to the surface with the help of a tweezers.
Article on the topic: Openwork Snooth knitting needles: Schemes and description of new products of 2019 with photos and video
Make sure that the entire surface of the ball is filled with beads evenly. After that, leave your New Year's craft to dry.
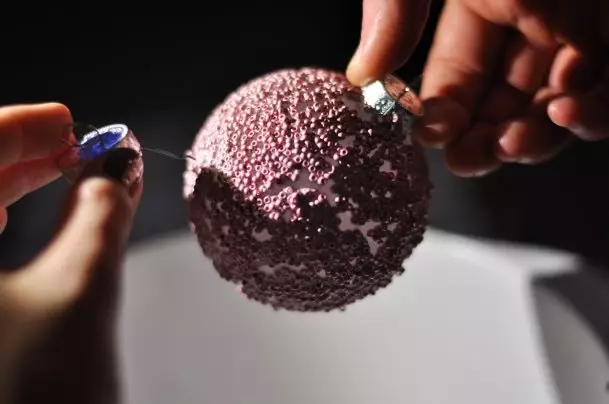
Step 6. . After drying the ball, we recommend covering its surface with a varnish of a spray. So, you can safely consolidate beads on the surface of the ball and soon, they will not start to crumble. Cover the ball with varnish is best on the open space or in a well-ventilated room.
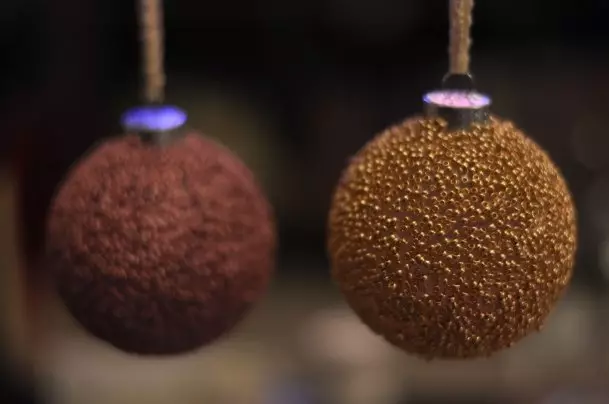
After complete lacquer drying, your updated New Year's ball is ready!