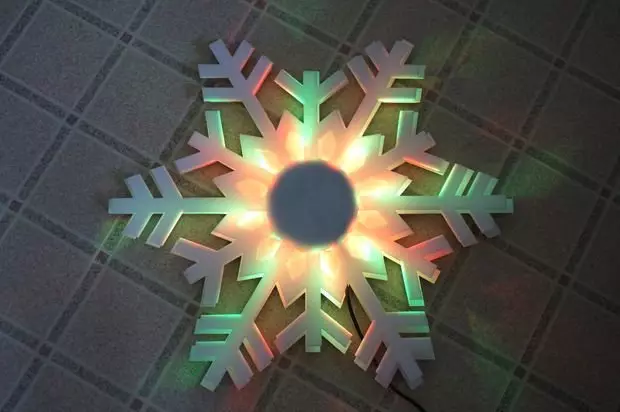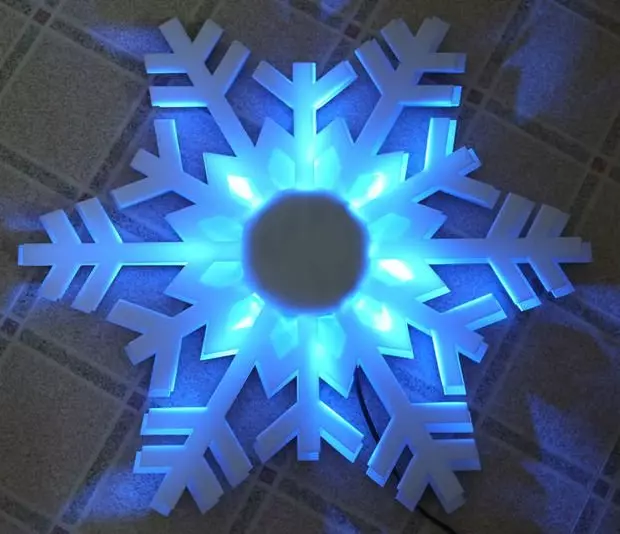
A large decorative snowflake that transfuses multicolored lights will perfectly complement the New Year's atmosphere, and may also replace the Christmas tree if the places in your apartment for the latter have not found. How to implement this idea to life, look at the master class.
Materials
For the manufacture of snowflakes with LED backlight, you will need with your own hands:
- device with circular LED backlight;
- a piece of plywood;
- primer;
- paint in white spray;
- paint with white sequins;
- Tools for manual wood processing;
- sandpaper;
- Adhesive double-sided tape.
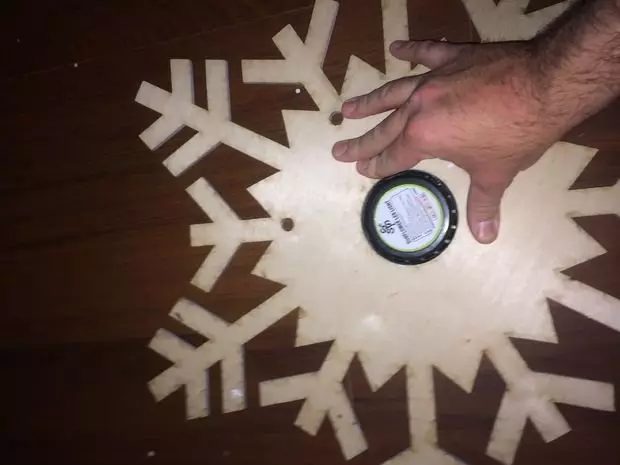
Step 1 . From a piece of plywood you need to cut two blanks for snowflakes. In shape, they must be identical, but in one of them you will need to make a round neckline for fastening the LED device. The diameter cutout must match the plastic device box. In this case, for the convenience of operation, the snowflake pattern was created in the graphic program in the form of a vector image, and cut it with a laser machine. You can repeat this path or create a template on your own on paper and, moved it to a piece of plywood, cut the snowflake with manual tools.

Step 2. . The surface of the blanks for snowflakes is sanding on both sides so that the decorative coating is well held.
Step 3. . Apply a primer to the surface of a wooden snowflake. Give her to dry.
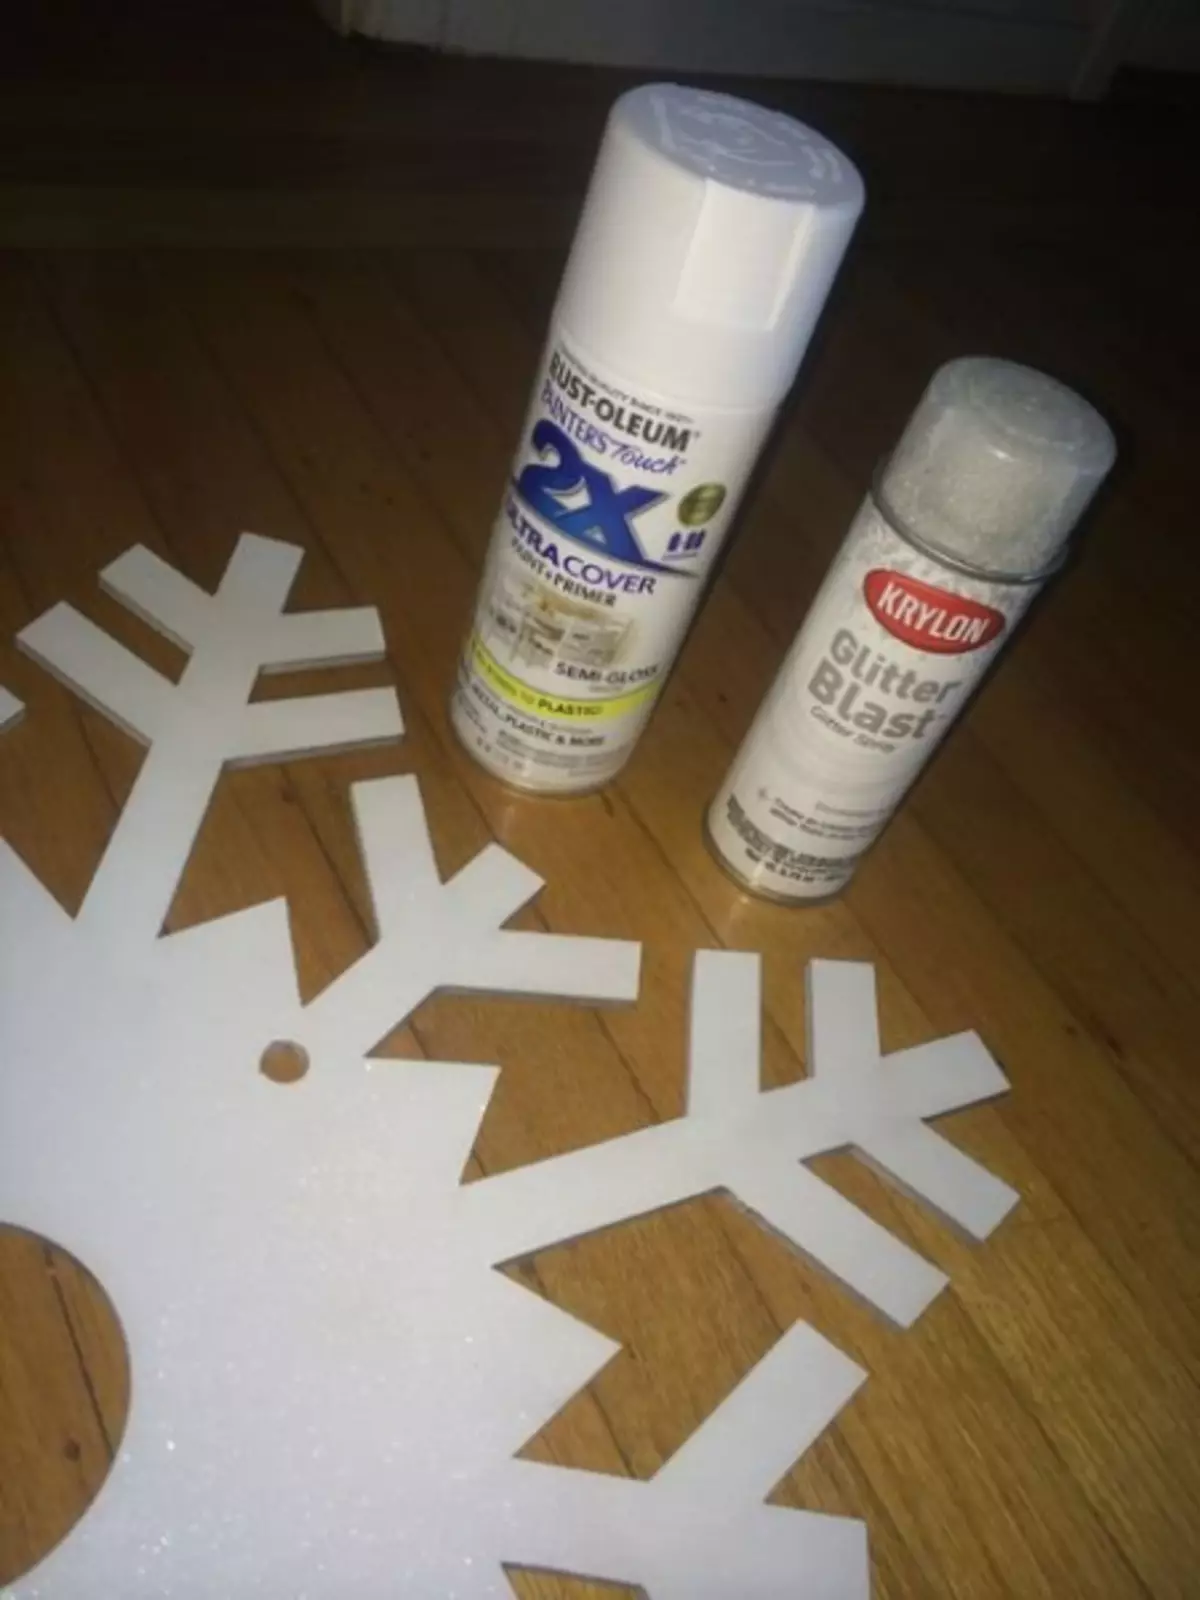
Step 4. . Color the snowflake on both sides of paint with sequins. You can apply the usual white paint. Consider that the presence of sequins will allow to give snowflakes a more festive look and enhance the effect of LED backlight.
Step 5. . After complete drying, the paint can collect snowflake. To do this, insert the LED device into the hole of the bottom tier of the product. To attach it more reliable, use double-sided adhesive tape.
Step 6. . From above straight to the plastic box of the device with the help of the same tape attach the top of the decorative snowflakes. Hold it so that the rays of the lower and top part are completely coincided.
Article on the topic: Snowdrops from paper with their own hands with schemes and step-by-step photos
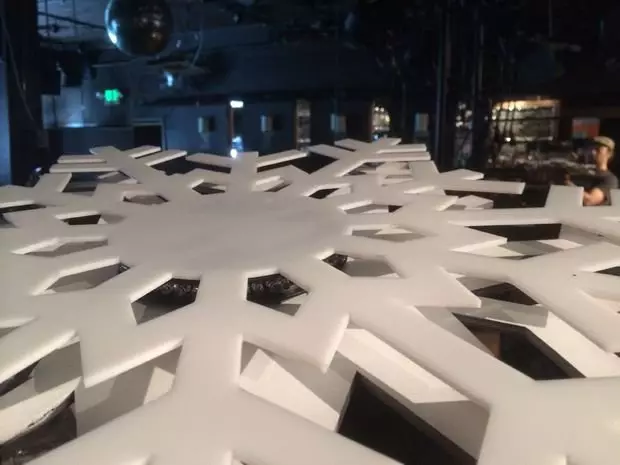
The product is ready. You can turn on the backlight.