
Wool felting technique - a real storehouse for needlewomen and fashionistas. It allows you to create truly unique, the only things in your way. This is a scope for your imagination.
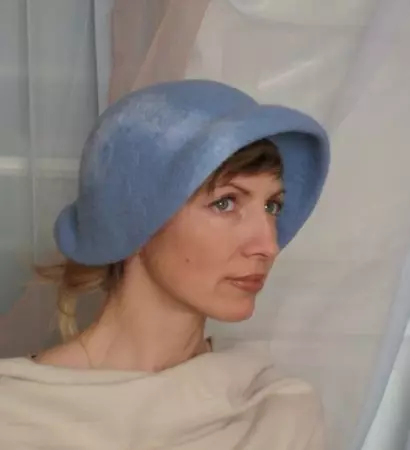
High popularity scored a felting of scarves, however, you can make a hat from the wool. Irina Spasskaya offers a master class on making a hat on a beret template.
Materials:
• Main coat wool (for hats),
• Wool for decor,
• Yarn or Silk for decor,
• template (diameter - 54 cm),
• glue,
• Puppy film,
• grid,
• terry towel,
• Brush for wool (for animals),
• needles,
• Sander,
• Strong soap solution (like kissel).
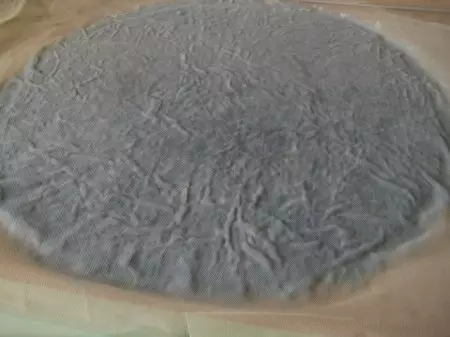
We start layout.
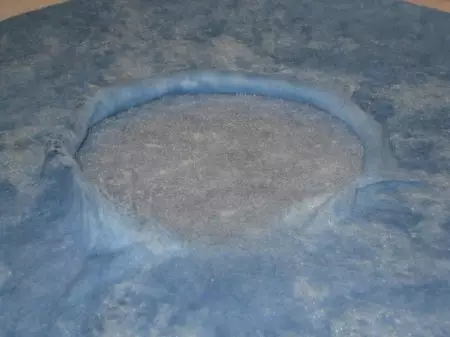
1. We put the pupil film, then the film, top - template. We post the first row along the edge. The direction of the fibers - from the center outside. The first row goes over the edge of the template for 1 cm.
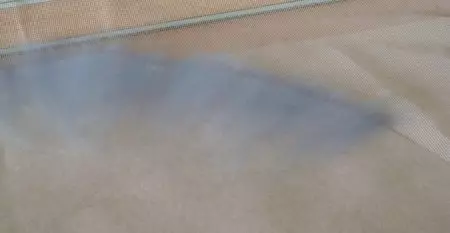
We post the next row with a fallen to the previous one.
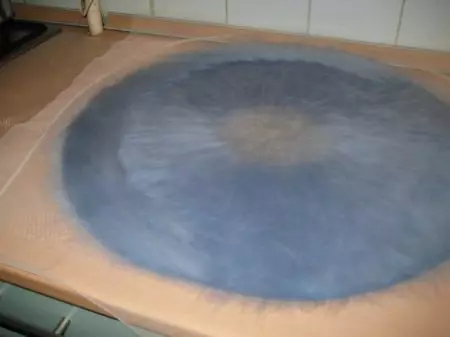
Taking the entire template in this way. In the center of Passka find each other and crossed. The middle should be "thick", since then we will stretch felt.
The layout must be uniform. Where there was little wool - add.
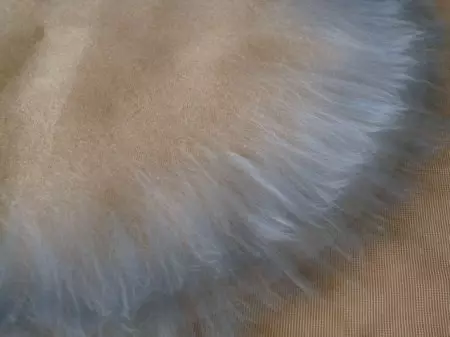
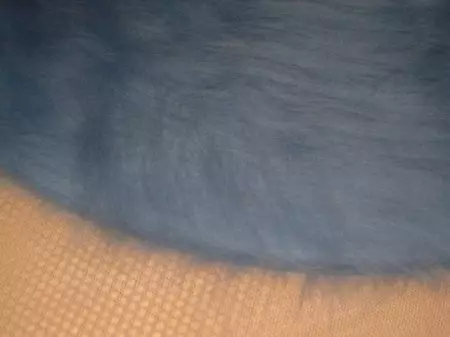
2. The second layer is expanding parallel to the edge of the template. Wool should not get out of the edge.
It turned out the semblance of a spiral. Check the uniform layout again.
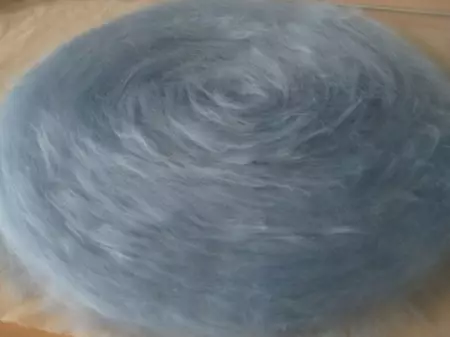
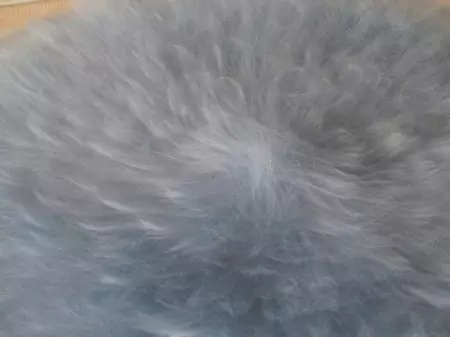
3. The third layer is decompressed at an angle of 45 to the second layer. Watch that this slope is saved.
Now our spiral is spinning to the center (the photo is not completed in the photo).
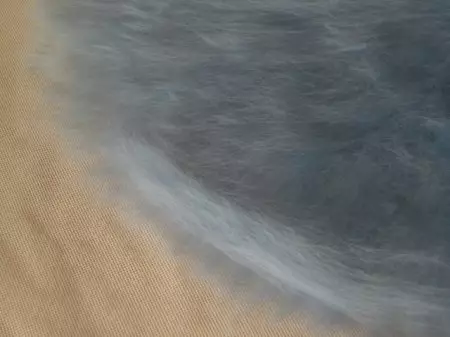
4. Cover the layout of the mesh and wet the soap solution.
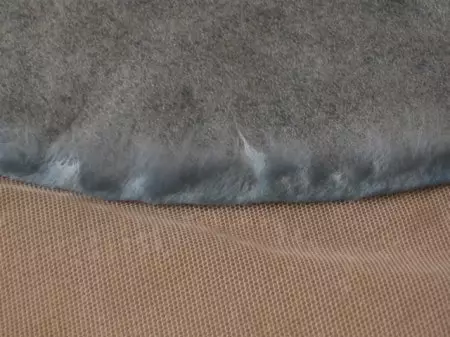
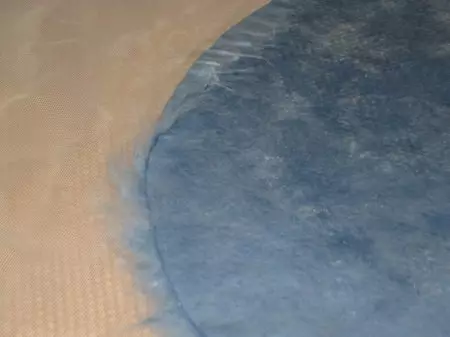
5. I turn over and bend the edges. So that there are no thickens on the edge, the output must be less than 2 cm.
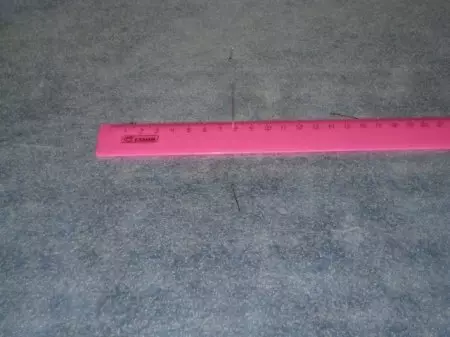
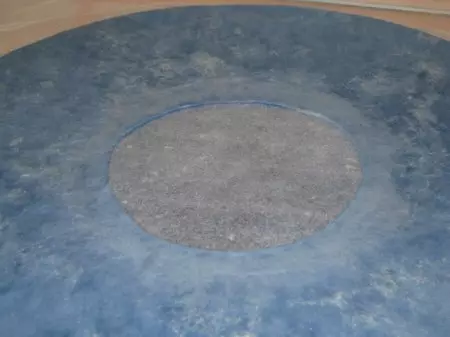
6. We make the layout of the hole for the head. For 56-57 sizes, the diameter will be 16 cm. We find the center (we mark with a needle) and postpone 8 cm in different directions. Mix the points with pins.
Article on the topic: How and what to protect the screen of a mobile touch phone
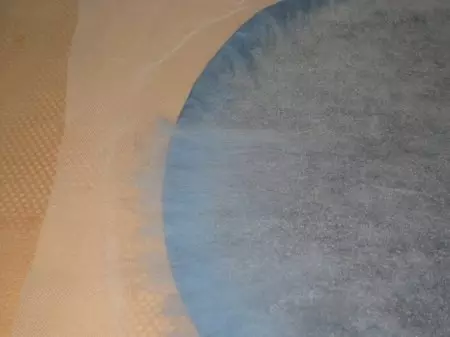
7. We repeat the layout layout (paragraphs 1-3), but lay out the wool only to the pin.
First layer:
Second:
And the third:
8. Close the grid, urine and turn over. Crawd the edges.
9. We again close the grid and turn over.
10. Now we make a hole for the head. We raise the wool until you feel the resistance of the second layer, flexing (it is not necessary to stretch) and smooth the fold.
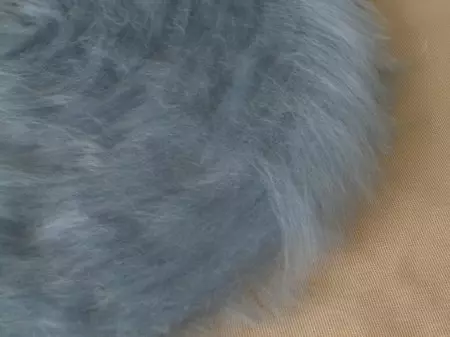
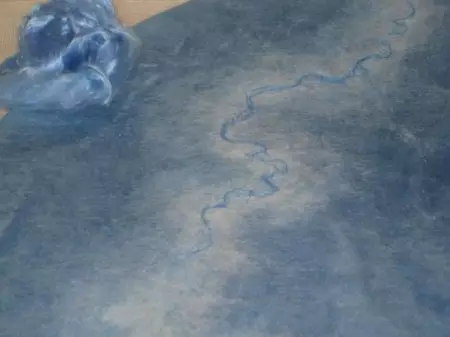
11. We take wool and yarn for the decor. We begin the wool to the clutch into the cloud and lay out. We add yarn or threads from above.
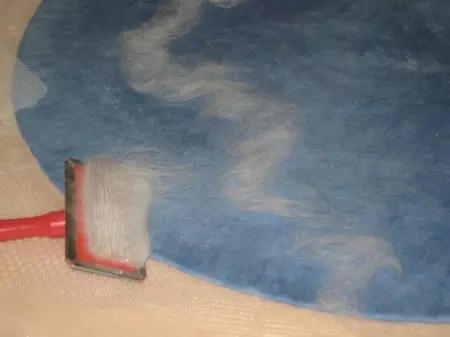
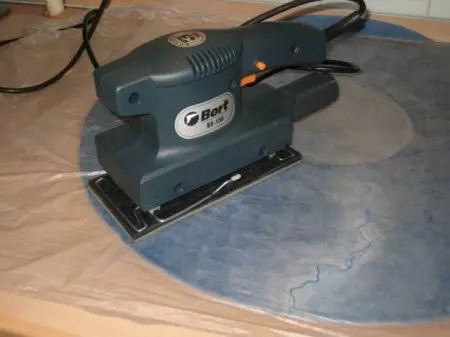
12. Cover the product with a thin film and pass the machine (5-7 seconds in one place). The machine must be perpendicular to the edge.
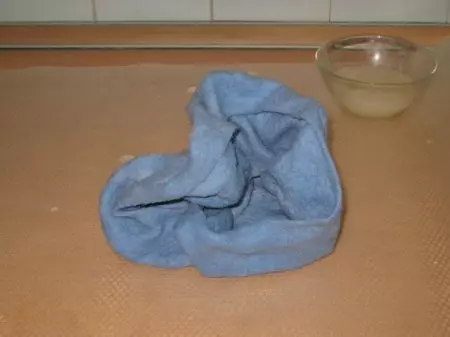
13. When the wool clung, wrap in a towel and rolling, first light, then more intense. Katya in all directions, then turn over and ride again.
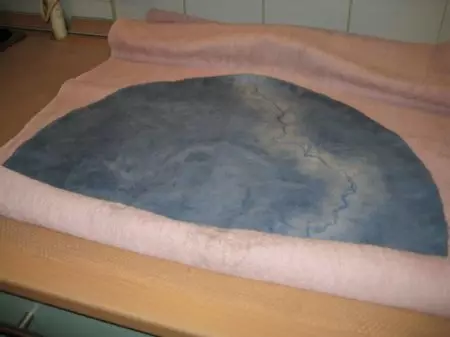
14. Then, putting on hand, smoothing the edge of beret with soap solution. When folds go, and the wool will begin to harden - wet warm water.
15. Further with hand with hands.
16. When signs of respect appear, we turn into a roll and rolling, periodically changing the edge. Stretch folds on time.
17. Now we wrap in a towel and ride a little hard.

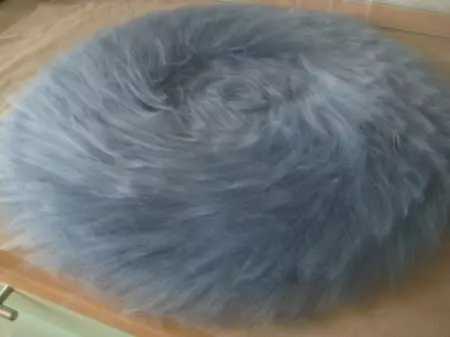
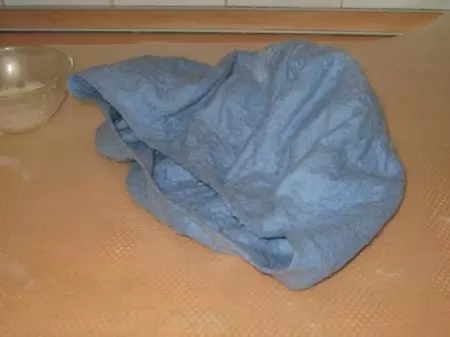
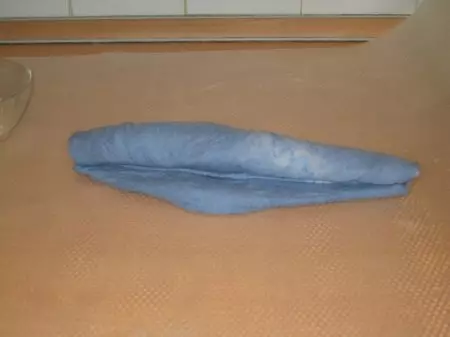
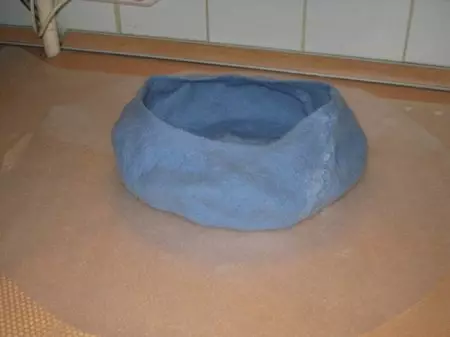
When the crumpled takes stop straightening - felt is ready.
Shrinkage is almost 50%, and our billet looks like this:
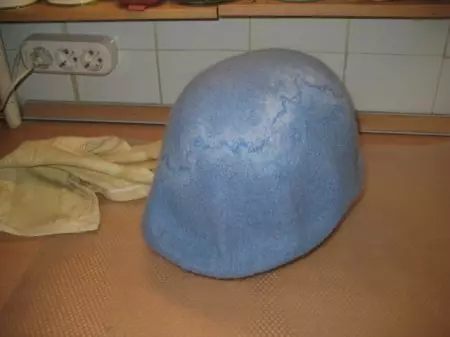
18. We wear a blank on the boiling and pulling down the felt down (it will be Tula).
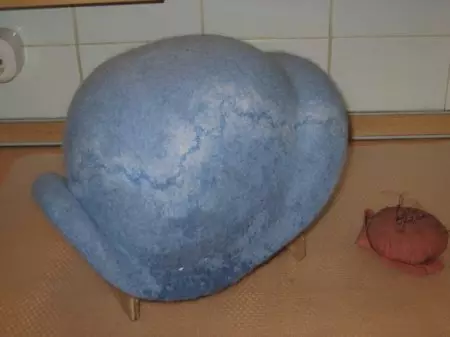
19. In front of the mirror you put on the workpiece and fantasize. I fix the shape of the pins and transfer to the Bolon.

20. The final stage - to give our form a neat look. Correct the shape, smooth out all the folds and irregularities.
It turned out such a hat:
Her hanging on the nerd.
An element of a new image is ready.
