
This multicolored and cheerful type of creativity came to us from America and immediately spread throughout. To weave thick bracelets from the rubber band has become a passion for almost every girl, starting with younger school age to early junior. Not bypassed this passion and boys who are glad to fly "Fences" for their girlfriends.
Bright accessible materials, simple implementation technique conquered young needlewomen all over the world. After all, each of them dreams of decorations that will make it unique and original in the eyes of peers.
Earrings, catulips, rings, bracelets, a phone case, made by your handles, will definitely cause admiration and respect for classmates.
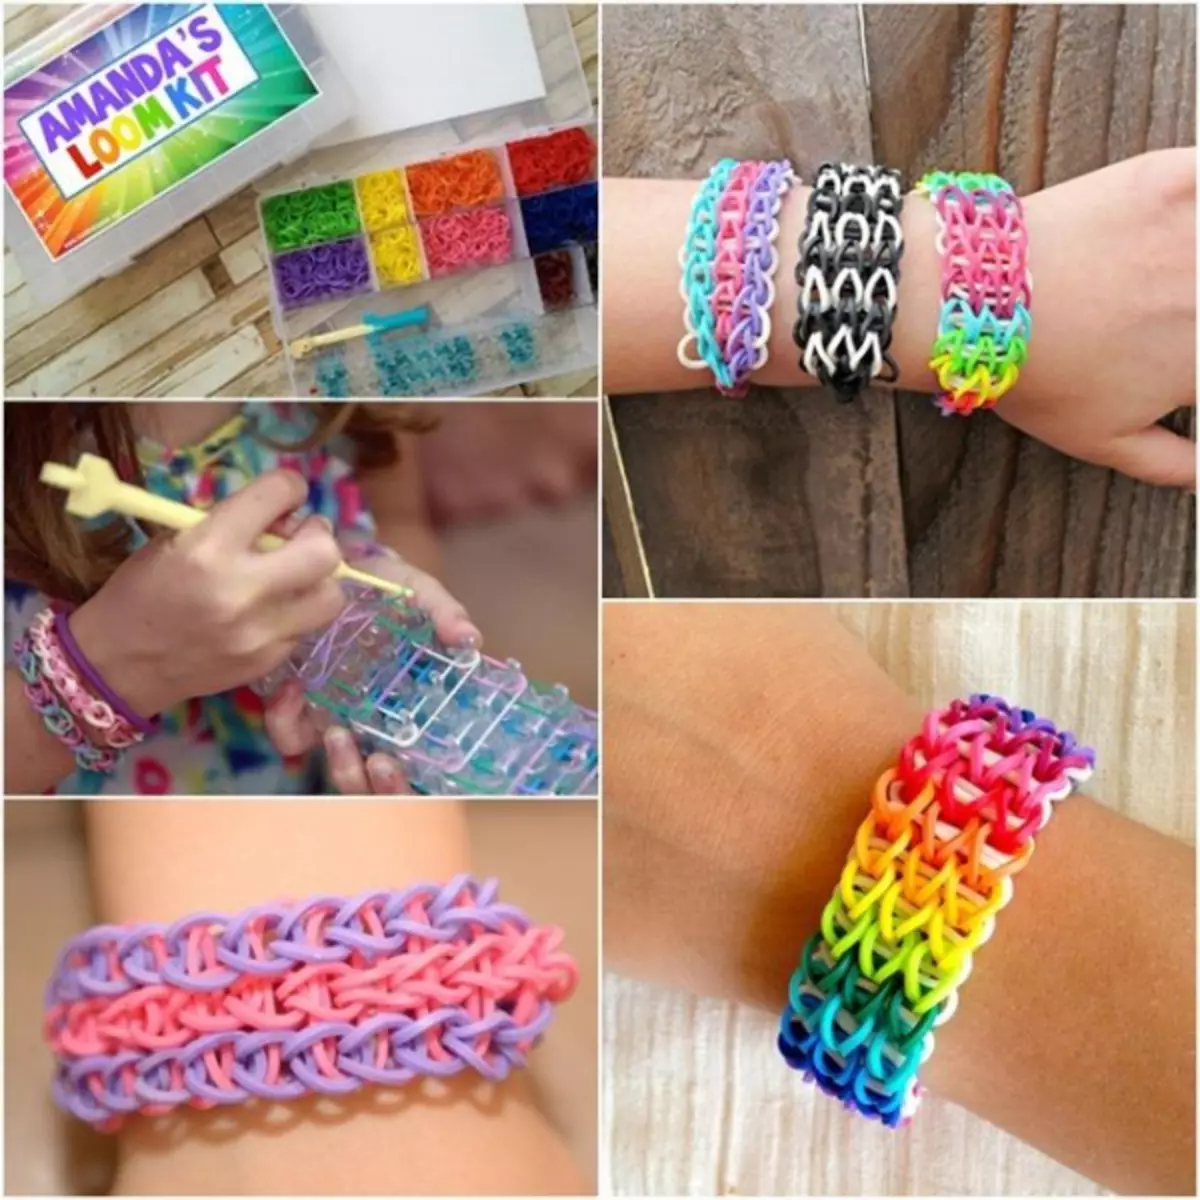
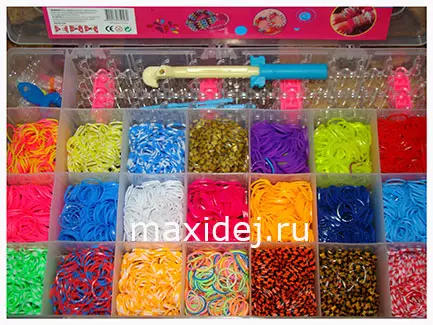
For weaving you will need silicone rubberry, a special hook, a plastic machine or a special slingshot. All this can be found in finished sets, and you can buy separately.
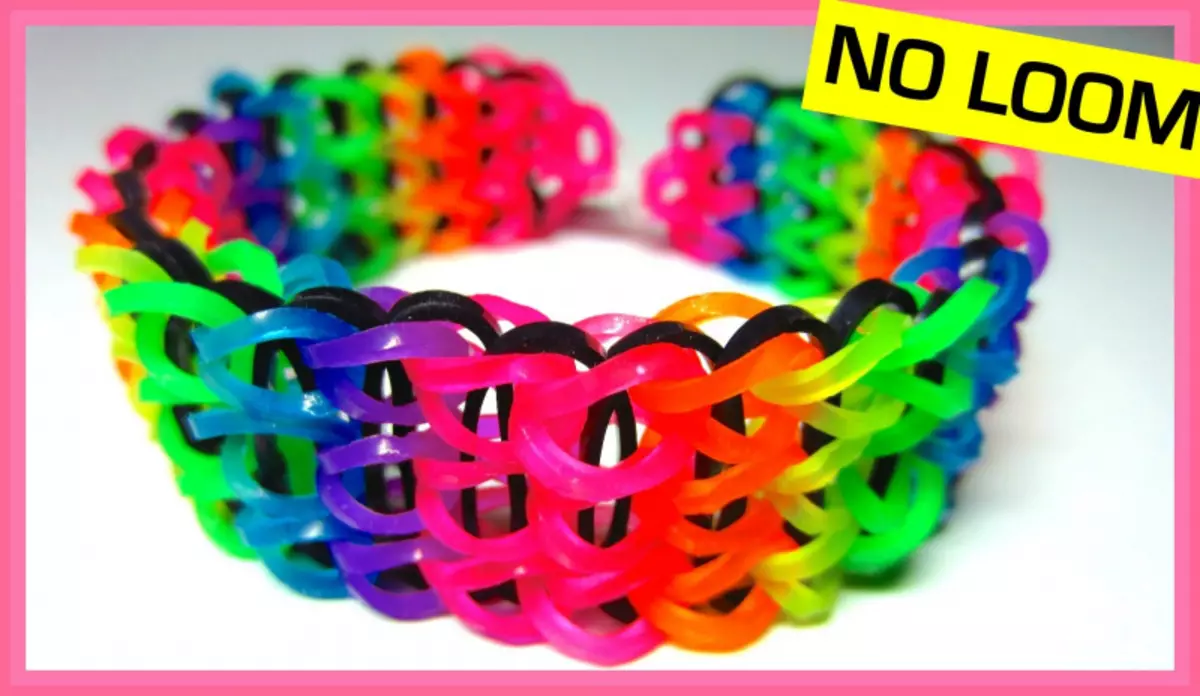
No need to disappear, if there is nothing except the rubber band, as it is possible to weigh a simple bracelet on your fingers, without auxiliary tools. This will teach the video with understandable lessons:
And for those unavailable video format, you will help detailed descriptions with a step-by-step photo.
From simple to complex
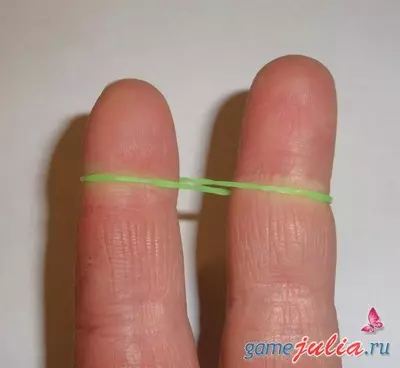
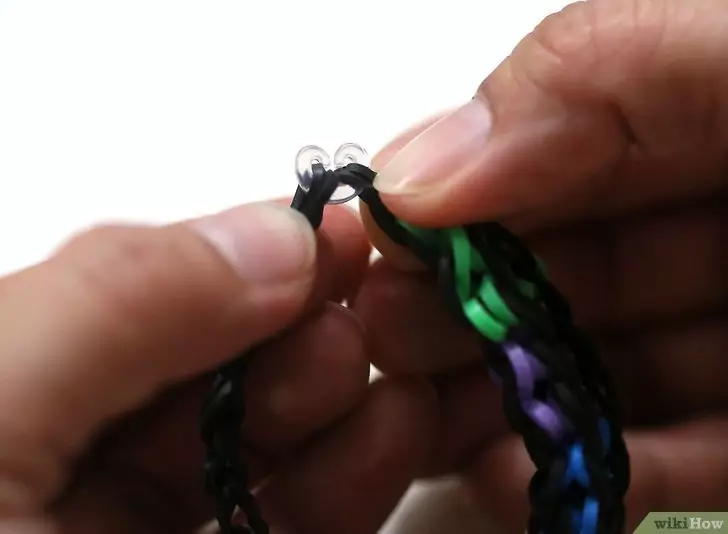
You will need rubber bands and green.
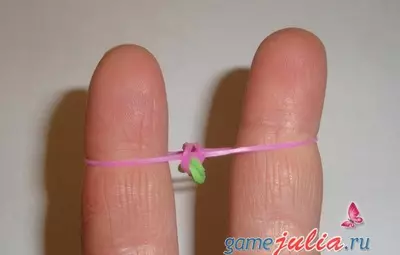
On the index and middle finger we dress the green gum inverted eight.
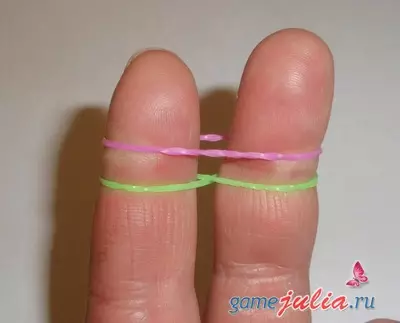
We dress pink on the same fingers in the usual way, without turning it out.
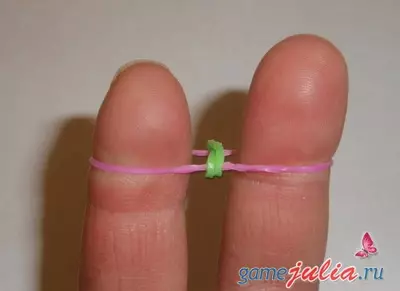
Green remove it to hang on a pink rubber band.
Then we put the pink, the bottom again remove.
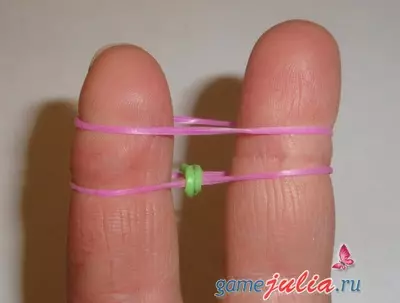
So weave, alternating rubber bands of different colors.
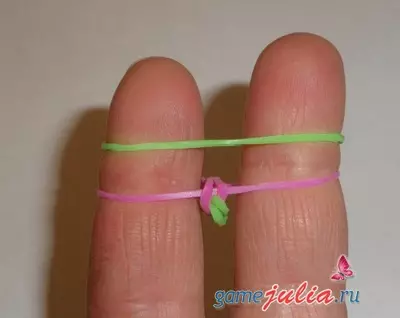
It turns out a color chain.
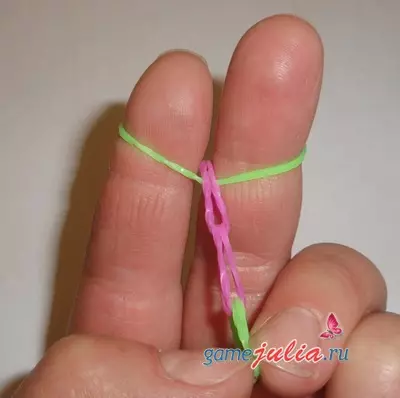
So we make the bracelet of the desired length, the colors use any, alternate them as you like. When the bracelet is ready, we draw it into it on both ends the S-shaped clasp.
Becoming the owner of the finished set, you can significantly expand your capabilities. When using tools from a set, you can make more complex and interesting things.
Article on the topic: Round Tablecloth with Crochet: Step by step description with a diagram and video
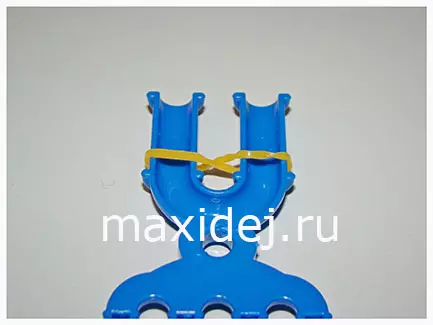
Let's try to weigh a beautiful bracelet on the slingshot.
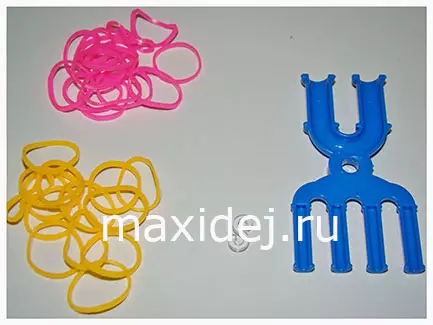
It will take:
- 25 pink and yellow rubber bands;
- clasp;
- slingshot.
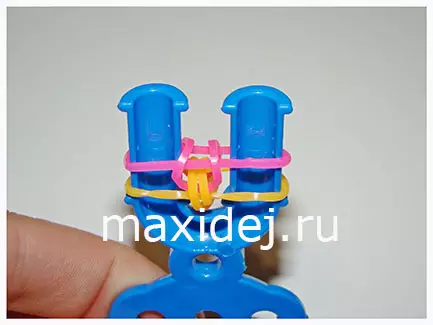
Yellow gum wear on the slingshot columns, twisting the eight.
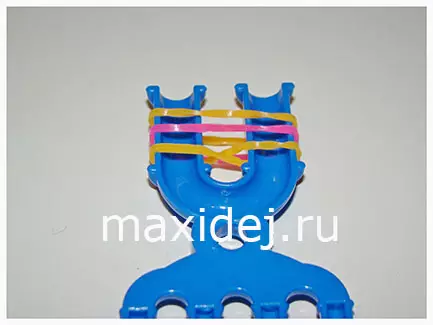
Then we dress pink, after it again a yellow gum.
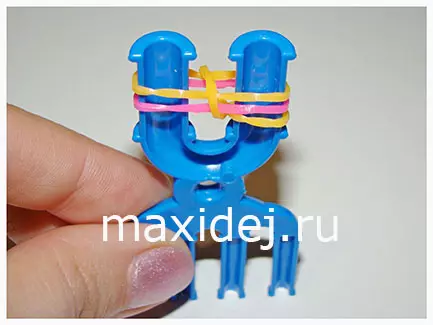
We remove the first one from both ends of the slingshot of the elastic band (which is twisted in the eight) with a hook or just with your hands.
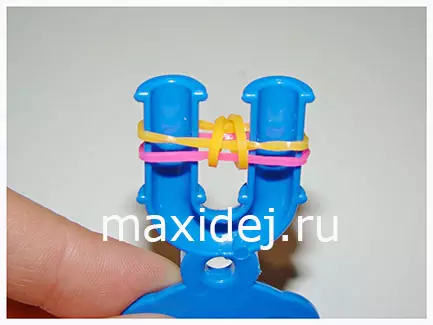
We dress the next gum and repeat the actions described above.
Weave to the desired length.
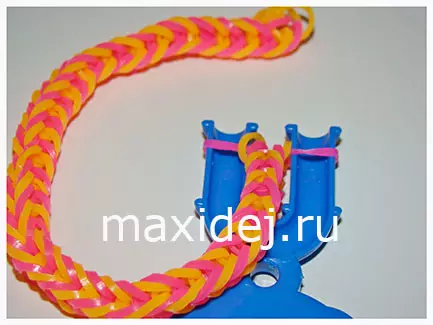
When the bracelet is ready, connect it to the S-shaped clasp.
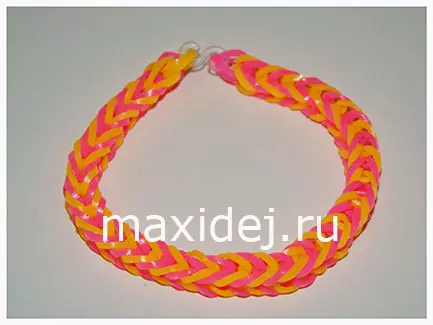
It will take no more than half an eye on the manufacture of such a bracelet, and the result is a beautiful bright decoration. Colors for gum can be any. The more they are used, the brighter it turns out.
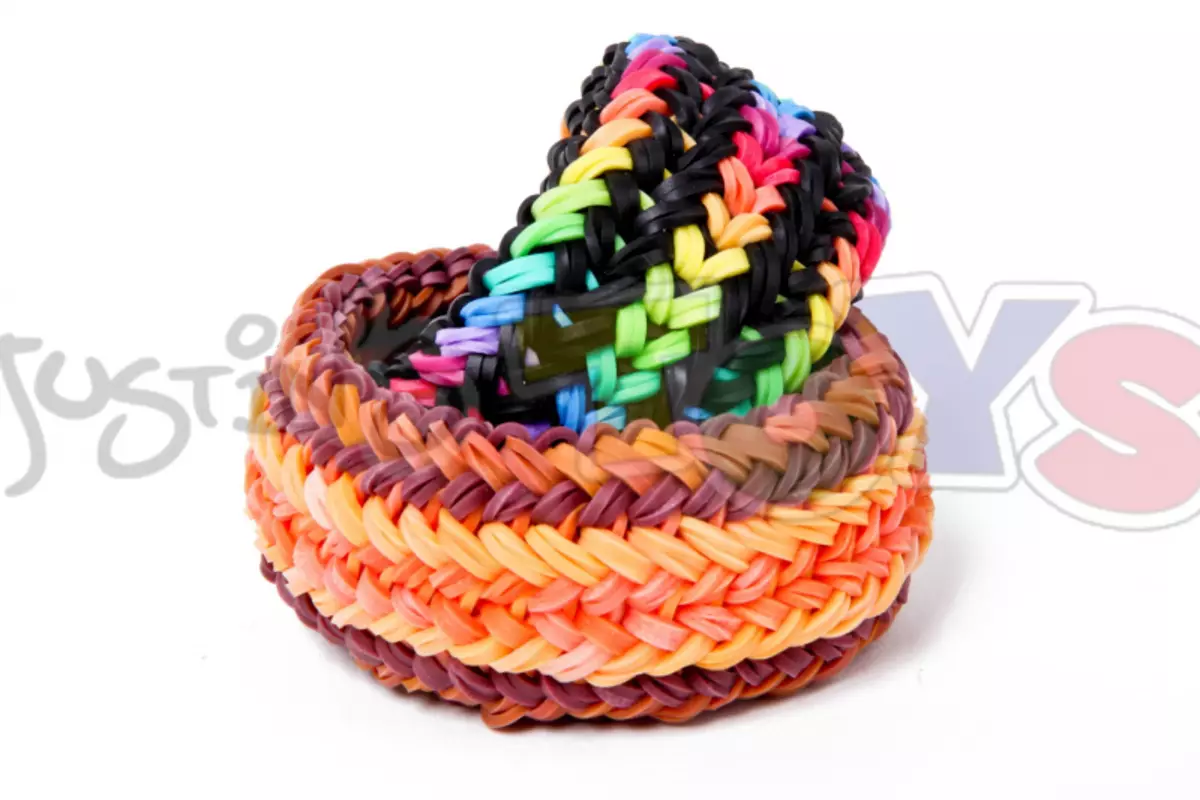
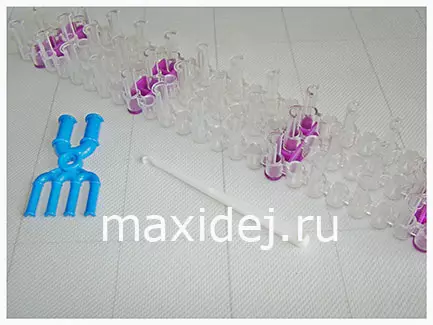
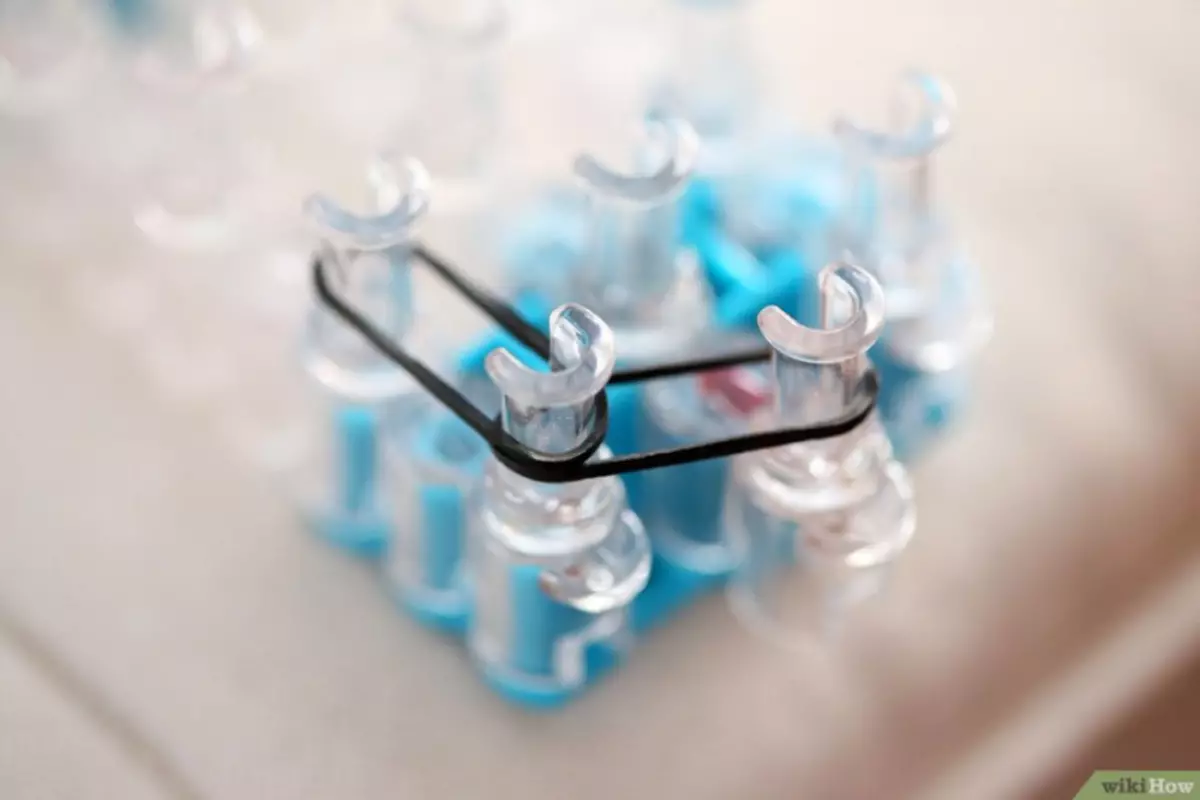
Now we put a more complex bracelet on the machine.
"Explosion supernova"
We combine the first column of the middle row with the first column of the first row; The second with the third and so to the penultimate column of the first row.
We combine the penultimate column of the first row with the last medium row diagonally.
We return to the beginning and repeat the same steps for the other side of the machine.
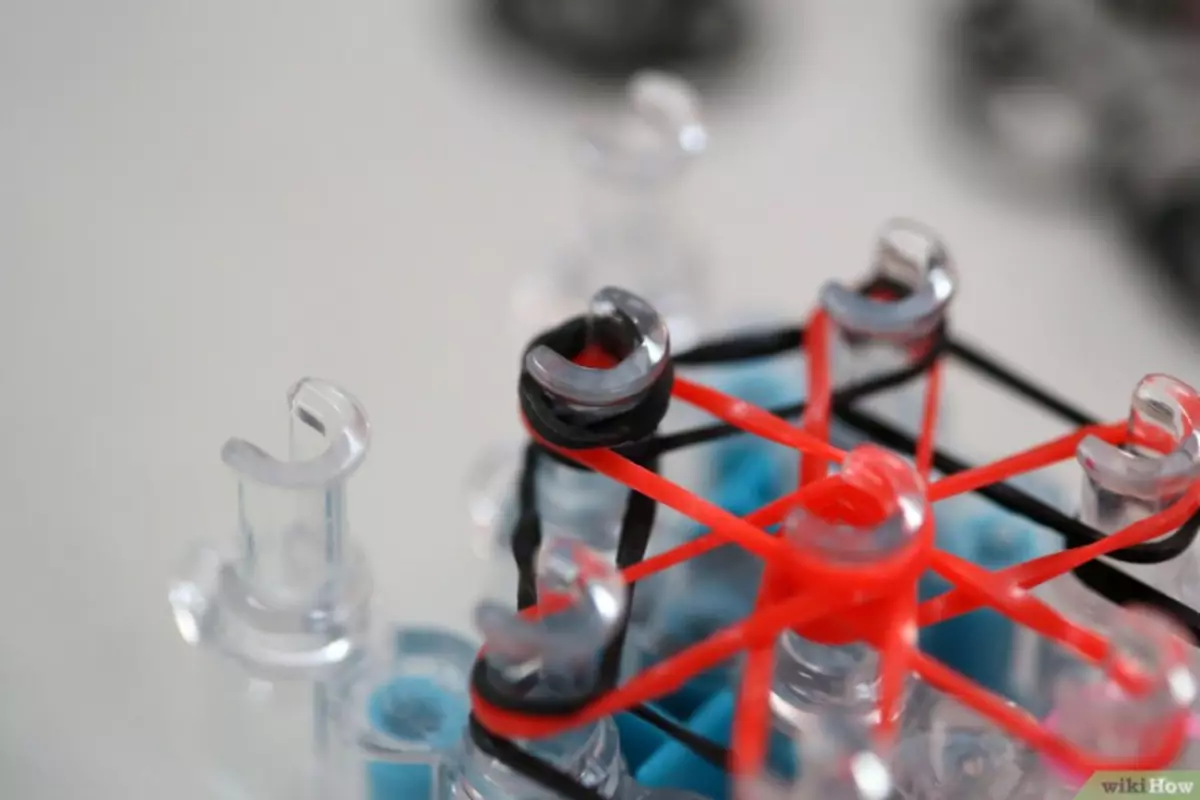
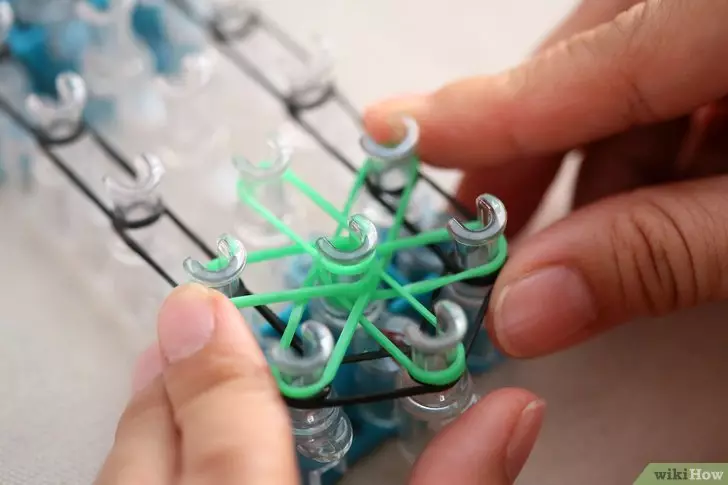
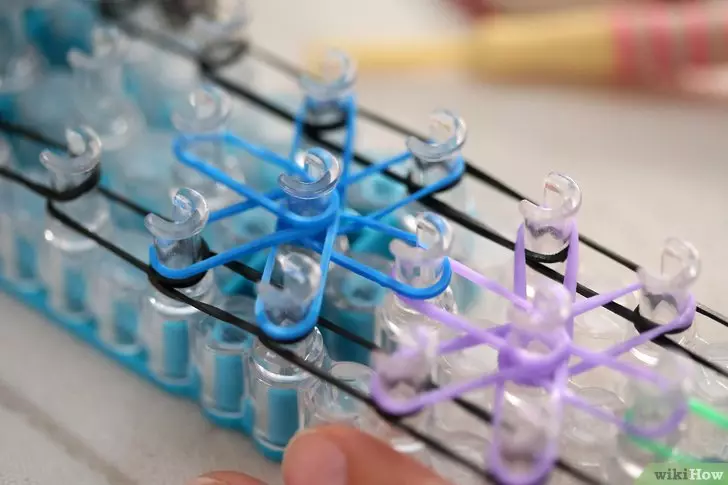
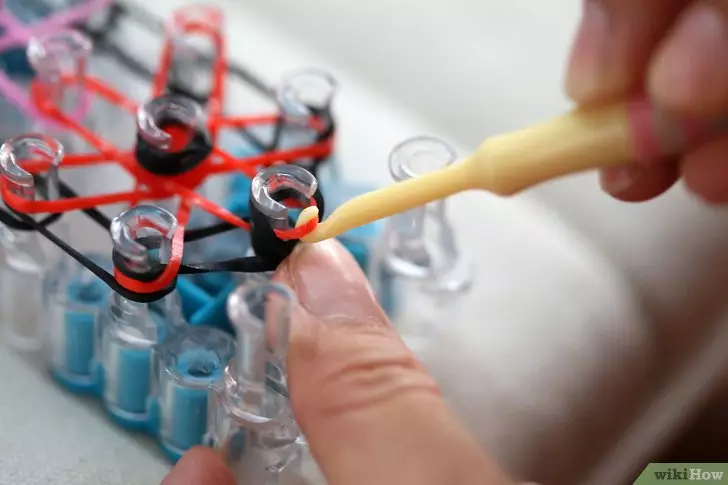
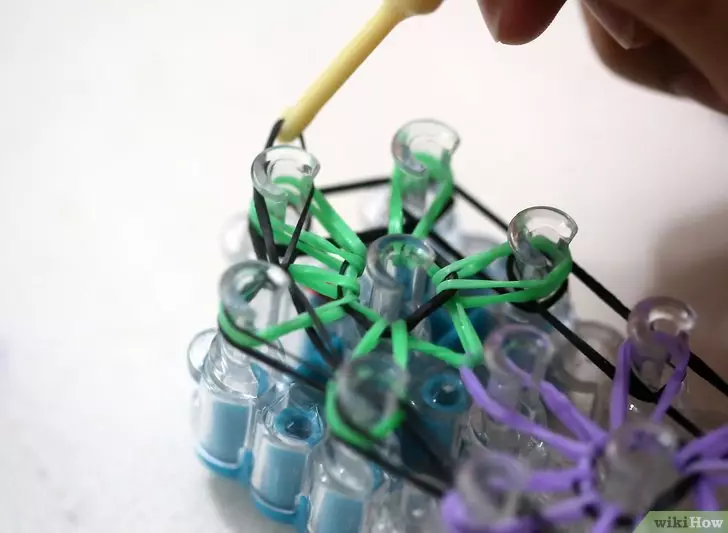
We make the first star. Color for her choose a bright, contrasting to the main color.
We connect the elastic second and first central row column. Then we combine the next elastic band of the central row and the first column of the first row. And so we put in a circle of 5 rubber bands, forming the stars clockwise rays.
All gum drop down the column.
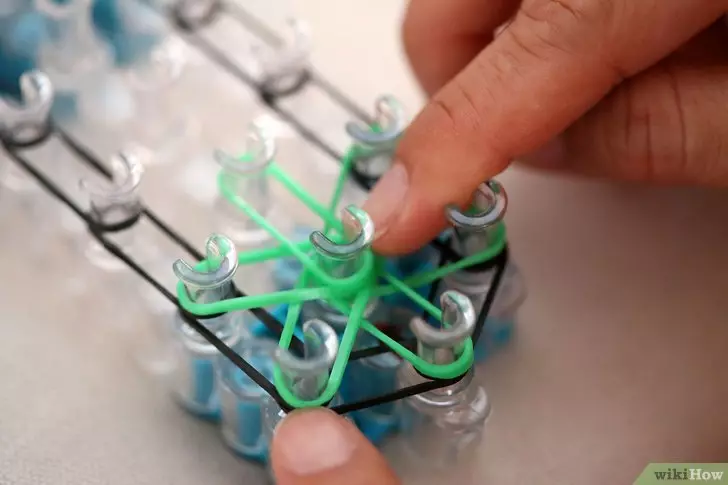
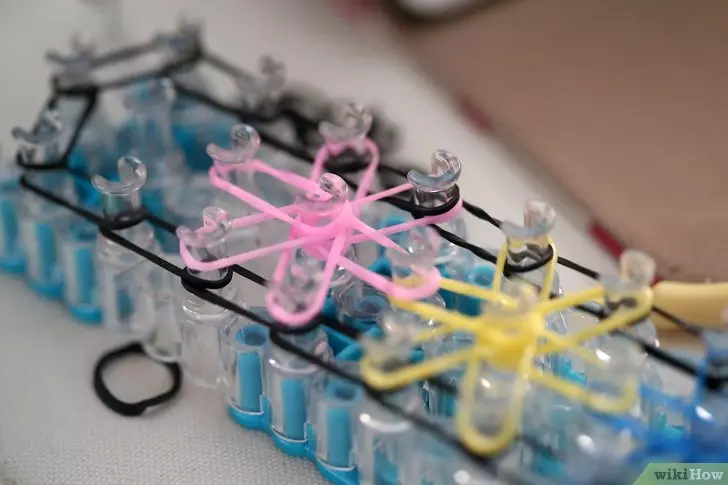
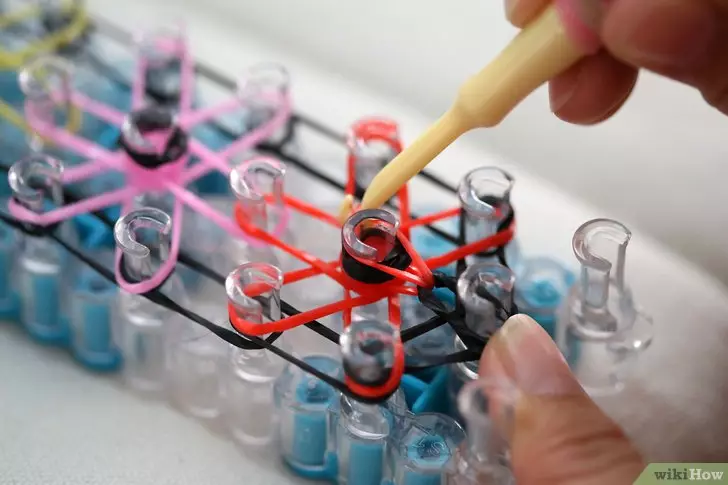
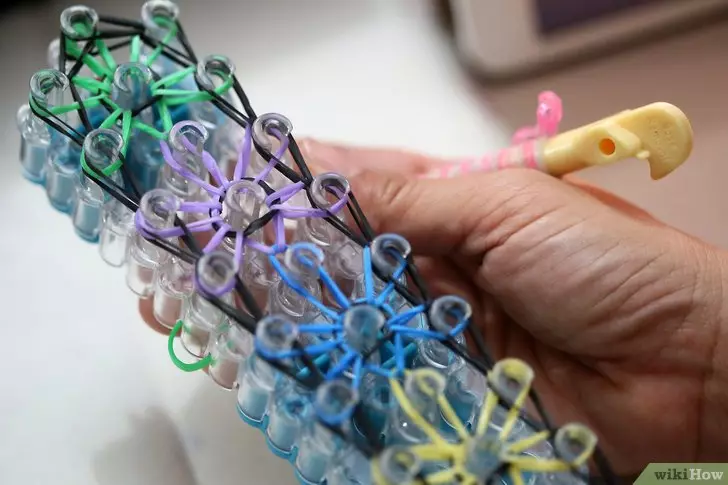
For the next star, choose a new color and put on the gum in the figure below:
Every time you need to lower the gum to the bottom of the column.
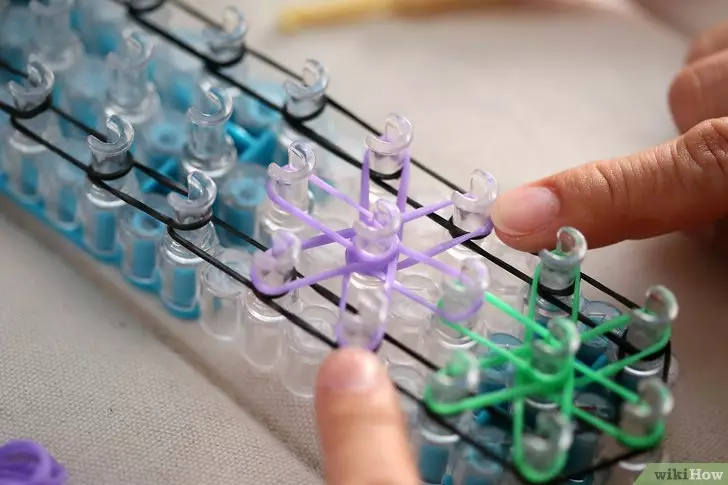
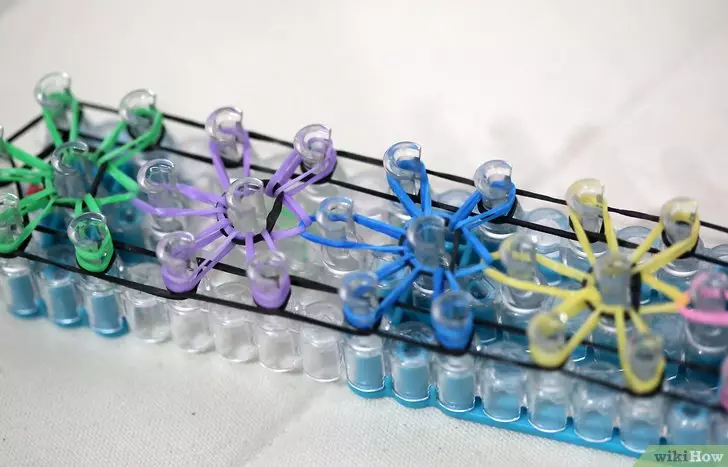
So continue to form stars to the end of the machine.
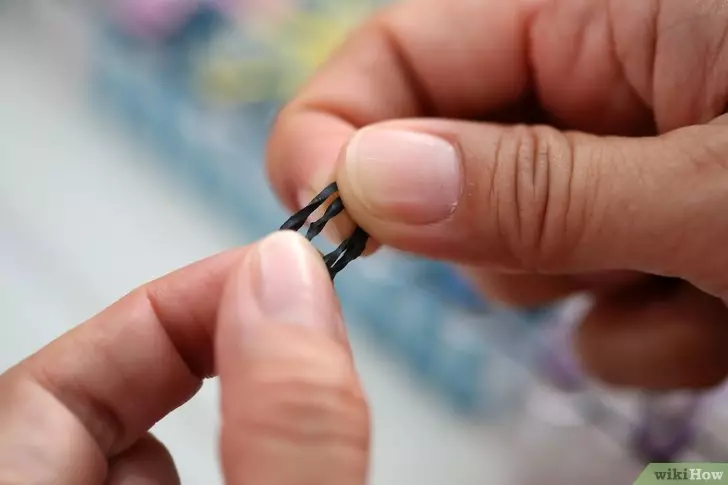
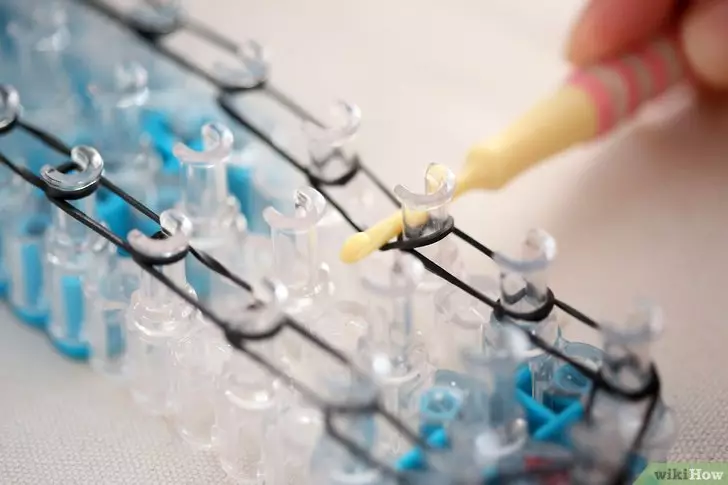
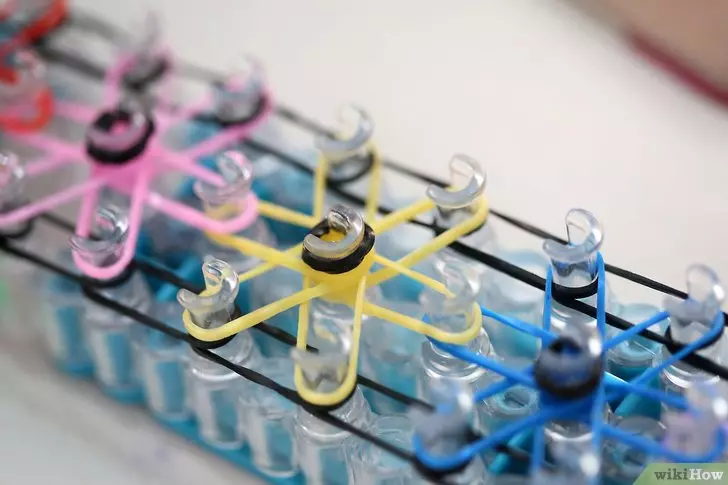
We fold a halve of the main color and put on the extreme column of the central row. We dress such rubber bands on the central column of each star to the end of the row.
Article on the topic: Smile Knitted Crochet Snowman

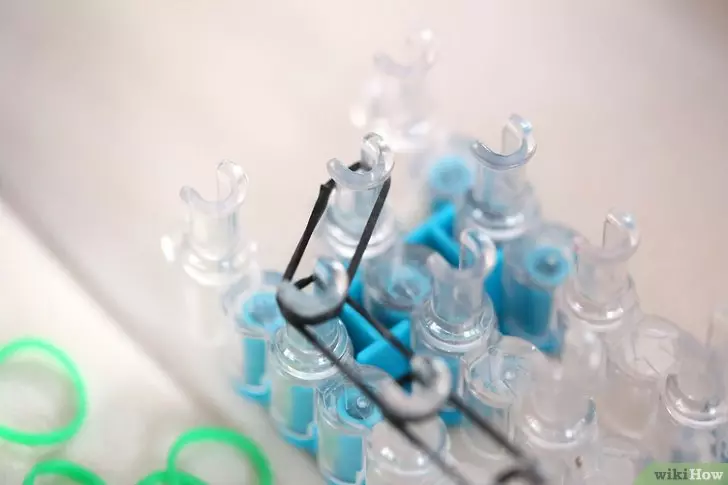
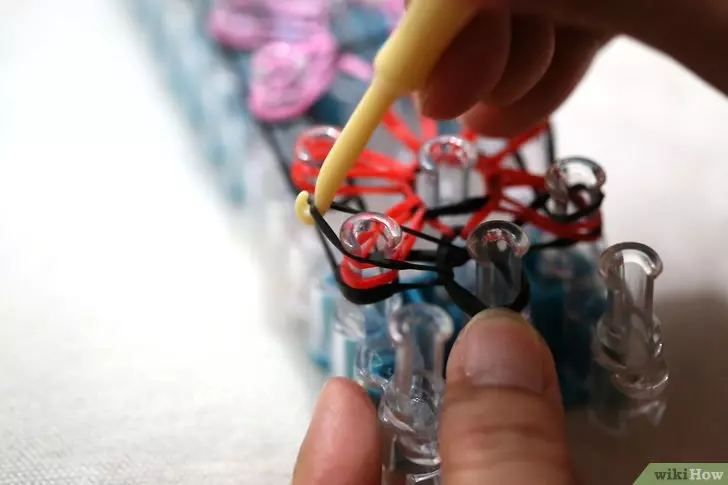
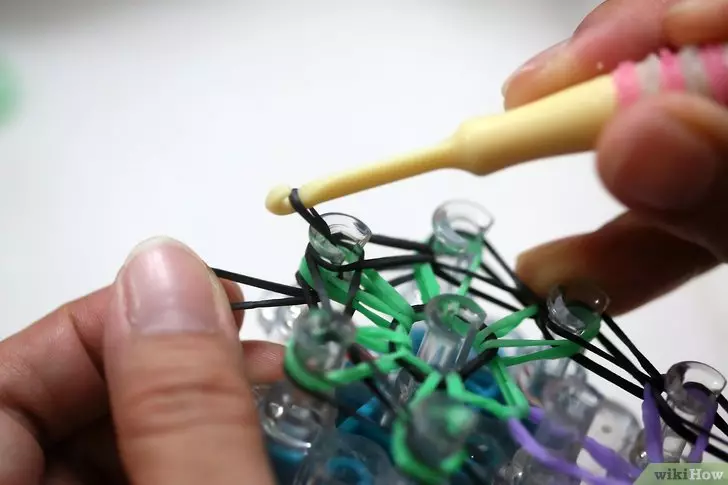
We start gossiping gum into the bracelet. Rotate the machine need the arrows to be directed towards themselves.
The crochet is pouching the first with the bottom of the 1st star loop from the 1st Stage of the middle row, we put on the central column of our star. We do everything slowly and gently so that the neighboring loops do not jump.
Now from the central column of each sprocket, counterclockwise, with a crochet 2 part of the gum and put on the column on which it starts. Move the gum must be carefully. We do the same with the rest of the stars.
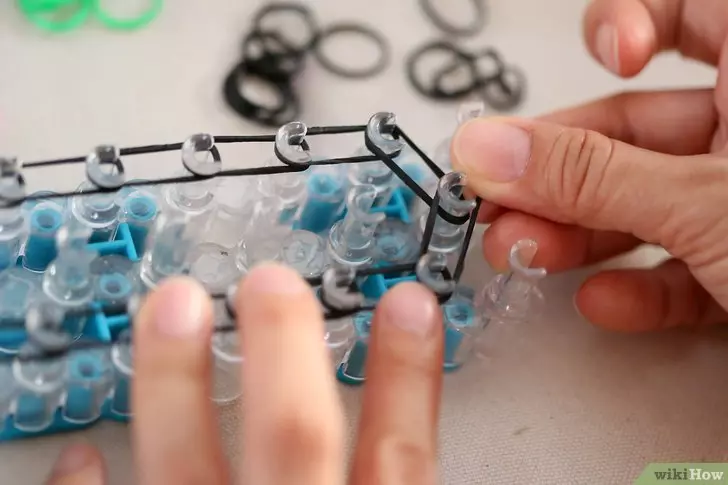
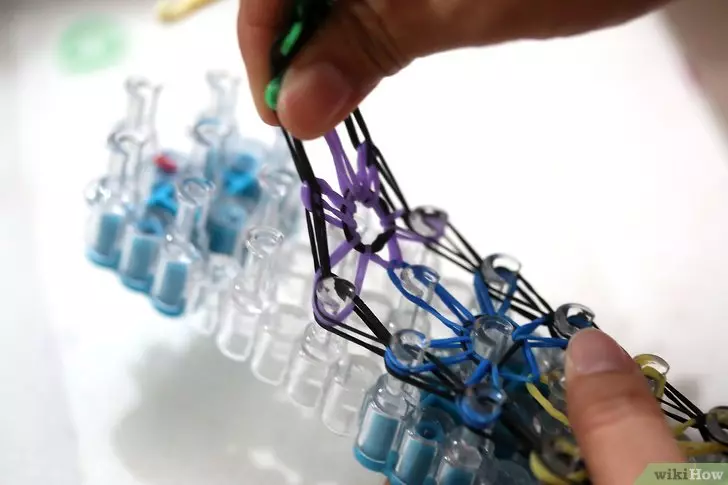
We are gossiping the extreme row from the 1st column of the 2nd row.
Crochet pick up one end of the lower gum itself, carefully remove and wear on the column, on which the second end of this gum is located. Stand on the engagement of the gum from the last column of the first row to the first column of the second row.
We return to the beginning and do also on the other hand.
We produce a hook through the gum on the last column of the second row, engage with a new gum and pull it through all the gum, the loove with a hook.
Now hold for a hook with a loop, remove the entire bracelet from the columns.
We engage on extreme loops the fastener, withdraw the hook. Bracelet ready!

It is very simple and accessible to anyone who wants to engage in this interesting view of a needlework, in which there will probably have a mass of not invented jewelry. And this means that there is where to apply your creative imagination.
Tips for convenience:
- When weaving on the fingers urgently need to interrupt? Rubber can be transferred to two pencils or a dining plug.
- If the fastener is not cooked, you can use one rubber, having knitting both ends of the bracelet.