
Markise for the car do it yourself
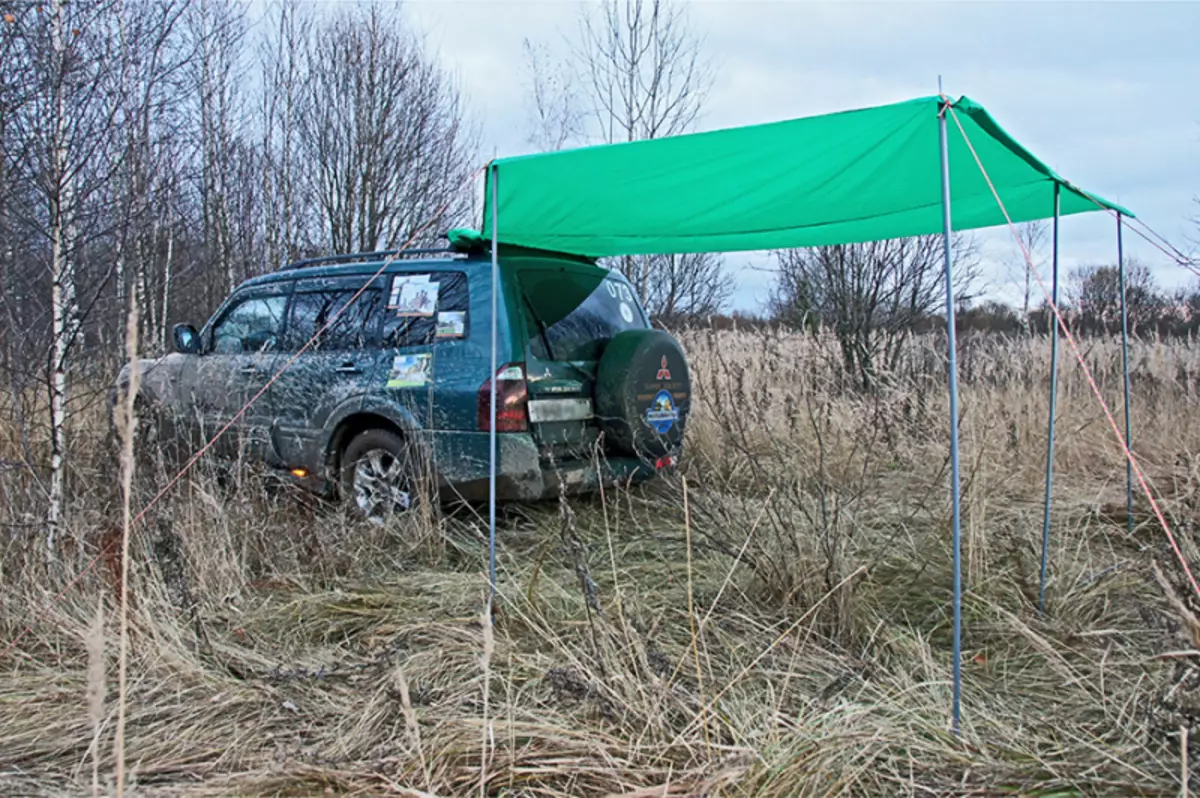
This is very useful in the auto-designers, if you buy it ready, it is not noone else (from 10,000 rubles for modest tentik 2x2 meters). We thought and developed the concept of automotive marquis with dimensions of almost 3 meters, under which you can freely place a campaign table and chairs and hide from the sun (or from the rain) during the parking lots.
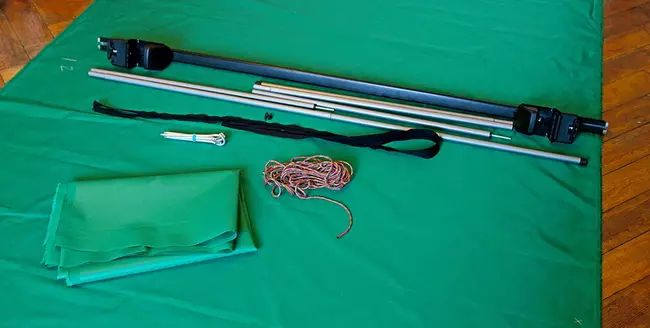
We will need 6 m tissue type rip-stop, which can be bought in tourist equipment stores, folding racks for the awning (we bought 4 racks with a height of 1.9 m, in the height of our car), pegs and rope for stretch marks, dense tissue type Cordore for Cover (we were lucky to find both fabrics of one color), measuring zipper and locks to it, a strip and clasp "Trident". Marquis will be attached to the trunk crossbar, which, in turn, is attached to the roof rails. Our option is stretched over the back door so that you can safely ship in the luggage compartment of things during the rain, but it is possible to fasten along the car's board along the car, in this case you can consider the mount directly to the rail. Consumables, excluding the cost of the trunk, cost 2,500 rubles - Feel the difference.
I cut the fabric into two pieces of 3 m. The length of the luggage crossbar is 140 cm, so one tissue tissue had to be reduced by width to the same 140 cm, and from the second I cut off one angle. The awning will look like this (sizes are shown in cm):
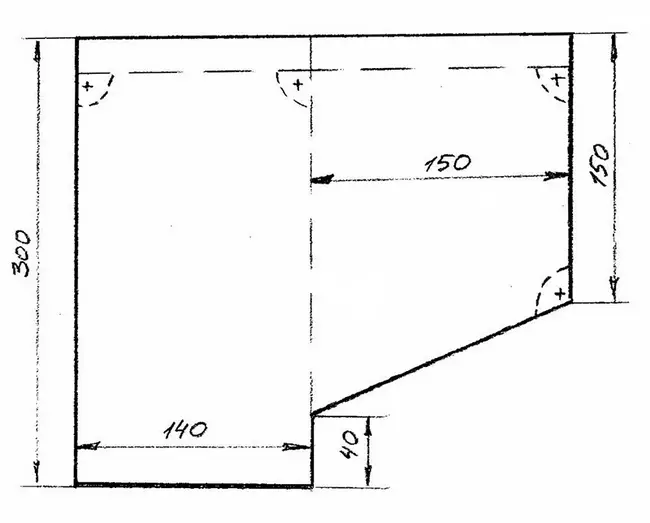
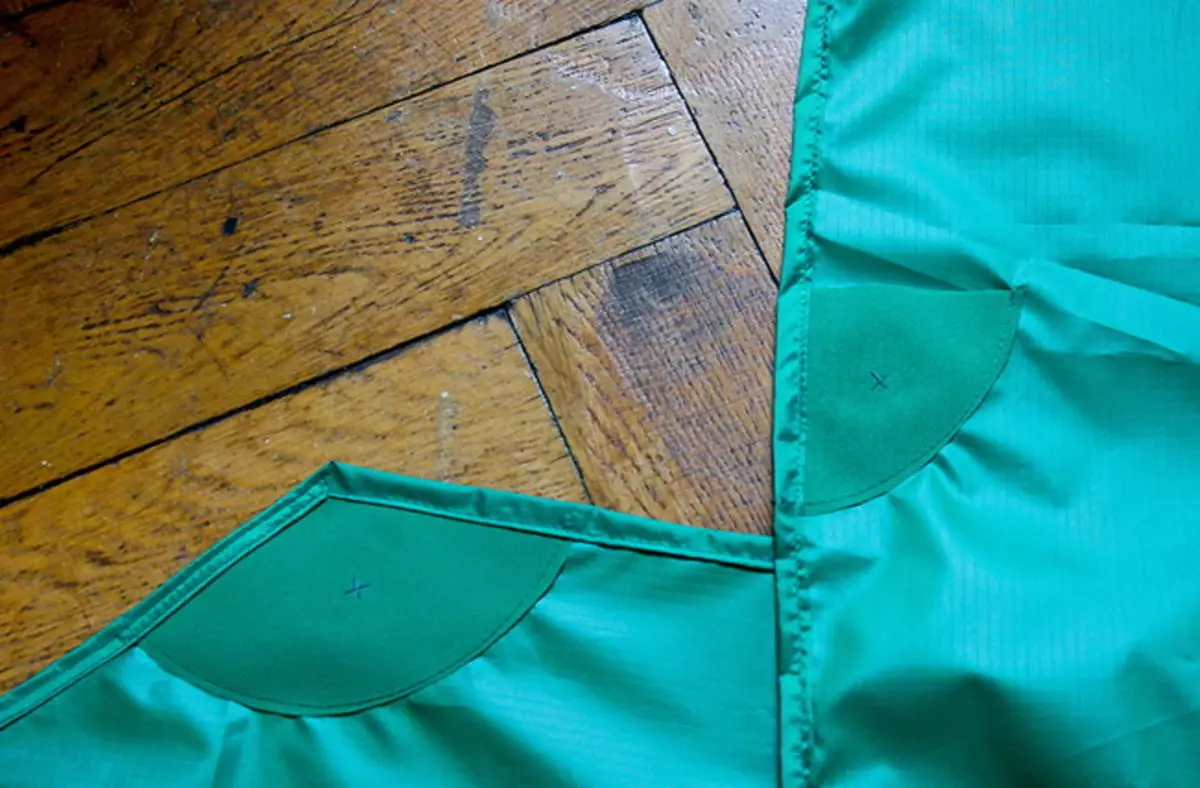
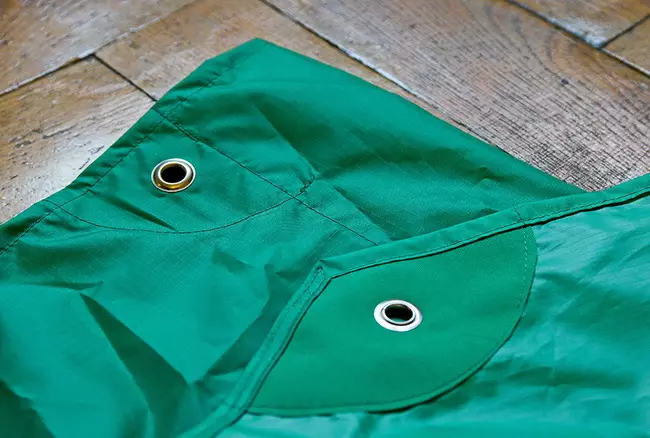
Before crossing the panels, cutting out of dense fabric for the cover of the corners that need to be sewed in the angle of the awning, where the chapens will be for the racks (see drawing). Corners I additionally strengthened with circles from the same fabric:
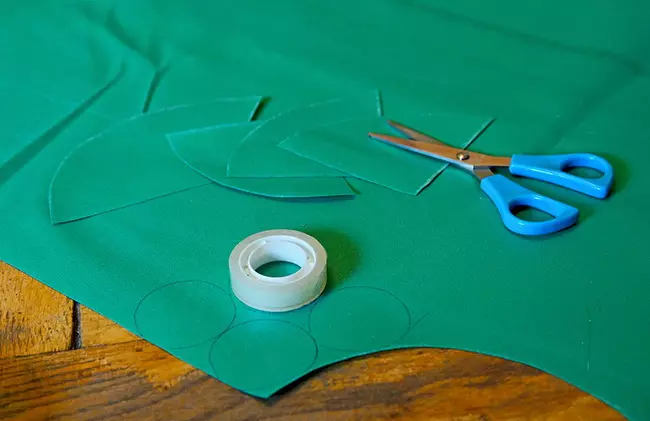
Having cutting the corners, I discover that the sewing machine is already employed:
Article on the topic: Turkish tulle with embroidery - a new way of interior transformation
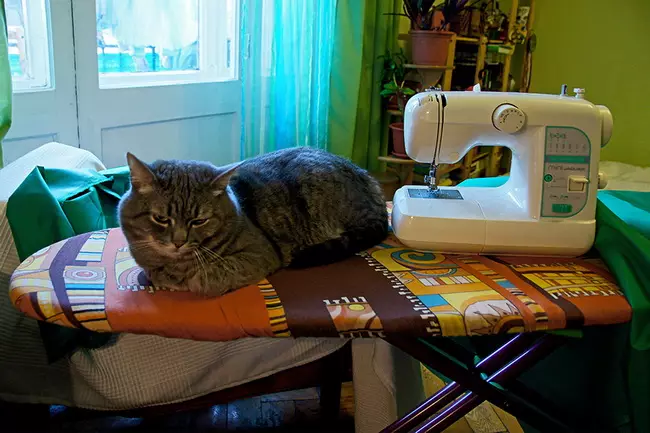
Cat has to set. Seviving corners:
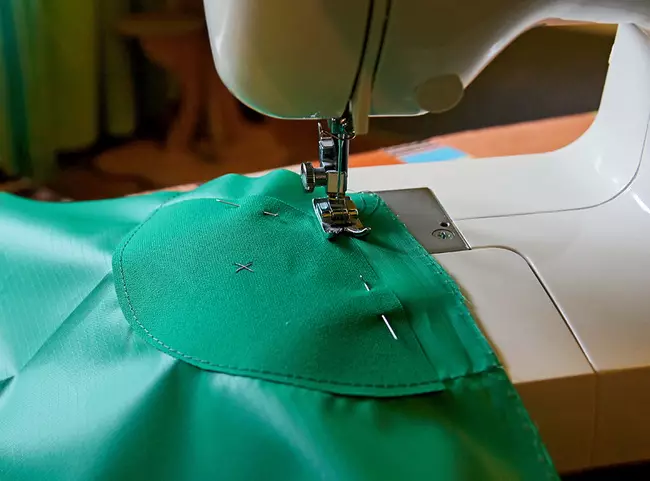
I provided a pocket to the edge of the edge of the edge of the edge of the edge of the edge of the edge of the edge of the edge of the edge (see drawing), so the corners do not sew on the edge, but taking into account the width of the pocket:
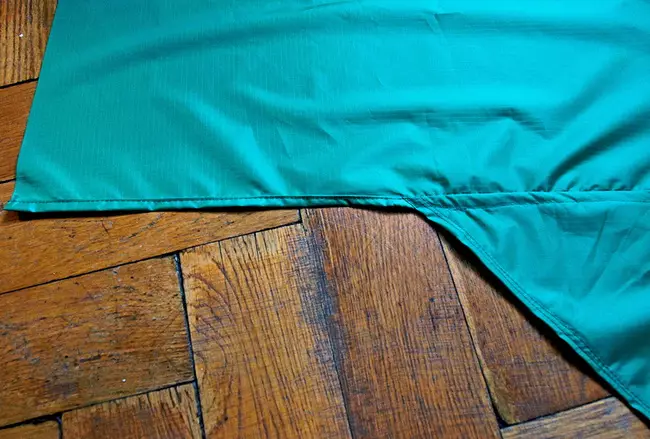
Now she stitches two panels, flashing the breakdown of the connection:
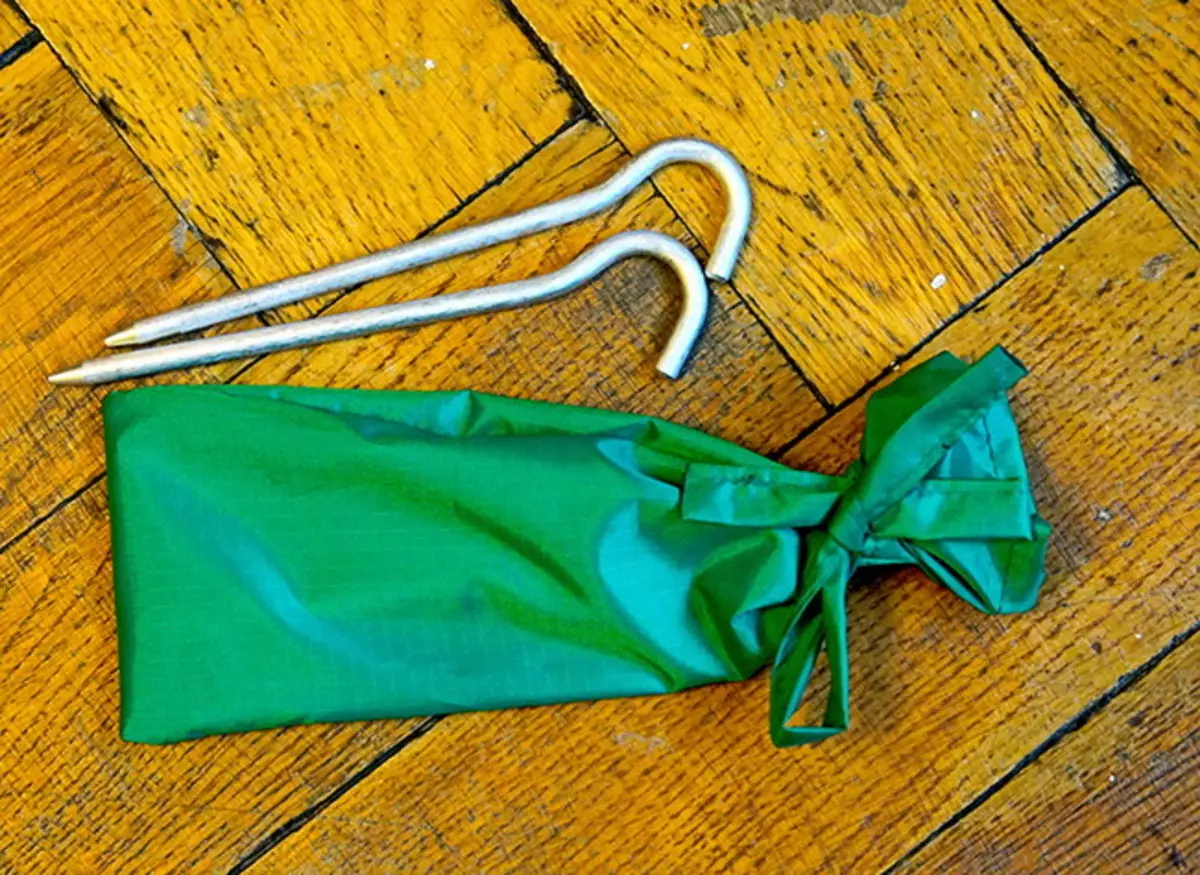
From the remains of the fabric I make a bag for pegs:
Delivered awning in the workshop and put the chalks:
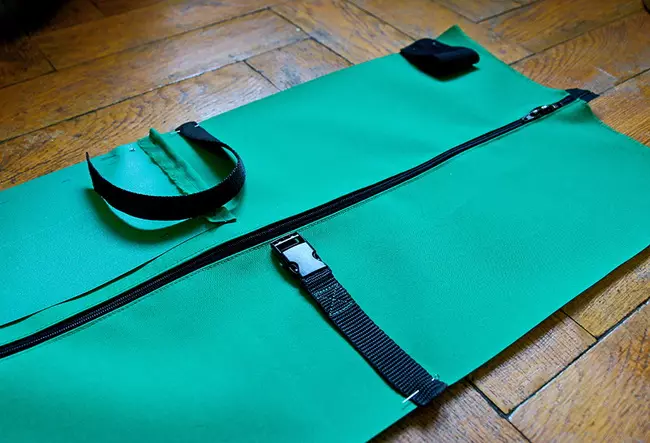
Now we need to sew a case. The length of it is 140 cm, and I determined the width, turning the awning along with the racks into the roll and measuring his girth (gave reserve, of course). Between the two strips of dense tissue, we sew zipper. It is especially difficult to insert a second castle in a measuring zipper, to meet the first one (my husband helped me, I didn't have to do it):

To one side, we sew a central scene for the luggage crossbar, the side loops for it (made from wide lines) and slings for a cover of the cover assembly with an awning. Response rafrops with sewn "tridents" sewing on the other hand covers:
Now sewn to the cover itself:

The most difficult thing is to enter the donkey cover:
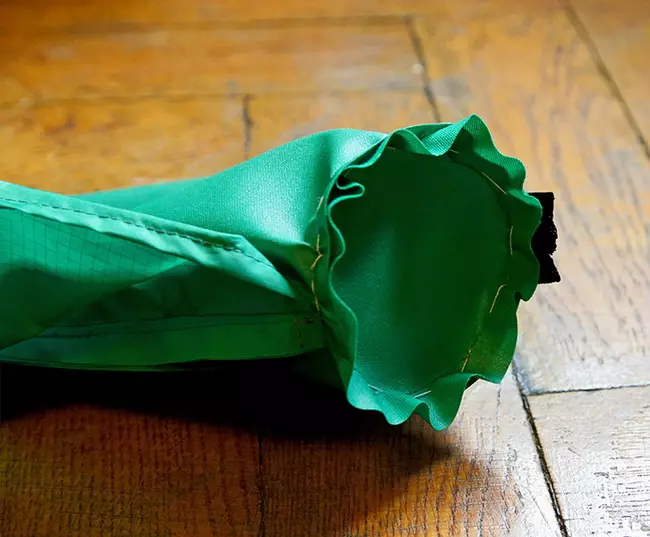
Now you can collect the design. Folding the awning in half, in the pocket, refill the racks:
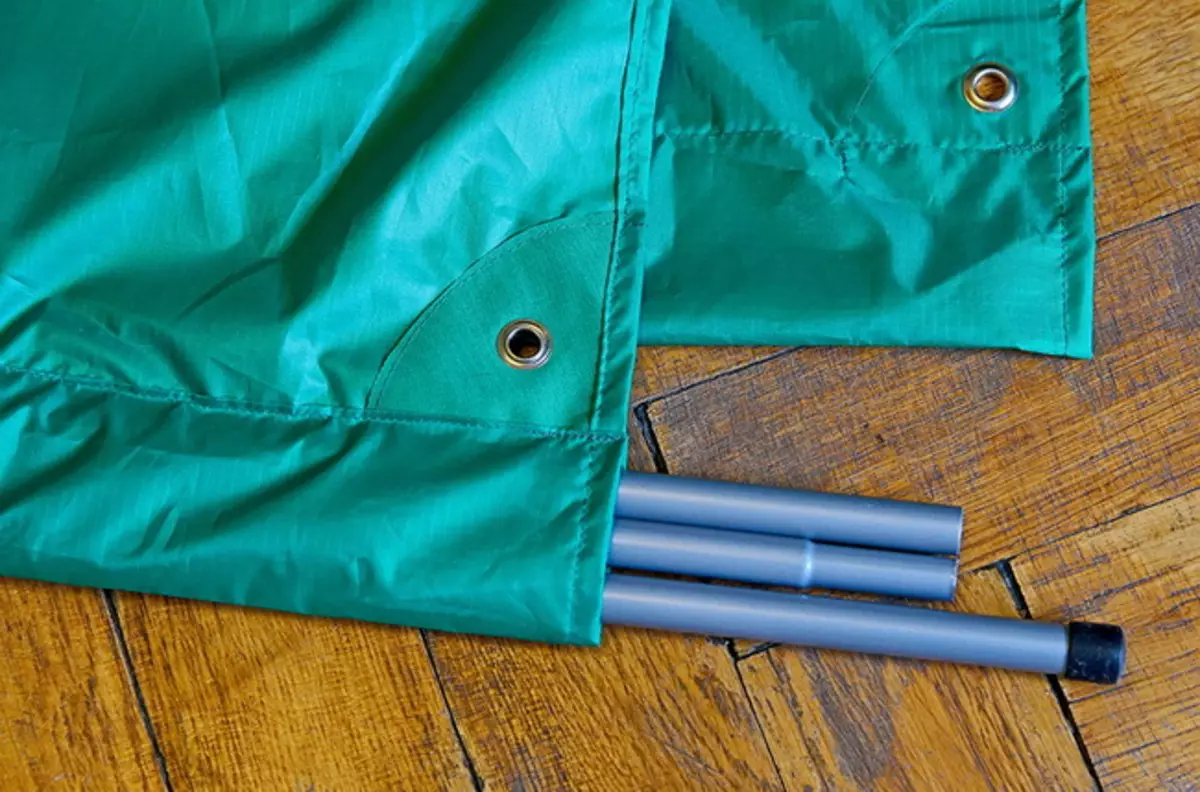
Twist the awning into the roll (on the racks it is much easier to get out than just twist the fabric, my husband came up with the idea with a pocket):
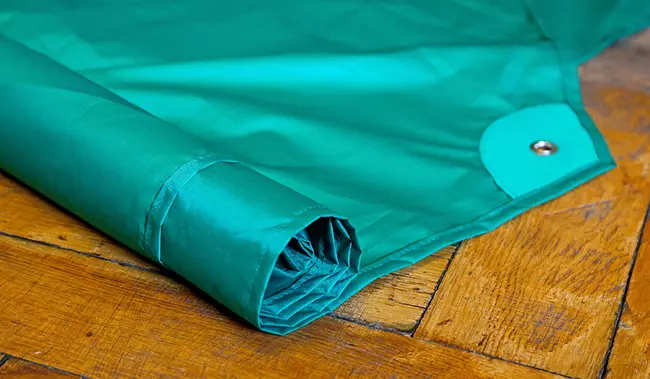
We refuel the roll in the case, we remove the rope for stretch marks and the pouch with the pegs:
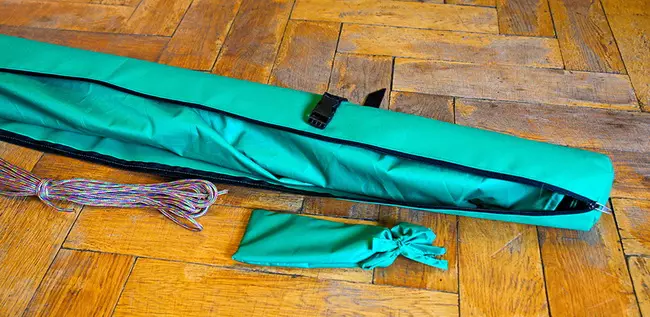
Marquis assembly, cover will go on the trunk crossbar (so far without fixing for rails, they will be located between the central Kuli and side loops of the sling):

Tests of Marquis have been carried out during a three-day off-road departure with our car club on the November holidays. Put awning in the evening. There was a frost at night, so Iave was formed on Tente. View from above:
Article on the topic: Border for Wallpaper Photo: Decorative with your own hands, Paper in the interior, self-adhesive, how to glue a children's for walls, on what glue, video
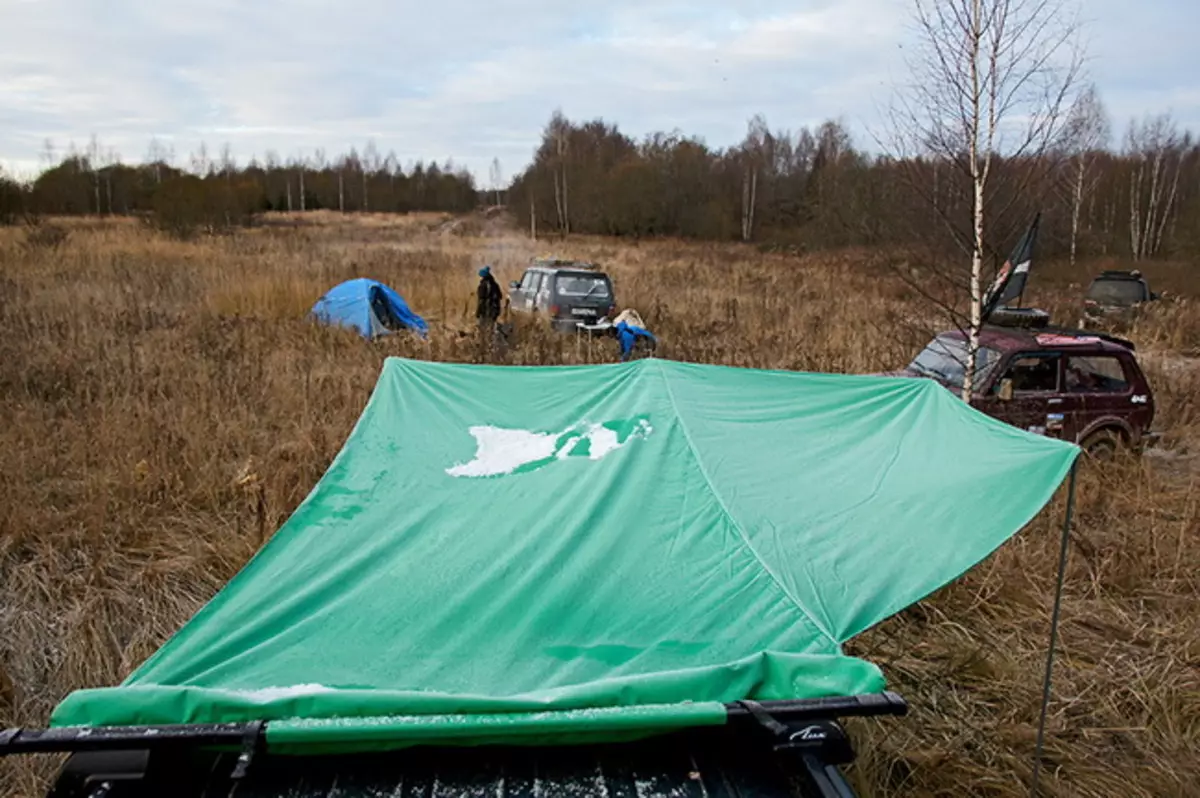
Under the terta, the table and chairs are easily placed, I think you can accommodate up to 4 people:
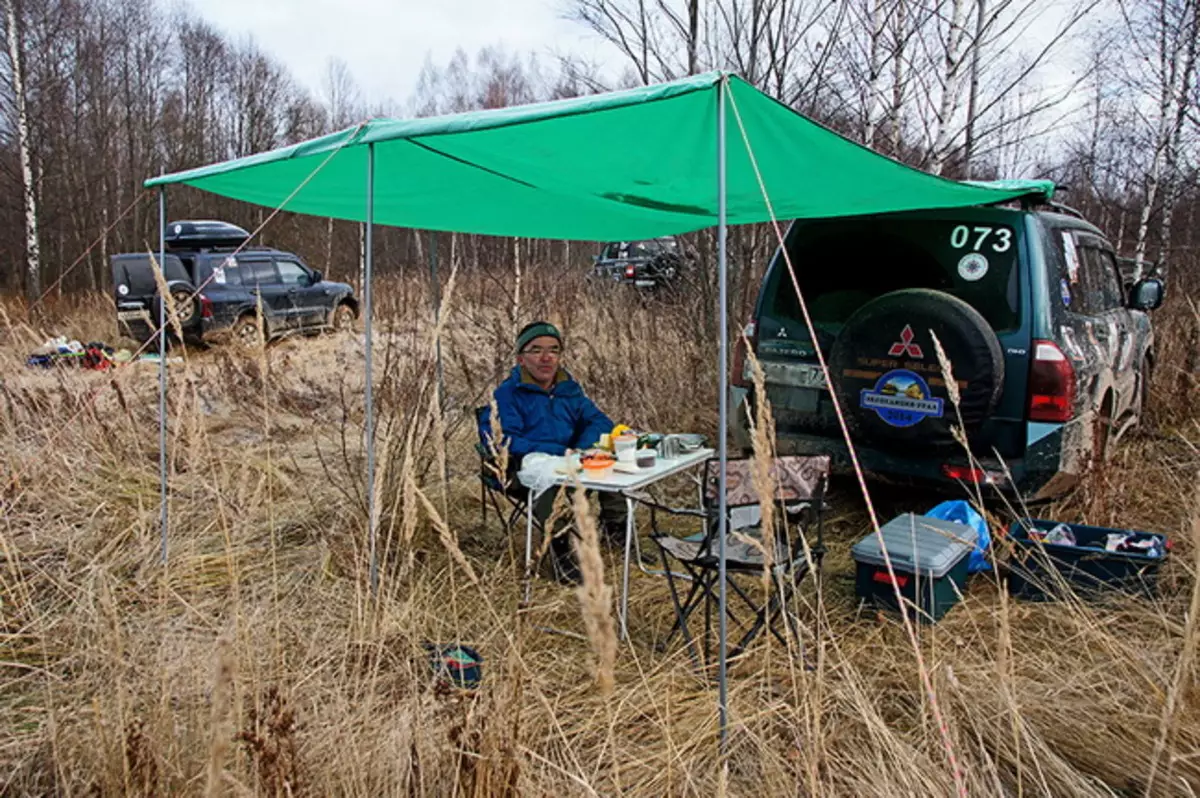
The tests showed that the pegs for the tent are short and weakly hold stretch marks (at night there fell a pair of racks), you need to think about more powerful and long stakes (you have to sew a new bag :). Also, the cloth is not very tightly, during the rain water will be gathered on it. I don't want to put a central rack - it will limit the freedom of placement under the tenet. You can put higher racks at the ends of the main panel, and the side - lower ... in general, I hope this master class will be useful to auto-trailers. Comments and ideas to eliminate deficiencies are welcome :)