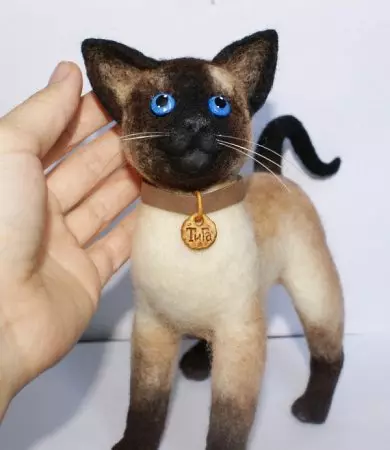
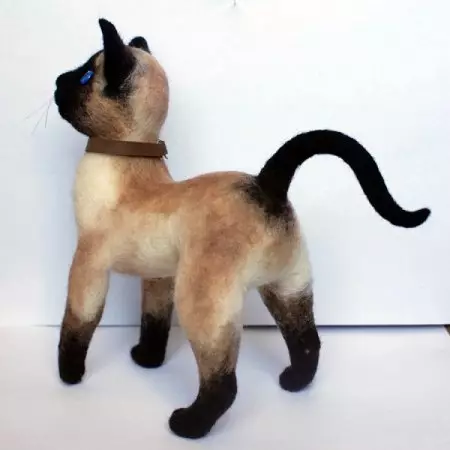
Flawing from wool cats is a very interesting process, and it may be such a very pretty Siamese kitty.

It will take:
- sand, white, chocolate, yellow wool for felting;
- Slier;
- needles for felting number 36, №38;
- Polymer clay;
- Acrylic paints;
- gray pastel;
- Acrylic lacquer.
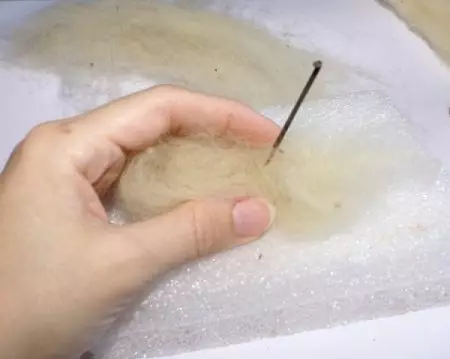
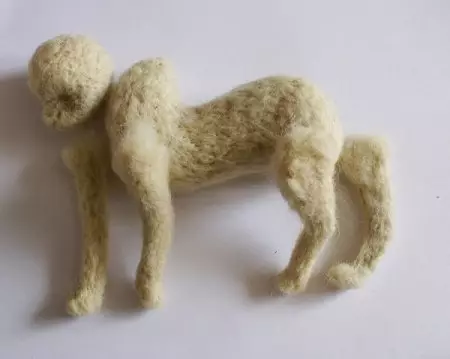
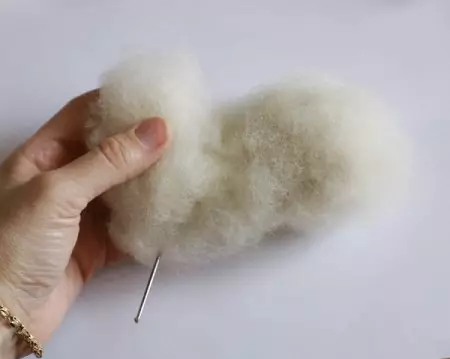
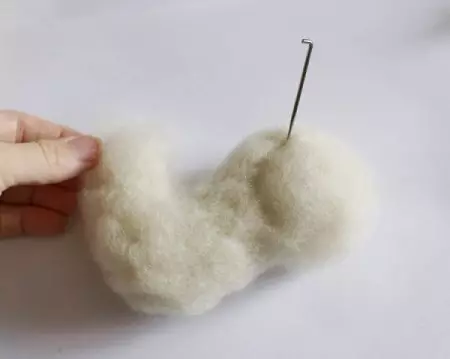
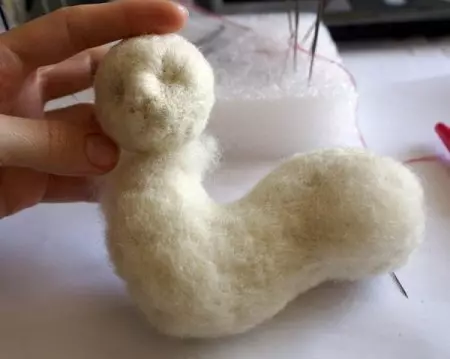
First of all, you need to match the foundation for the body. We take a slurry and gently drag in your hands using the needle number 36. The cat will have an arched back, give the body the wave shape, as shown in the figure.

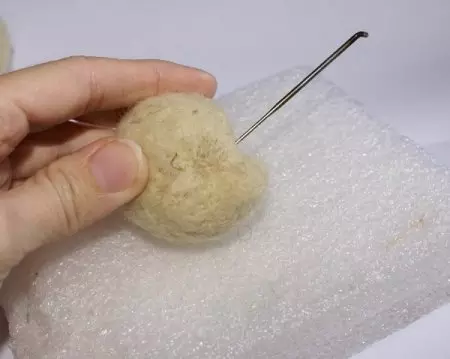
Next, make a head in the shape of a ball from Sliver. In places where there will be eyes, you need to make a deepening.
We will make each leg from the same amount of Sweeter.
Waving on a brush or washcloth. Gently give the legs a narrow form of cylinders.

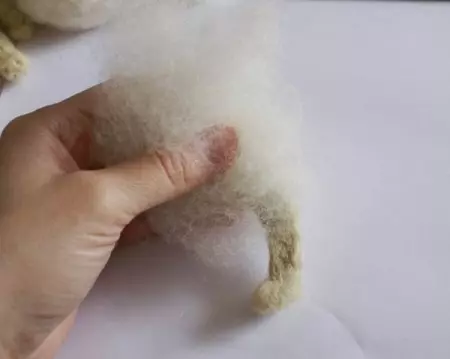
In those places where the legs are bend, you need to stick the needle more often and at the same time press the swarm with the shower on both sides.
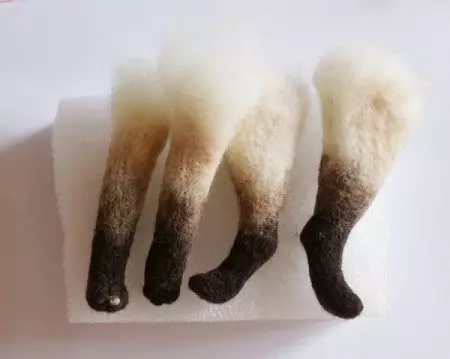
After quilted all four legs, we estimate the proportion. Let's see if there are no short legs and a suitable head of the head.
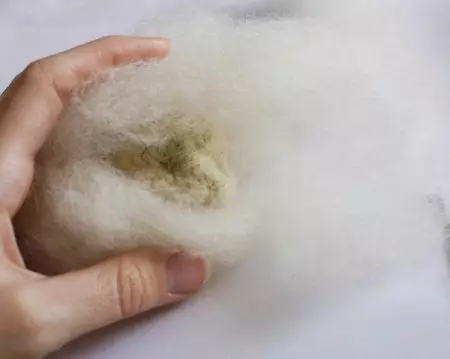
Now we take white cardie wool and start the breaking of the workpiece needle №36.
You should immediately schedule places where the tops of the hind paws will be.
The same cardic wool cut feline legs.
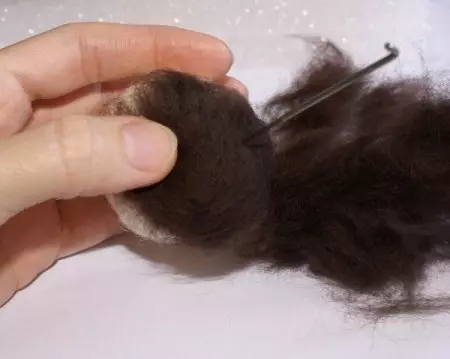
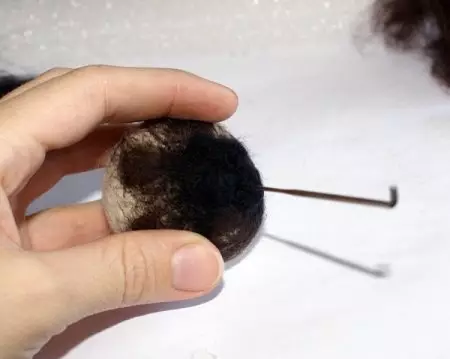
The ends of the paws need to be screwed with brown hair using a needle number 38.
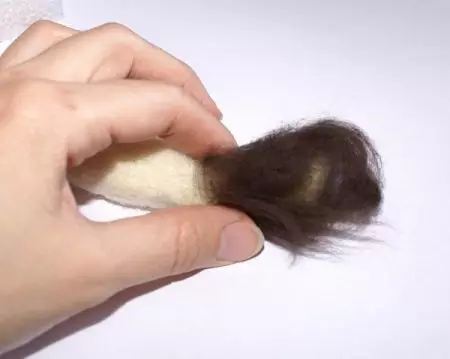
Narques on small pieces of sand wool and a thin layer will make the transition from white to brown. Carefully cut around the whole paw.
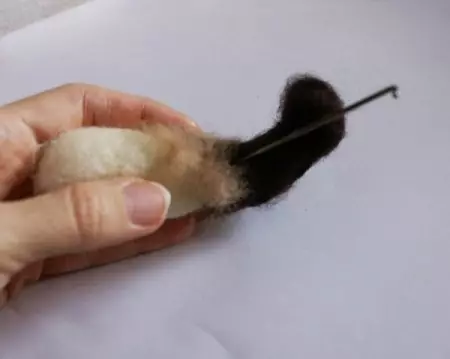
I will sell on the paw those places where the pads are separated, needle №36. Let us give a more accurate form of needle №38.
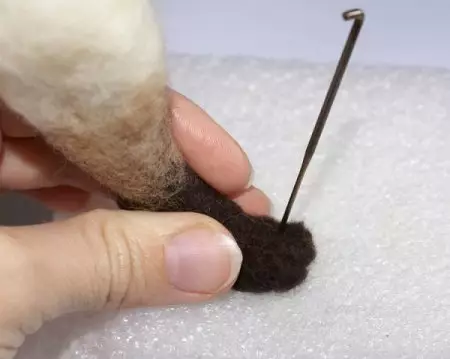
So that the cat firmly stood on the legs, you need to thoroughly respect the place of the feet.

Obfing all the paws, make sure that they are the same length.
Article on the topic: Takes "Hedgehog": video lessons with description and master class
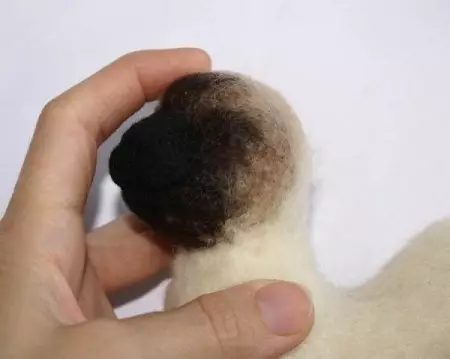
Now we cut the white wool blank for the head. Tightly drag the place where the eyes will be. Needle №36 We have a cat and cat's mouth.
Let the head to the body of the kitty. Too long neck must be shortened, and if it is short - add volume.
We cut the face of brown wool. Places of balloons, nose and lower lips make more voluminous.
We form cheeks, nose and lower lip of black wool and carefully welcome using the needle number 38.
We take a head to the neck needle №36. We disguise the places of joints of white wool and needle №38.
We collect a cat. Attach the paw to the torso needles to check the paw mounting levels.
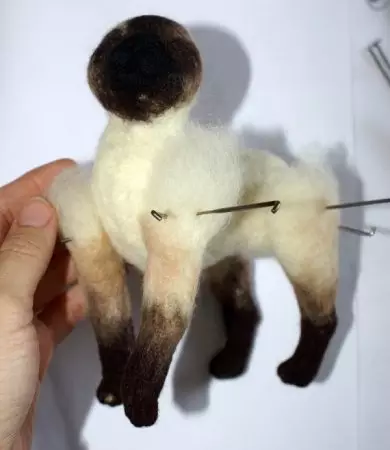
Now in turn, we spoke the paws to the body of the needle №36. Watch that the cat keeps steadily.
Needle №38 We treat the surface of the figure.
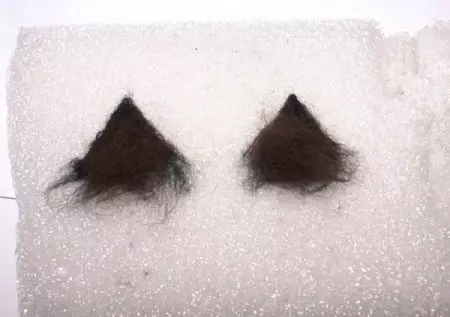
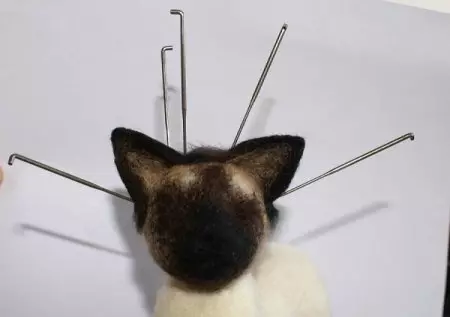
I form from black wool ears. Carefully welcome.
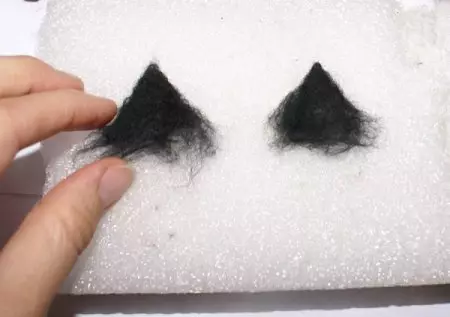
We take a few brown wool to the center of the ears.
We control the edge of the needle №38.
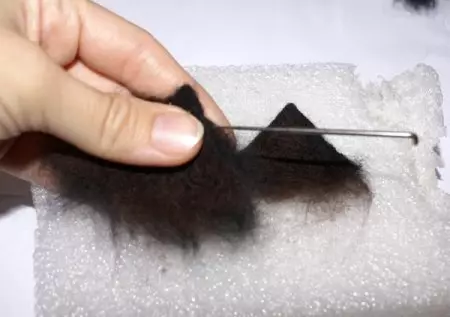
We welcome some sand wool.
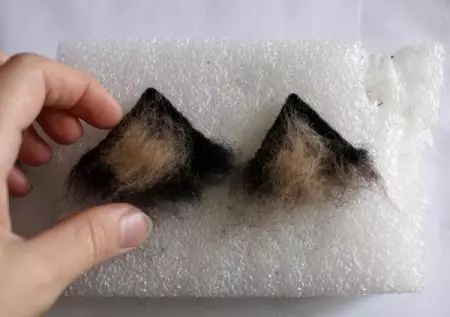
We welcome ears to the head.
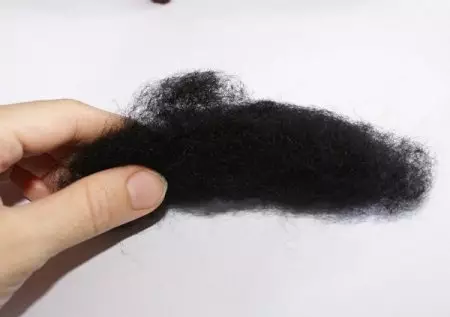
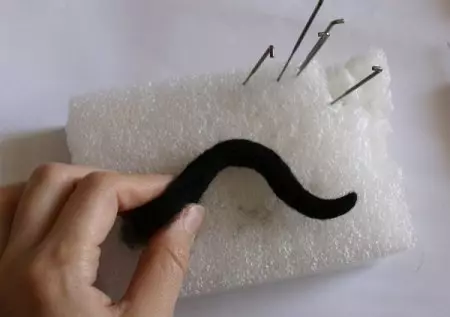
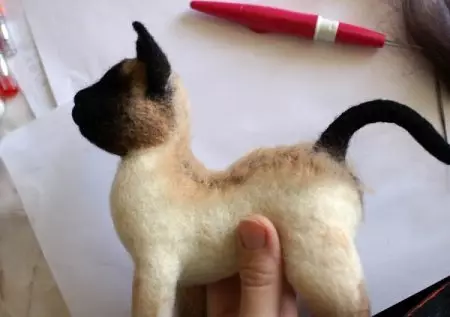
From the black cardoches form and welcome the tail.
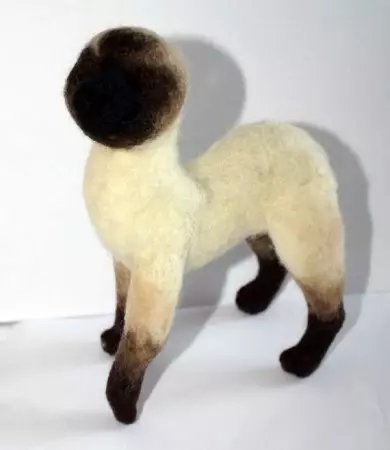
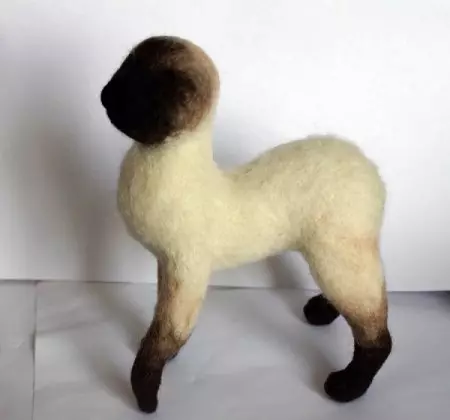
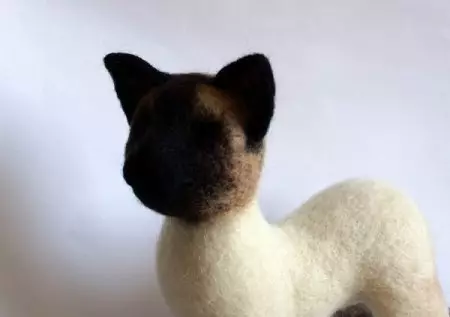
We welcome the tail to the body in the pelvis area, masking the places of junctions. Flawing from wool toys cats are finished, add details.
The back of the cat is a little cutting with sandy wool. From the polymer clay, we will make eyes and incur, from the fishing line will make a mustache. You can make a collar.
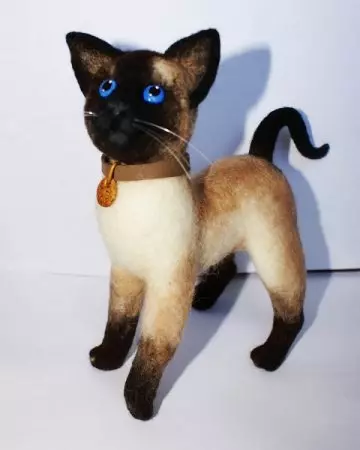

Nose can be lacquered, and broke and lower lip gray pastel.