

A simple cardboard sleeve from paper towels or toilet paper, which we usually simply throw out in the garbage, is an excellent basis for crafts. Numerous master classes are visual proof. With this material, we will replenish our collection of New Year's crafts and the basis for the manufacture of bright and beautiful pendants for the Christmas tree or decoration of the room will be the sleeve.
Materials
To make a snowflake from a cardboard bushing with your own hands, prepare:
- the sleeve itself;
- pencil;
- line;
- scissors;
- The patio and chopstick of hot glue to it;
- dry sequins;
- PVA glue;
- Ribbon or thread.

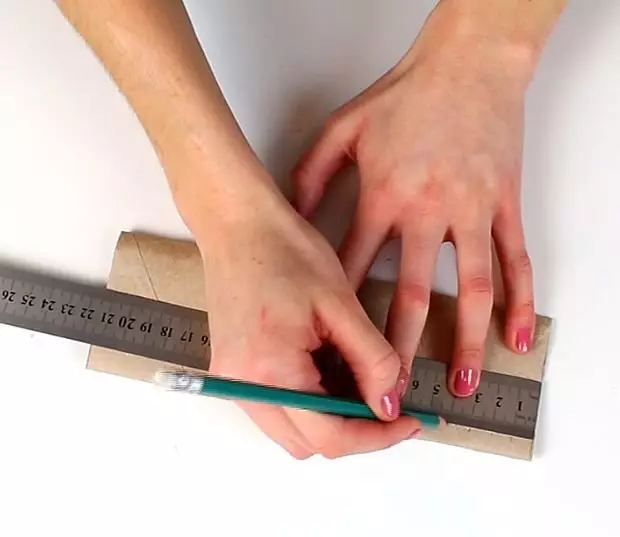
Step 1 . Spleate the cardboard sleeve and use the line and pencil to mark the markup. In the future, the bushing will need to be cut into components and in the width they should be the same, otherwise you will not work with a neat openwork snowflake.
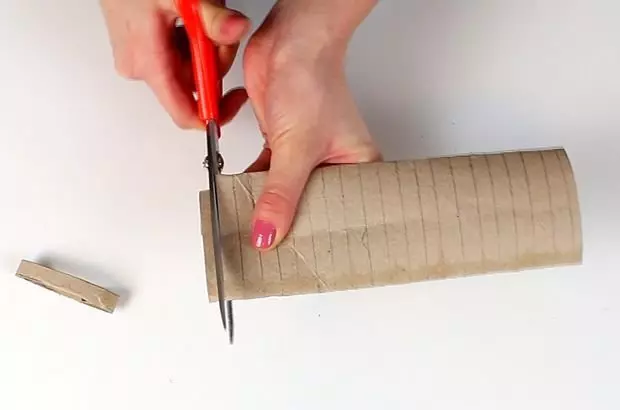
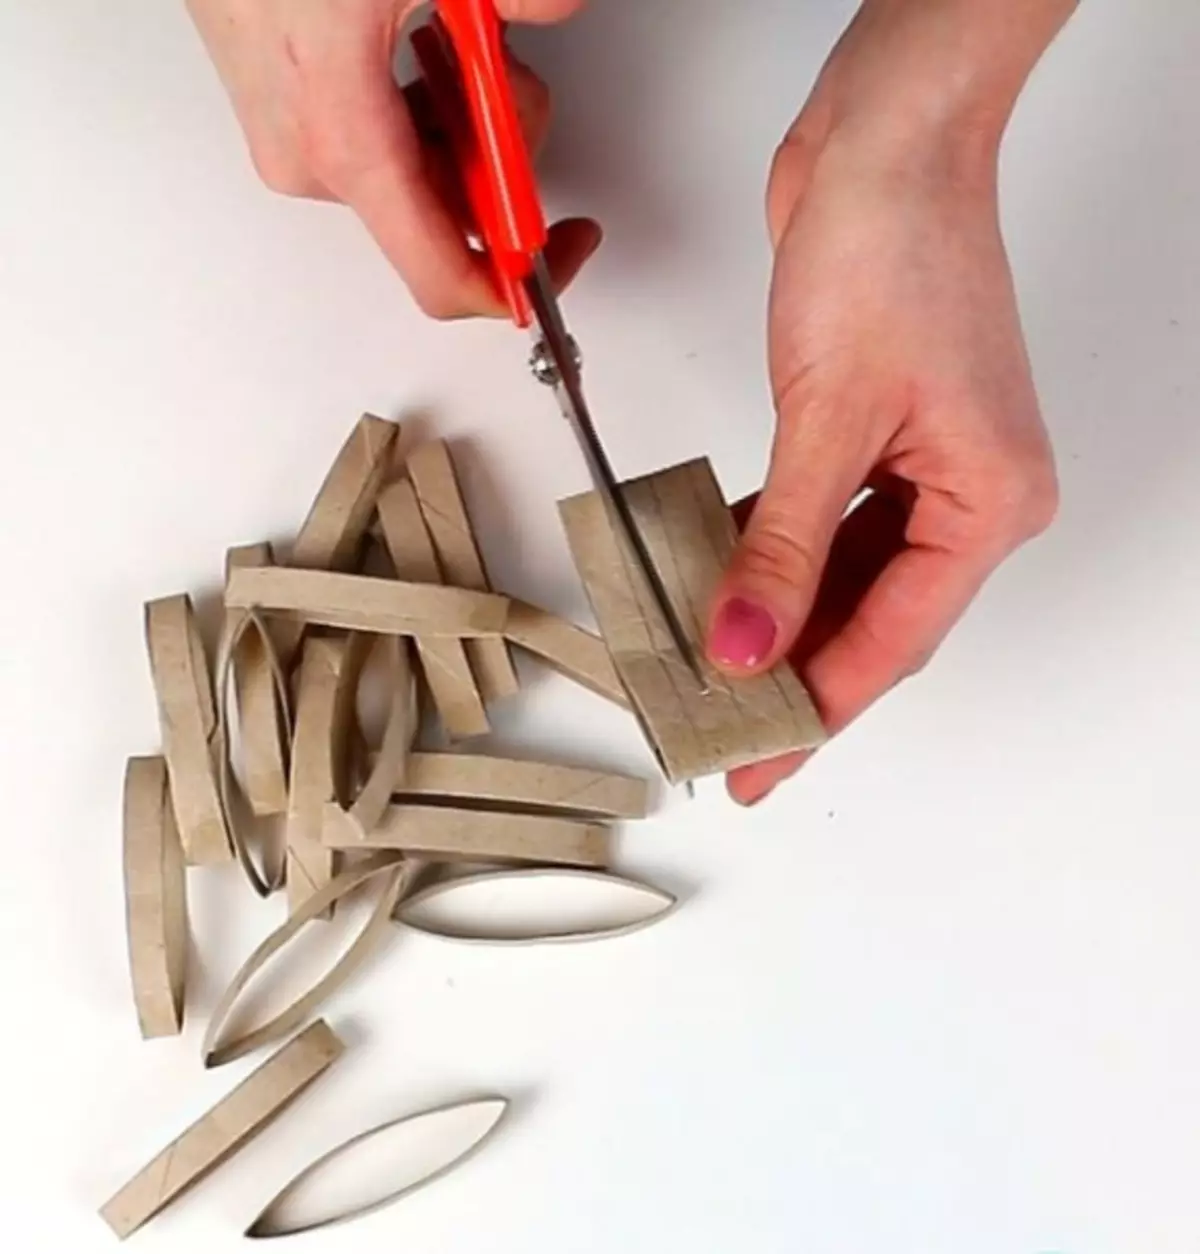
Step 2. . Cut the sleeve on the applied lines.
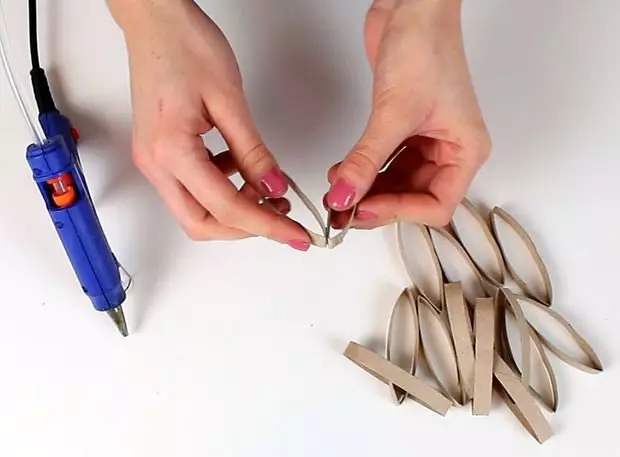
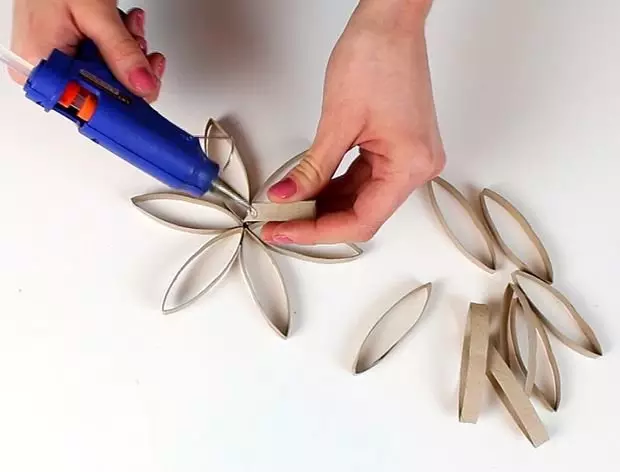
Step 3. . Glue parts of the bush rods using hot glue. First, form a small flower, and then complement it with rays. In order for the pattern to be truly openwork, the parts for the center part flatten only a bit, and the blanks for the rays of the snowflake are stronger, fold in the form of a check mark and additionally go through your fingers on the resulting bends.
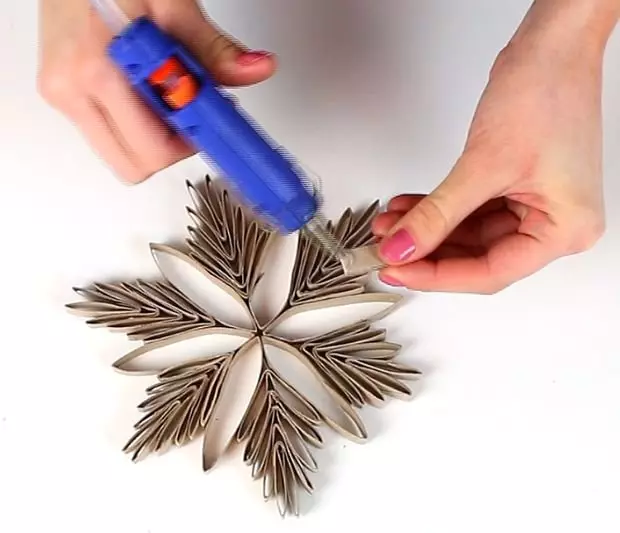
Step 4. . Give the product to dry.
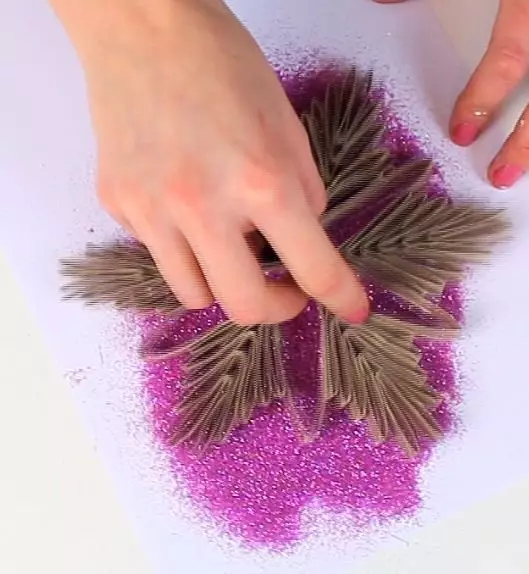
Step 5. . With the help of a brush, apply glue PVA on the cardboard snowflake. Lubricate all visible surfaces.
Step 6. . Pliers spill on your desktop, and while the glue is not drying, lower the snowflake in them. Excess the brilliance of stake and, if there are unfilled places, add sparkles on them manually.
Step 7. . After drying the glue from the ribbon or threads, make a loop so that the snowflake can be hung on the Christmas tree.
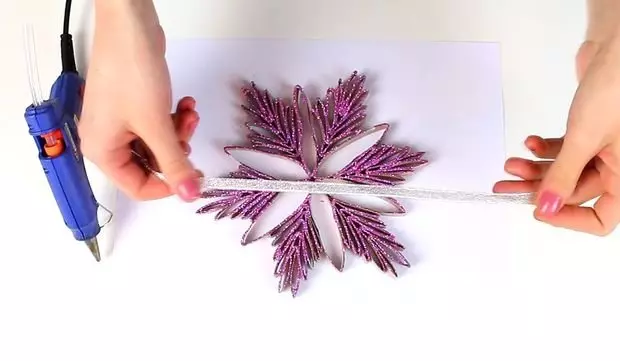
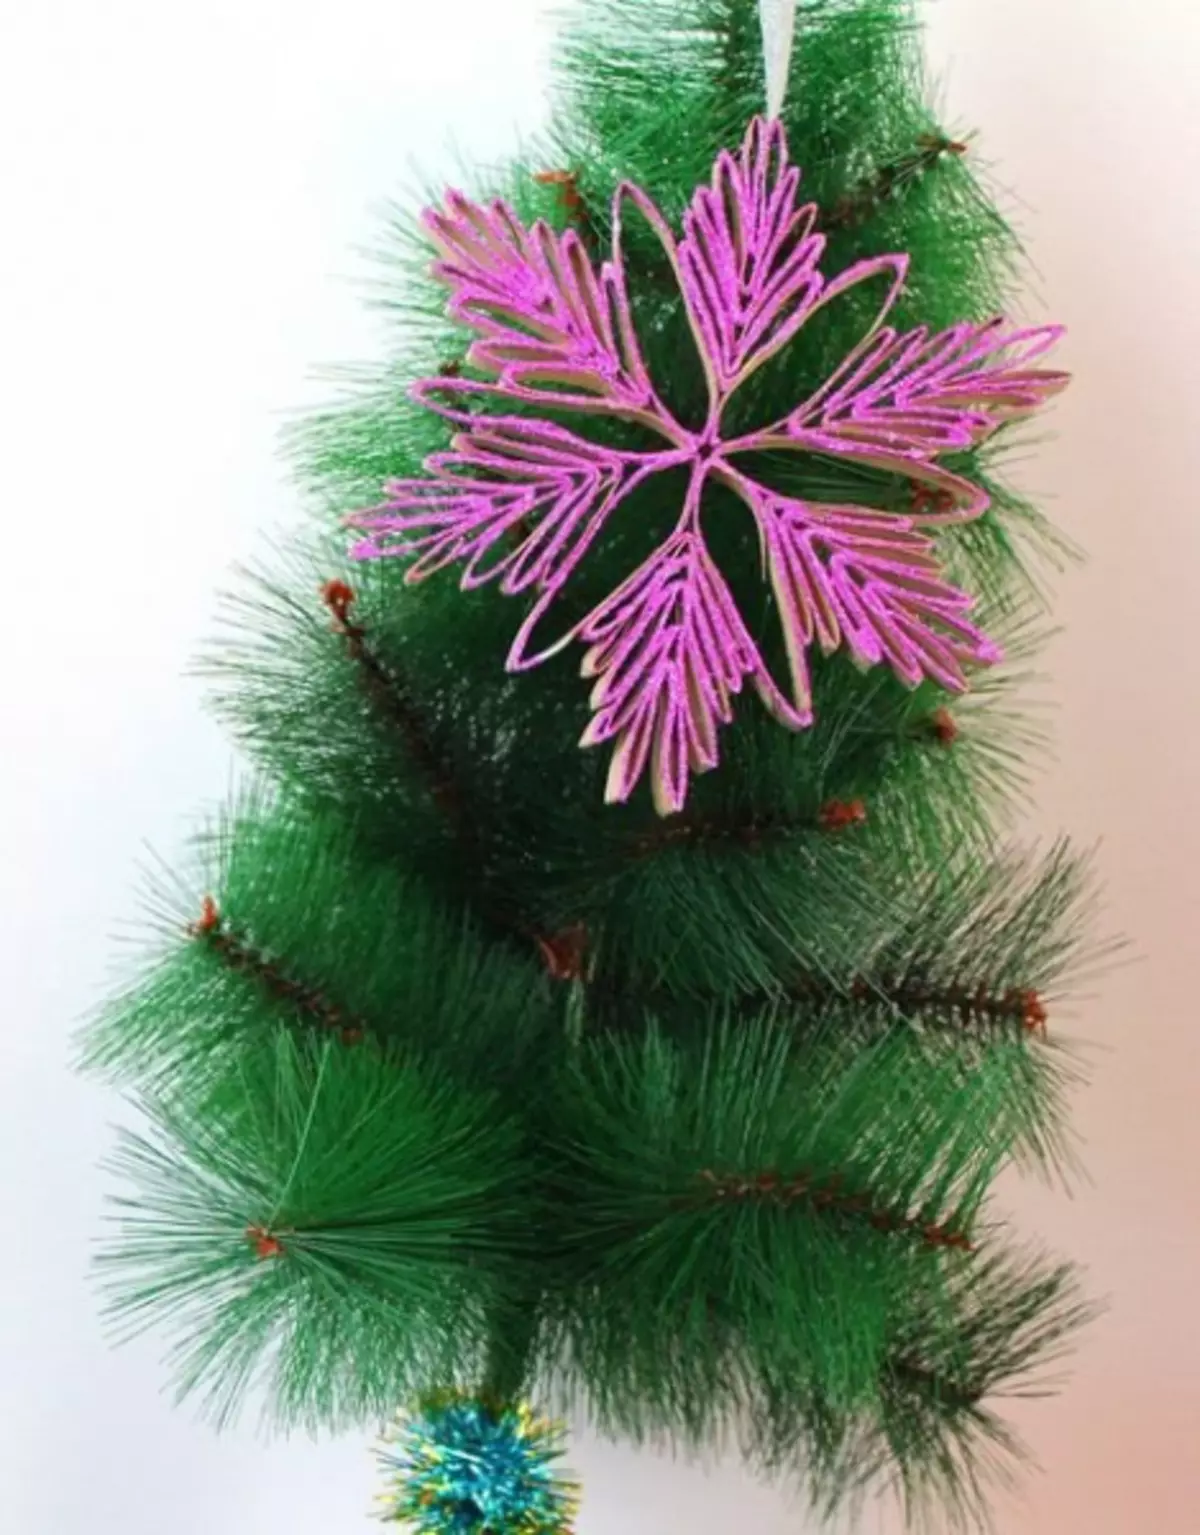
Ready!
Article on the topic: Knitting a beautiful warm skirt knitting needles for women: scheme with description