
Rose is a very beautiful flower that can become a decent decoration of any interior. You can collect rosette on the stem and put in the vase. You can fold one buds and use them as a decorative element. And you can simply please the kids with a beautiful craft. So how to make a rose origami from paper with your own hands?
There are many options for assembling these colors. For example, a scheme in Russian. True, these instructions are not always understood. Master classes better inform information and help to achieve the desired result.
Simple option
Need color bilateral paper A4. We will also need scissors and glue.
On the long side, cut off the strip of 1 cm wide. Break the corner.
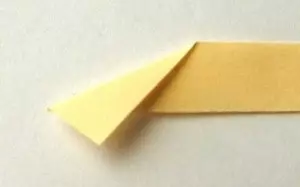
Bare again, so.
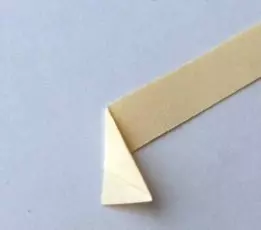
Once again you need to get an angle.
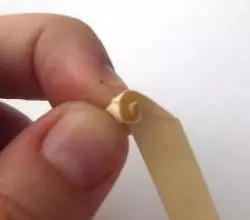
Holding for the end of the strip, make one turnover.
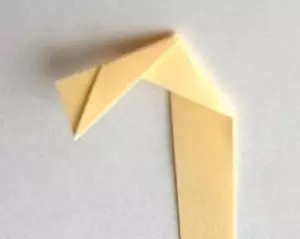
So this way.
Now it is necessary to twist the rosure, all the time making bends, as at the beginning.
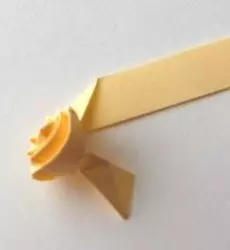
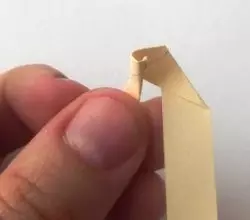
Continue in such a spirit to the end of the strip.
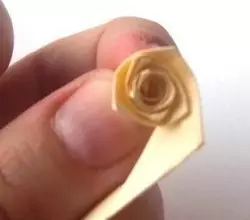
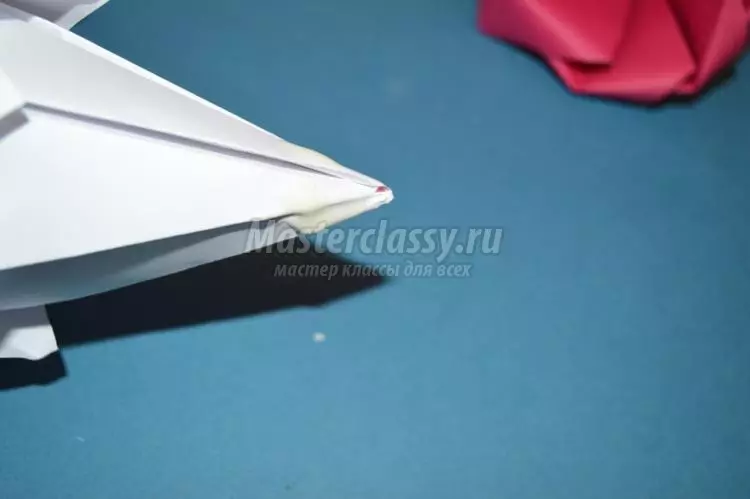
Tip paper glue to flower. Just do it and with the leg, for which the rose was kept during the assembly process.
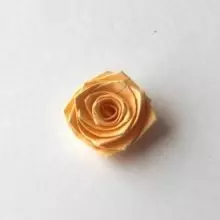
It turns out this beauty:
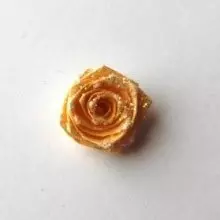
You can make the finished product to cover with varnish or sprinkle with sparkles.
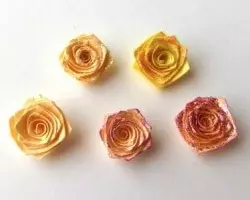
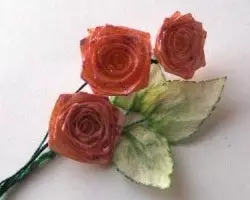
You can still take a wire and wrap green paper. It turns out this is a bouquet of roses.
This model is well suited for beginners and for children.
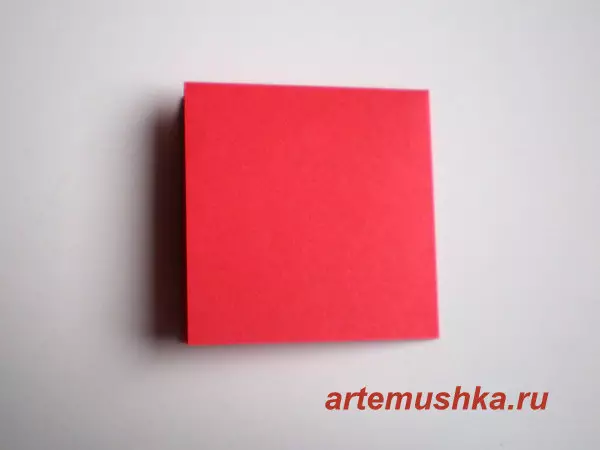
Rose is more complicated
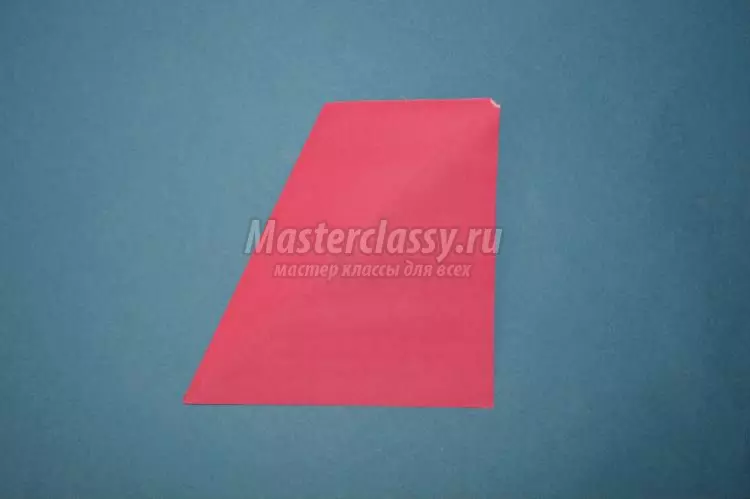
For this craft, you need a square of paper, not more than 10 × 10 cm. The sheet is folded in half.
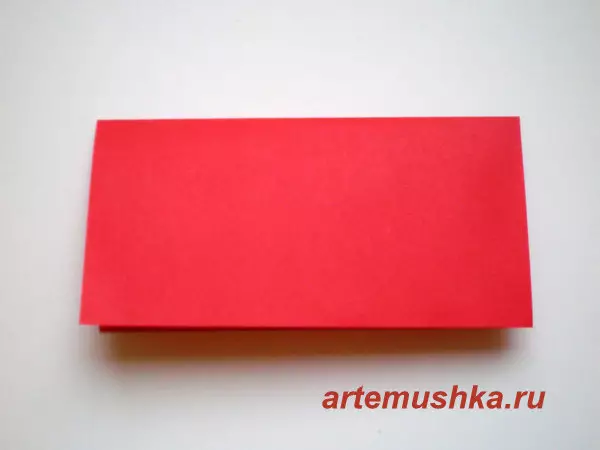
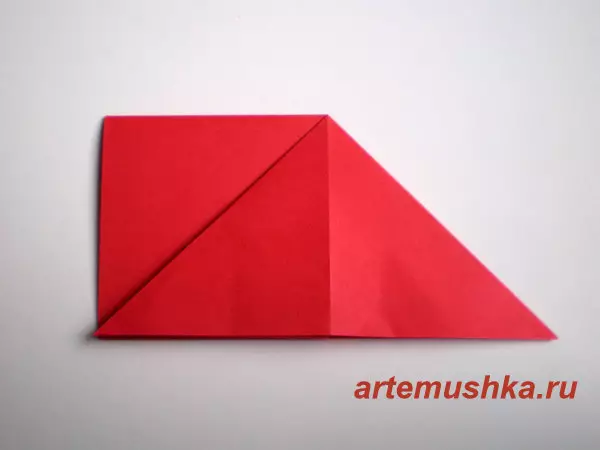
Then still in half.
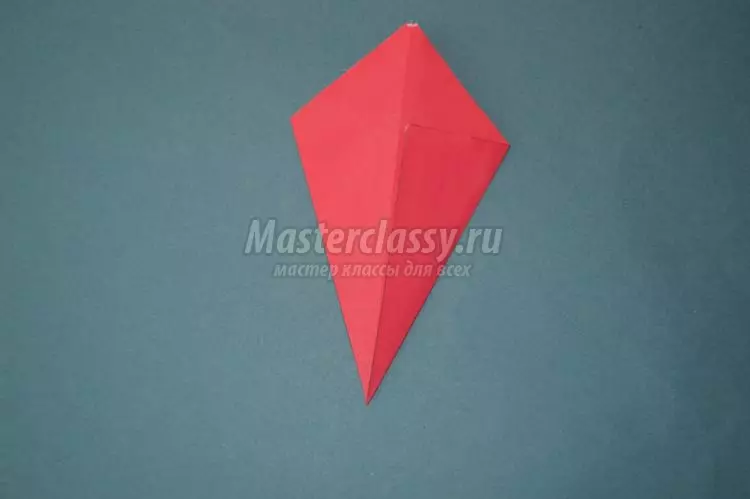
The top side of the paper is broken into the triangle.
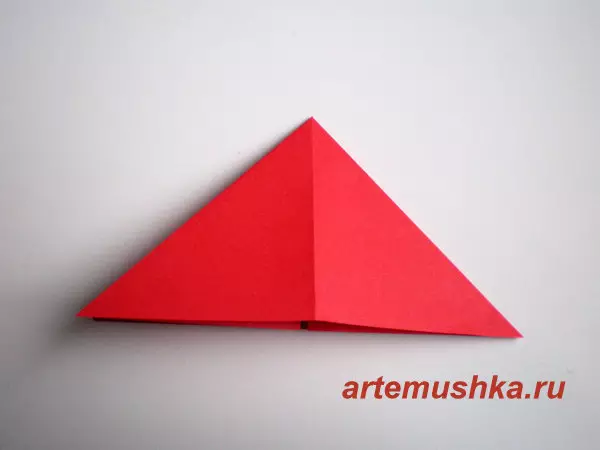
Now the workpiece must be turned over. And on this side, lay paper in a triangle, as before.
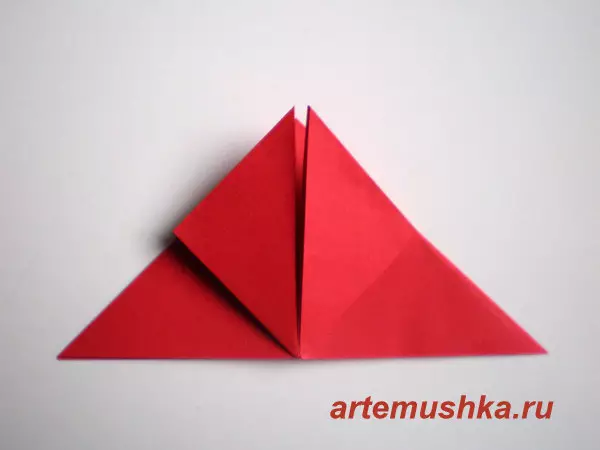
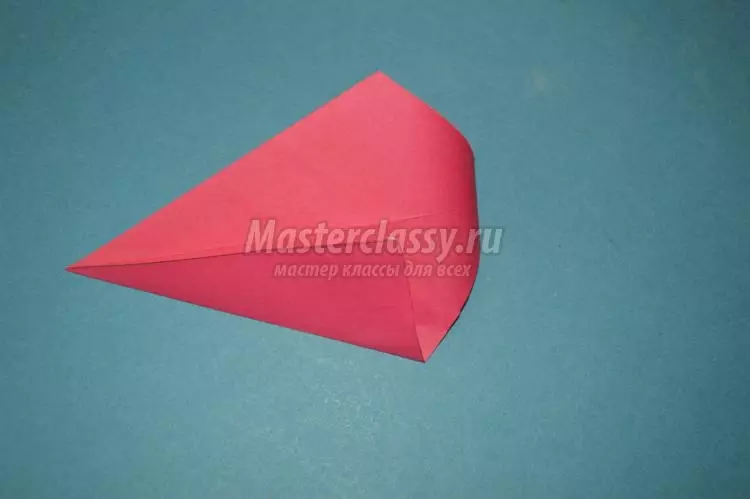
Right and left corners on the one hand bend up, in Rhombik.
Article on the topic: how to remove mold with fabric in a baby carriage
The same corners bend in half down and extend back.
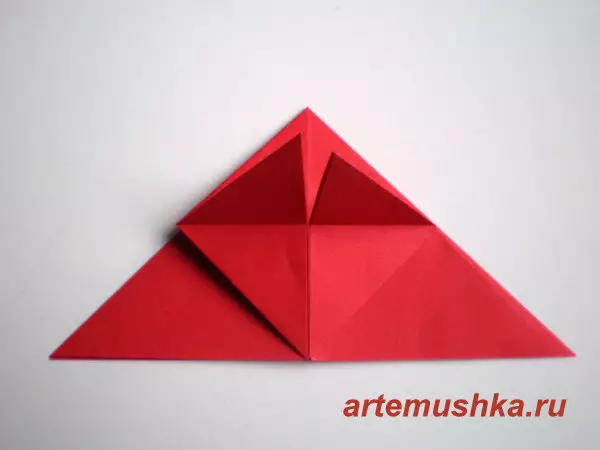
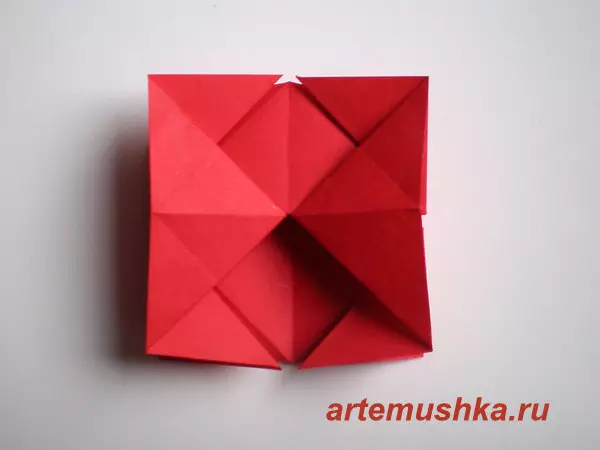
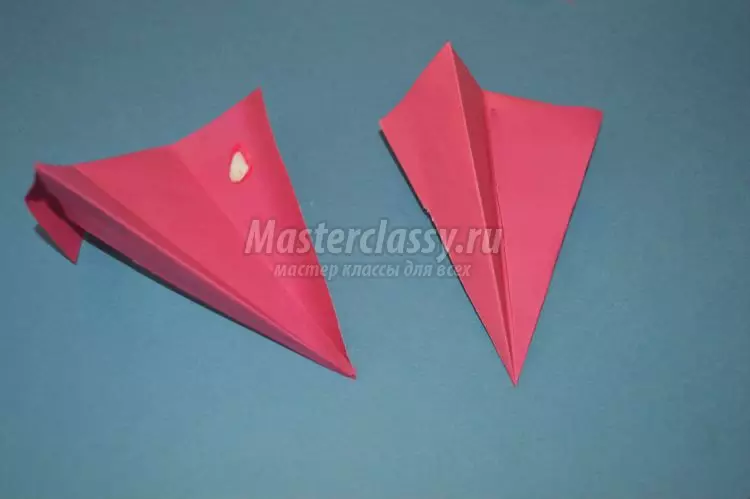
Little triangles from which rhombus consists, it is necessary to break off, like this.
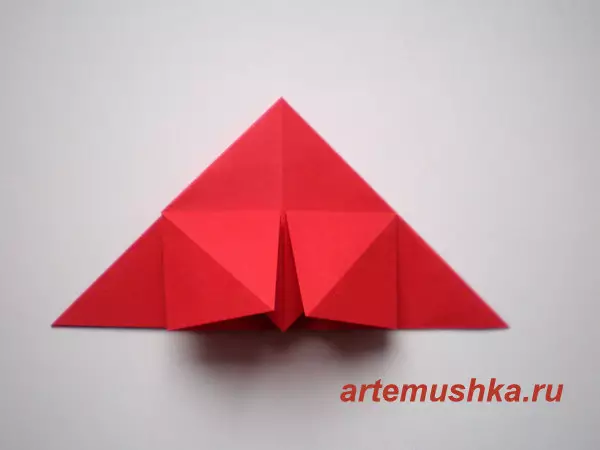
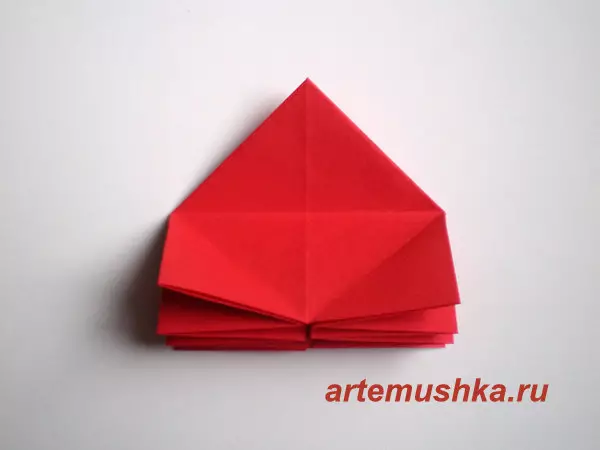
The resulting pockets bend in half, down.
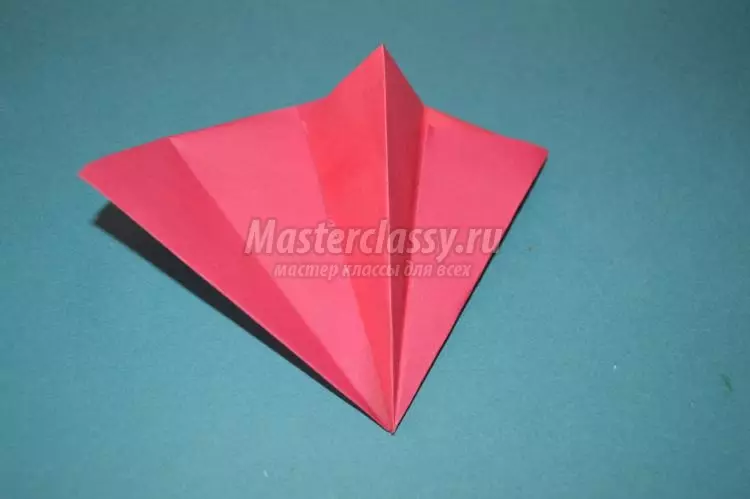
Make the same thing on the other side. It turns out like this.
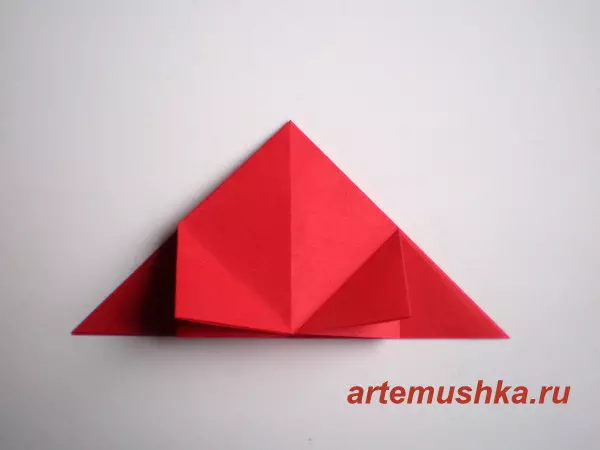
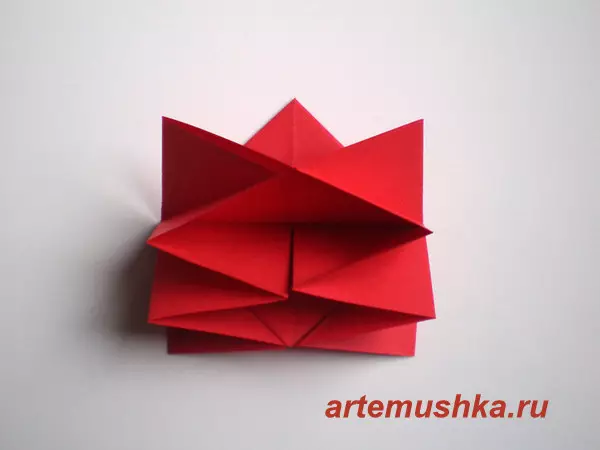
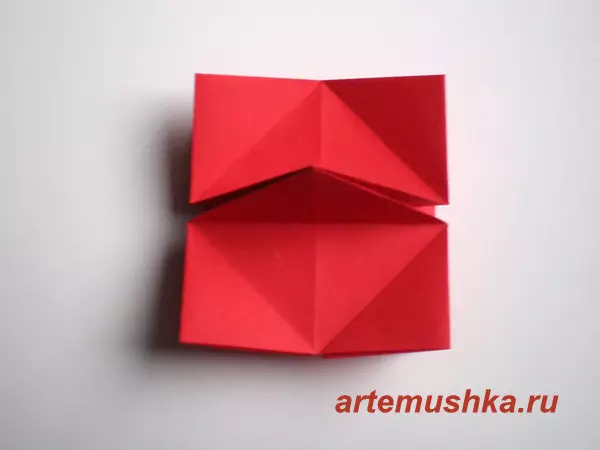
The top corner bend down, making a fold and disperse back.
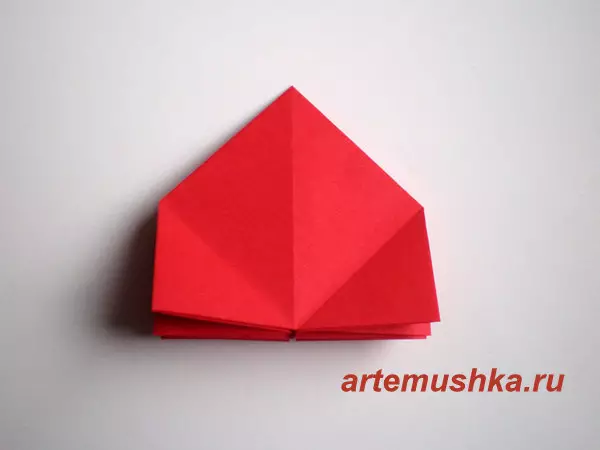
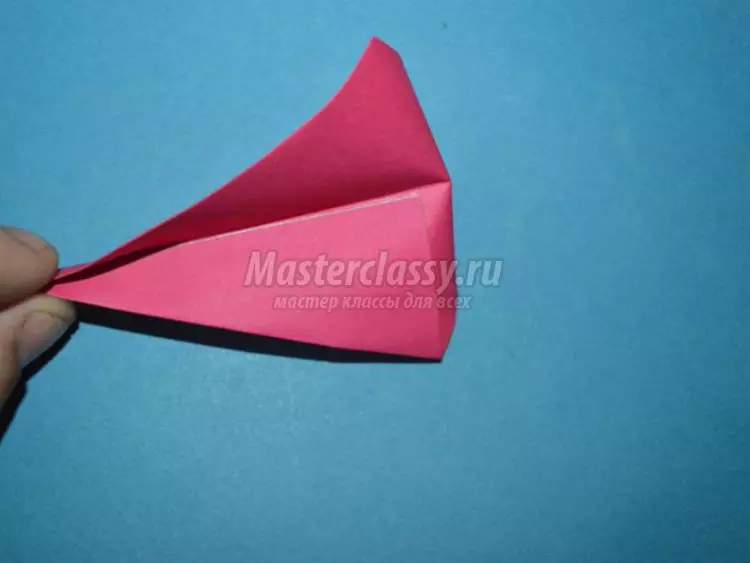
The bottom of the workpiece is disclosed as a book.
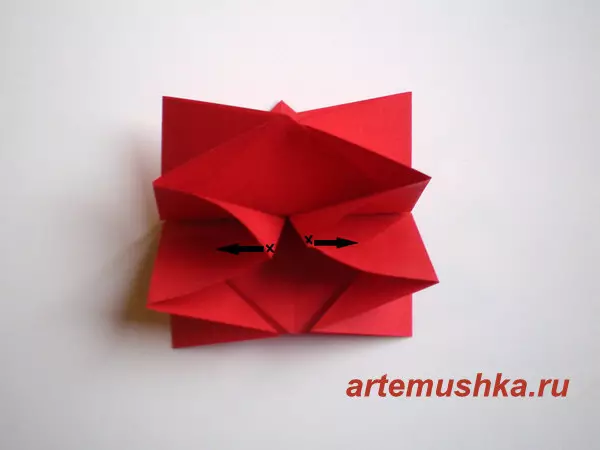
Attention! Pull the places shown in the picture, and flatten. There should be two triangles in a square.
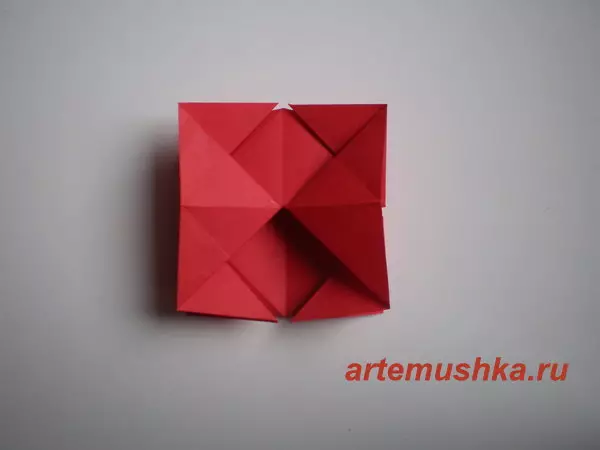
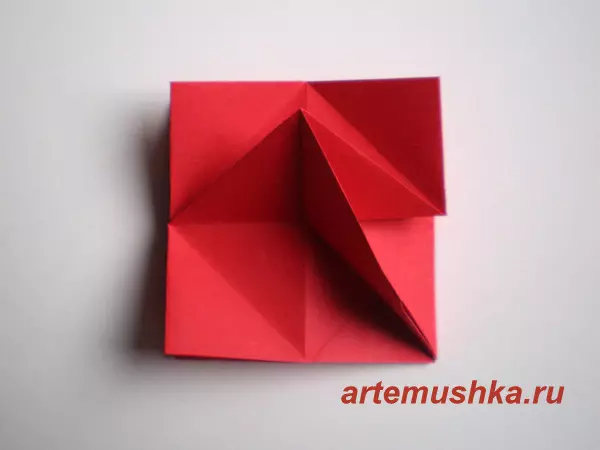
Turn over the workpiece.
Raise the top triangle by pulling it.
The right lower square must be bent diagonally, downward.
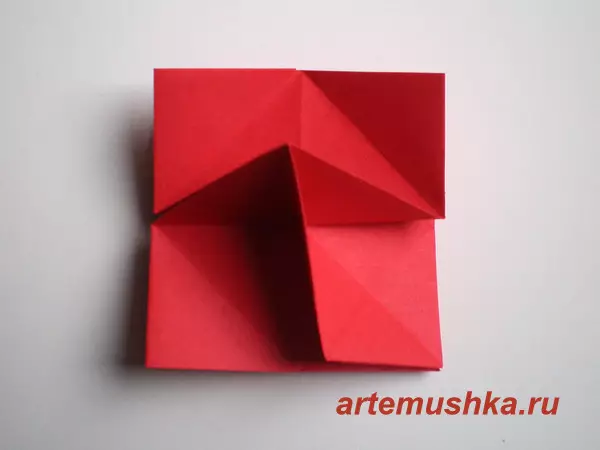
Turn over 180 degrees and bend the lower right square again.
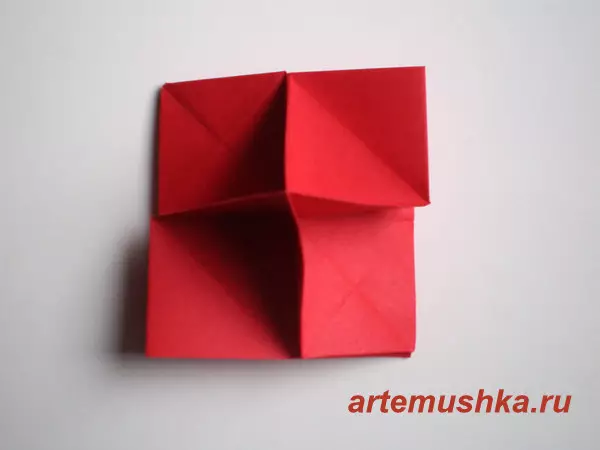
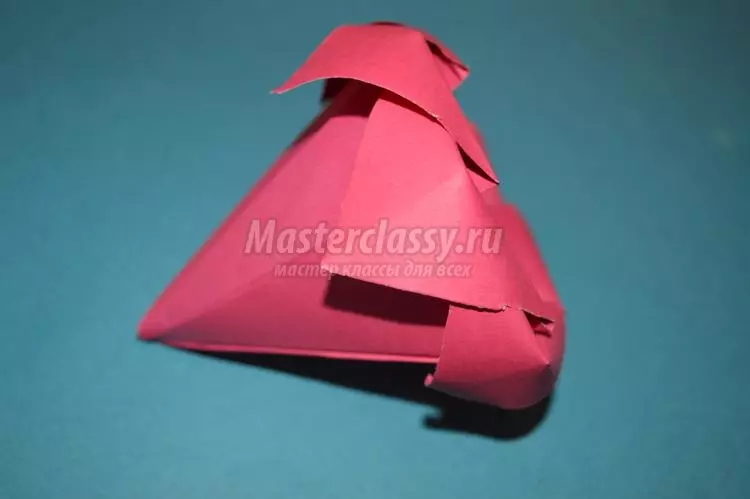
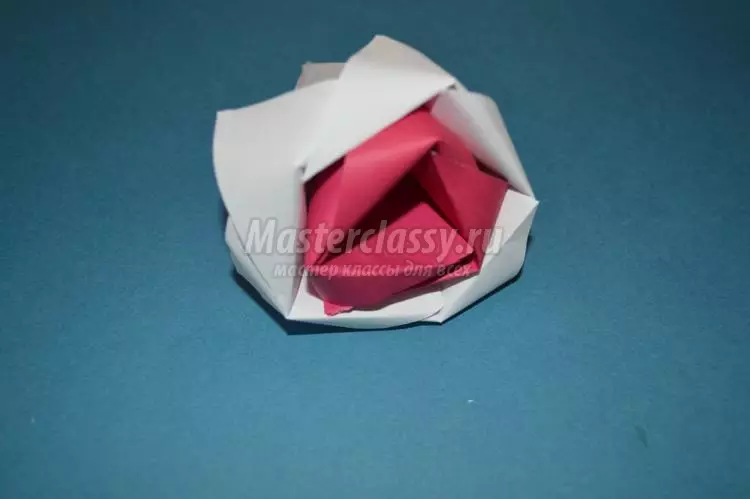
Put an almost folded flower on the left hand. Take the right behind the walls of the workpiece and turn clockwise. As a result, it turns out a rose. You can help with your left hand. Corners wind on a pencil, slightly spinning them.
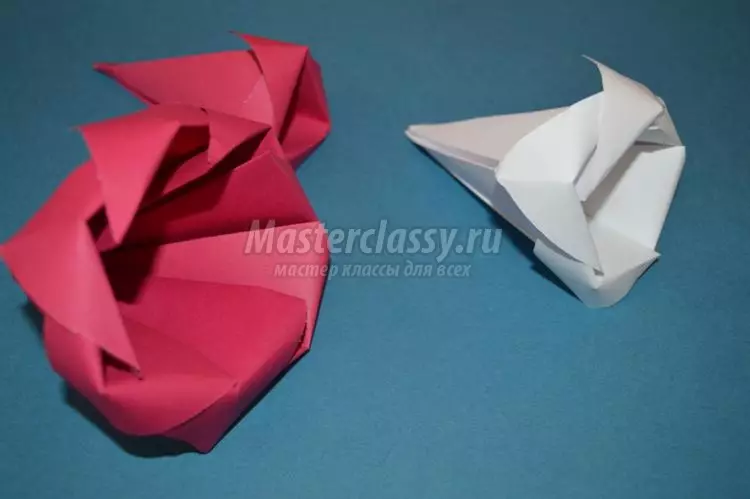
Here will be a flower:
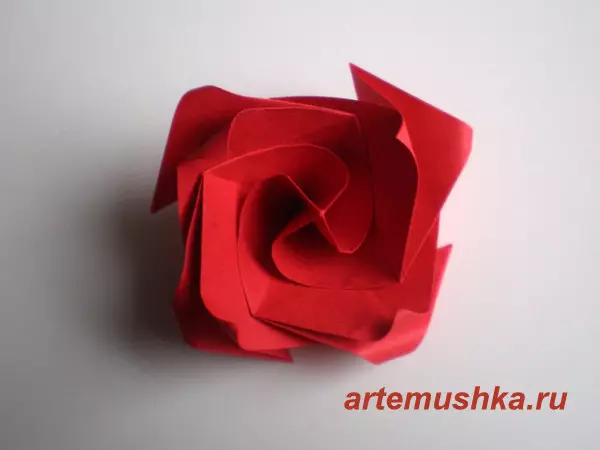
It looks good on the screen in the style of scrapbooking, on gift wrapping or in a glass vase where you can put several roses of different colors at once.
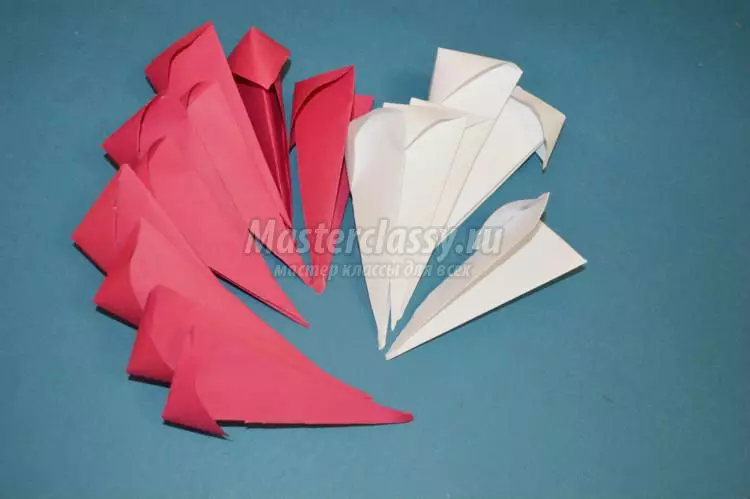
Model from modules
This option is more complicated, but it looks like a flower very gently and beautiful.
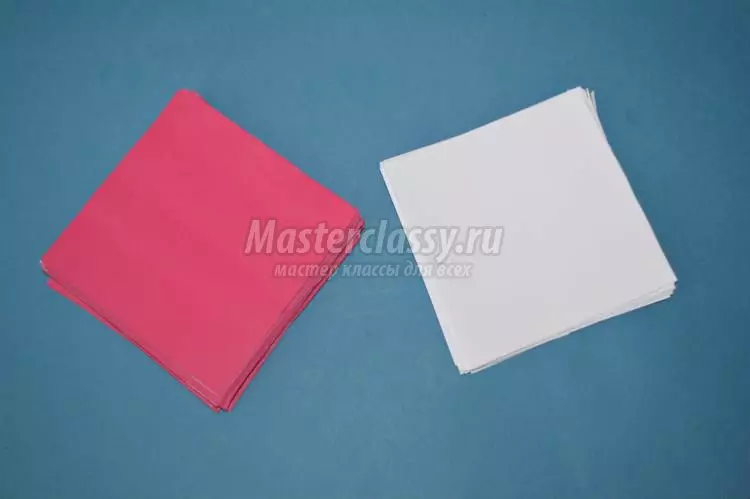
It is necessary to prepare square paper squares, 8 or 15 pieces, depending on how many layers will be in a rift, two or three. And also glue, because this is a modular assembly.
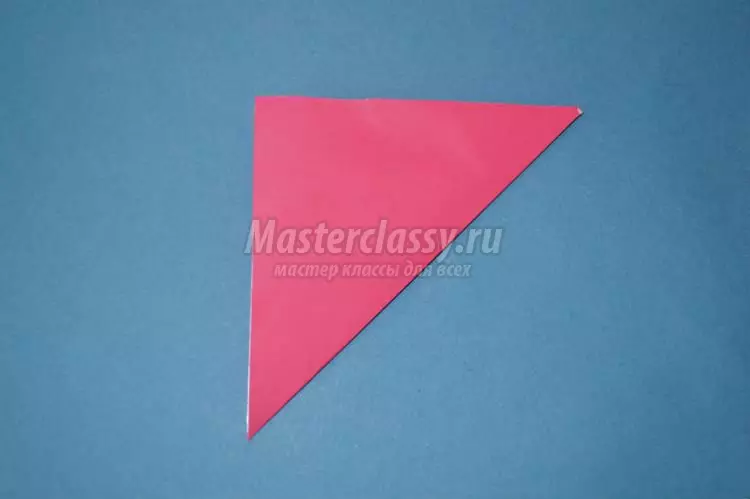
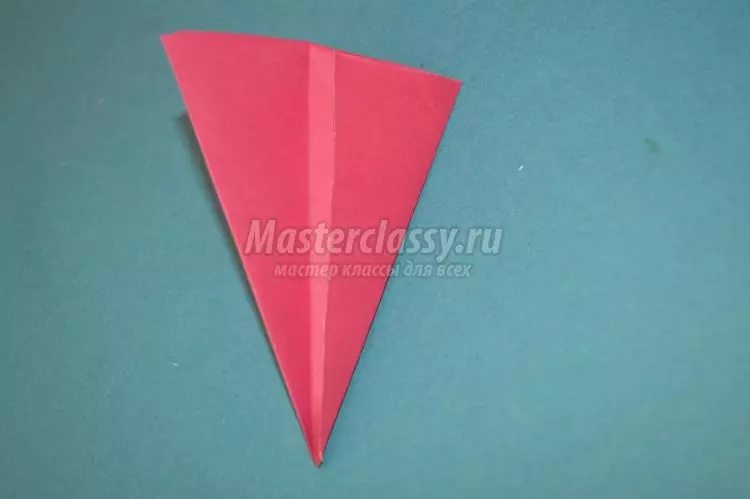
The square is folded in half, the fold and the sheet takes the deployment back.
Expand the angle up like a rhombus. Take the right angle and fold it inside, along the line made before this fold.

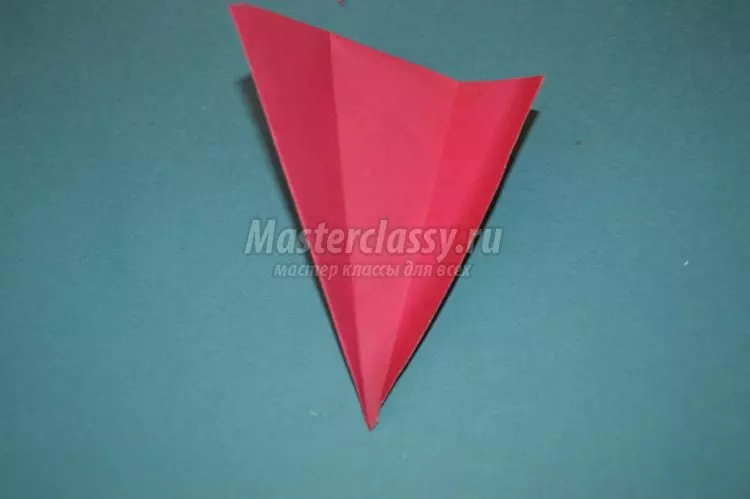
Also sew and left angle.
Using a pencil a little spin the corner. The petal module is ready.

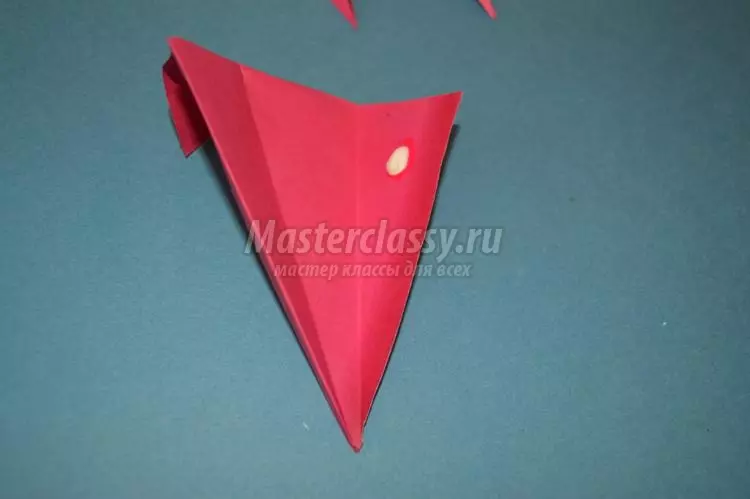
The first row is collected from 3 petals. It is necessary to apply the leak to the left corner of one petal and the right one.
So this way:
Now three glued petals must be connected to the circle. Like this.
Article on the topic: Knitting ideas - Happers and scarves Alessandra Hyden

The first row is ready.
The second row consists of 5 petals. At first we glue up, then turn over and glue down.
So after the connection looks the inner side.
And so external.
Connect in a circle.
For the third row it is necessary to 7 petals and is going to the same as the second. There are three such blanks.

These three rows must be connected to the flower, starting with the smallest. In this way.
That is a miracle resulting in the end.
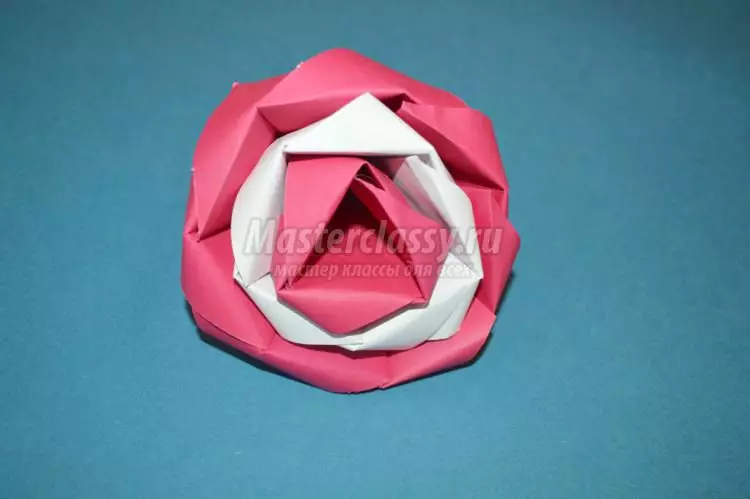
What still beautiful rose flower! And how good to be able to gather it with your own hands, isn't it?
Video on the topic
Here you can see a selection of video about the manufacture of other types of roses, in particular the famous Kawasaka rose.