
New Year is the best time for creativity. Original decorations on the tree is easy to make a couple of evenings for your favorite Christmas films. Such a decor will delight even more than purchased jewelry.
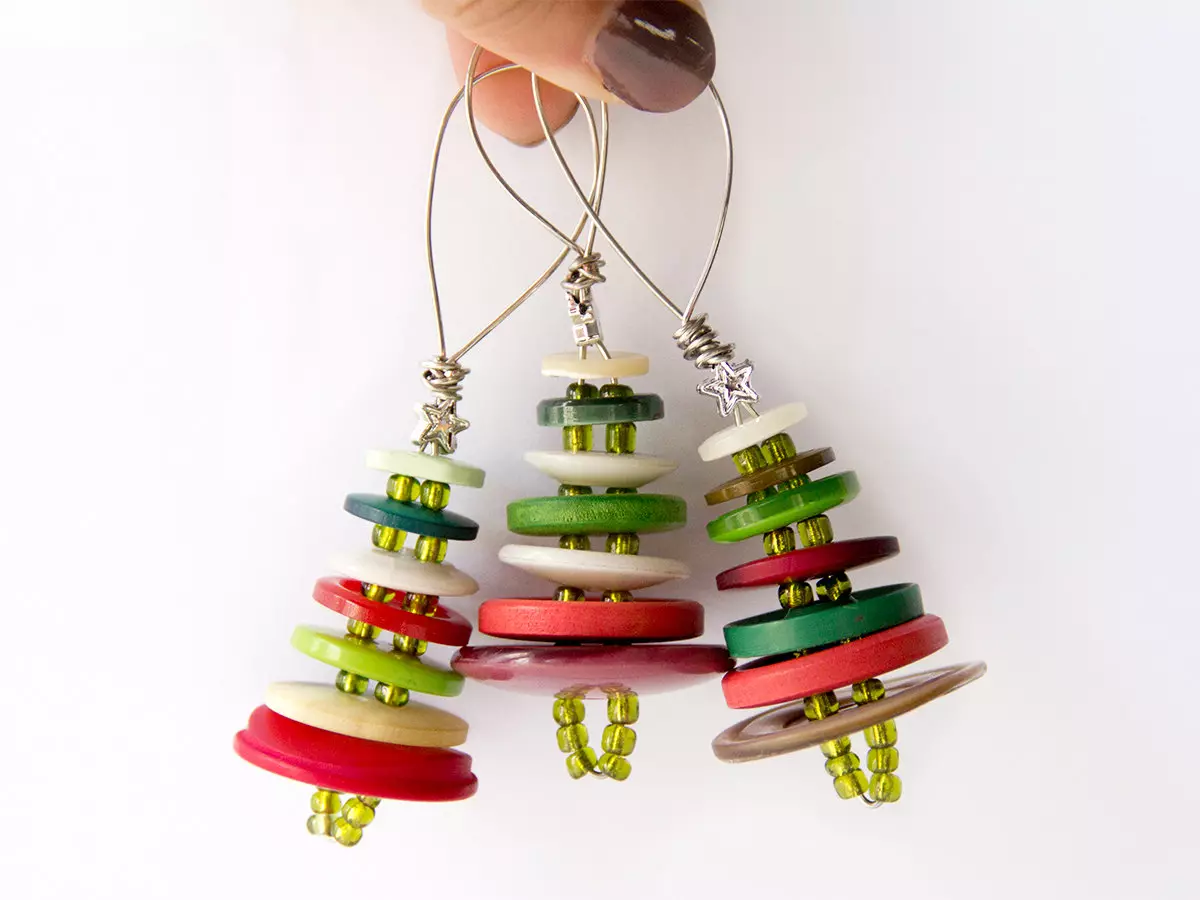
Christmas tree toy from buttons
For decoration, you will need a handful of unnecessary buttons. Optionally, they can be replaced with large beads and beads.
Important. The billet should not necessarily be in the form of a ball - interesting options are obtained from cubes and cones.
It will take toys for toys:
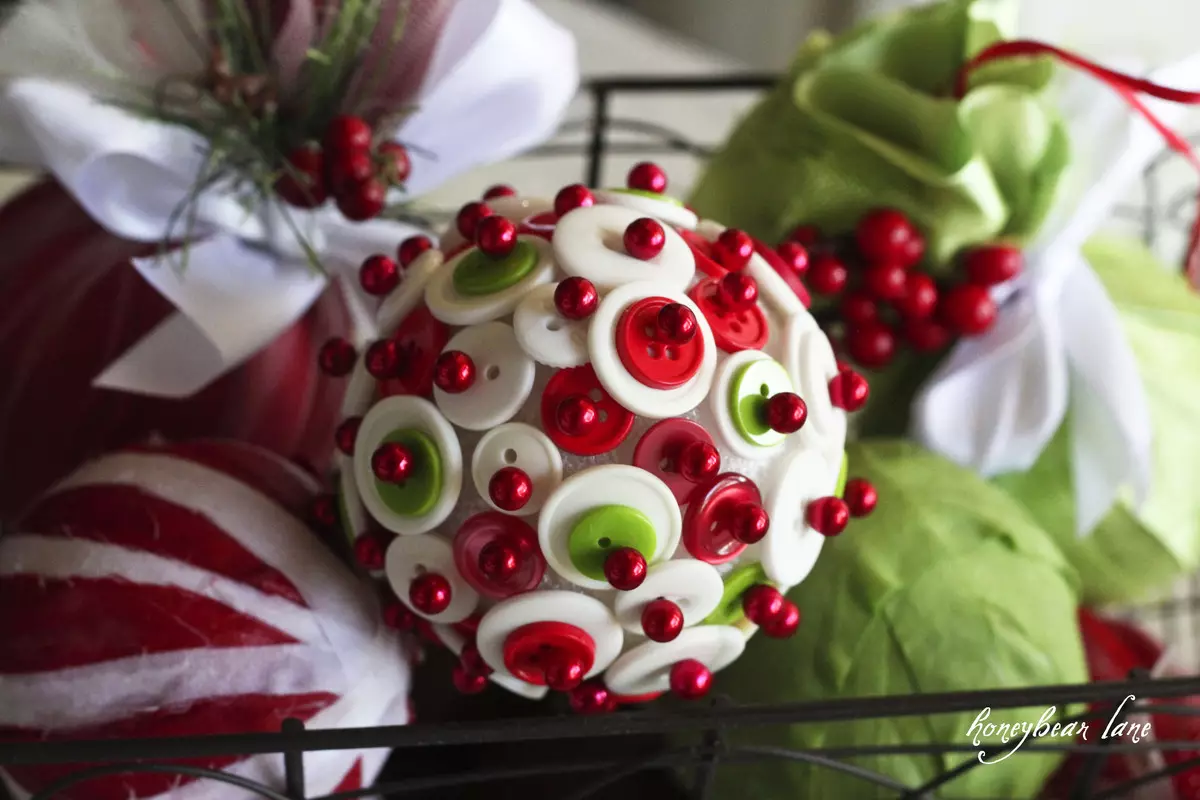
- The base is plastic ball, a bowl of foam, the old Christmas tree toy - any non-mentioned object;
- glue and brush to it;
- thread or tape;
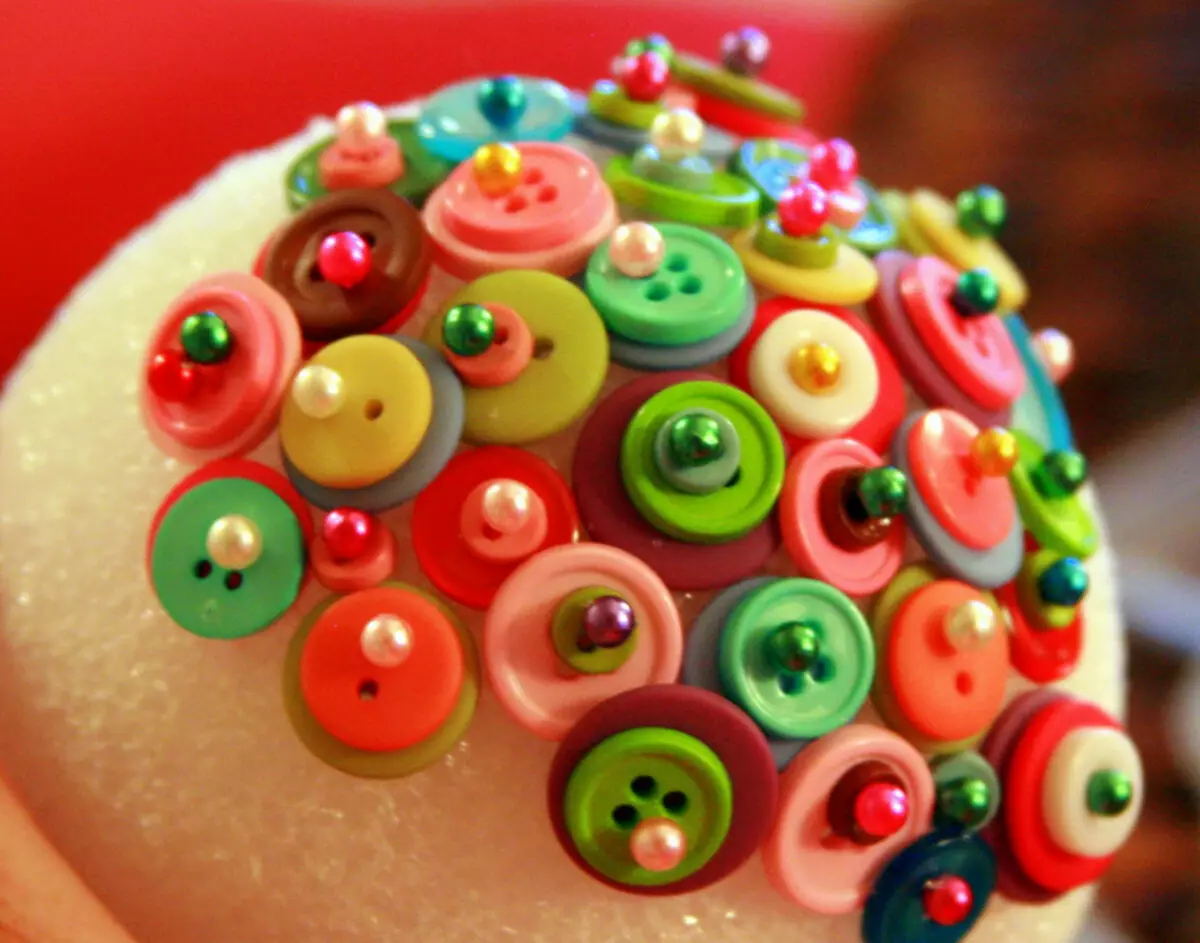
- Buttons - any size, colors, states;
- paint in the canoe;
- Protection tools - gloves, respirator.
Instruction:
- We glue both ends of the thread to the workpiece in the form of a loop - for it the future decor will be suspended. For greater reliability, it is better to take a cut more and wind the base several times, carefully gluing a thread. If an old toy is used, where there is no loop, then this step can be skipped.
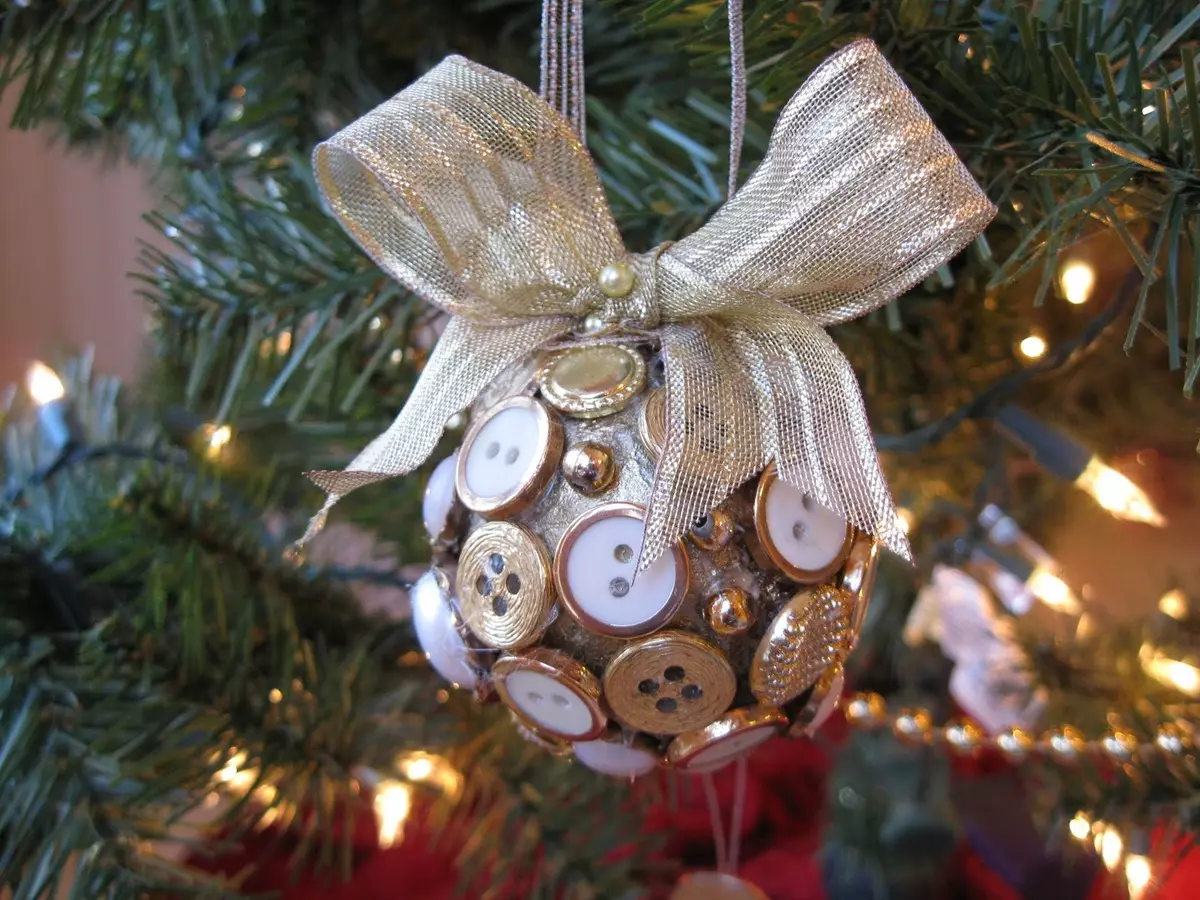
- We take buttons and begin to evenly glue them to the workpiece. So that the base does not break down, the flat buttons can be plated.
- When the whole base is closed, the workpiece must be postponed for several hours. The glue must thoroughly dry.
- The billet is painted paint from the canister. Golden, silver and colored matte paint are best suited for Christmas tree decoration. This stage is best done outdoors or on the balcony in gloves and a protective mask.
- After painting, you should wait a few hours until the paint is completely drying. If necessary, spray another layer of paint.
- Christmas toy ready!
Article on the topic: Dispolers in your sink: need or luxury?
Shiny ball on the tree
For this master class, an old cracked Christmas ball or a toy, not suitable in color.
To decorate, you will need:
- The base is a Christmas ball;
- glue and brush to it;
- blasting, glitter or sequins;
- Dry soft brush;
- sheets of paper;
- varnish or transparent paint;
- Tools - gloves, apron, respirator, hair brazer.
Instruction:
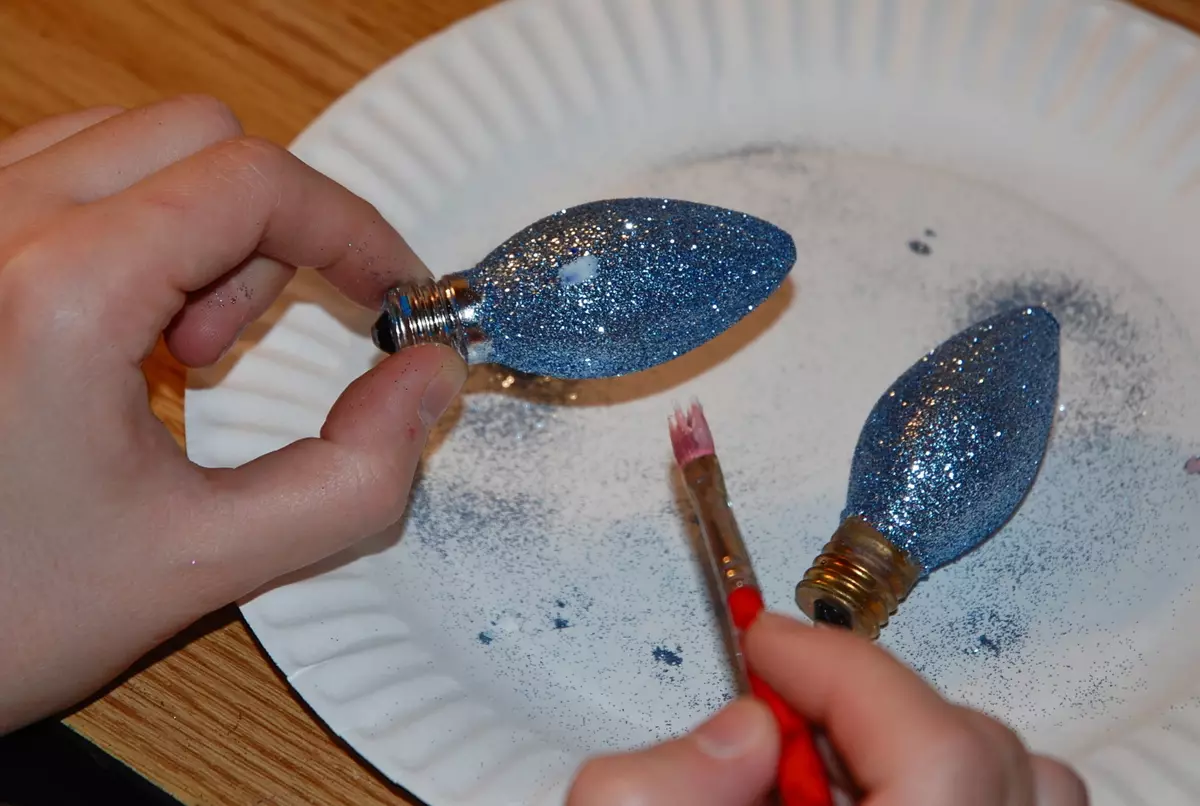
- Prepare a workplace: bed on the table sheets of paper or an old newspaper, put on gloves and apron, remove the hair under the shock. Otherwise, shaking the gloves from themselves for a very long time.
- Take the workpiece and dear it with glue. You do not need to save, but the glue should not drip from the ball.
- While the glue is not drying, take the gloves and generously sprinkle the workpiece over the newspapers or paper.
- Gently shake the ball to shake the surplus. Hang the workpiece to dry so that it does not come into contact with anything.
- After a few hours, when the glue is finally driving, take a dry soft brush and carefully shook untreated glitter.
- After a while, part of the glitter is causing, so you need to fix them with varnish or paint. It is suitable for any fixer for creative works, nail polish, construction analogs (provided that they are completely safe). Apply it with a thin layer and hang a ball for another a few hours for drying.
- Shiny Christmas tree is ready!
Christmas tree with threads
For decoration, you can use thin sewing threads. They will have to tinker a little longer, but the toy will look more elegant.
Important. Thick threads that can not be pulled through a tube, you need to impregnate with glue with a brush.
To decorate, you will need:
- balloon;
- Threads or thin yarn;
- Tube glue PVA;
- big needle;
- Paint and any other decor at will.
Instruction:
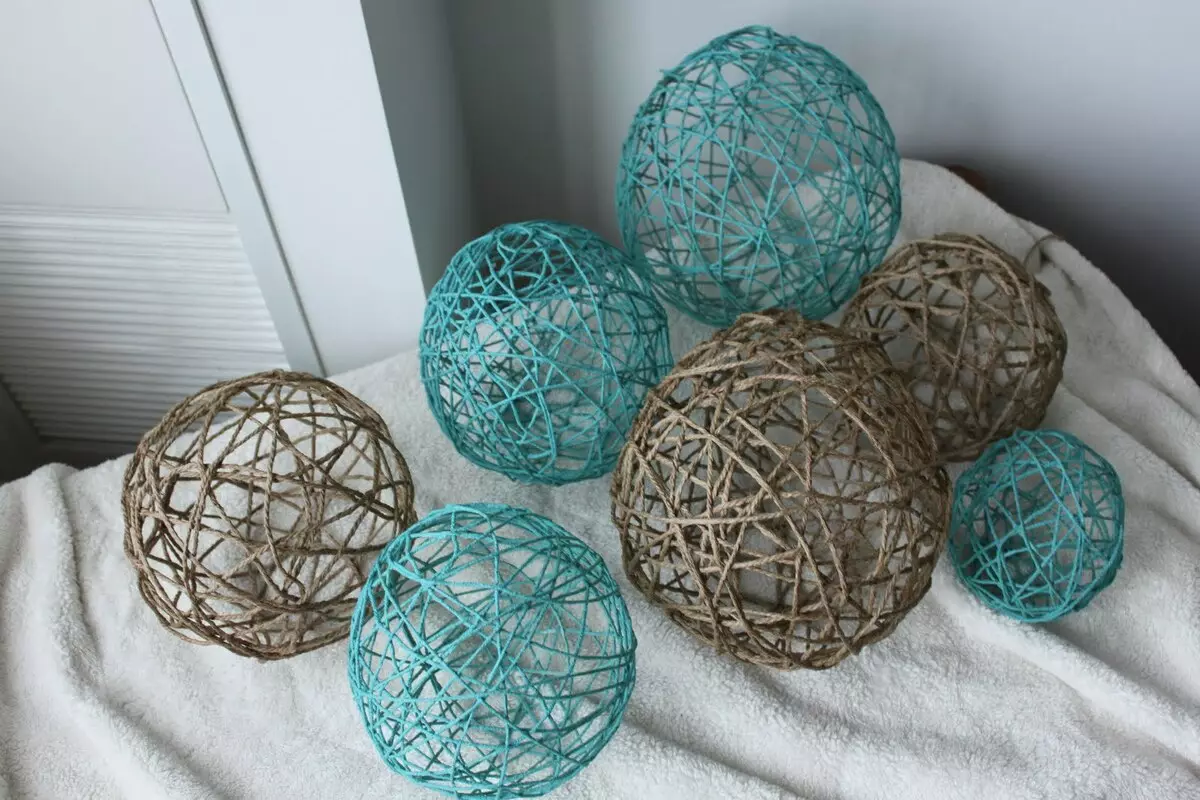
- I inflate the ball to the alleged christmas toy size. Touch it firmly. I smell its surface with vaseline or any hand cream.
- We refuel the thread in the needle and pushing the tube with glue.
- We remove the needle and begin to wind the balloon impregnated with glue thread. The first turns are the most difficult. Adhere to the thread and do not pull it too much.
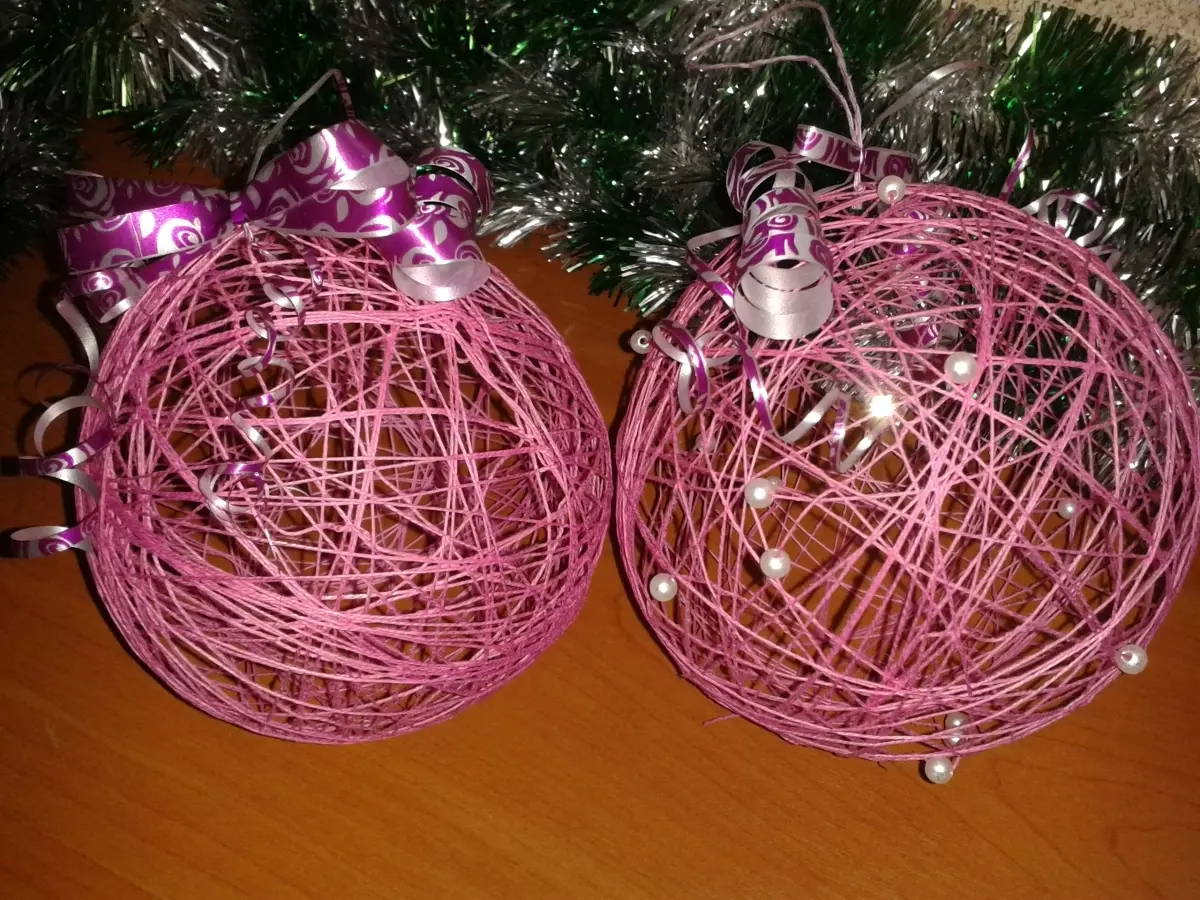
- Watch the workpiece just as threads in the ball are wound. When it seems enough, cut the thread and additionally proceed its end. Separately stir up a loop for hanging a ball.
- Hang the workpiece on drying away from heat sources and drafts.
- About a day, the workpiece will dry. Ib gallery push the remaining air balloon and take it carefully through the remaining holes.
- Christmas tree with threads ready! Additionally, it can be painted from a canister or labeled the decor.
Article on the topic: Stylization of the apartment in the style of the series "University: New Dorm"
Making Christmas tree toys will love both children and adults.
Master class from designer: make a Christmas tree toy with your own hands (1 video)
Homemade Christmas Toys (7 photos)


