
You do not know what to take your child? Teach him to make origami. This is a simple work technique with paper, besides very exciting and entertaining. Offer the child to make a gift with your own hands, for example, an educator or teacher on March 8 or the day of the teacher, grandmother, sister, grandfather or dad. It can be a postcard, a bunch of flowers and a vase for it. It will be a very original gift for any holiday. And, as you know, a gift made by your own hands, the best of any purchased. Today we will hold a master class and teach you how to make an Origami Vaza technique. She can even come in handy for you in everyday life, for example, you can put artificial flowers into it, and this will already be the subject of the interior.
Original decoration
This craft is made very simple and take you a few minutes of your time. Let's move on to the Origami Paper Vase:
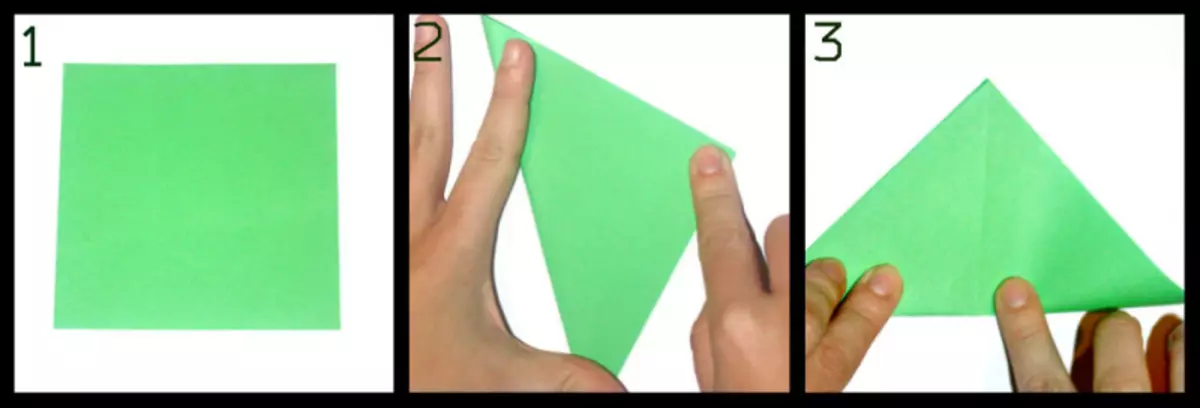
1) Take a square sheet of paper beautiful bright color.
2) I will shift it diagonally and develop it back.
3) We also do with the other diagonal, bend, and then inversely extend. Thus, we marked the central lines of the sheet.

4) And now you need to bend the leaf horizontally and disperse it back.
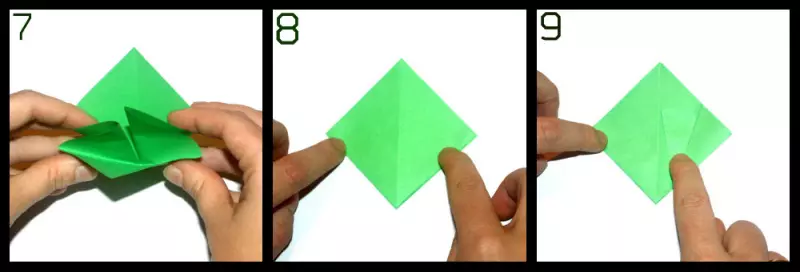
5) After we have done the above described, we must bend our workpiece into the rhombus, as shown in the photo 6 and 7.
6) Just stroke our resulting rhombus.
7) Then bend the right angle to the central line and we do the same in the same way, this is shown in the photo 9 and 10.
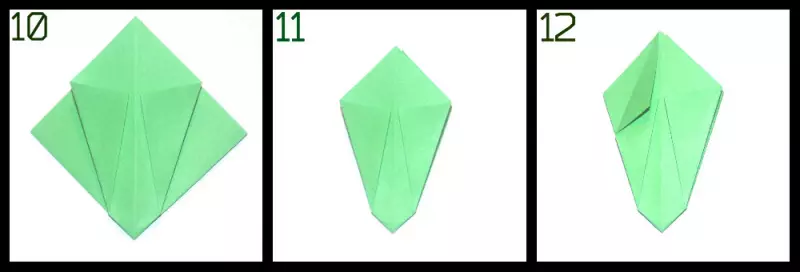
8) turn over our future vase in the other direction and we do with two other corners too.
Article on the topic: Fabric tightness: Composition and features of Easter
9) Bending the left upper corner to the center and extend it back.
10) Next, bend the central top corner, and again bend the left upper corner again.
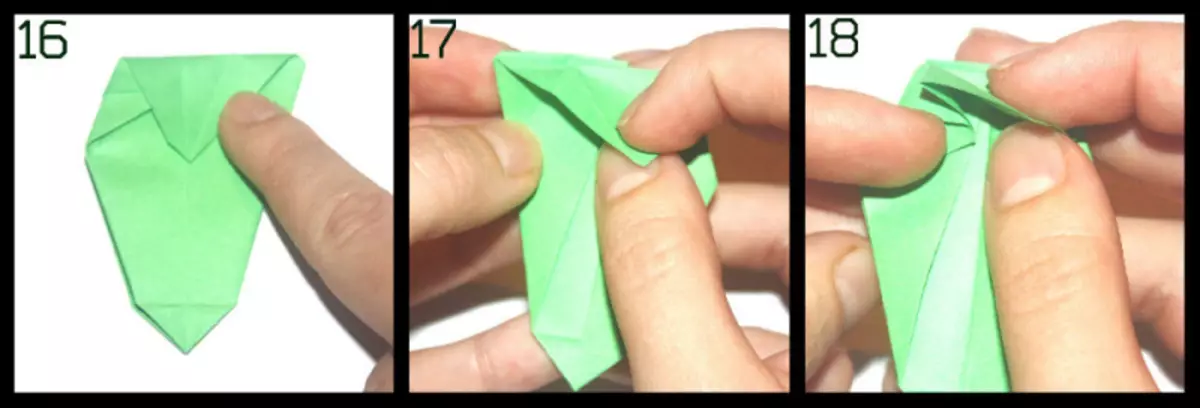
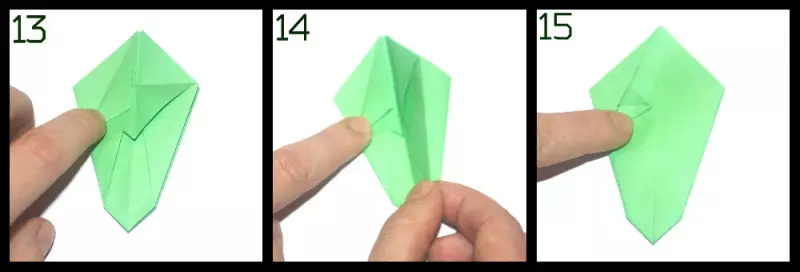
11) And also continue to do with the rest of the corners. And with the last right corner you need to do a little differently. It needs to be installed inside by the outlined lines, as in the photo 17 and 18.
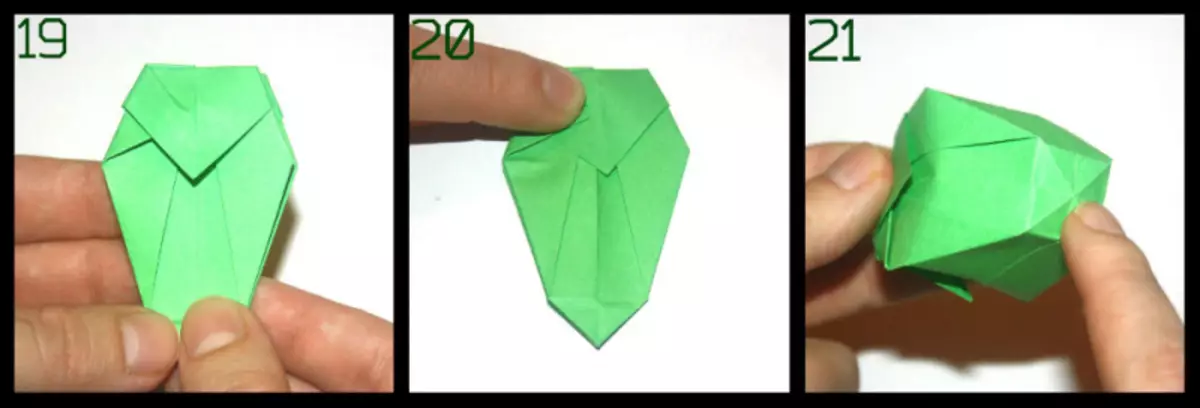
12) In the photo 19 you can see what ultimately should turn out.
13) bending, and then weighed the lower angle so that the vase has a steady bottom.
14) The most important thing remains - it's gently disperse our craft, to align all of her parties and thoroughly try to fingers.
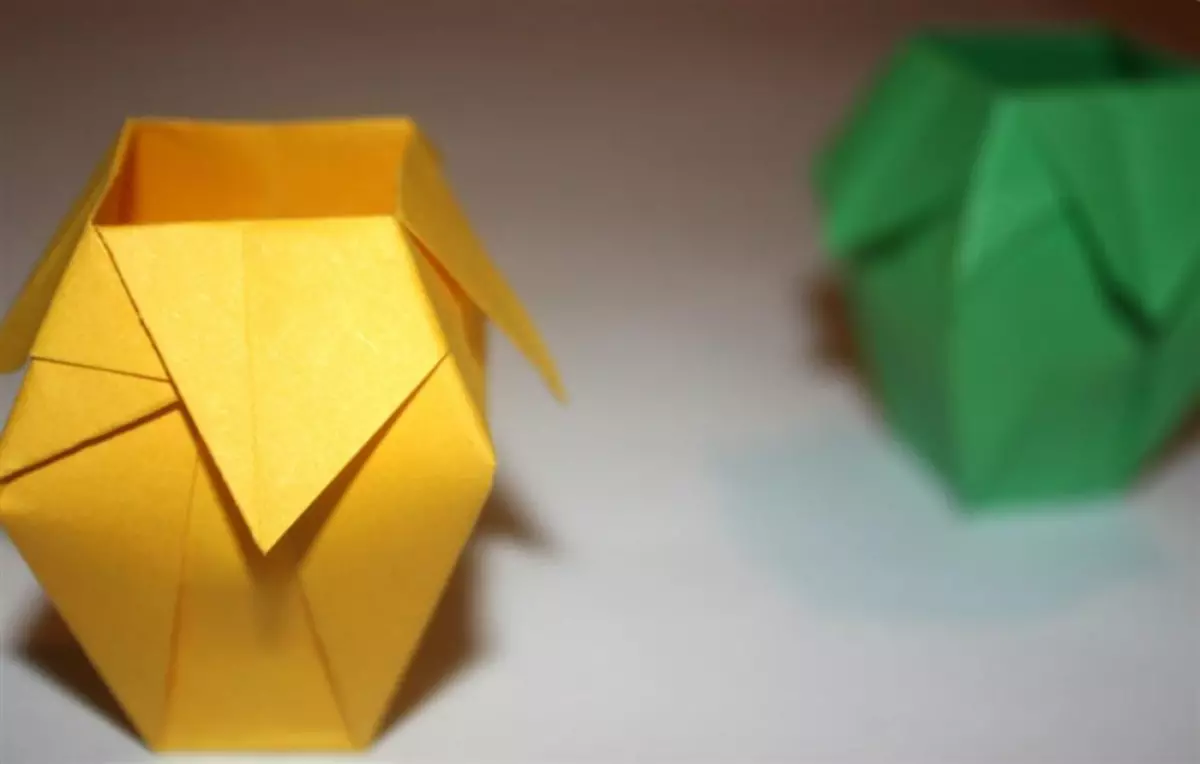
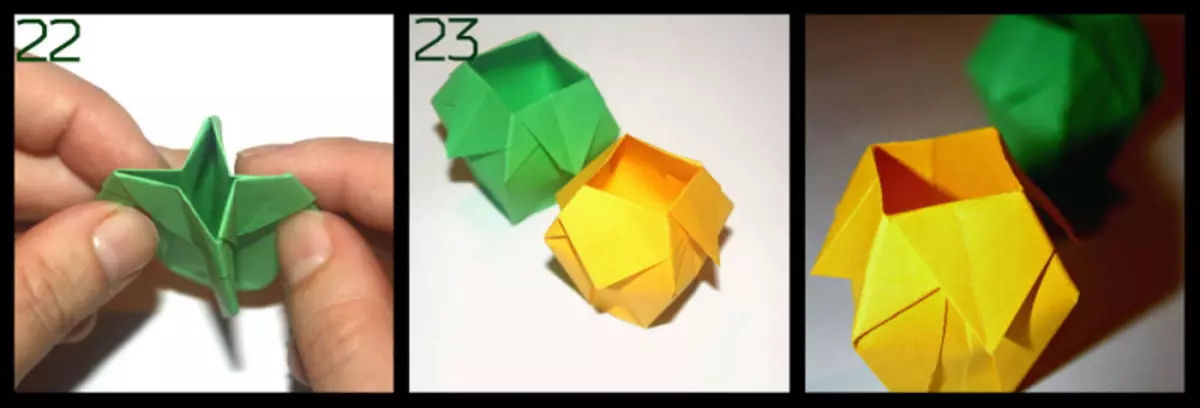
In the photo it is clear what kind of a vase should have in the end. If you take a small sheet of paper, then naturally the vase will get a small one, in which the flowers will surely not fit. Such a drink can serve as a vase for sweets or a stand for handles and pencils.
It is better to take a sheet of paper more so that in the end it came out normal size and could please your view.
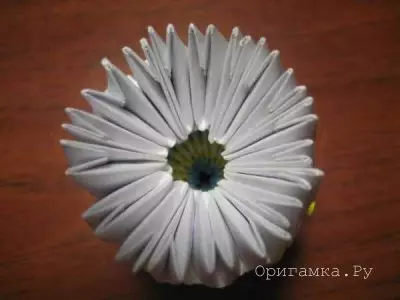
Also in this technique you can make a bunch of colors and put it in a vase.
If you have been unclear some moments in your work, or you are confused in the scheme, then you can view the video MK for the manufacture of this vase. In it you will find all the answers to the questions that you are worried.
Get acquainted with modules
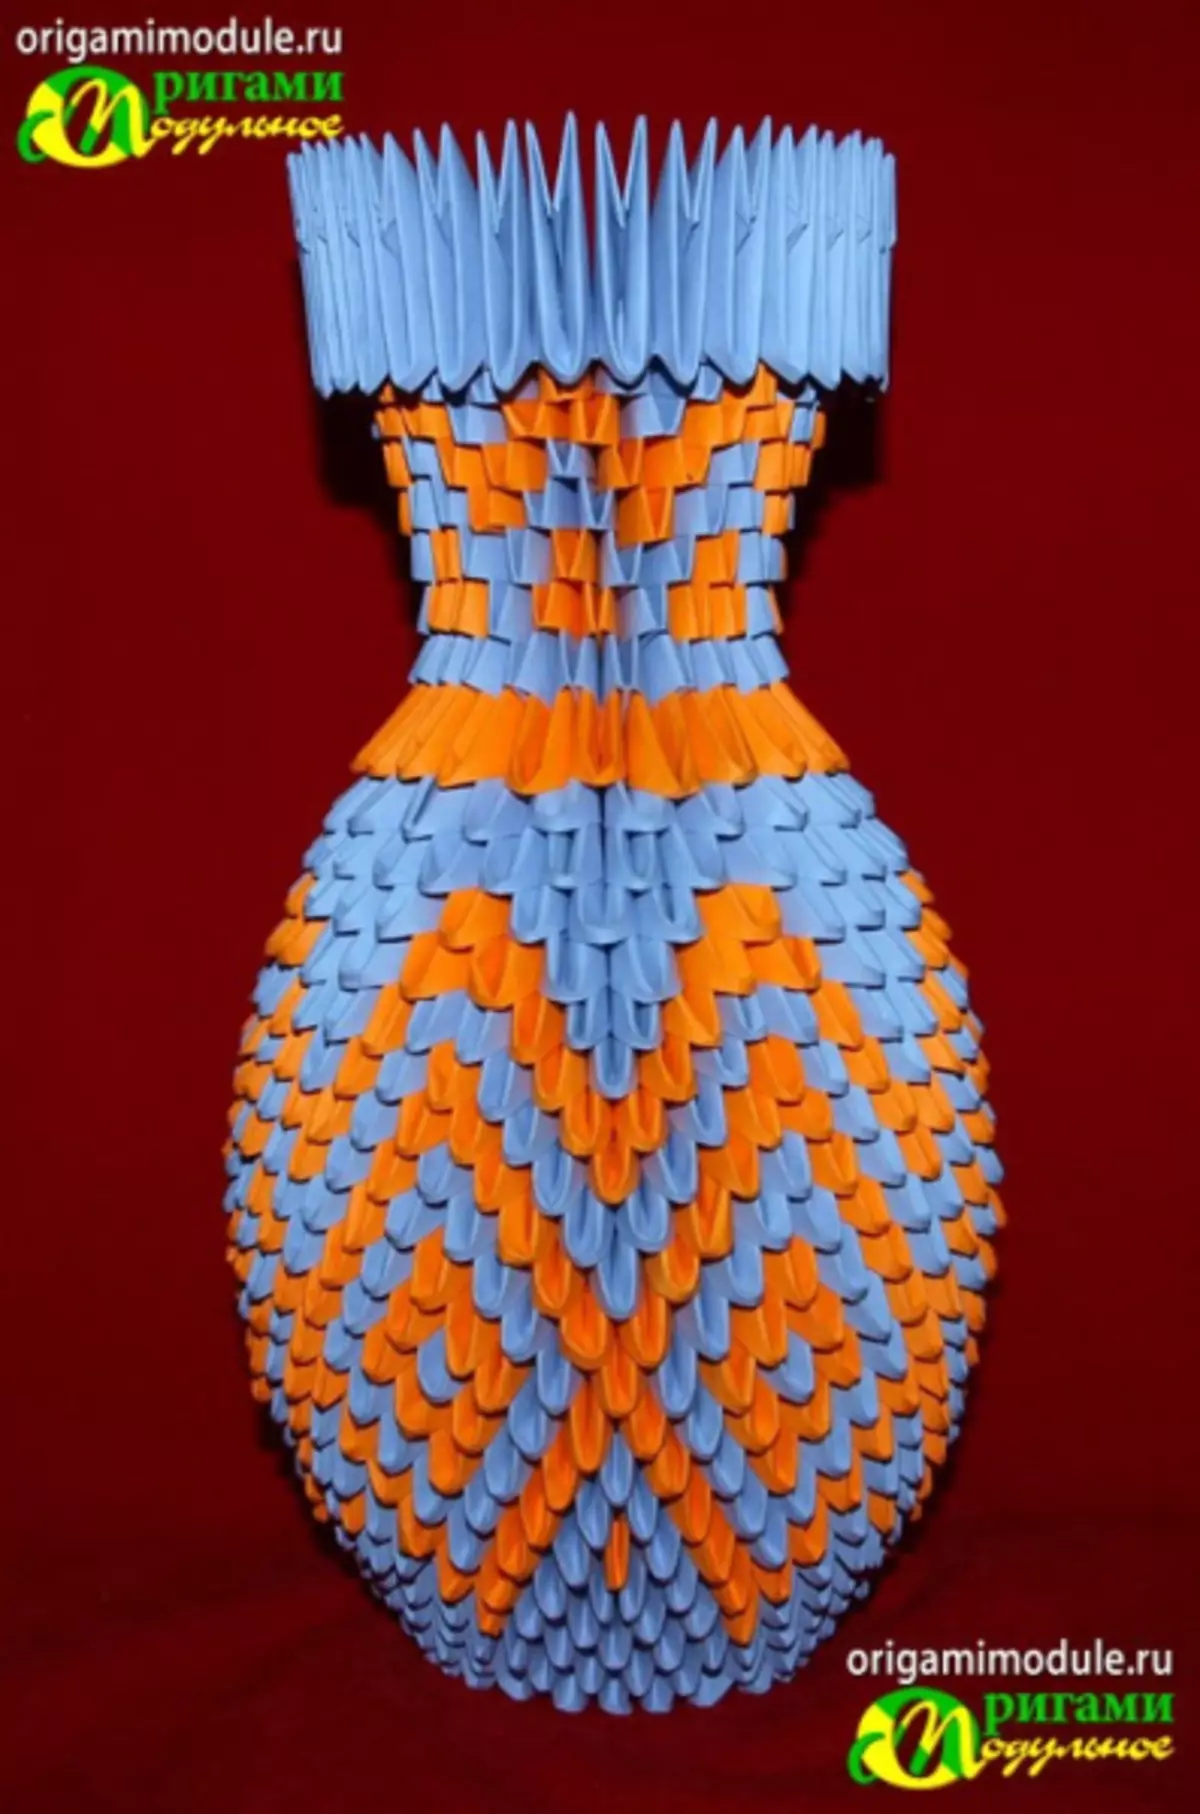
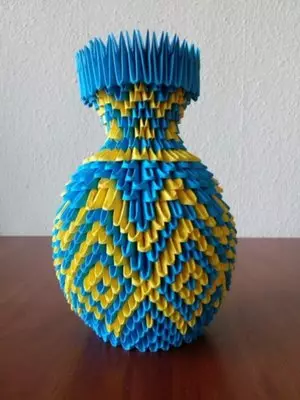
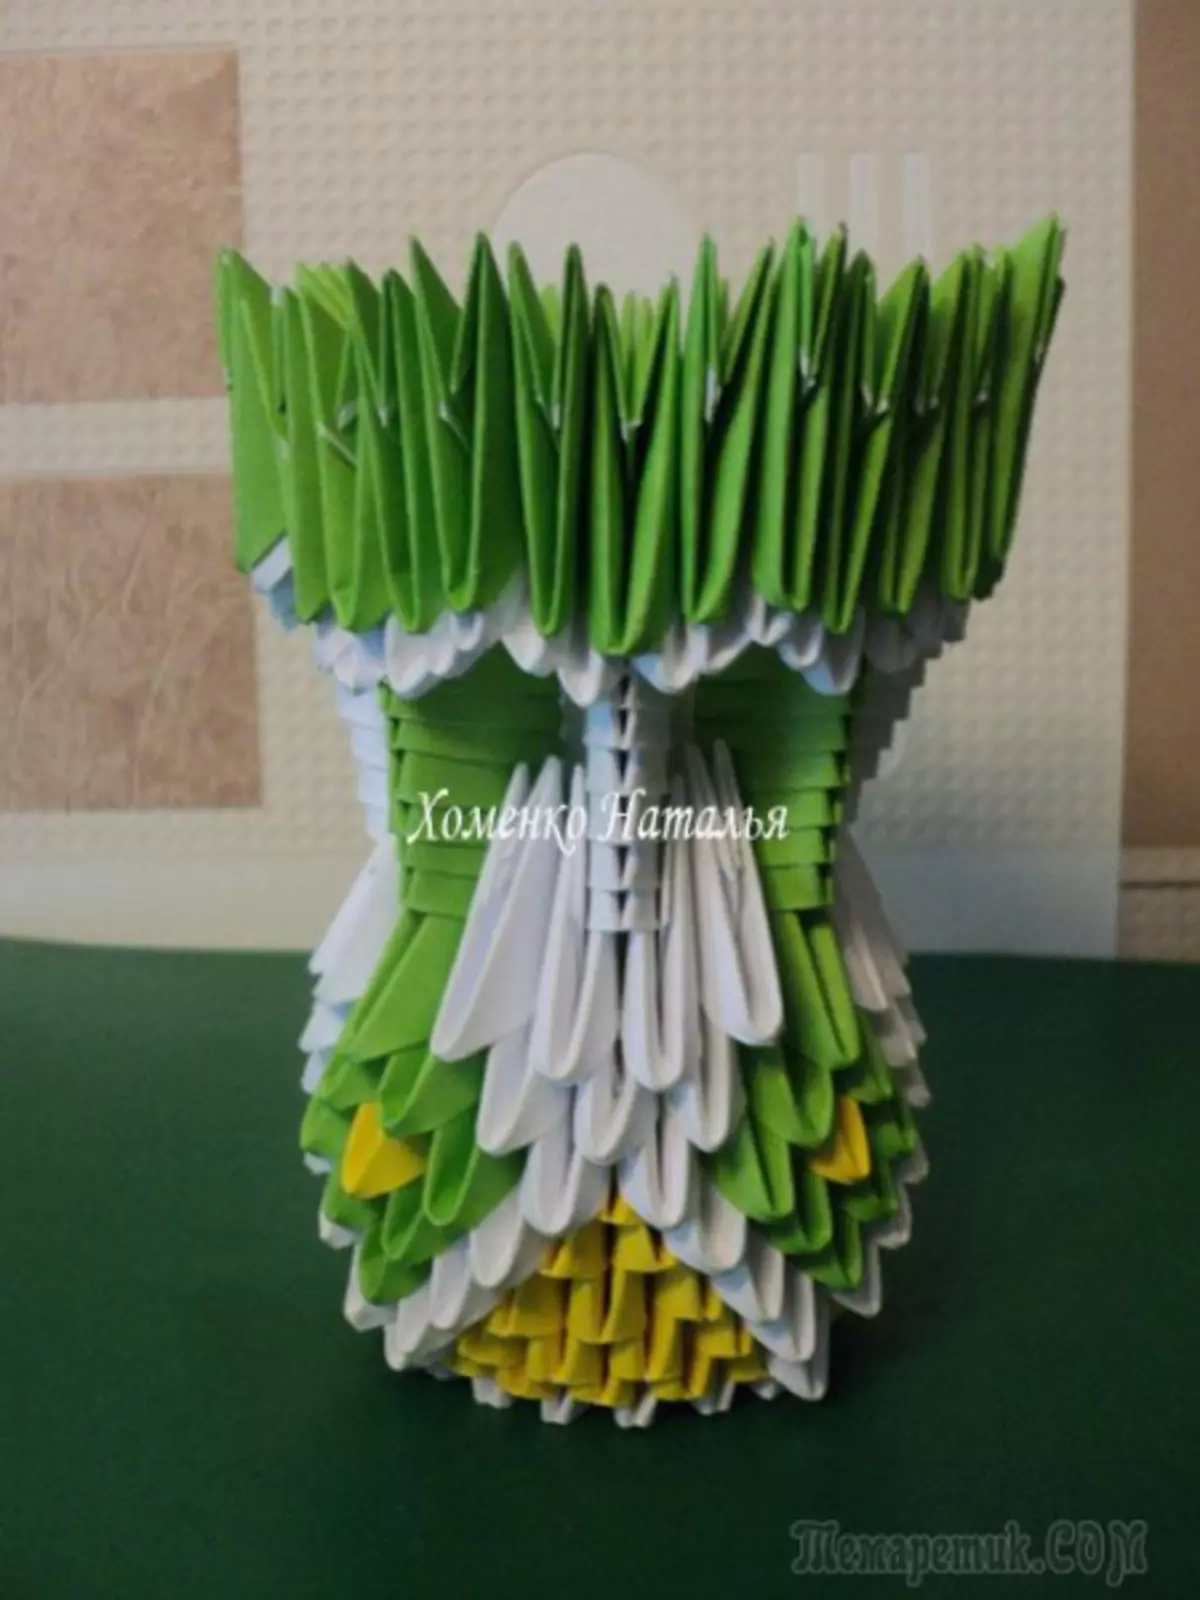
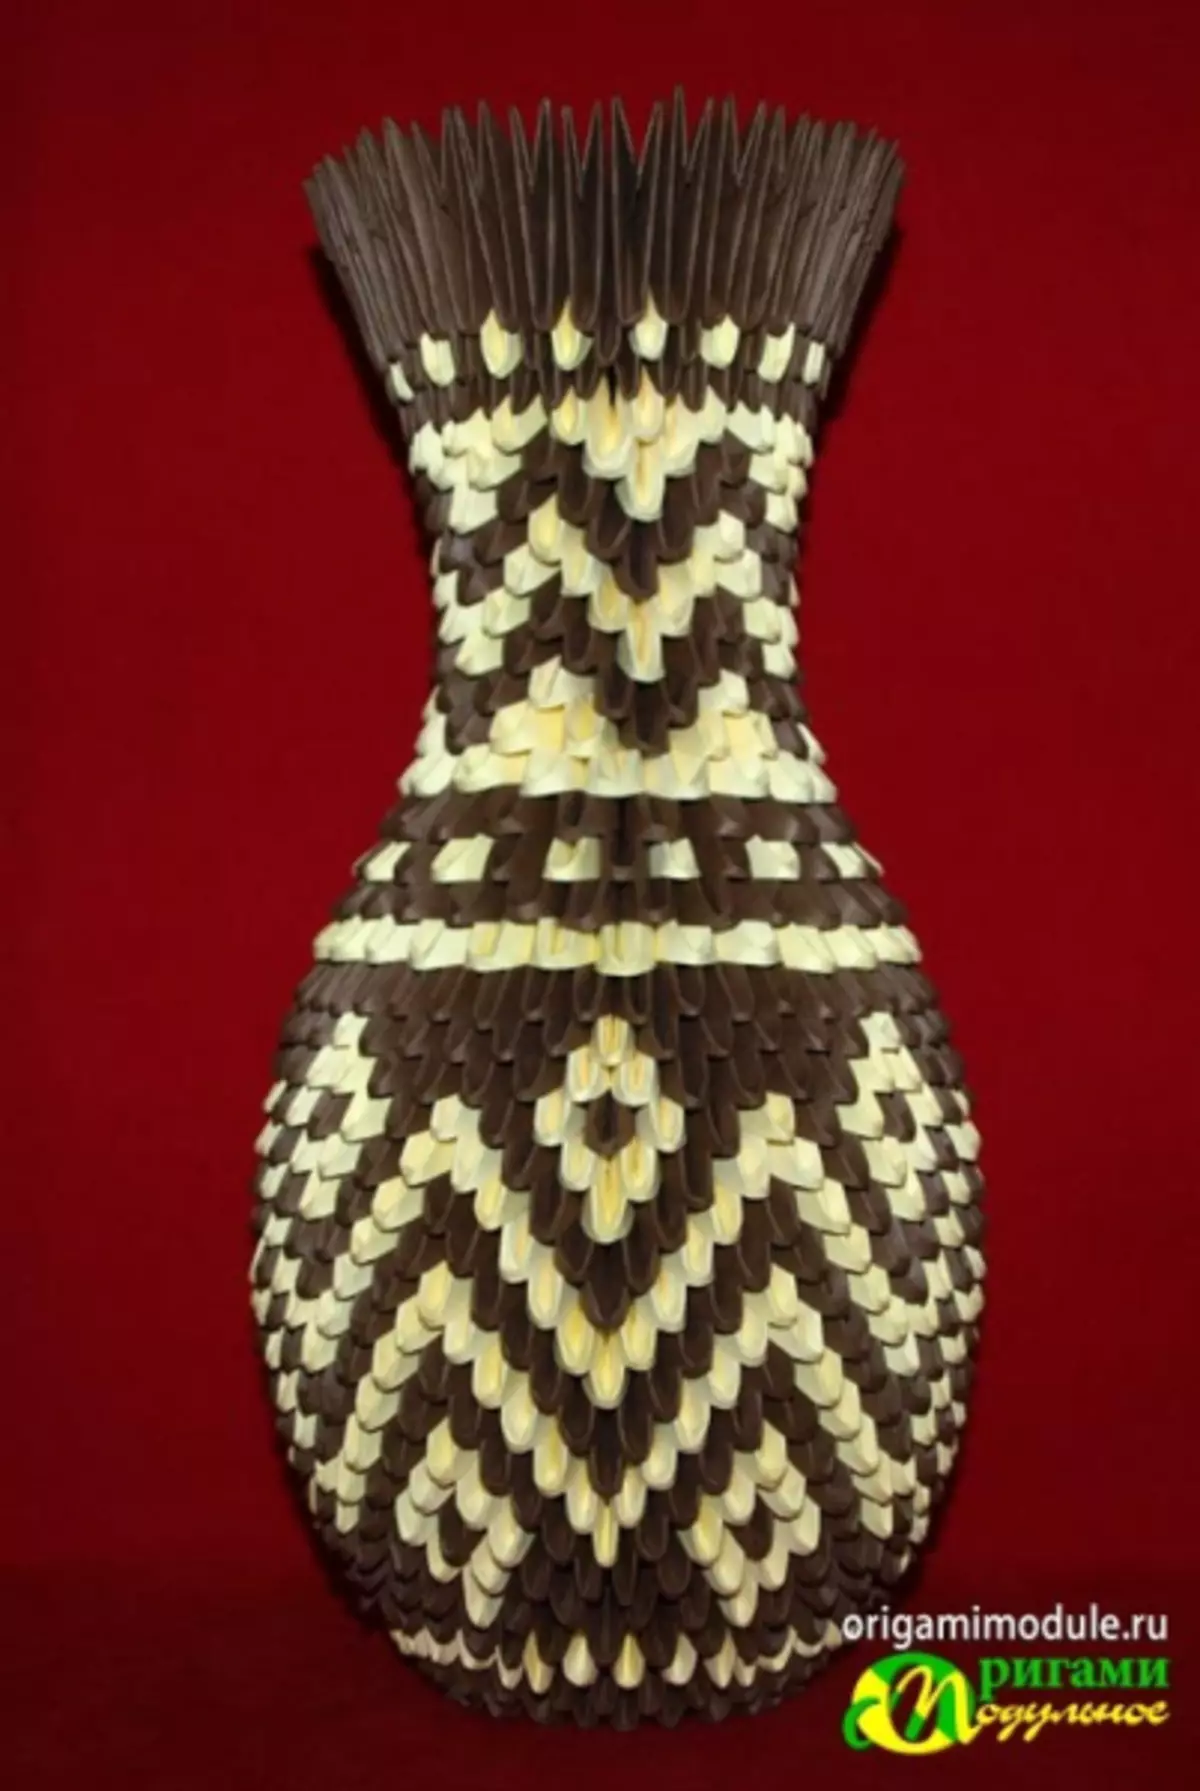
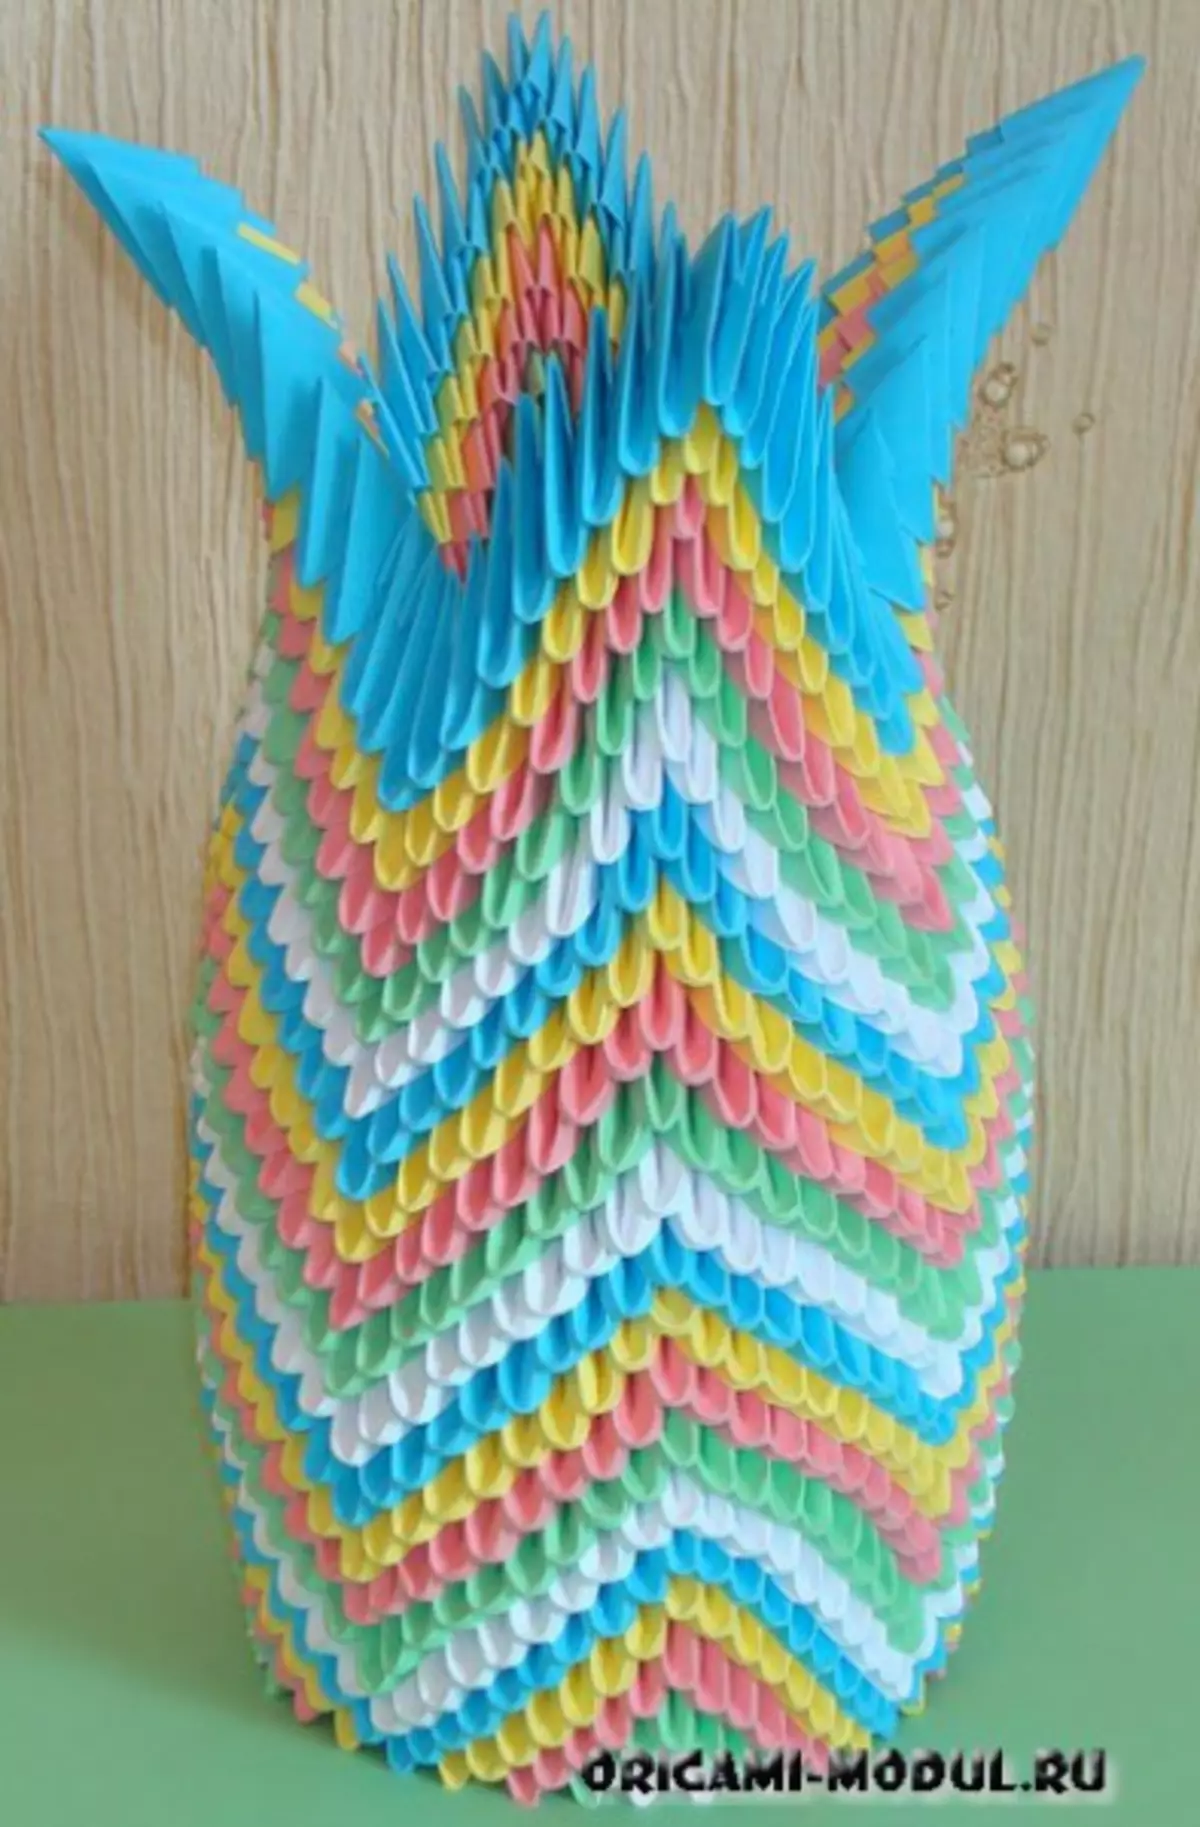
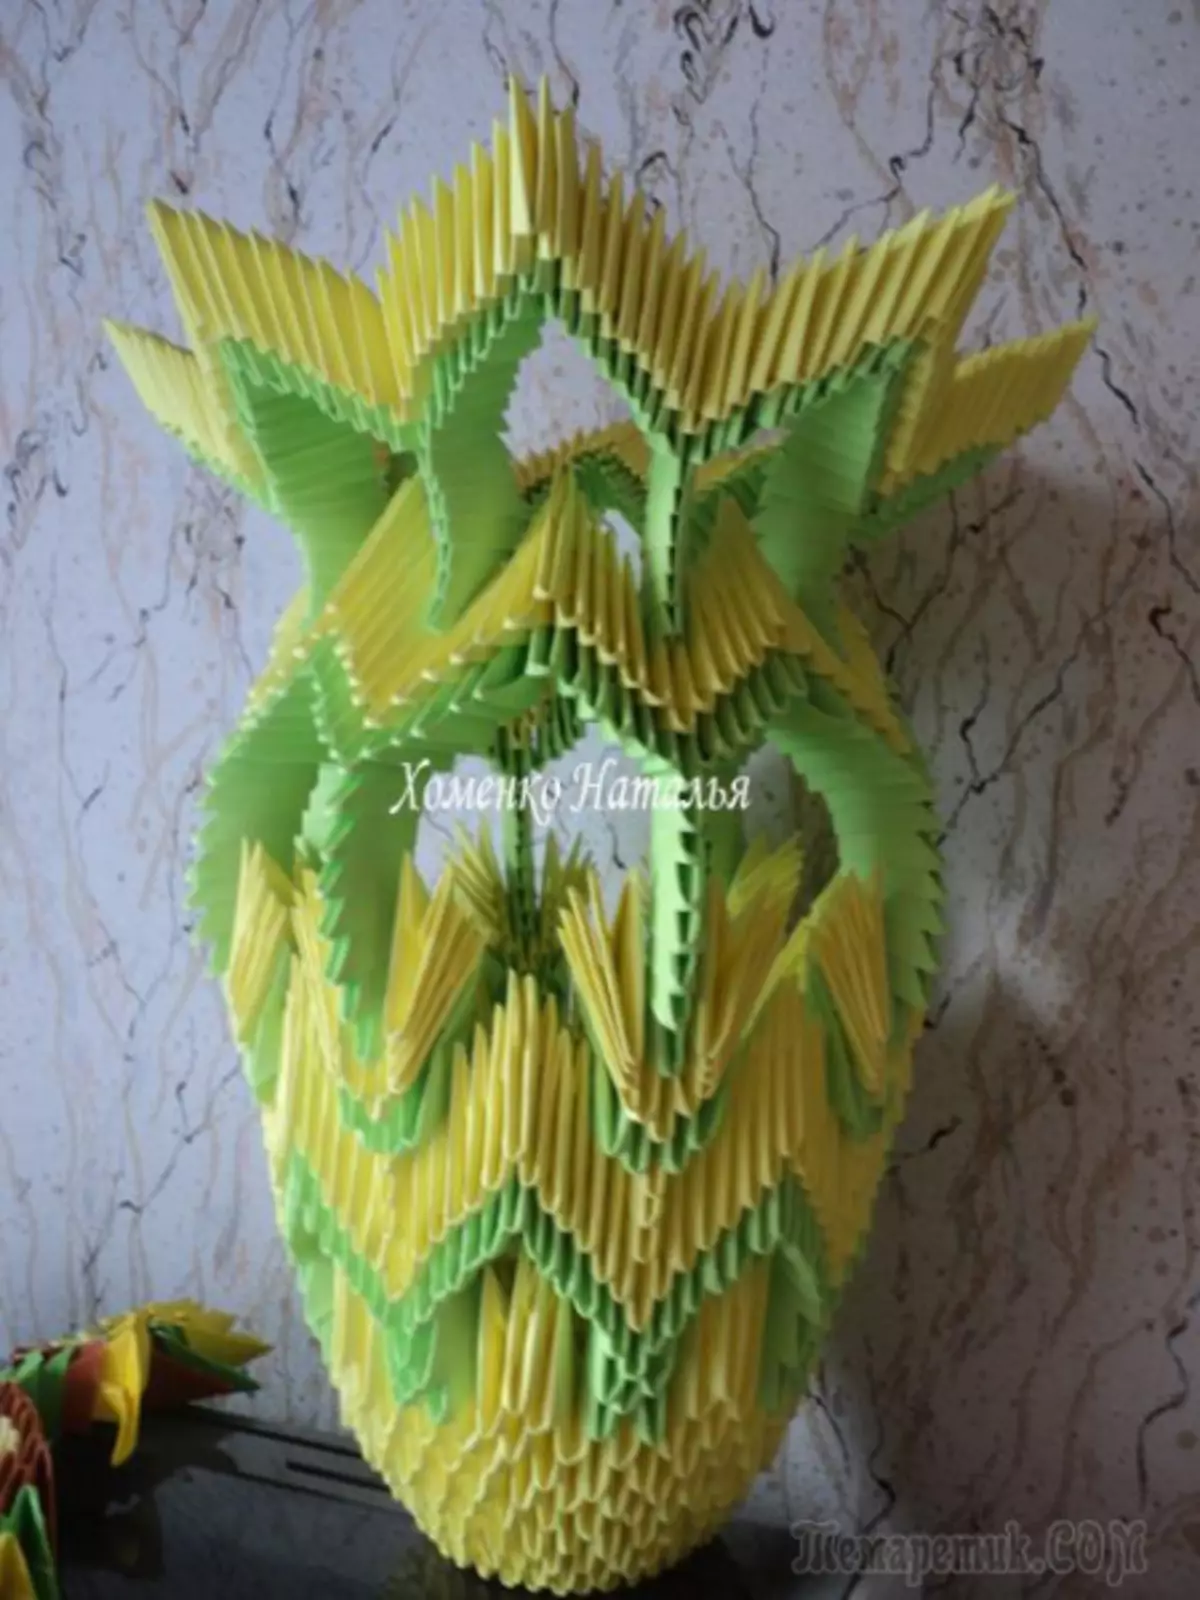
If you want a vase more effectory, make it modular origami in the technique. Such a vase will serve you longer and will be a good decor element, both for a bedroom and for a living room, kitchen or a working office. It can also serve as an independent gift for mom, work colleagues, sisters, girlfriends, or neighbor. Every woman will be glad to such a nice gift. Today we will make this vase together:
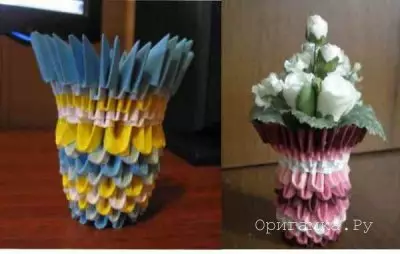
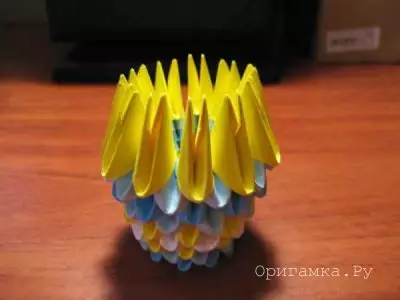
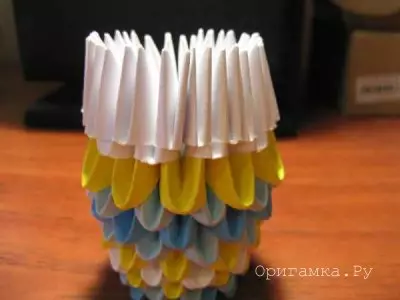
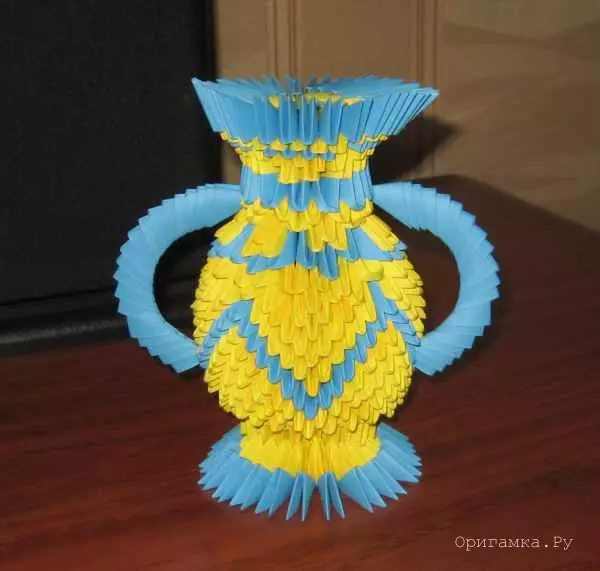
For this craft, we will need 192 modules of different colors: 54 blue modules, 54 yellow modules, 42 modules of blue and 42 white modules.
For the first row, take 12 blue modules, and for the second ─ 12 blue. We connect them to the ring.
Article on the topic: Origami from modules for beginners: Schemes of crafts with photos and video
For the third row, take 12 yellow modules and also stand them in a circle.
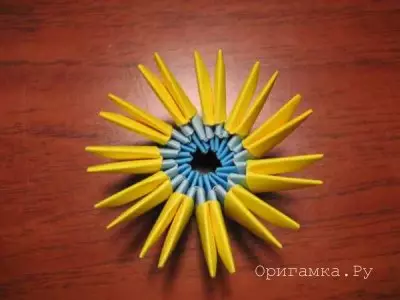
For the fourth row ─ 12 white modules.
Collecting the fifth row, take 12 yellow modules again.
On the sixth row we will need 12 blue modules.

And on the seventh ─ 12 blue.
For the eighth row, take 12 blue modules again.
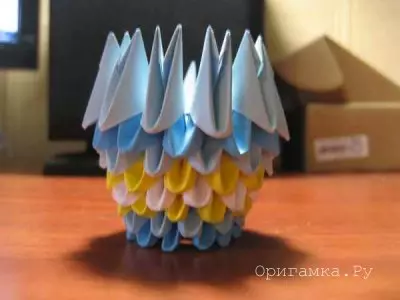
And for the ninth ─ 12 yellow.
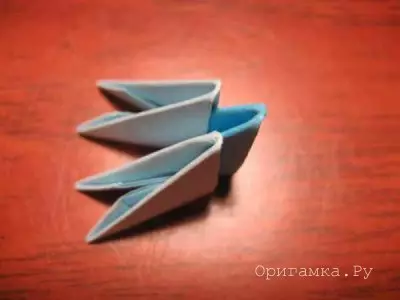
On the tenth row we will have to have modules with a short side outward, for this we take 12 white modules.

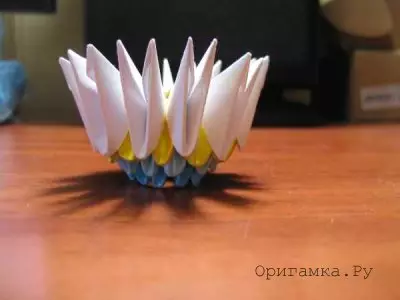
In the eleventh row, we will increase the number of modules up to 18, these will be white modules that we will periodically wear on the modules of the previous row.
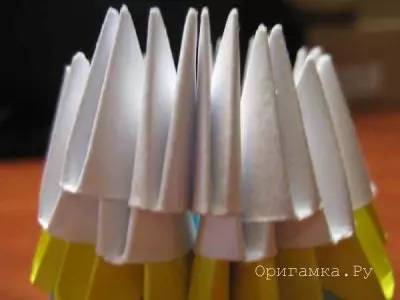
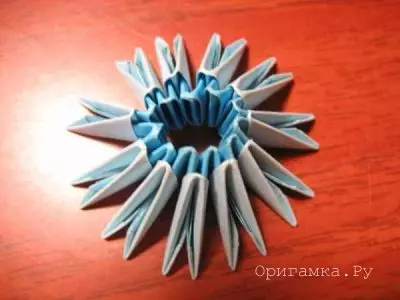
For the twelfth row, we will need 18 yellow modules, and we will wear them short side out.
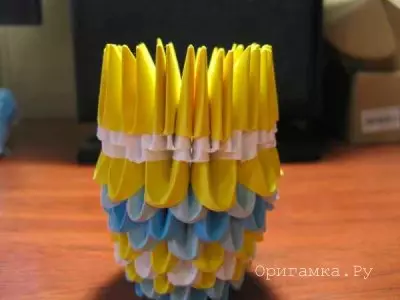
For the thirteenth row, take 18 blue modules.
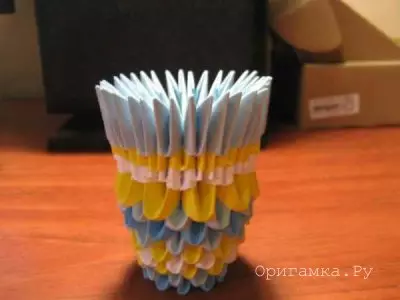
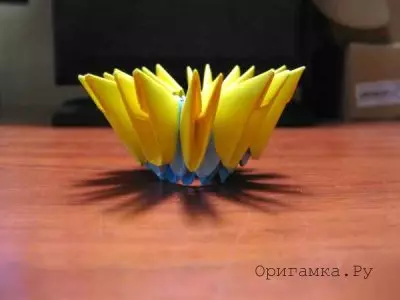
And the fourteenth row will be the last, for him we will take 18 blue modules. Here is our vase and ready.
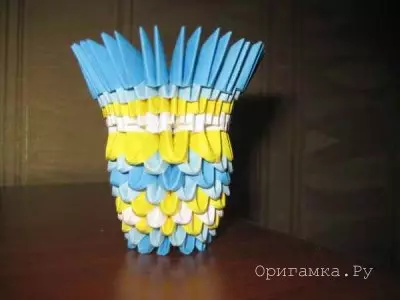
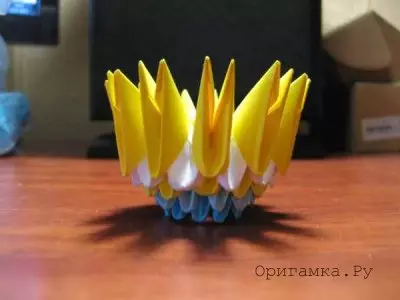
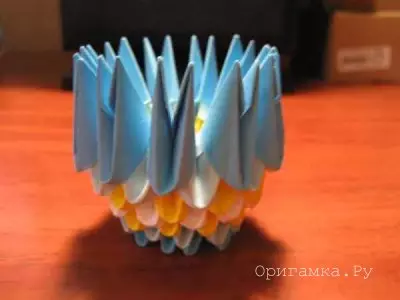
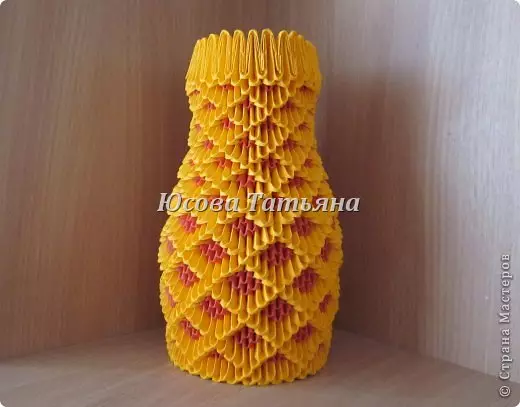
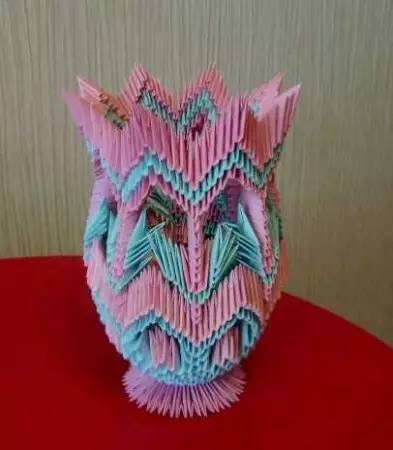
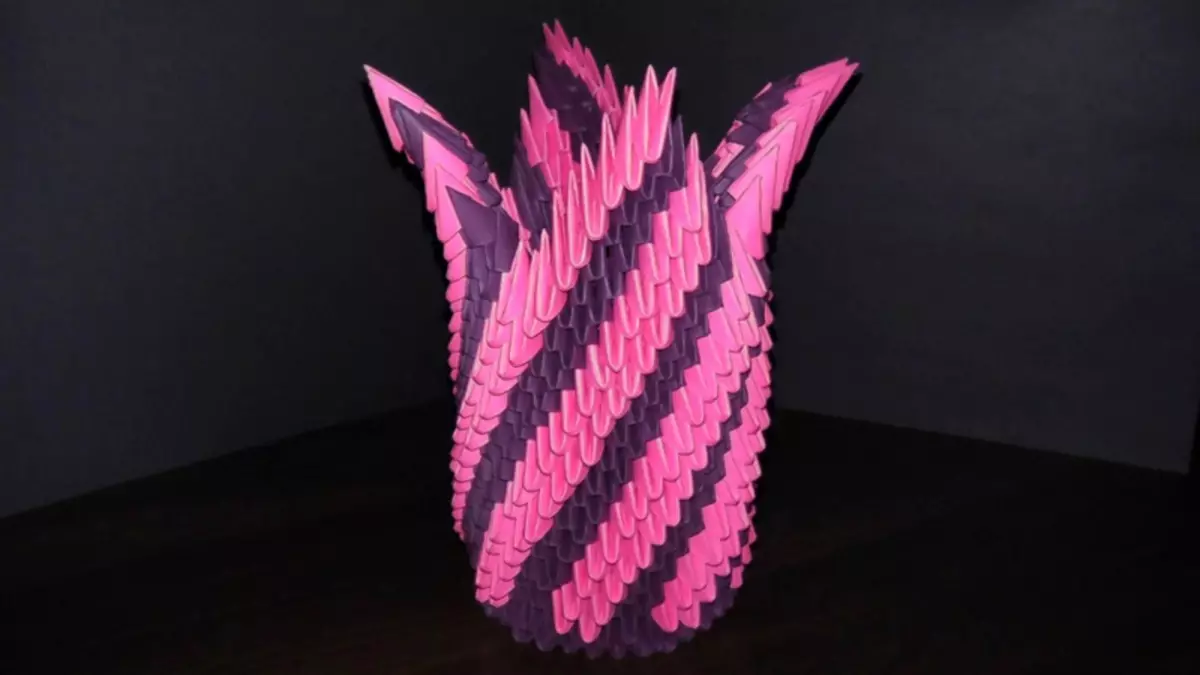
This is a simple vase, it is small, but still artificial flowers, or flowers made in the technique of modular origami, they will fit into it. And now we suggest watch photos, what are there still crafts VAZ in this technique.

Video on the topic
And now we turn to the video. After reviewing them, you can make more complex vases in the technique of modular origami.