
Refrigerator in the car with your own hands (3 options, photo, step by step)
Option number 1. Passive autoTerm with your own hands
I do not know whether I chose the section right, but I decided that this topic would be here. I suggest everyone to share here your experience home Made ...
I myself want to share with teammates of the construction of the homemade, mobile and hiking refrigerator. The thing is very necessary, for trips to nature and the sea, naturally.
This year, we will definitely go to the sea. "Topmeozont" and drinks so as not to deteriorate, it is better to keep in the cold. And for this you need a refrigerator. Buy auto thump from the cigarette lighter for 4500 p. I do not give "toad". Therefore, even for the old car, it was decided to make a new, major refrigerator with "cold batteries" in the form of frozen one and a half with water. The old refrigerator made of packaging cards served 3 trips to the south, and was ruthlessly thrown into the garbage (the photo attached at the bottom (not a garbage and the refrigerator)).
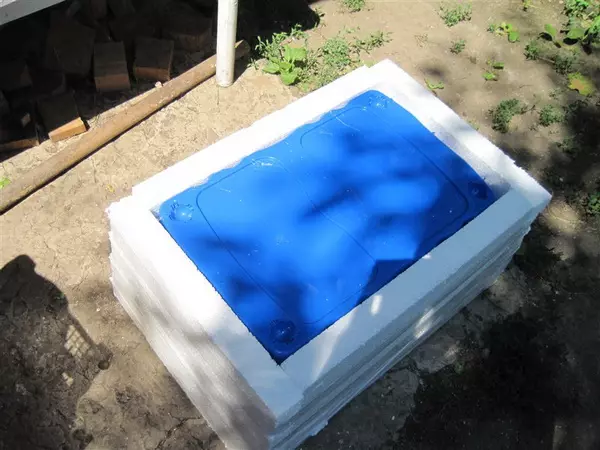
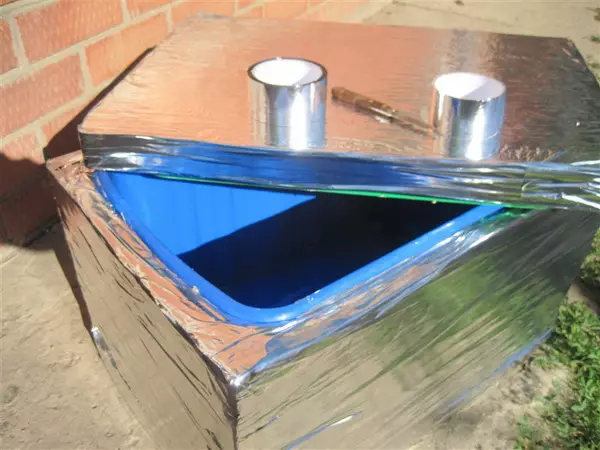
So what and what was done. The refrigerator size was selected 400 * 400 * 300 mm, based on the size of the trunk in the old car (too big would occupy a lot of space, and there was no place to lie down).
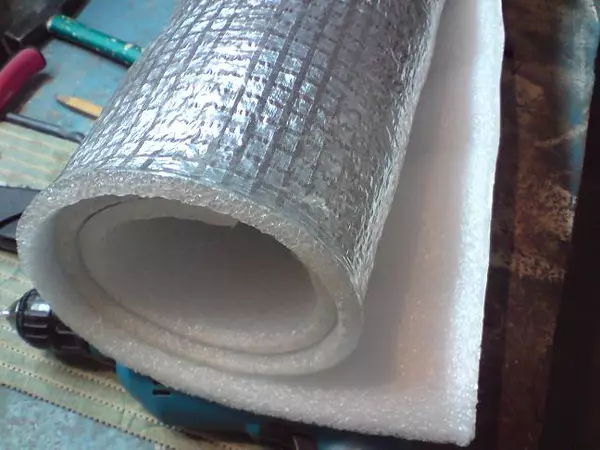
Warm, or rather heat insulating, solved foamed insulation with a foil on one side, a thickness of 10 mm. Width 1.2 m, length 1 m. The price is 90 p / 1m.
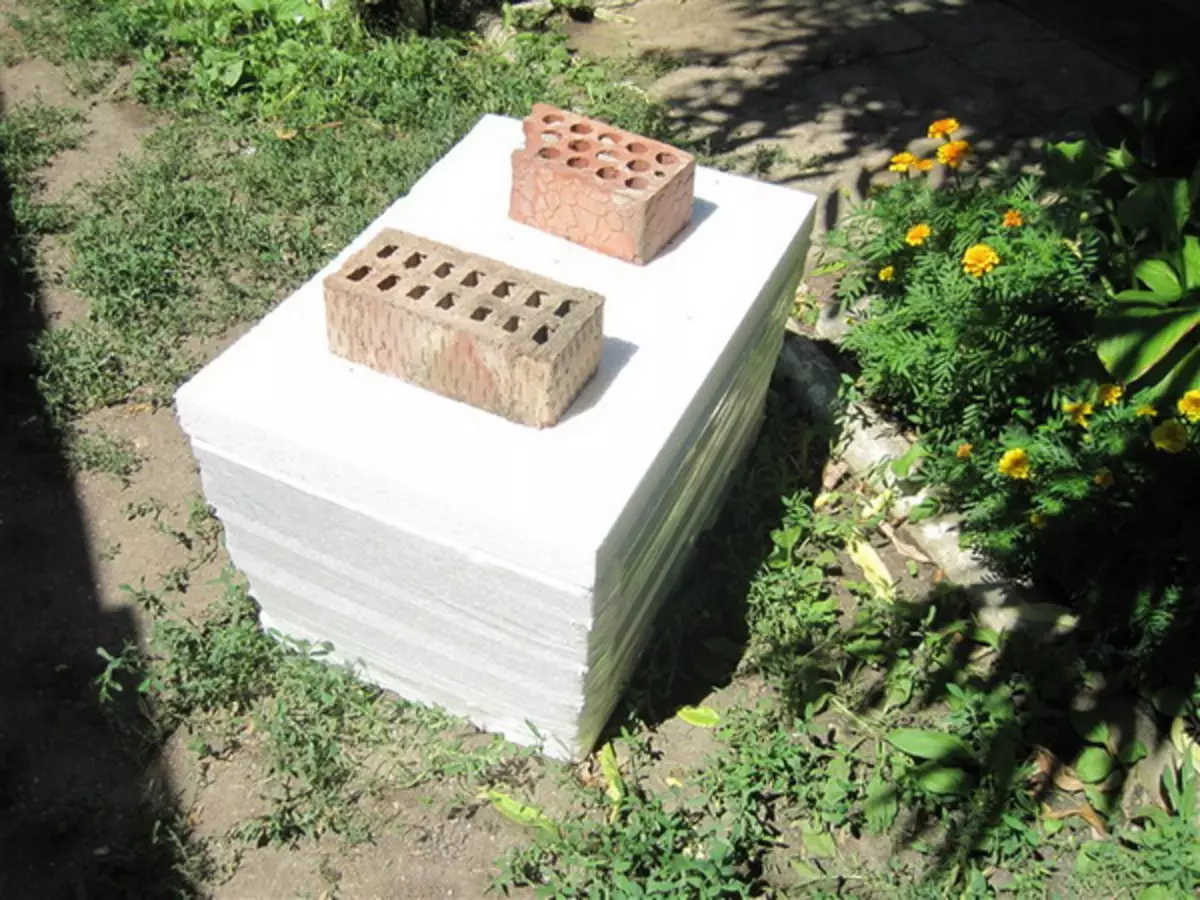
The material of the housing was the waste of our furniture production - MDF (or, if clearer, DVP) with a thickness of 10 mm. Two aluminum corners 15 * 15 mm for 120 p. for both. Also bought exhaust crosses 4 * 16 (100 pcs. - 50 r.) And 2 furniture bar loops of 30 p. Each. That's all expenses - 295 p. Tools and equipment are borrowed at work (where the refrigerator was going).
Article on the topic: Hinged lock: How to choose the core and alloy design?
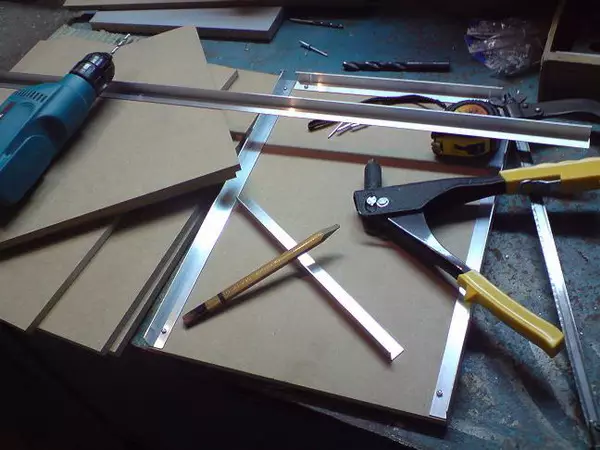
Suts off at the place of the corner, slowly begin to collect the box of the future refrigerator.
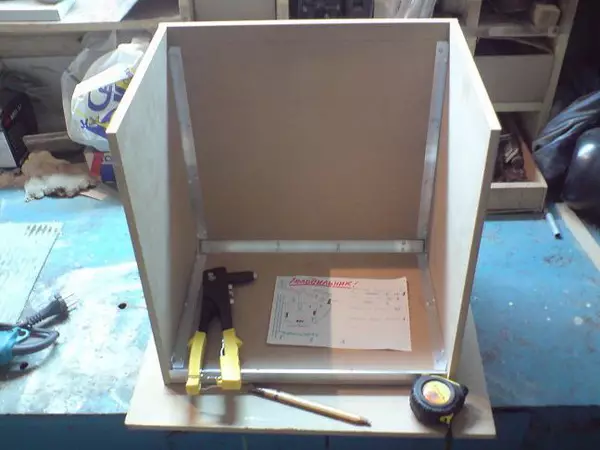
As a result of "titanic" works, it turned out such a nice box.
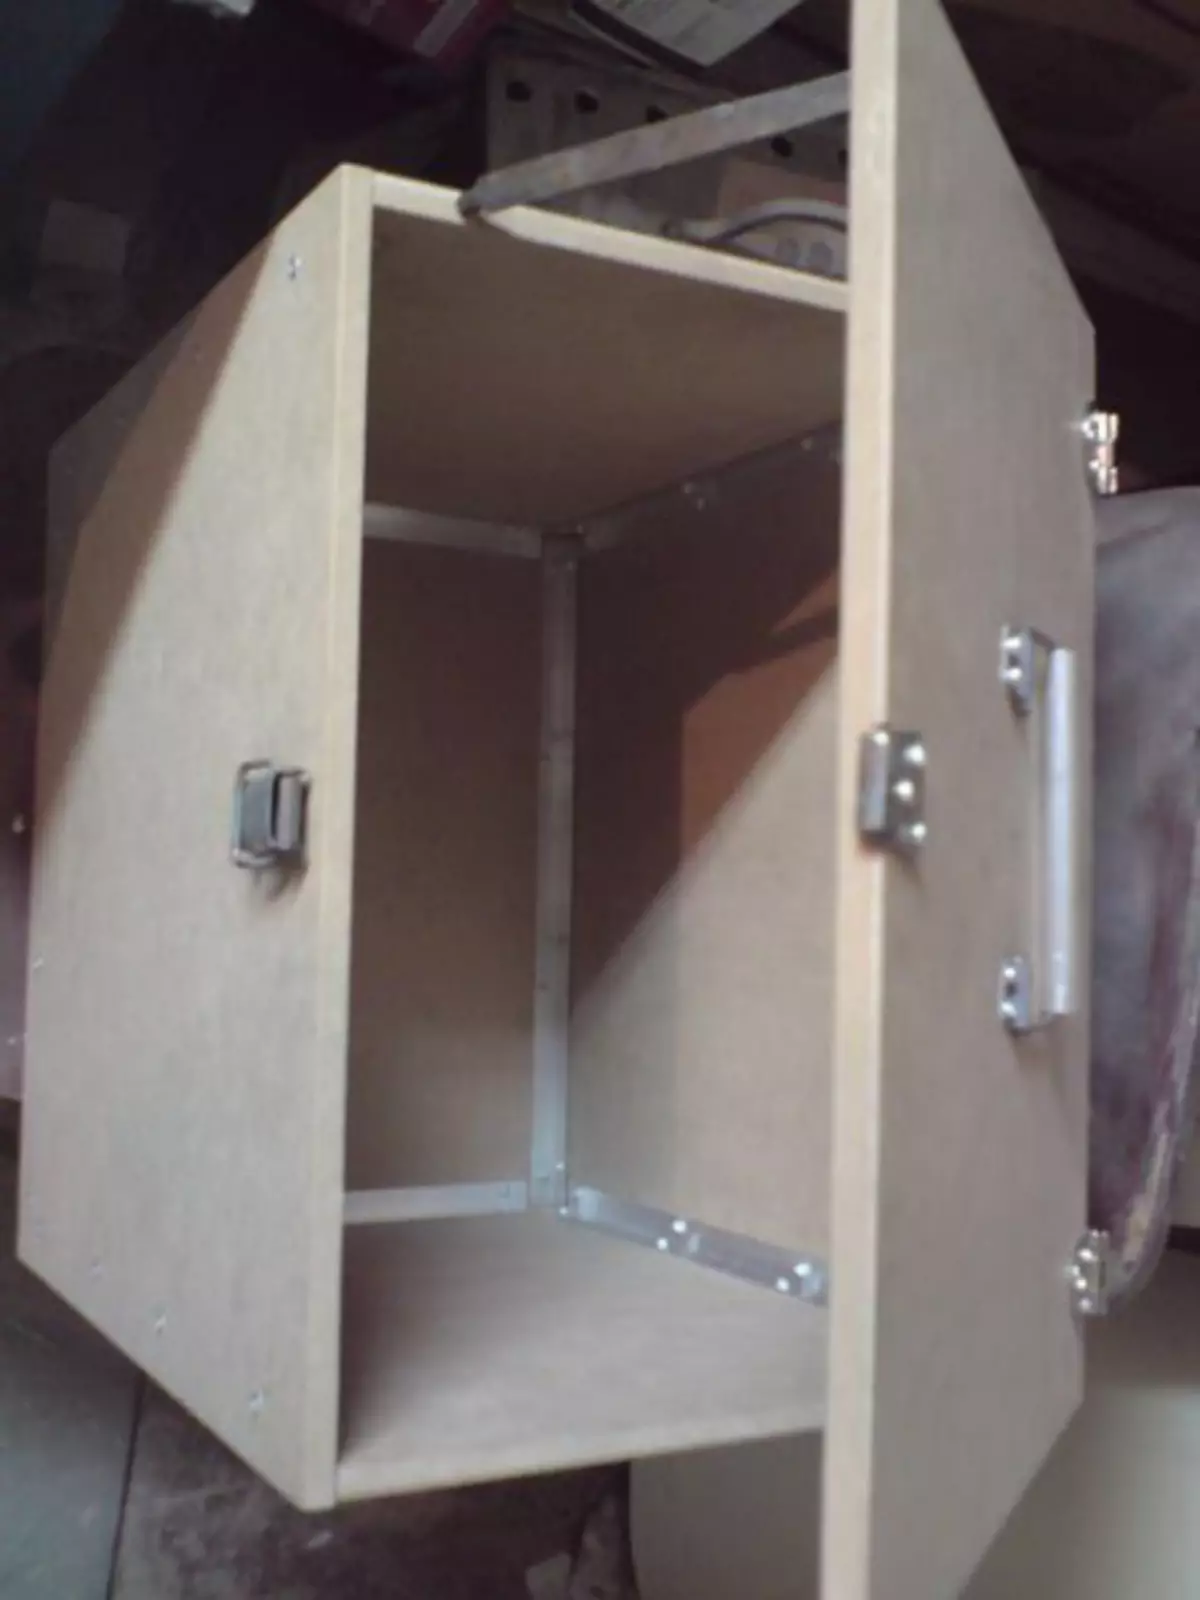
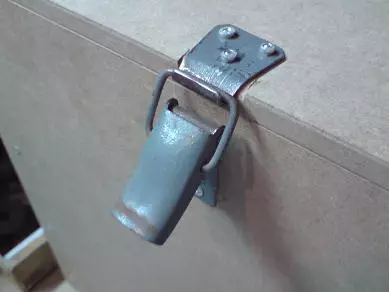
On the box cover, I put a snatching lock and the folding knob from the wire. In order for the finished refrigerator along with the packaged food, it was possible to transfer in hand. And then he stuffed with water and food becomes very hard! But, as they say, his own burden does not pull ...
Now we proceed to the box of the drawer from the inside insulation. I decided that the bottom and the cover would be placed in 2 layers of the insulation, and the walls in 1 layer. For the attachment used "liquid nails". I smeared the workpiece of the insulation "nails", glued it to the wall and pressed the cargo. Privided well, I tried to tear off - the glued seal did not succumb.

As a result, after 3 days of work in free from the main work, the time (which is not so much), it turned out such a nice refrigerator with a folding top cover on a latch.

4 second and a half liter water bottles, or 6-8 half-liters, pre-frozen in the freezer will be fixed in the corners or on the bottom. You can use mineral water, cold, and with gas, in the heat of Wow. The mineralberry is better to take half thelit, this volume is most practical. Bottles are poured with water not complete, otherwise, when the water is frozen, the ice will expand and breaks the bottle, and the products will float in the outflowing water. To save space in the refrigerator, you can buy a branded "Cold Battery" in the store - these are special packages or flat boxes with liquid inside, which are used instead of bottles (one large costs about 120-150r.). Only bottles are free with spring water! And even when the water in them begins to melt (and this is somewhere in a day), it can be used for cold wash or drink.
Article on the topic: Norwegian style in the interior
Using the previous, cardboard refrigerator, food and drinks are not eaten and not drunk on the road, I got cold to the sea. In the new refrigerator on the sea, we even brought our still ice, he did not completely melt! This refrigerator can be used as a stool. It did not specifically paint, so that it would be seen if something happens with the MDF (for example, if it starts to brew from water). The refrigerator is completely satisfied, he justified the time and small money spent on its manufacture. And a lot of benefits are very much !!!
Posted by: Radist.
Option number 2. Passive autoTerm with your own hands
Immediately I will say that this thermos auto thump came up with my friend Valera !! For which we are very grateful to him. He lives in the south, it's hot with us, so the autochole devices for products on vacation are catastrophically lacking, especially if we leave the big company. Valera is such a thermos- the auto-retardant with his own hands made several years ago, so I decided to do this.
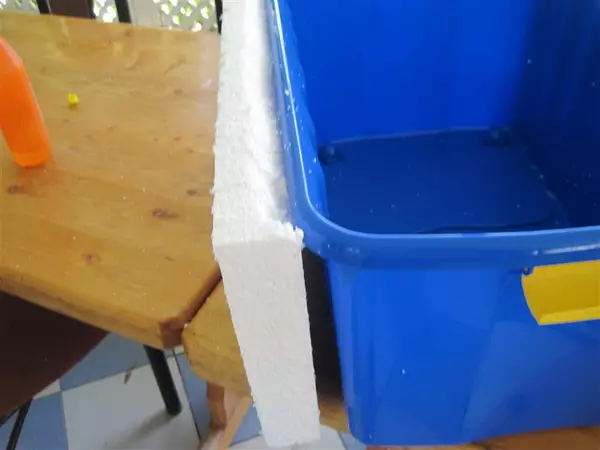
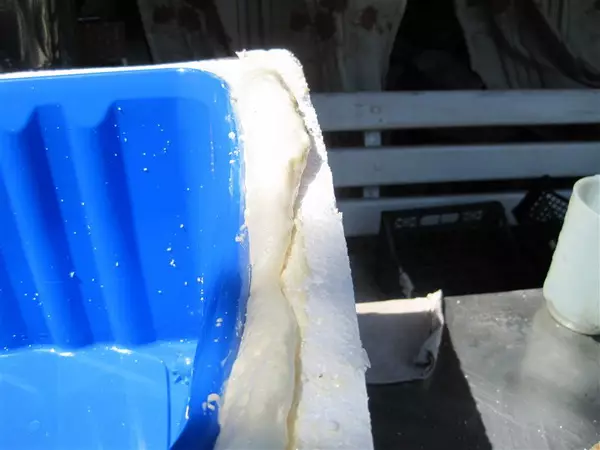
Total, having bought a box for children's toys - 350 rubles, 2 sheet of foam 2x50 rubles = 100, 2 two mines of metallized tape 2x100 + 200, glue universal 80 rubles, foam assembly 120 rubles and 850 rubles and 2.5 hours of my precious time.
Go:
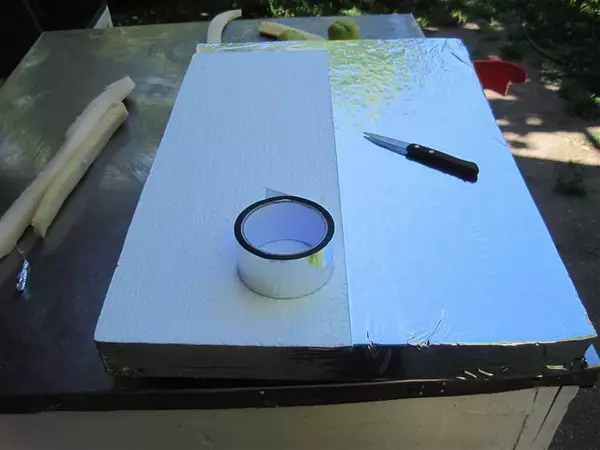
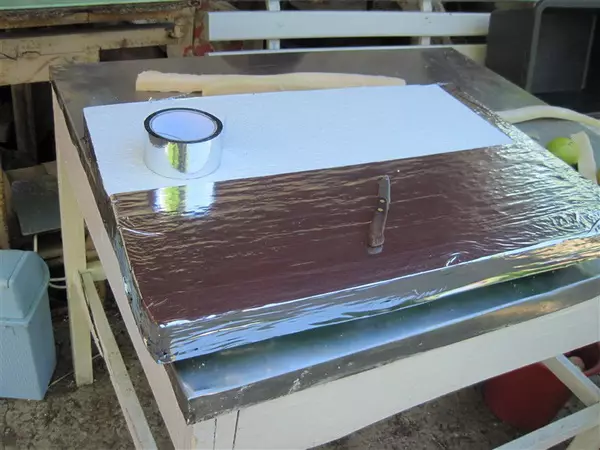
Within two days, the compotik from the thermos on the spit muster, overboard about 40 degrees, the flight is normal:
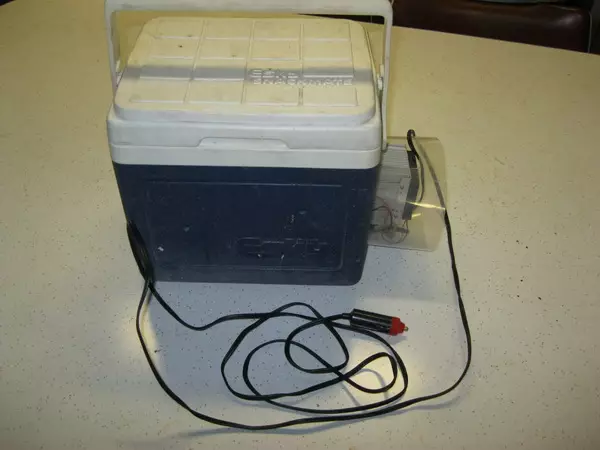
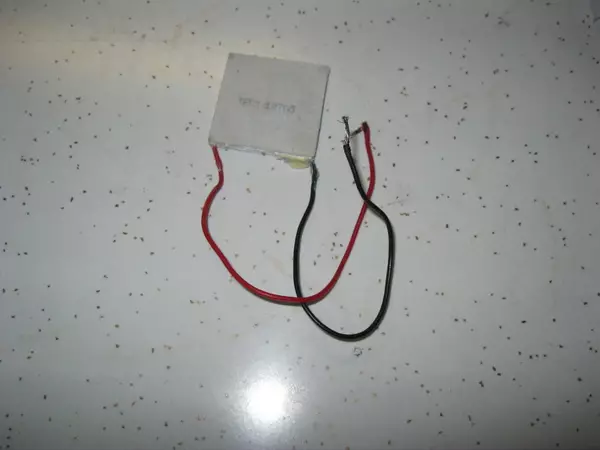
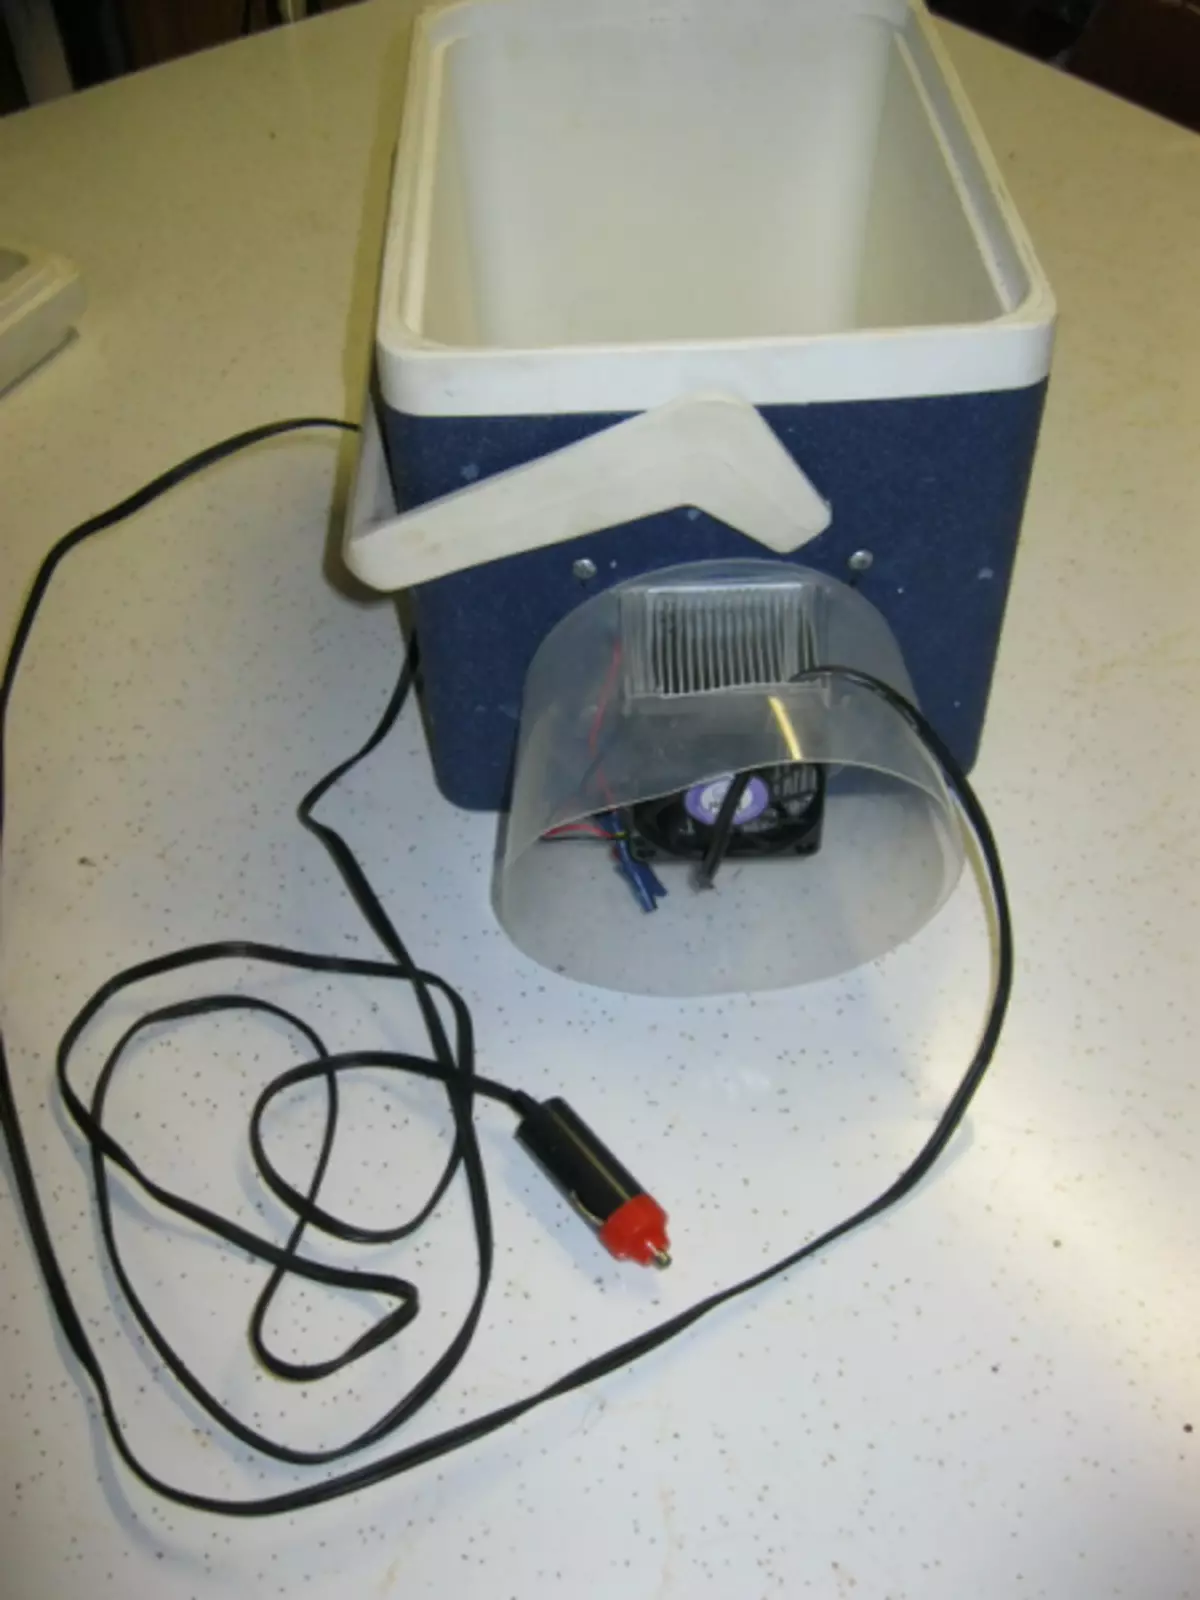
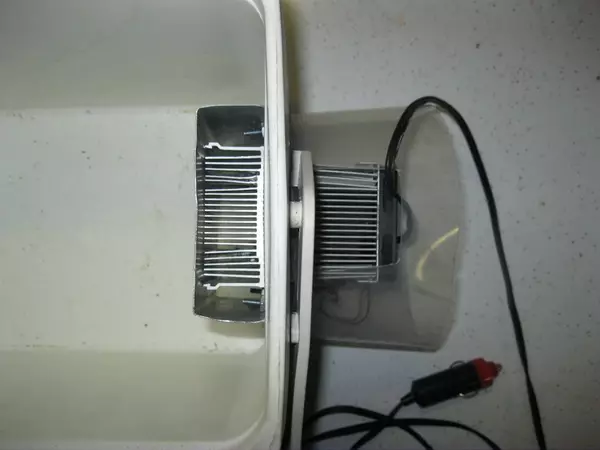
Option number 3. Active refrigerator on Peltier Element with your own hands
Consumables:
1) Peltier element (rarely applied to cool computer processors)
http://www.ebay.com.au/sch/industrial-/170769/i.html?_nkw=peeltier&_catref=1&_fln=1&_trksid=p3286.c0.m282.
http://ru.wikipedia.org/wiki/Elent_Wextier
2) Old Boxing Esky
3) Pair of radiators from computers
3) wire and horseradish in the cigarette lighter.

Prelude:
Like a boring evening, gently folded computer jewels from one place to another.
The will of the fate, in one hand were the elements of Peltier, in another radiators. And it was necessary to happen to provodment, an old esky came across.
Article on the topic: Helpful tools for the kitchen
In general, after the brewing came to the head of a crazy thought. Babe fridge from computer trash.
Two radiator were taken, holes were drilled. Esky made a hole for the radiator. Everything twisted bolts and it turned out what happened. Outside there is a cooler from the processor, on the inside of the natural convection.
Pluses = 1) It works.
Cons = 2) One element is small. 3) The cigarette room is heated. 4) During operation, the element not only moves heat from the inside - outward, but also produces heat itself. That is, (assume) when the temperature of the inner radiator is dropped into two degrees, the temperature of the outer radiator is increased by four, five degrees.
... something else was, now a nonsense.
Conclusions:
Items should be placed on the lid (easier to mount, the cold itself drops).
The elements are necessary somewhat, for at least some cooling.
Use either "crocodiles" or T-shaped outlets. The cigaretteel area is small for this (from which heating occurs).
Radiators are needed a much smaller size (2/3 It is necessary to cut it unambiguously), use the monoblock is thinner, and wider (and even also copper ...). Well, I used it that I was caught.
Generally. It was a pilot project, too, will be completed in the future for the container.
Posted by: Eldar
Tip: It is necessary to combine the effectiveness of autothermos and Peltier elements instead of or in addition to cold batteries.