
Each master knows that the process of tossing the neck with the knitting needles is extremely difficult, but important, for the final result of the work, the moment. It does not matter, sweater, dress or cardigan you knit. The neck should always be closed extremely gently and accurately calculated. Only in this case will look flawlessly. Today we will get acquainted with one of the many scheme calculation schemes and consider the process of knitting the throat-boat.
Product calculation scheme
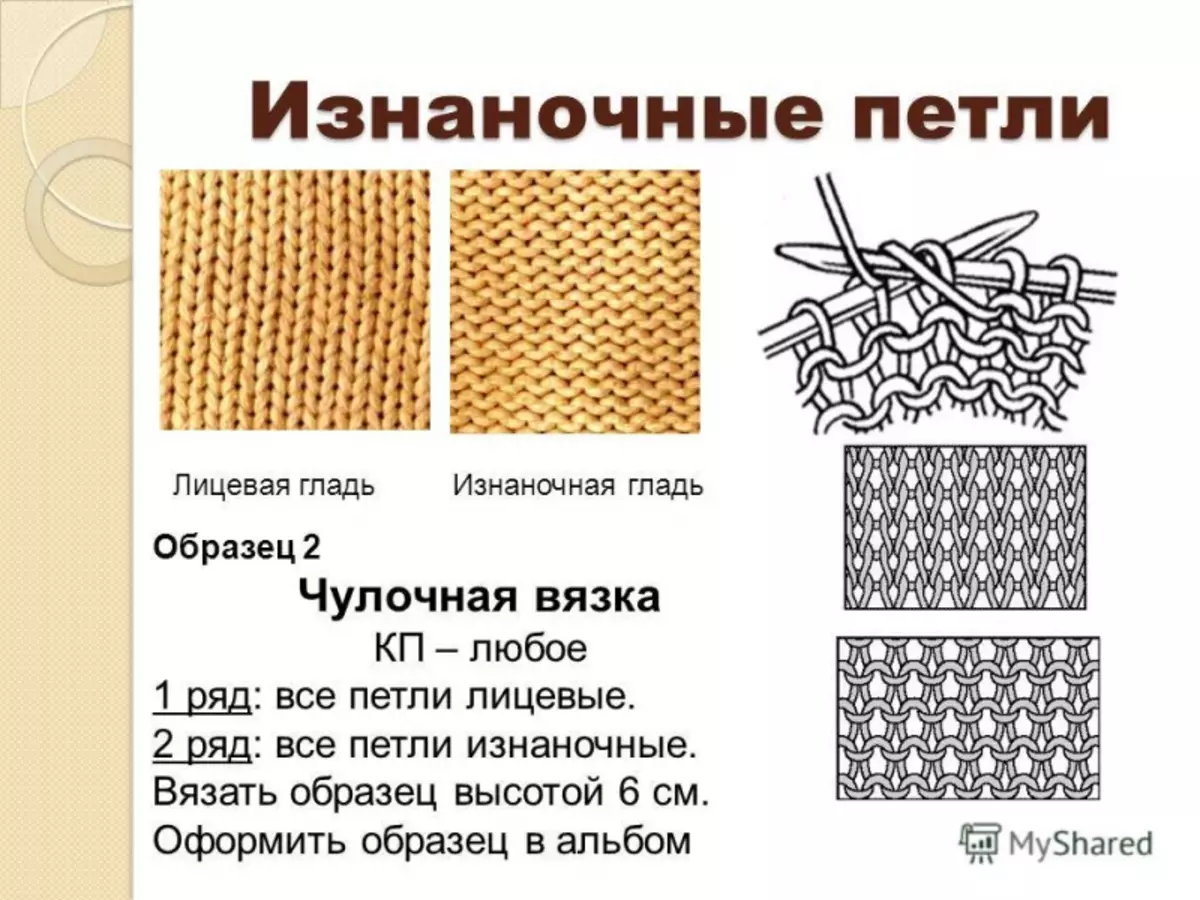
To begin with passing, we need to know your knitting density. To do this, knit a small sample and calculate the density of knitting.
In our case, 17 loops on 10 rows on a segment of 10 per 10 cm. In other words, 17 loops and 10 rows will enter the segment at 10 cm.
Next, we define the width of the neck. In our example, the width of the neck will be 25 cm. To calculate the amount of loops on the width of the neck, we multiply 25 * 1.7 and we get 42 loops, this is the number of loops that will enter the width of the neck. We divide 42 in half and get 21 loops, we do it, because the calculation makes half the neck. The second half is encouraged similarly.
Measure the depth of the cutout. In our case, it is 7 cm. We consider the number of rows to the depth. 7 * 2.8 and we get 20 rows of facial and invalid. Accordingly, we knit 10 facial rows.
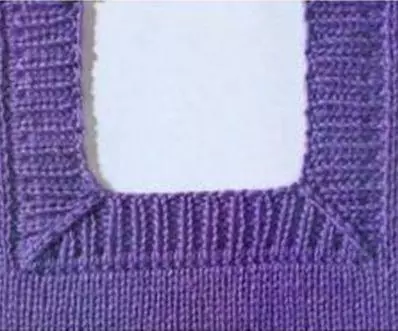
If you visually present the diagram of the neck, divided in half, then we will see that it can be divided into 4 segments:
- Horizontal;
- Gently;
- Inclined;
- Vertical.
We distribute the number of loops by 4 segments and get 1 - 6 p, 2 - 5 p, 3 - 5 p, 4 - 5 p. In the first segment, we close 6 loops at a time. We divide the second part for two, i.e. we will close for two receptions (3P * 1 and 2P * 1). Third part divide into three parts (2P * 2, 1P * 1). The fourth part is divided by four segments (4P * 1, 1P * 1). As a result, we get such a result: close 6p -1 times; 3P - 1 time; 2p - 4 times; 1P - 4 times.
Article on the topic: Weaving from the rope with your own hands: how to weave macrame with video and photos
If all the loops were closed, but the non-touch rows remained, in this case knit directly, without rejection.
Note! If you knit the product with patterns, such as braids, then you will have to navigate the pattern. The middle of the neck should coincide with the pattern, otherwise the product will not look proportionately. The neck of the back is calculated by a similar scheme.
More detailed and vividly scheme for calculating the neck is given in the video selection at the end of the article.
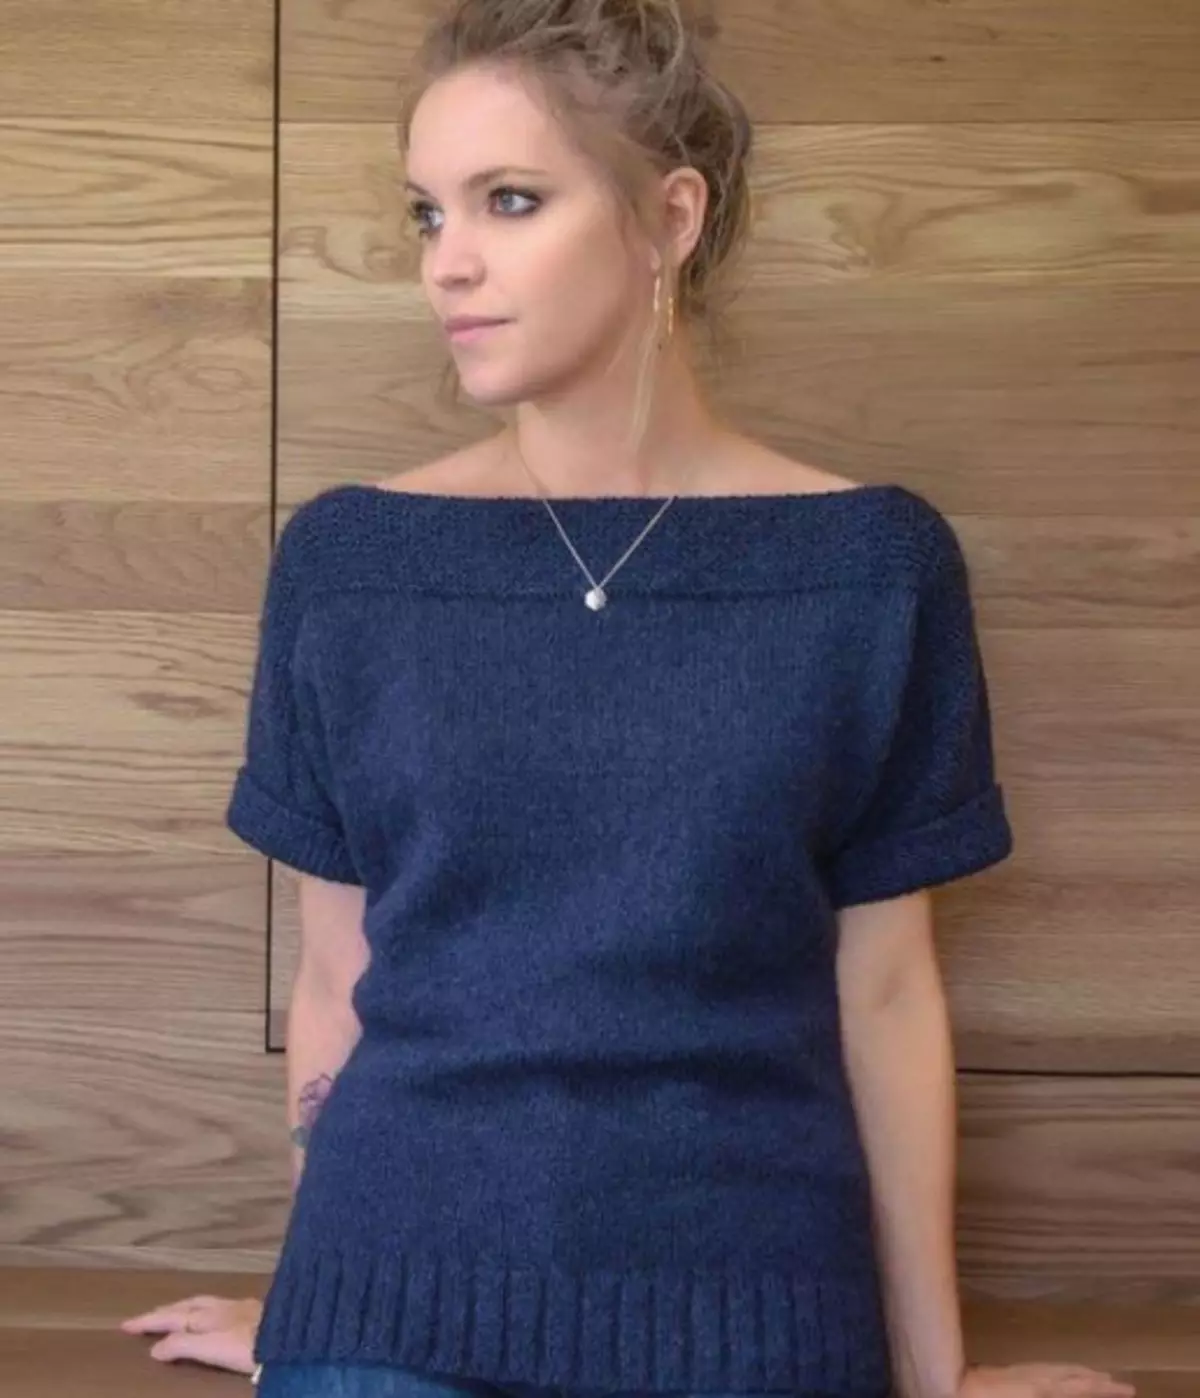
For a feminine image
The choice of the boat is ideal for lungs, female products. Whether a sweater or dress, such a neck is stripped to emphasize the line of the clavicle and the feminine bending of the shoulders. Such a gate is very gentle. It looks great with the long pearl thread.
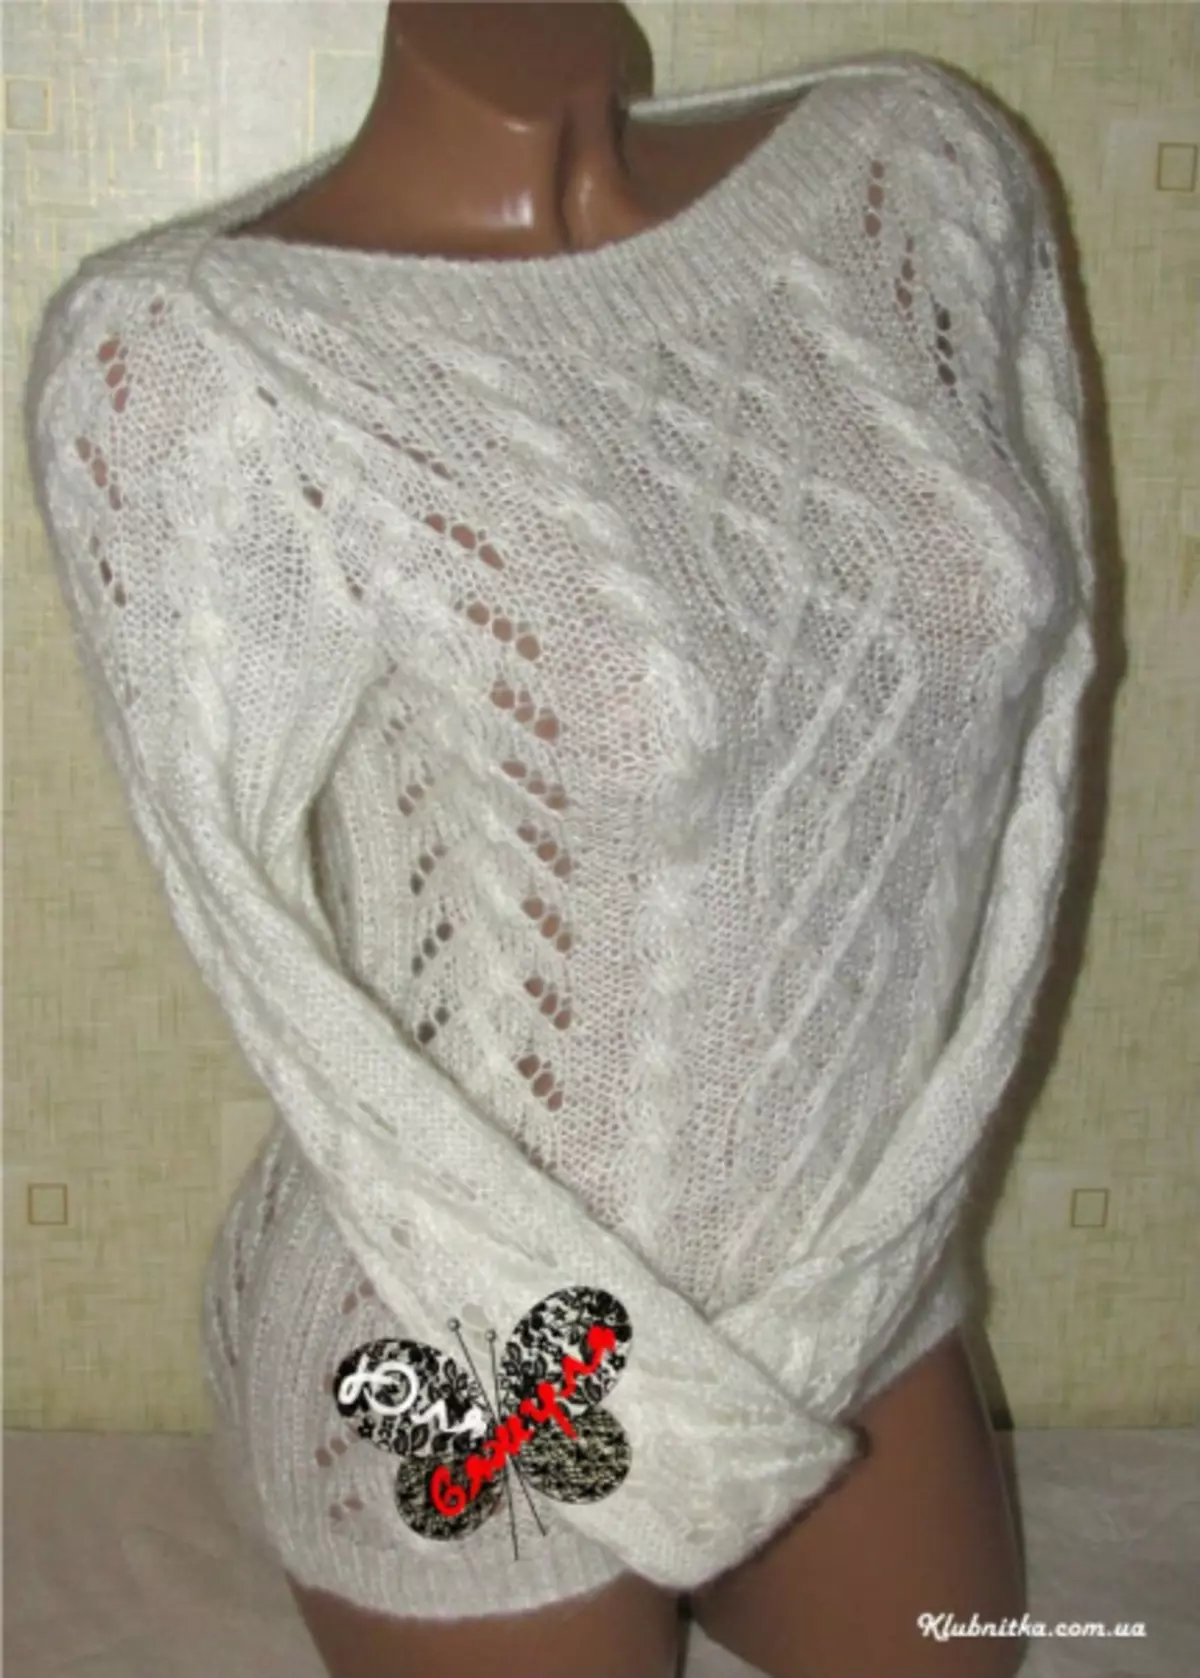
This option is often preferred by those who first knit a big thing. The recovery of the neck of this type does not require special skills.

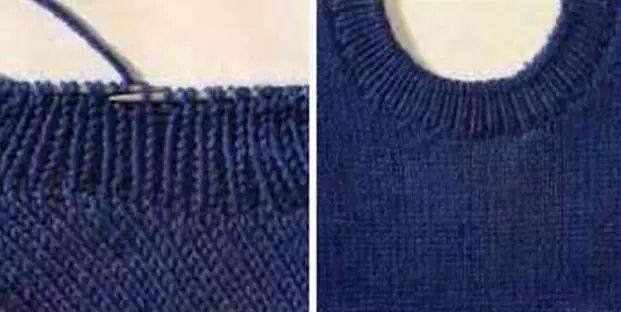
Let's look at step by step knitting the throat-boat on the example of a pullover 44 sizes. At knitting density 24 loops of 32 rows (10x 10 cm).
We recruit 109 loops to the needles (4 mm) and knit English elastic band 1 facial x 1 Pouring - 5 cm. Ending knitting in the wrong row. We continue with the facial bullshit from the first set of edge to a height of 51 cm. With a smaller spoke, we convex a gum 1 × 1 (length 2.5 cm). Close loops.
Knit sleeves: on the needles (4 mm) we recruit 49 loops. Knit a cloth of 5 cm with a rubber band of 1 × 1, in the wrong row end the knitting and continue with a bustling. We add 1 loop in each row, on each side. Next, add in every 4th row and so 5 times. Then in each 6-row 18 times. As a result, we must get 97 loops. We close the loops after 48.5 cm from the first row.
We collect the product: we collect the shoulder stamps from the edge. The sleeves should be sewn so that the shoulder seam is located in the center of the sleeve. Sleeve seams are stitched and side seams.
Article on the topic: Cap-stocking knitting needles for a girl with a description and photo
Types and forms
There is a huge variety of types of Gorlowin. Of course, the choice of the neck will depend on the style and type of product. Let's consider the most common types of Gorlowin:
Small decorative zigzags:
The neck of the neck with knitting needles with the help of faces:
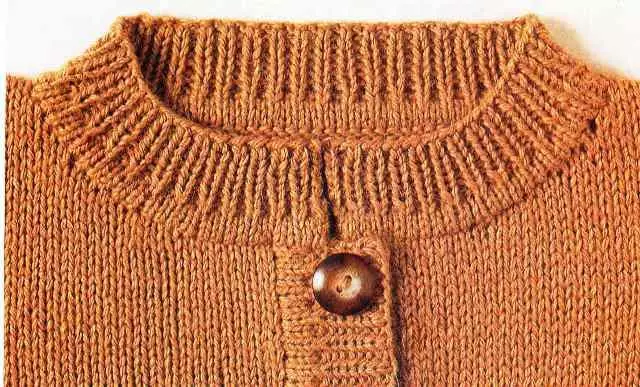
Beyk, associated separately:

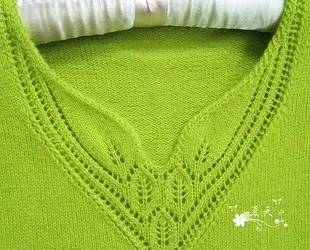
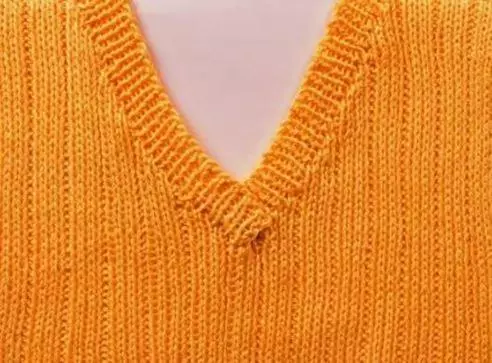
V-neck:
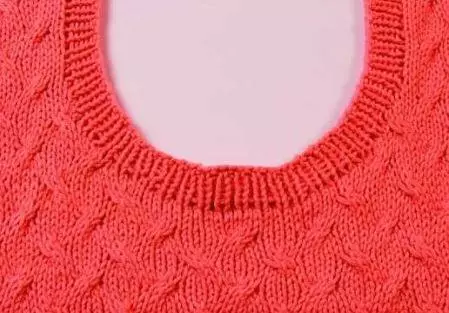
Rectangular cutout:
Baika with the Italian edge:
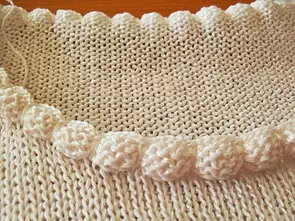
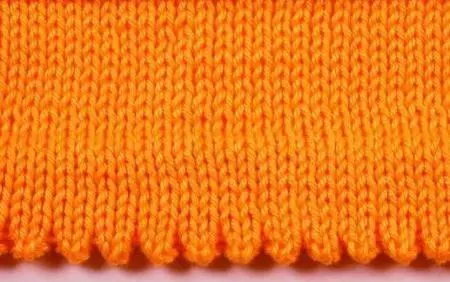
"Boat" with a bullshit:
As you can see, there is nothing complicated in the touching the neck. It is only necessary to clearly follow master classes, video and all recommendations. It is important to clearly calculate the wavelength scheme, and you will definitely work out.
Experiment and enjoy the results obtained.
Video on the topic
In conclusion, a selection of video lessons is presented, with which you can easily figure out in other ways of mating the neck.