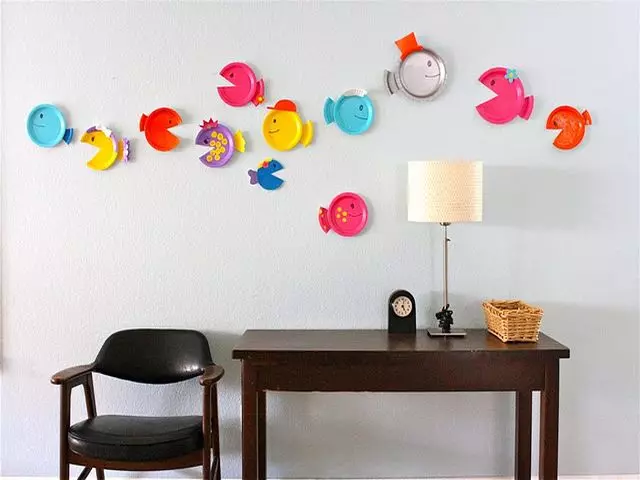
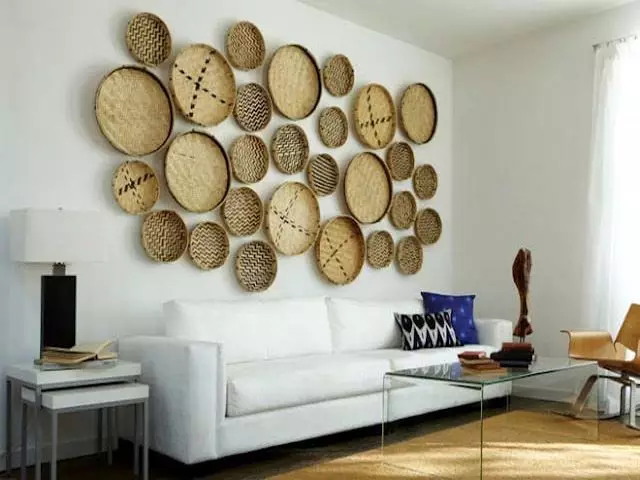
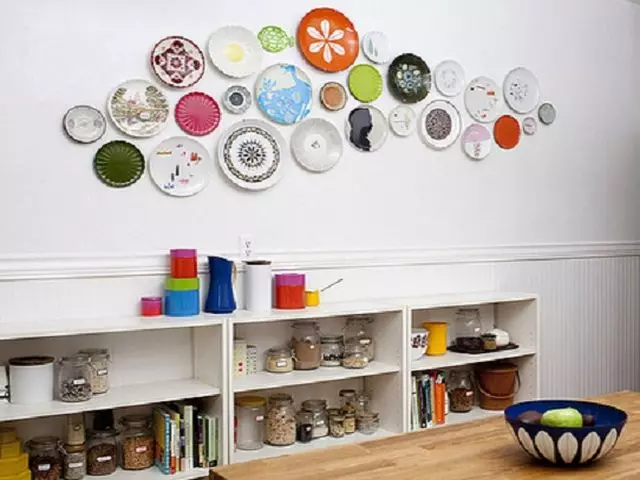
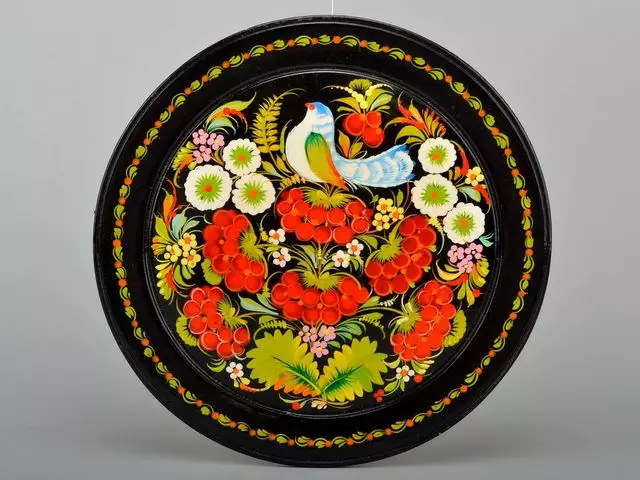
Decor for kitchen walls and rooms can be completely diverse. We are accustomed to hang on the walls of photography, paintings, panels, embroidery and other decorative elements. But now we are talking about a more original version of the decoration of the room. Decorative plates created by their own hands is a great addition to the kitchen interior. The composition of their such plates will be a truly original designer move.
Selection of interior style
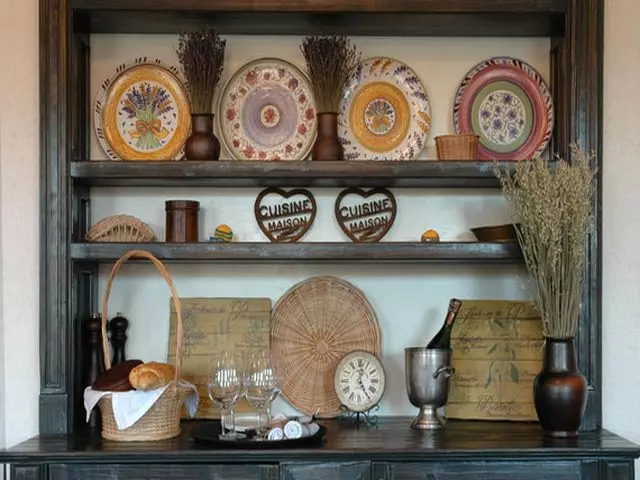
The most relevant decorative plates in the cozy kitchen interior, but they will fit into other premises of your home, be it a bedroom, an entrance hall, a living room or even a children's.
The main thing is to choose the right image on the decor. As for the styles of the interior of the kitchen or another room, the following options are best suited:
- Country
- Shebby Chic.
- Classic.
- Provence.
- Fusion.
- Scandinavian style.
Creating a decorative plate for kitchen with your own hands
Looking at a beautiful decorative plate, it's hard to believe that anyone can create the same hand. In fact, the work process is extremely simple. You can do it yourself and even attract your child to such an interesting work. So, for our work, we will need the following materials and tools:
- Sleep plate (white, made of ceramics).
- Bright acrylic paints.
- Tassels.
- Copy paper.
- Ready drawing (you can choose the appropriate option on the Internet and simply print it).
- Pencil.
- Hot glue.
- Fastening device.
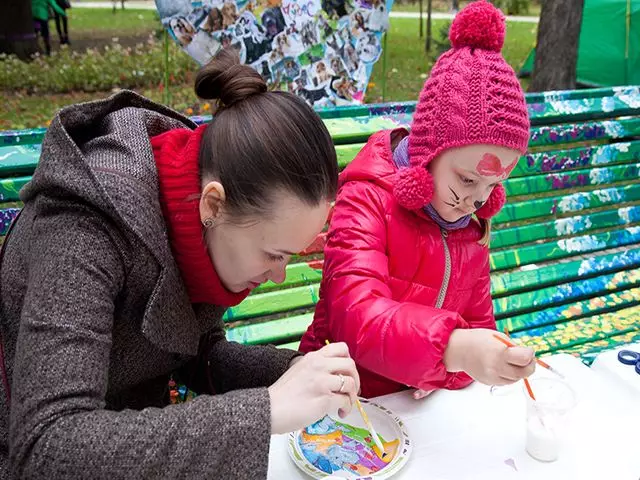
With the help of copier and pencil, we transfer the image from the prepared picture to the ceramics. As you can see, create a masterpiece with your own hands, even a person who does not know how to draw. Now choose a black, brown or gray paint and a thin brush we supply the contours of the transferred image. We give contours to dry completely.
Article on the topic: Cardboard boxes: Toys for children and ideas for home (39 photos)
When the contours are dry, bright paints paint free parts. Let us finally dry the plate and fasten it on the wall. That's all. Exquisite decoration for the interior is ready.
Methods of fastening
When your product is fully ready, it remains only to decide how you attach it to the wall. It is very convenient that there are a lot of fastening options, and you can choose the way that is suitable for you.
- You can buy in stationery or in a sewing velcro store. One part of the velcro must be glued with hot glue to a plate, and the second to the wall. So you can quickly remove the plate during cleaning.
- The second version of the attachment uses a clip. You need to make a hook from the usual stationery clips and prepare a square of dense tissue. Attach the hook to the plate, pour it with hot glue and immediately impose the fabric. Such a hook is comfortable to hang on the carnation.
- If you want to mount the product with a pin, it can also be attached to the ceramics with hot glue (it is necessary to fix the pin head, and the opening part should look out).
- The following fastening option is very aesthetic. Take a piece of tight ribbon, grind it into a metal ring and fold in half. Spread the edges of the tape with hot glue and glue it to the surface of the product.
- From the tape you can also make simple rings and secure it on your product with cold welding.
- In addition, you can always buy a ready-made holder for plates. This may be, for example, an exquisite wrought holder or an almost imperceptible plastic holder. There are also holders at once for several plates, made in the form of a beautiful wooden shelf.