
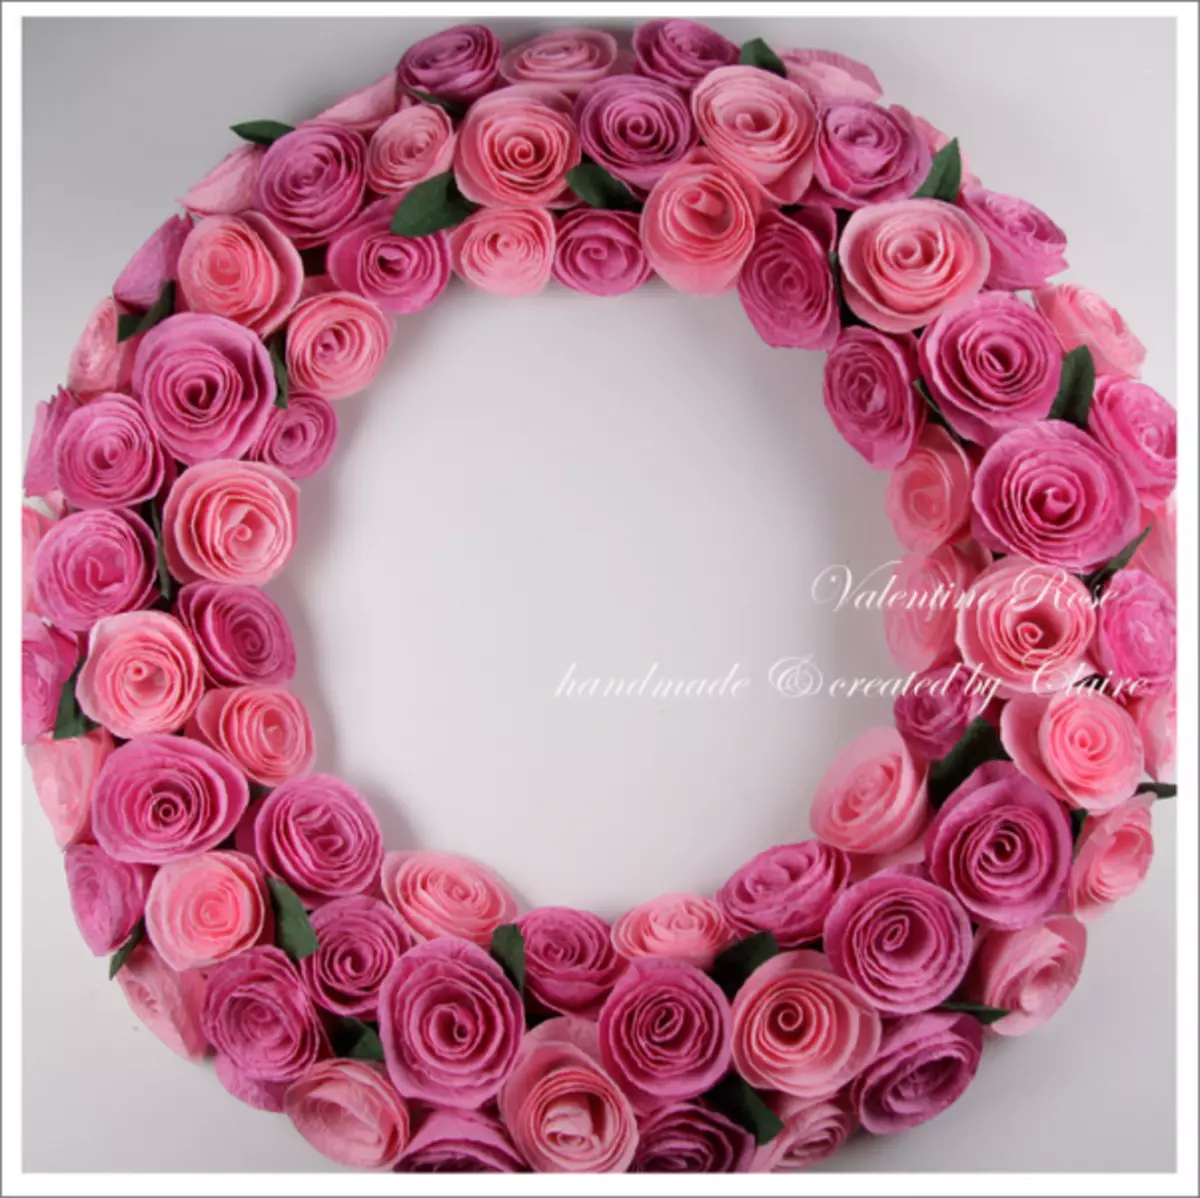
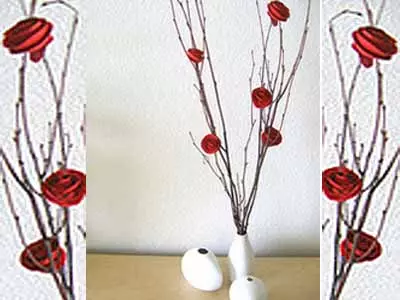
Rose is a symbol of love and beauty. Every romantic would like to have a unstable rose. Unfortunately, the living flowers of the capricious and are short-lived. They are easily replaced by paper: not so fragile, do not require special attention, but they are not inferior to anything alive. From paper roses, you can make a bouquet, weave wreath, attach to a gift, decorate a festive table or put in a vase. Romantic nature is often wondering how to make a rose from paper with their own hands. It is very easy, even a child can cope with it, barely learned to use scissors.

With the help of scissors and glue
The easiest way - a spiral is drawn on a sheet of paper. Then you need to cut.
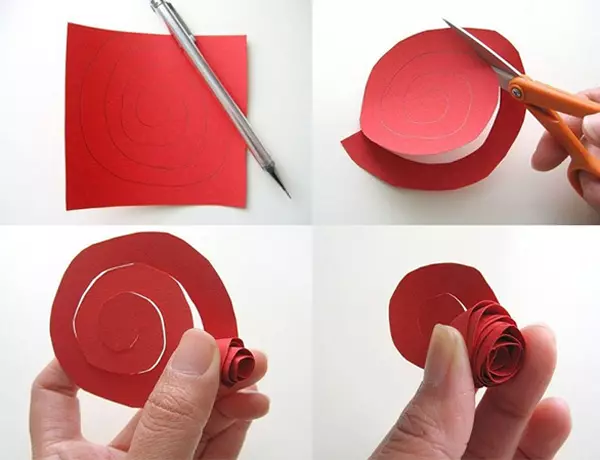
The end of the spiral turns into the tube (you can use a pencil that painted the spiral), and the whole end is attached glue.
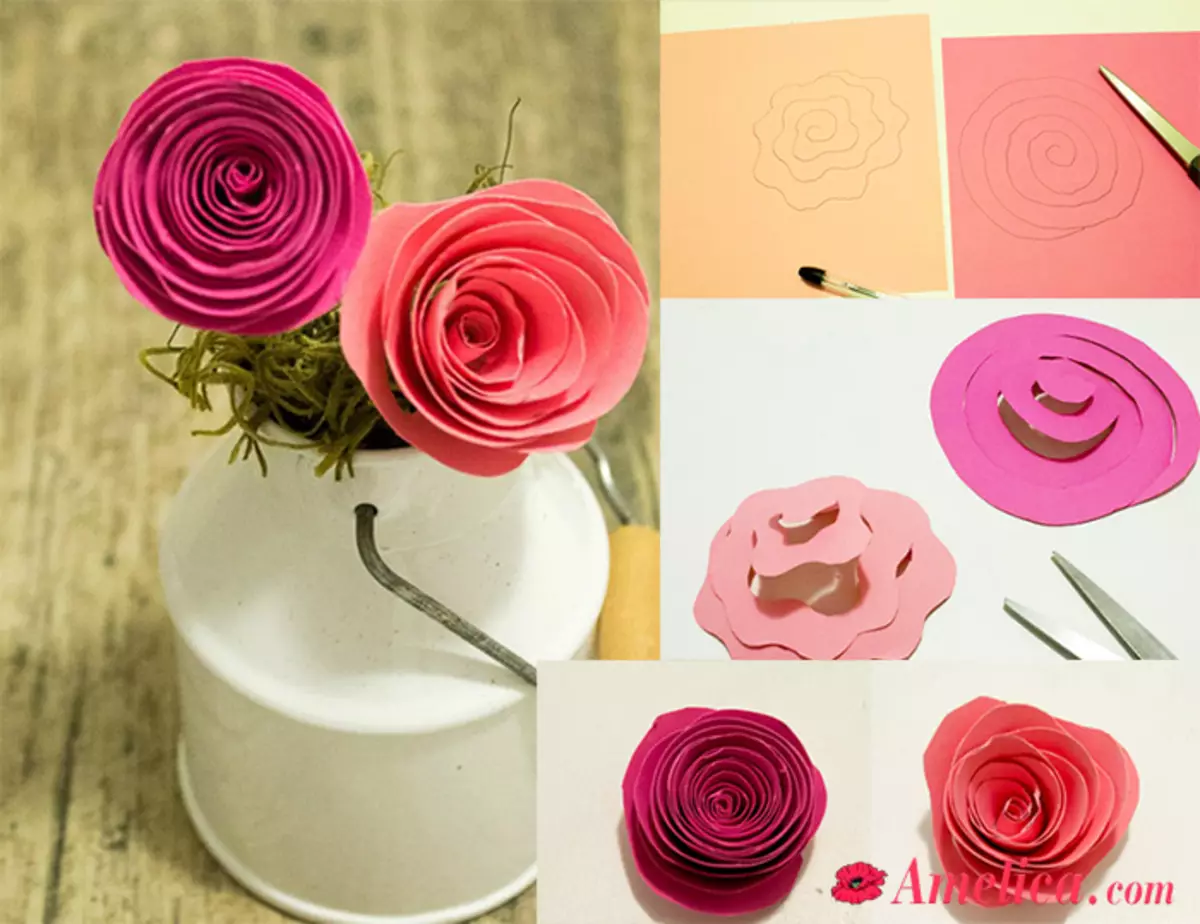
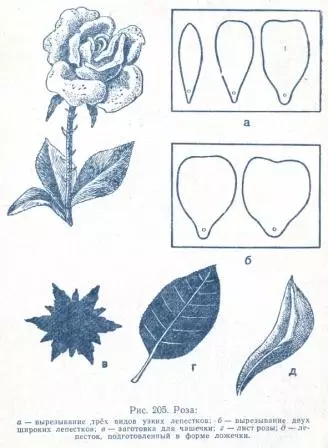
Below are some schemes:
We use paper
For the manufacture of roses, you can use any paper: from the usual newspaper before cardboard. But the petals made from corrugated paper, more than all others look like alive.
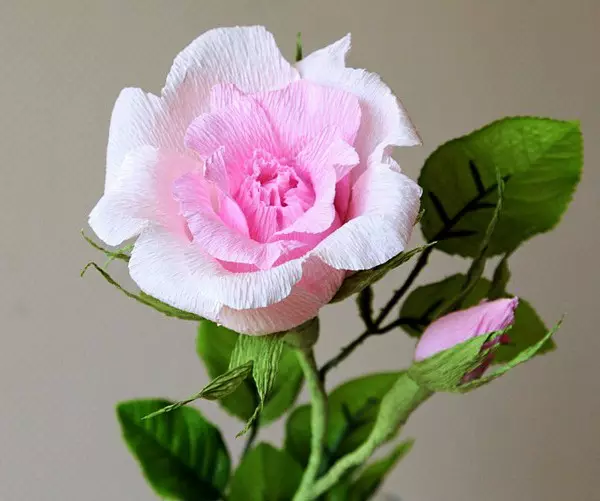
Due to its structure, corrugated paper allows the master to give petals to similarity with the original. How to make such a rose, told stages, with a photo.
It will take all that you will need to work in the photo.
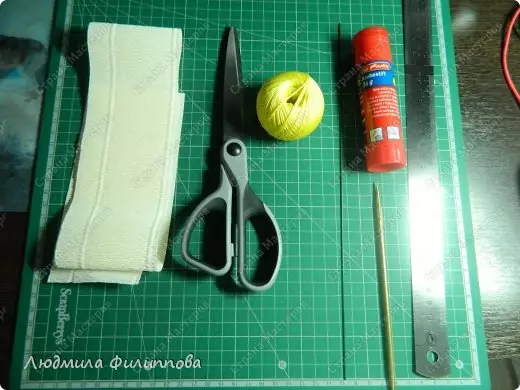
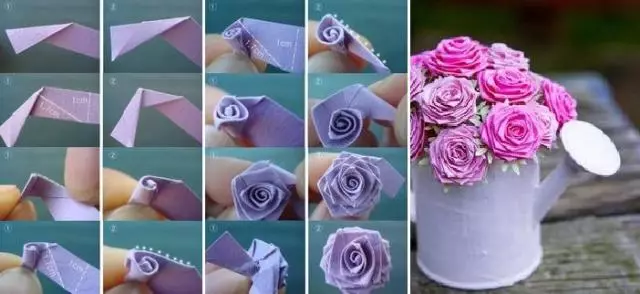
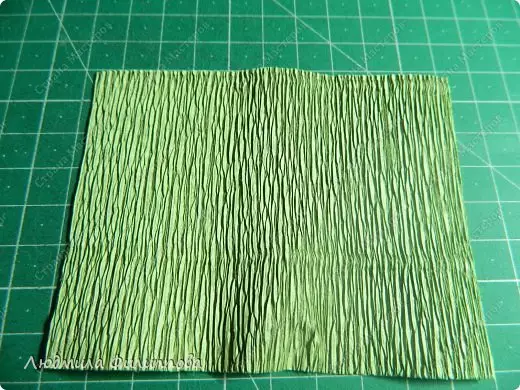
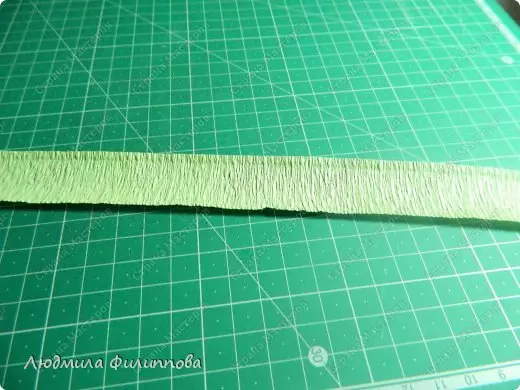
You need to take two types of paper: green for stem, and for bud you can choose any color. A strip is cut down 7-8 cm wide and longer than half a meter.
Attention! Corrugated accommodations should be along the strip, and not across.
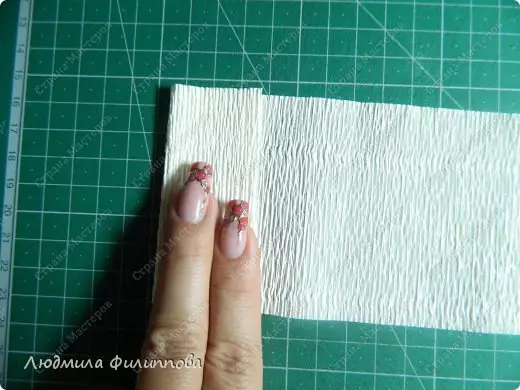
On the width of two fingers, the paper tape turns into a roll.
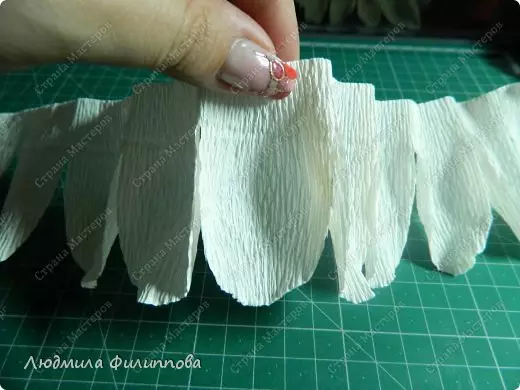
Then one roller end is clipped with semicircle with scissors.
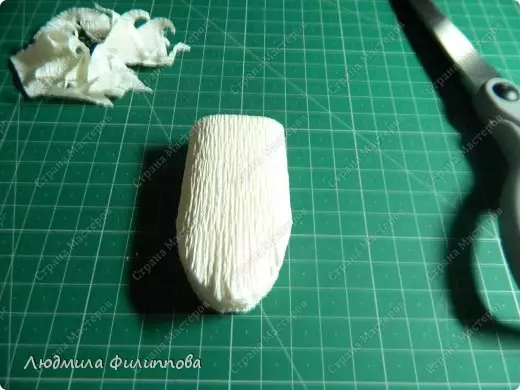
It is divided precisely in the middle, and cuts are made, not reaching the opposite end of approximately 1 cm.
Article on the topic: Soft bed - how to sew a feather
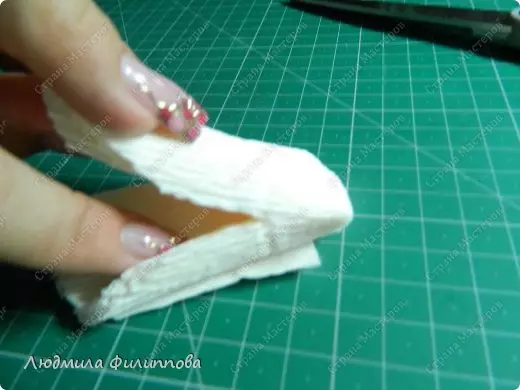
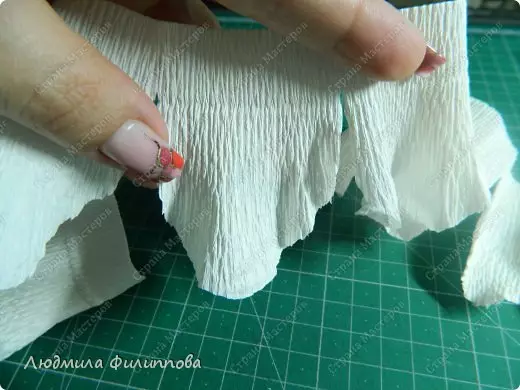
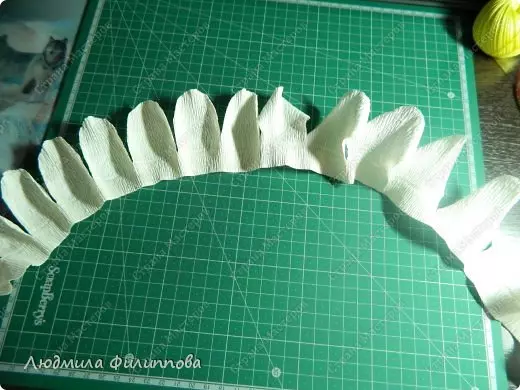
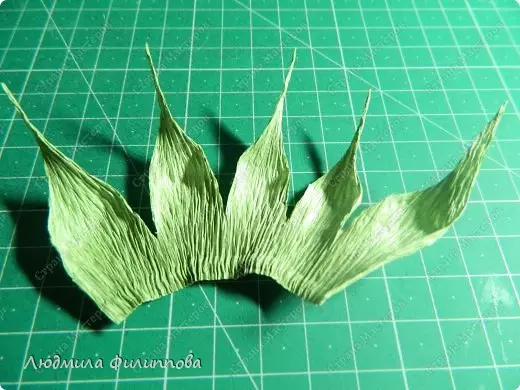
Now the roll must be deployed and start forming petals. From one edge they turned less - it will be the middle of the rose. They need to be slightly pulled to form a bulge.
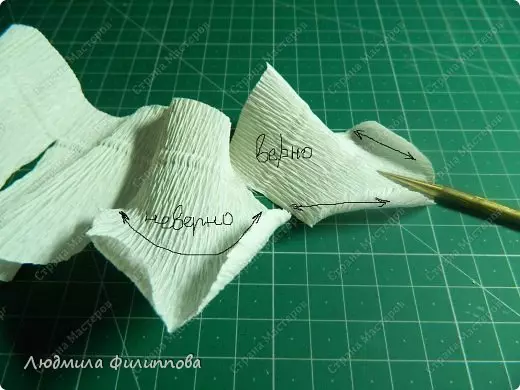
The remaining petals along the edge stretch along.
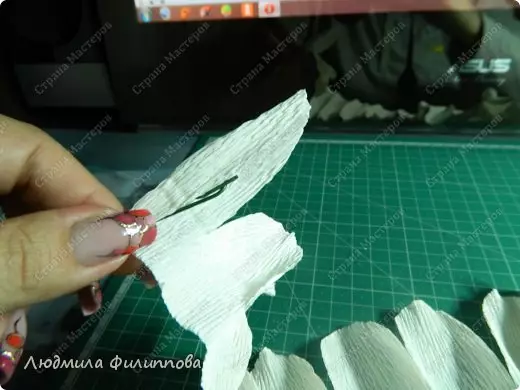
To give even greater similarity with a lively rose, the edges of the petals with the help of a thin metal rod are separated inside.
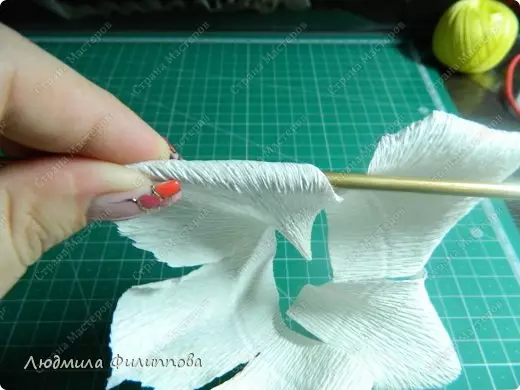
The tape should take this kind:
At the next stage, a piece of wire wrapped with a loop.

The tape is screwed up on it - the billet, starting from the smallest petal.
The bottom edge hangs. When the tape is assembled, the roll on the bottom is pulled by a thread.
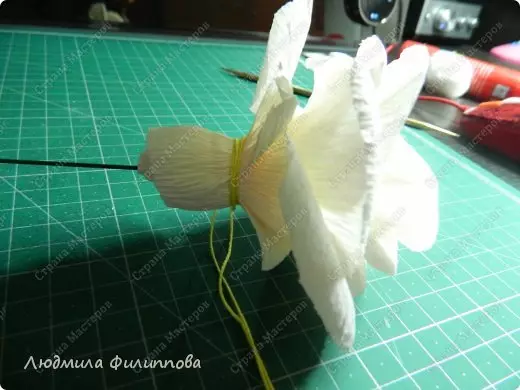
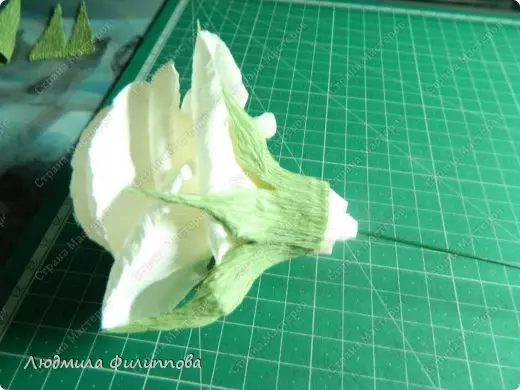
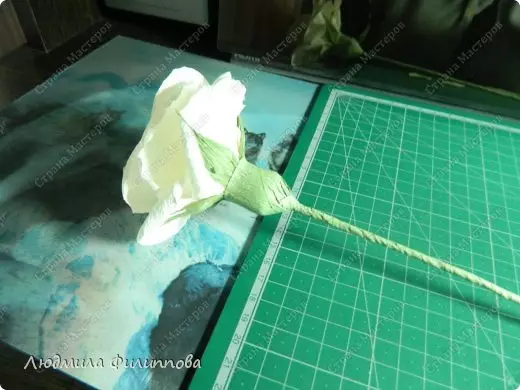
Gently straightening petals, forming a flower.
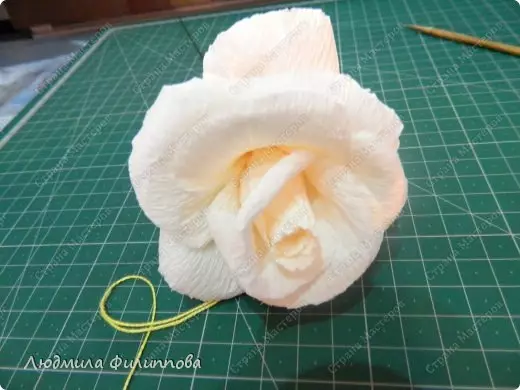
Now you can proceed to the formation of the stem. To do this, it will take a piece of green corrugated paper with a height of 7-8 cm and more than 10 width.
Long teeth are cut out of it.
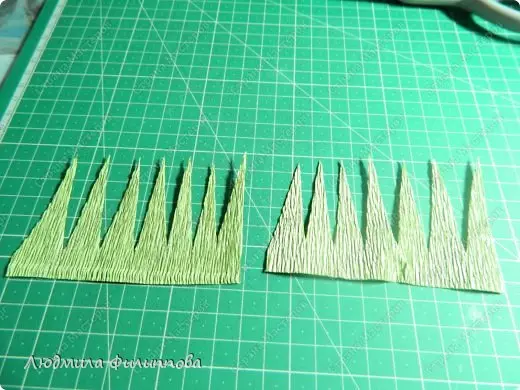
For one rose, you will need 5 teeth. Each triangle pages for the tip and stretched along.
The formed cup is glued to the base of the bud.
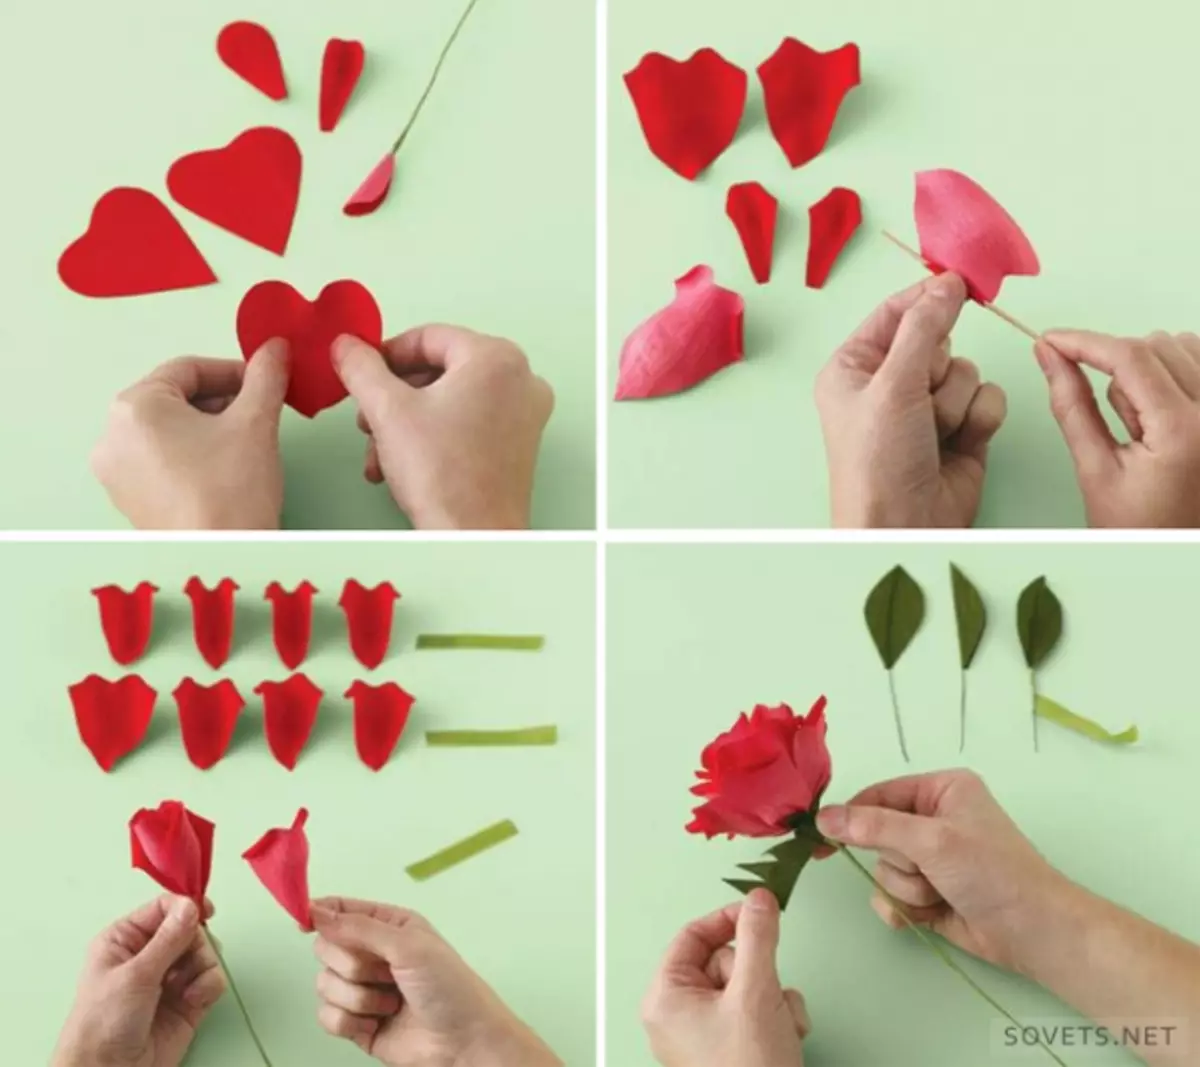
The next strip of 2 cm wide is stretched along and is labeled with glue.
It is tightly winding around the bud and the helix covers the wire, forming the stem.
Of the same green paper, leaves are 3 per 4 cm.

On them, the pencil is joined by a residence, the leafs are given a convex form. From a paper strip, a melted glue, a thin tube is formed, to which the leaflets are glued.
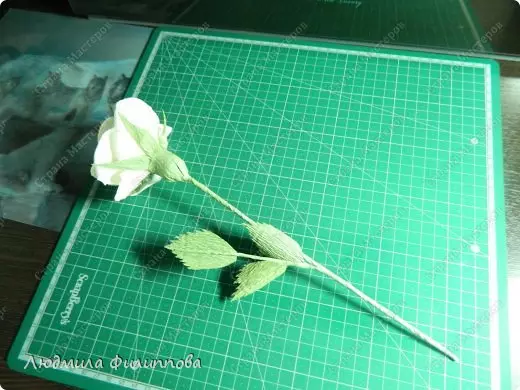
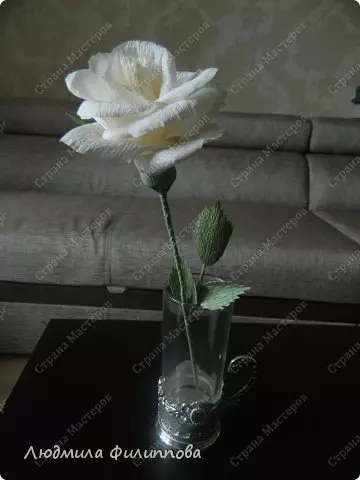
A finished twig with leaves is applied to the stalk and is tightly attached with a ribbon, which wrapped the wire. Dogging it to the end, the finished rose is obtained.
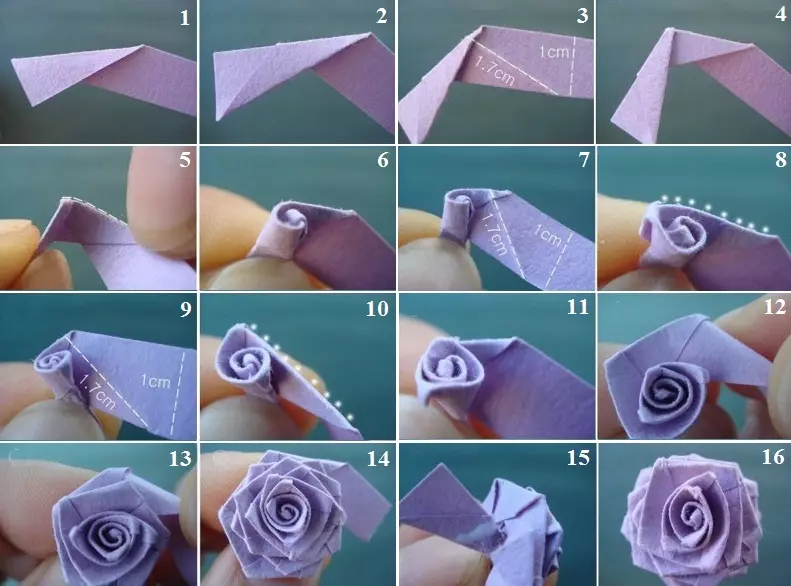
For those who like to use Origami technique, the instruction of one of the ways of making roses is given.
Video on the topic
Simple:
Volume:
Video in Russian: Origami Rosa.
Rose Cube:
Corrugated paper:
Huge rose for photo shoot: