
According to the ancient Iranian legend, happiness hides in the yellow tulip bud. It is impossible to extract it by persuasion, nor bribing, nor strength. Only pure souls are revealed to meet the flower, giving happiness. It is nice to give such happiness to loved women. There is nothing easier to make a tulip of paper with your own hands, hiding into the core, for example, a ring. Or candy.
Happiness as a gift
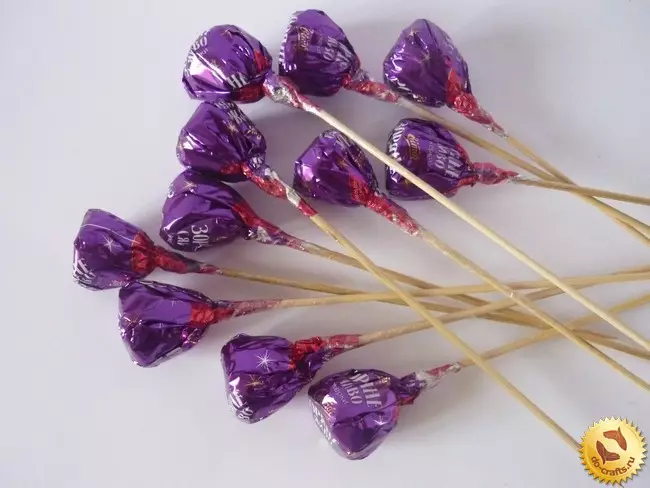
We will analyze in stages, how to make a tulip of corrugated paper with candy.
It is necessary to take the paper of two colors - yellow and green, shockts for kebabs or tube for cocktail, scissors, threads, candy and tape.
Slightly deploying candy fantasy, insert the end of the skewers and screw the wrapper of the scotch.
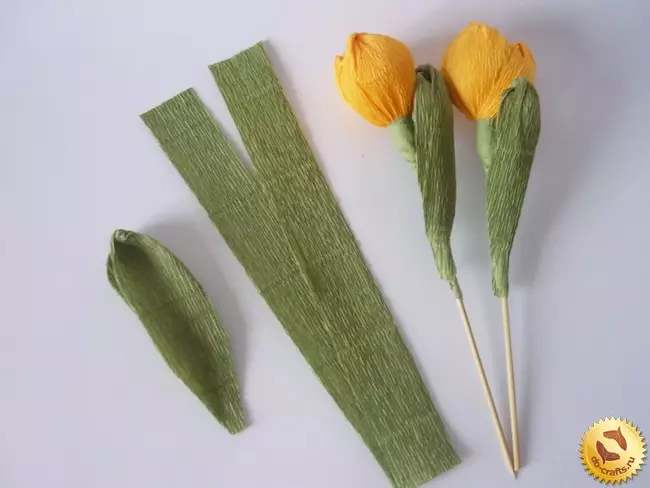
Cut the corrugated paper for petals. Along the corrugation lines, cut strips of 5 cm thick and width in a standard sheet. Each strip cut into three parts.
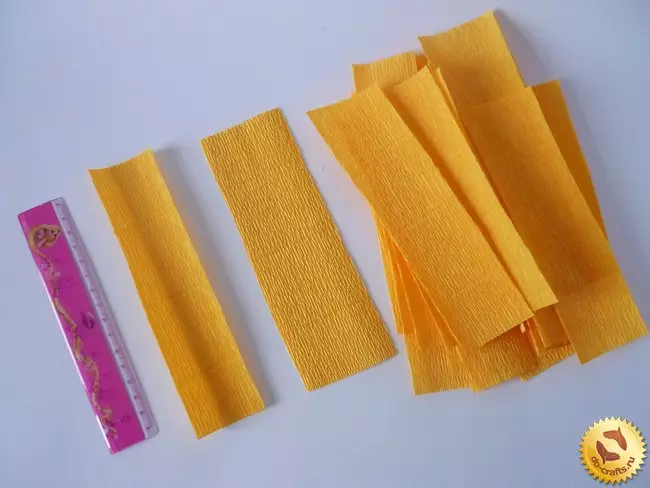
Twist the strip in the middle.

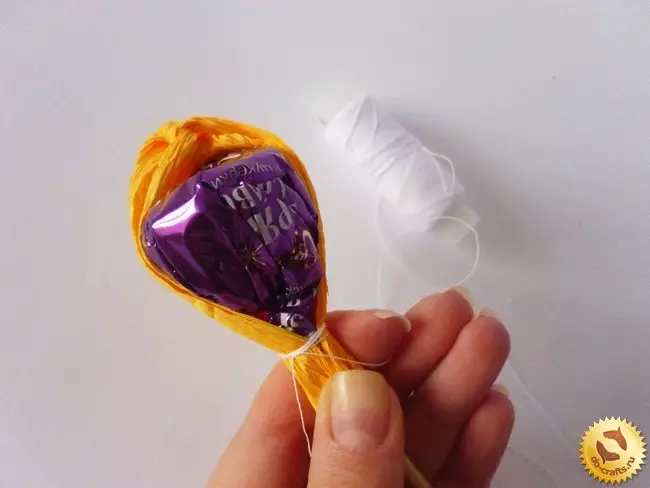
We fold the workpiece in half, with a thumb making a dent, giving paper the shape of the petal.

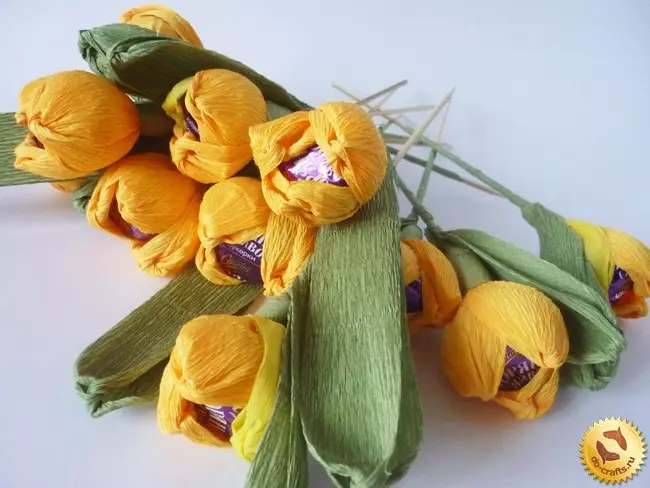
Tightly tie the petal to candy in a place where it connects with a spiner. Do not break the thread.
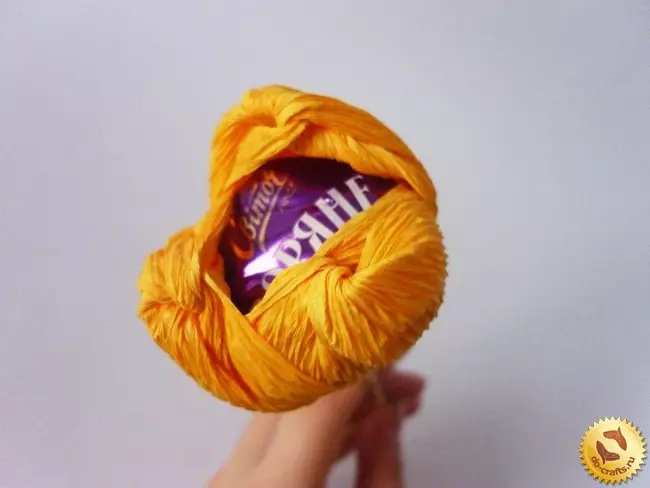
Similarly, tie the rest of the petals. For such a flower, their 3rds are enough.
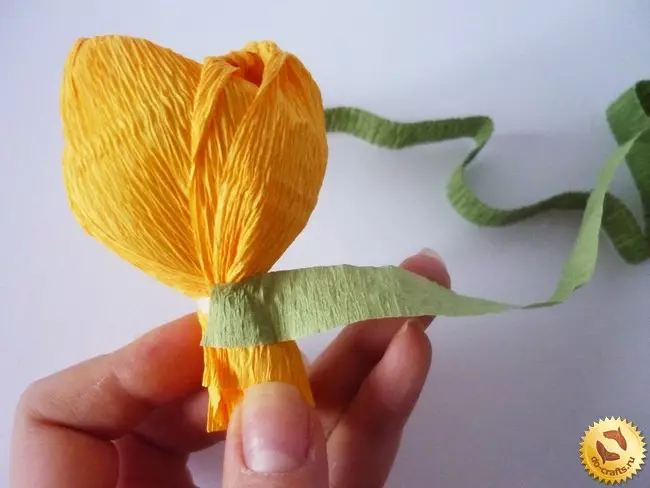
To make the stem, you need a thin strip of green paper. One end is fastened under a bud and a spiral tightly wind the skewer.
Petals for stems are formed as well as flower petals, just need to choose the optimal size.
Painting petals to stalk with glue.
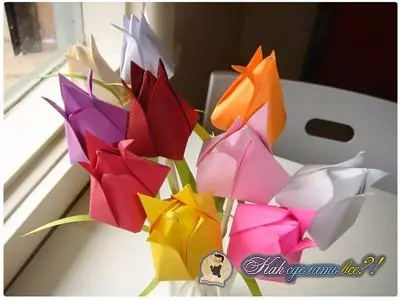
From a sheet of paper
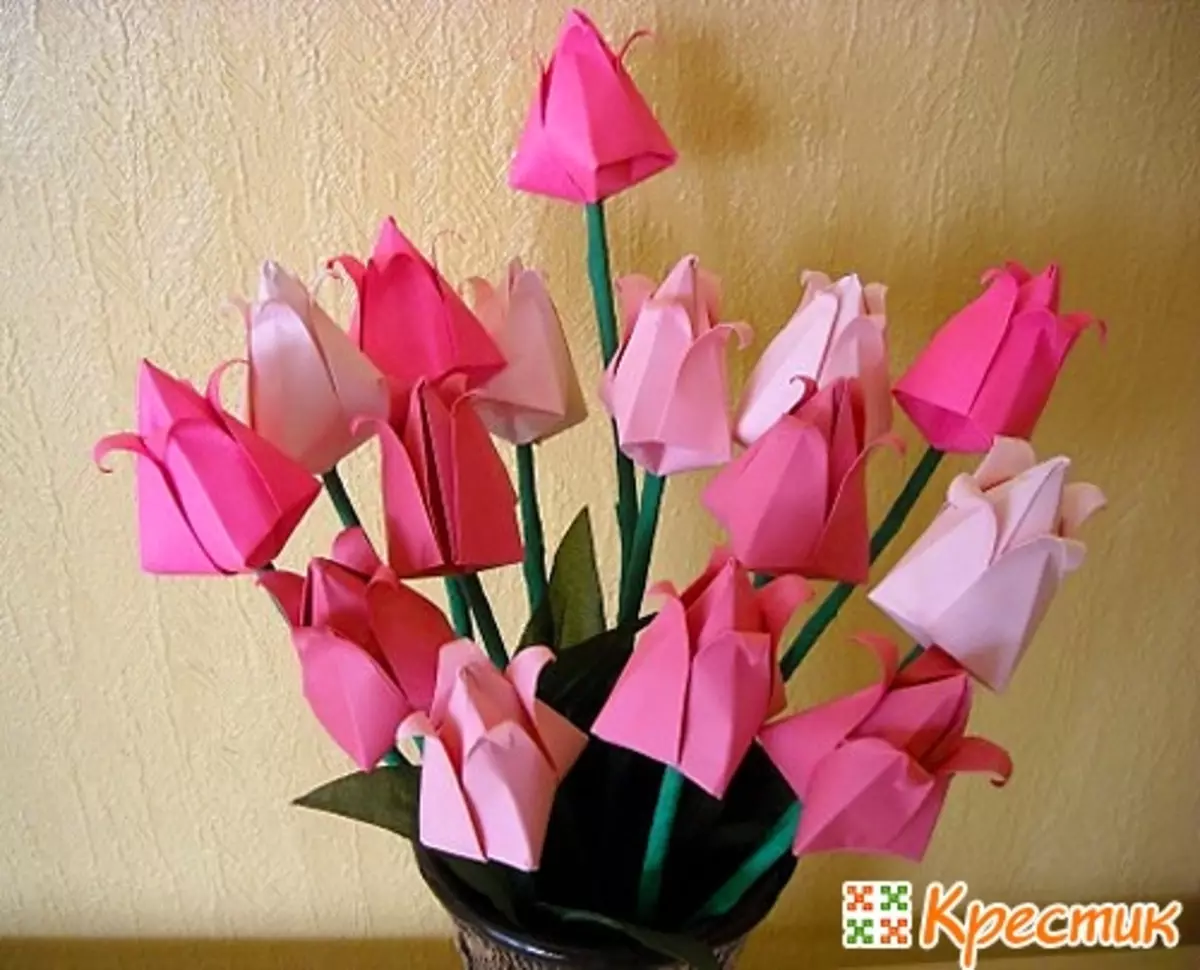
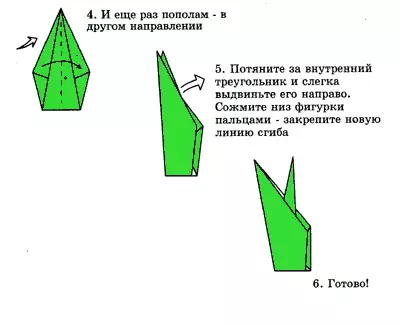
The art of origami is increasingly popular. A good gift will be tulip made in this technique. Especially if the holiday is already close, and there is no time to look for a gift, because you can make such a tulip quickly.
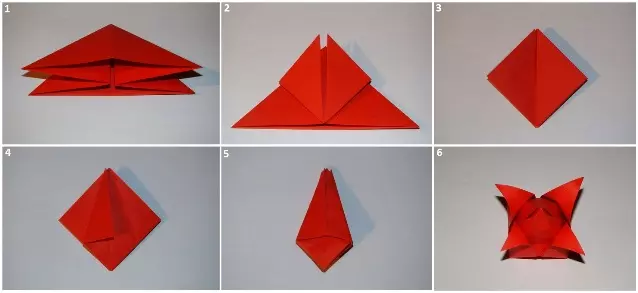
Flower folding scheme:
Article on the topic: Shawl "Flower Echo": Scheme and Description with photos and video
Stem Folding Scheme:
Having a colored A4 color paper and half an hour of time, you can make a beautiful bouquet:
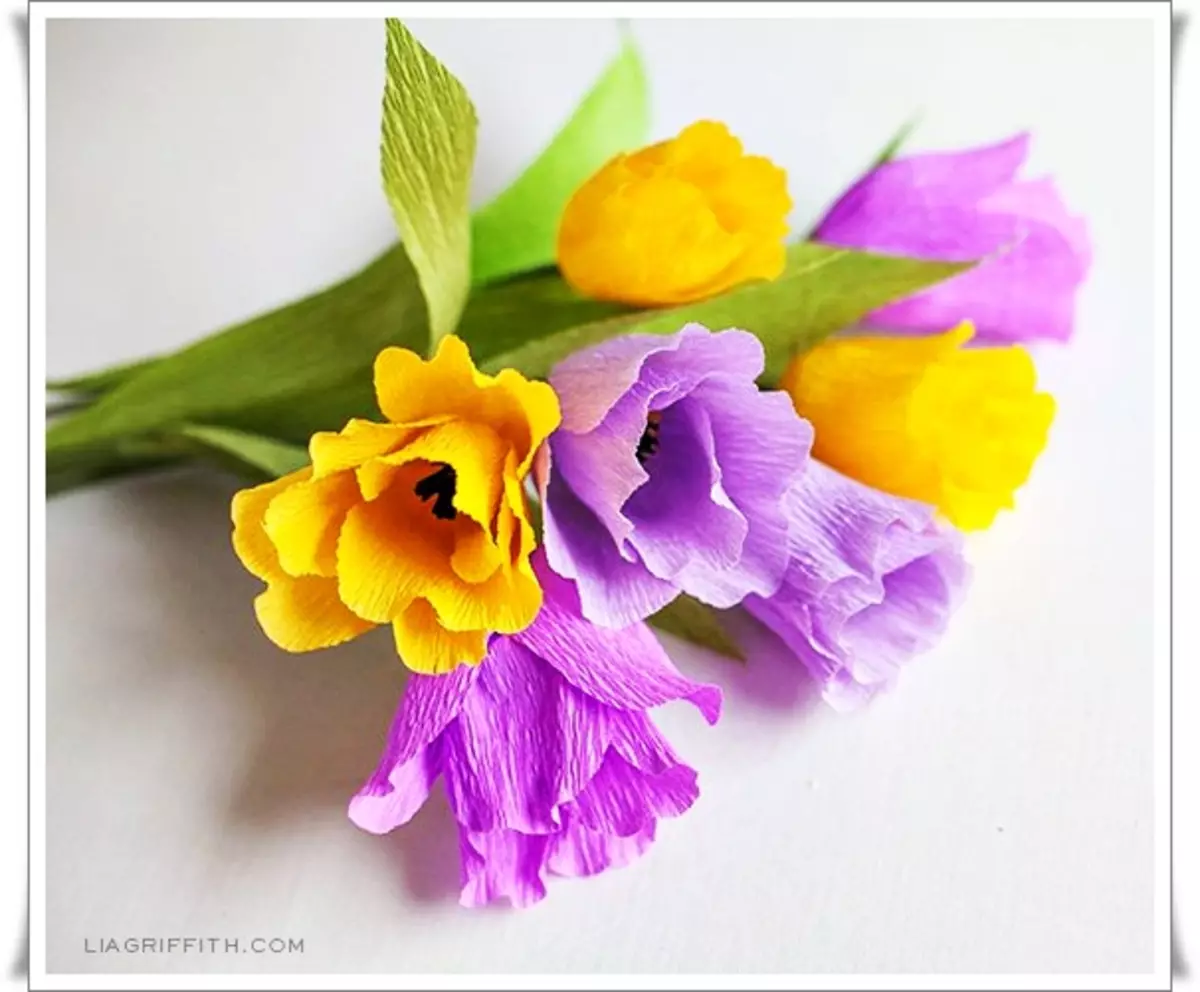
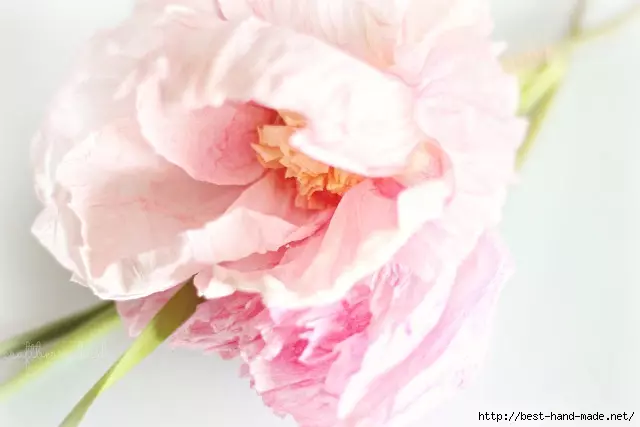
Terry tulips
To get a color terry tulip, you need a strong paper. From it, flowers are obtained by very gentle, causing a smile on the face of the beloved woman.
Instructions for assembling tulip from strong paper:
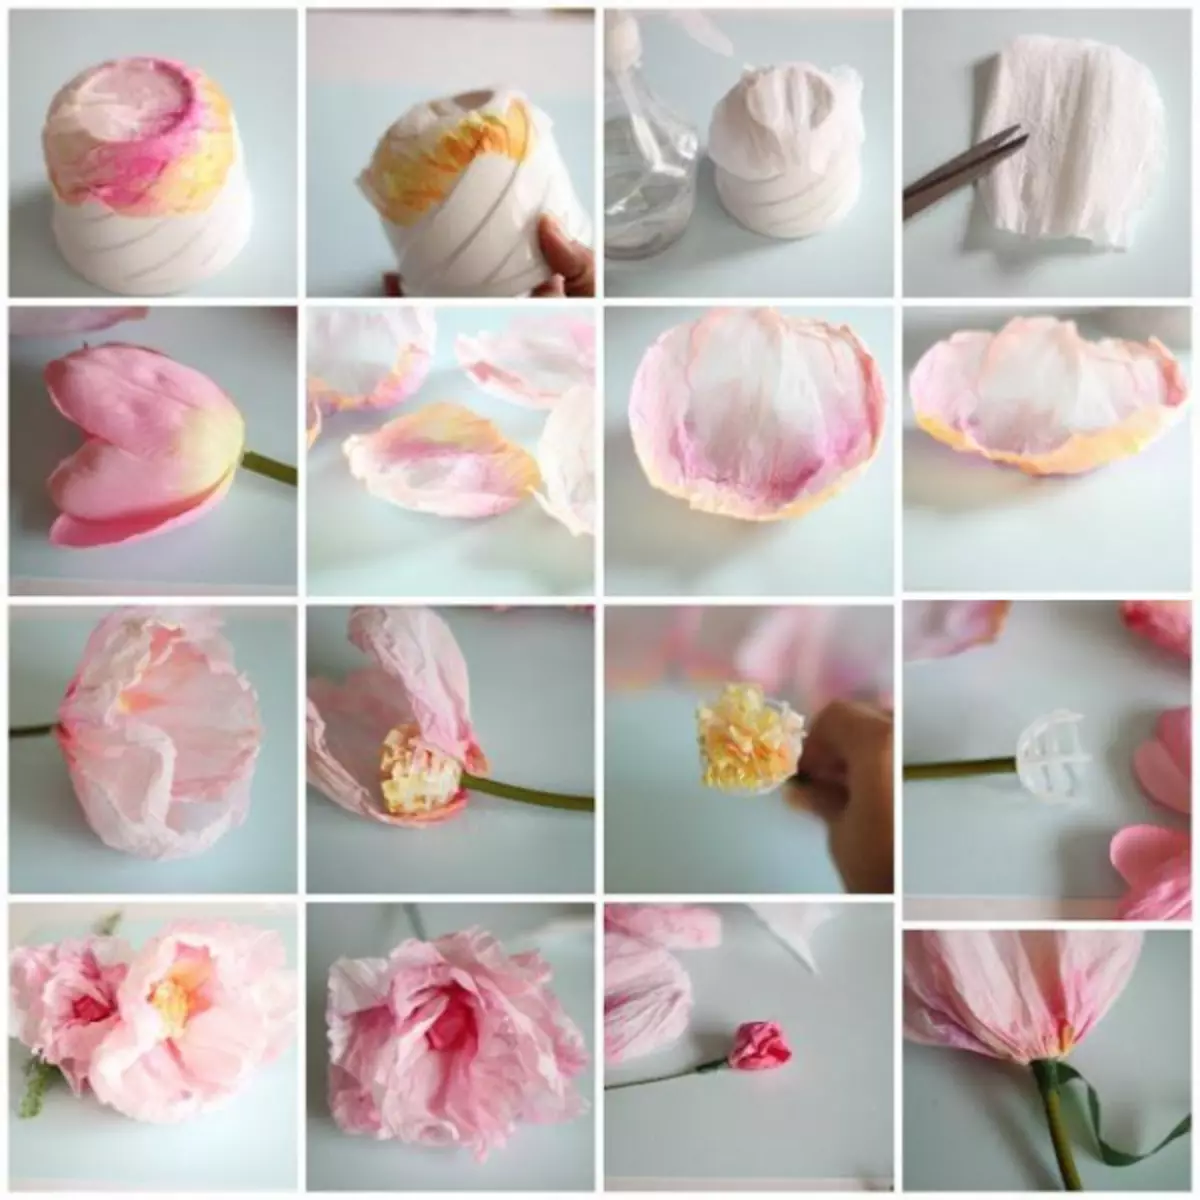
- Cut from paper 6 rectangles of 8 cm each each and stretch them on the bottom of the circle;
- Coloring petals with watercolor or acrylic paints;
- While the paint dries, make the stem: on the sections of a thin wire is made on the loop, the entire bundle plunges into PVA glue, then into the semolina. The core is ready when the glue dries;
- We form petals, stretching paper along and narrowing the lower edge. To the petal gained a terry pomp, its upper edge is stretched into height;
- Stretched paper does not hold the form. To give stability to each petal from the inside, a thin wire is glued with a slightly less than a petal wrapped with paper;
- The assembly begins with the core. Stamens twist together with wire and turn green paper;
- Petals are attached to the stamens by winding them around the stem;
- For reliability, the petals fasten with glue;
- Using the green paper strips, the lower part of the bud is hidden.
Video on the topic
Tulip Origami:
Tulip with candy:
Corrugated paper:
Origami: