
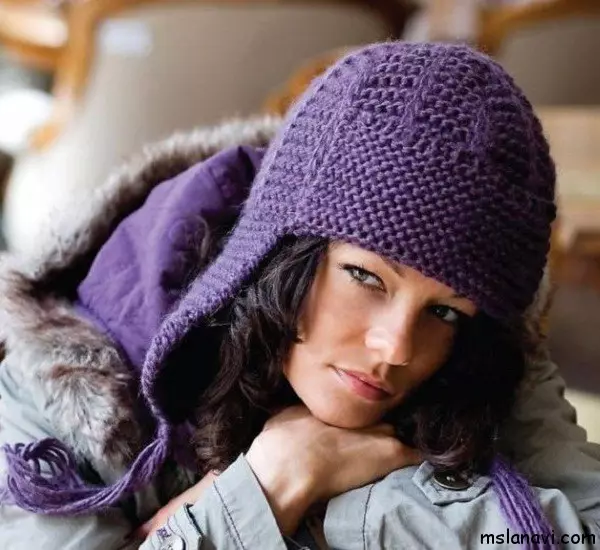
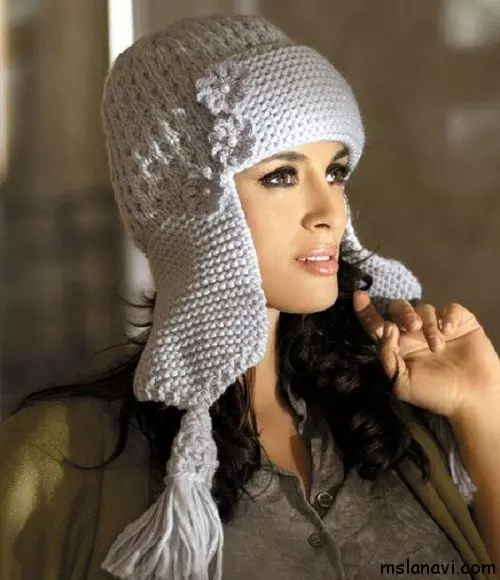
Cap-Ushanka is considered one of the most practical hats. If the street is windy weather and a strong frost, then the ears are better to lower and fasten well under the chin, and when the weather is sunny, the ears can be raised and tied on the head. Another plus is that such a cap is not only men and boys, but women's female hats are in fashion. Caps still a couple of dozen years ago we wore only men, but already on the streets you can find women who wear such a headdress. Modern fashion offers a large number of models, you can choose the one that is suitable for you. The photo of knitted hats will help to determine the choice.
Many needlewomen strive as much as possible to improve the classic options of the caps. This change has been faced with the Ushanka. Now there is no only men's model, but also female. In addition, for children, the cap is very comfortable and the schemes fit so easy that even a beginner needlewoman can cope with it.
Hood for a child
Children's hat-Ushanka is a very comfortable headdress, which is not only warm, but also well holds the form. This cap in this master class will be crocheted, which will save time in search of a suitable model, because the knitted hat with his own hands will be exactly chosen to the volume of the baby's head. In addition, if you choose the right color, you can connect a hat-to-earboard for both the boy and for the girl.
What do we need to prepare:
- hooks under number 2;
- Threads of the company "Jeans" of any selected color;
- Measuring tape.
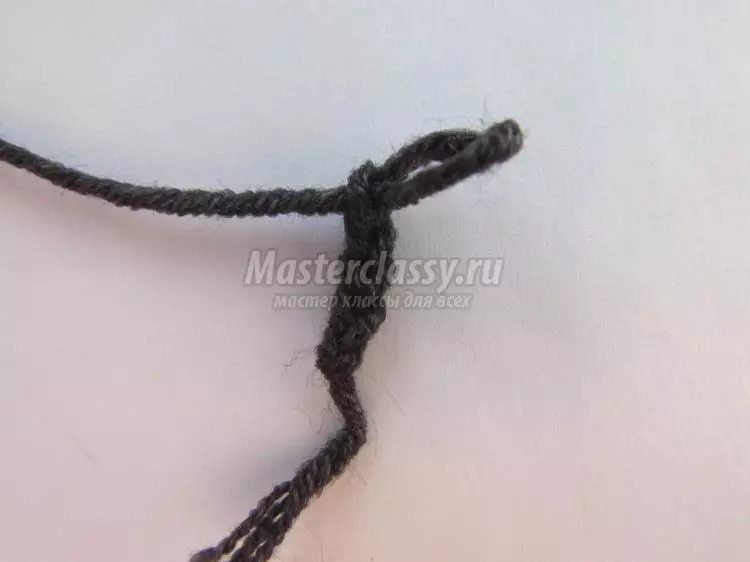
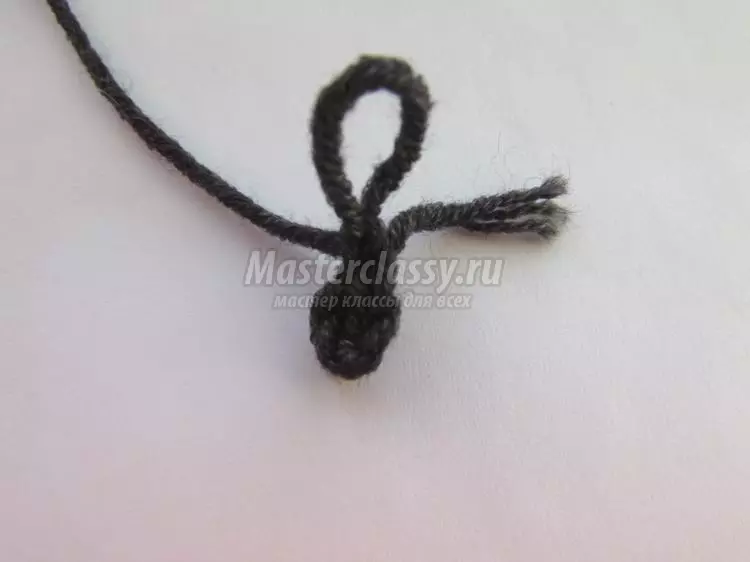
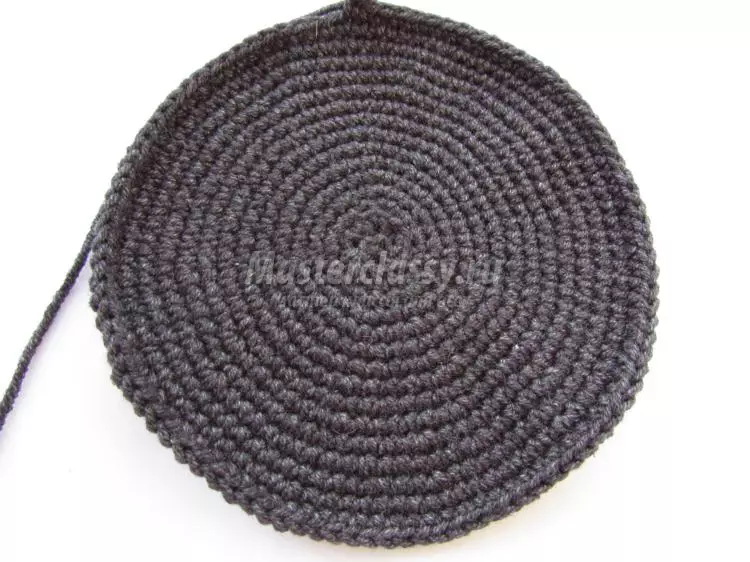
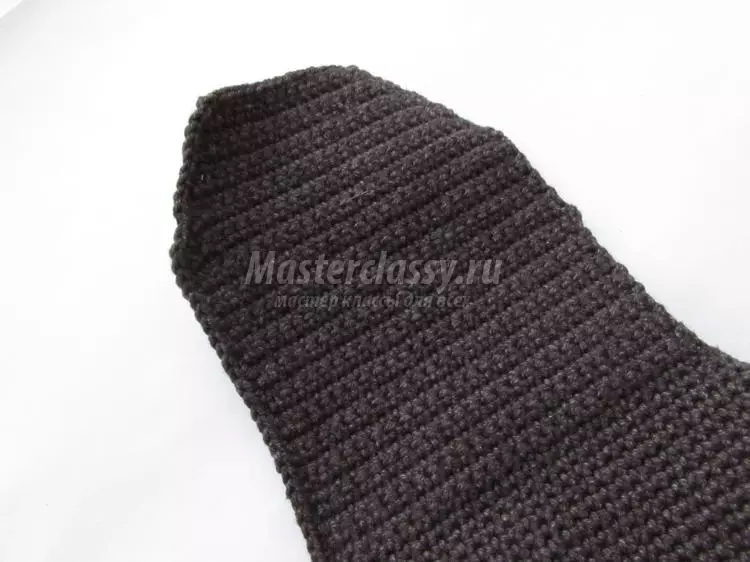
We take a turn of the main color and gain 5 air loovers. With the help of a connecting column, we make a ring. Now I am in a circle of the column without a nakid, but through one looper we make adds. Thus, they see two row. So the next rows need to be knitting in the same way, only we make the addition of the loovers in each fifth loop 3 and 5 row, the eighth loop 6 and 10 row.
It is important to periodically try the associated product so that the hat is tightly sat on the head and there were no holes for purging.
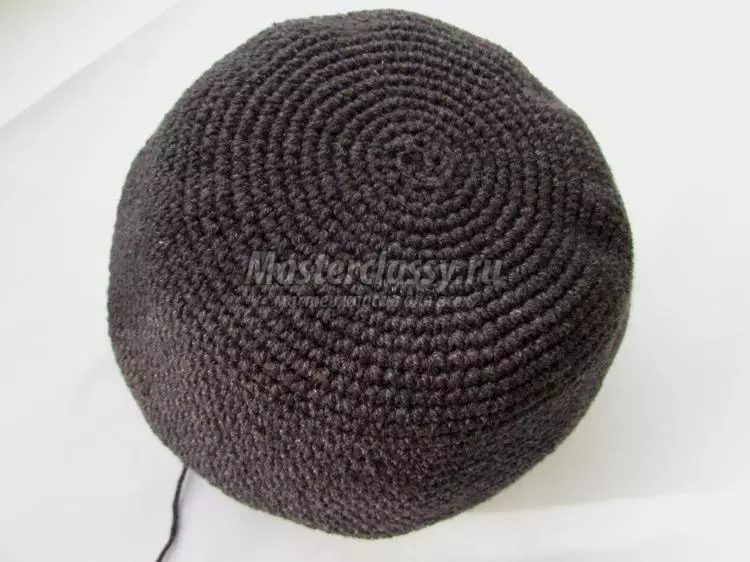
When we get to the desired sizes of the top, the buttercups need to be launched, but gradually. And in order to succeed without different angles, in each row it is necessary to reduce the loops by 3, and so 2-3 rows, and after two butterms. When the transition is already formed, then we begin to prone only to columns without Caida and so before the eyebrow level. Our hat will be with a visor, now we start with him.
Article on the topic: Rowan from beads: Schemes for beginners with photos and videos
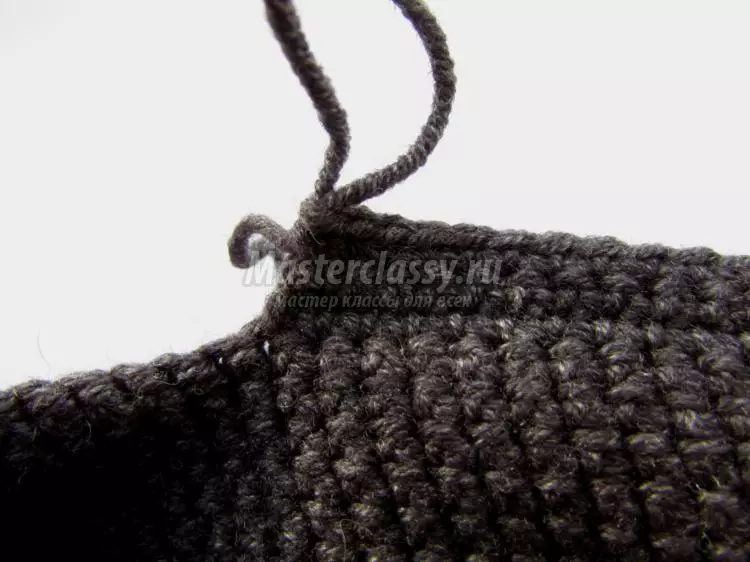
Where the knitting ended, it is necessary to make an air and after they make a climb and tie the columns without Nakid. The number of loops will depend on how the distance is from a child from one temple to another. Then we turn the product and check again in the opposite direction to the first butter of the visor. So we lie down a few row, while do not forget to make buttons for lifting. Thus, it is necessary to train another 10 row. Only on the next 11 row affairs, the removal of the loovets, and from two ends, to round the part itself, the semi-sololbik at the beginning and end.
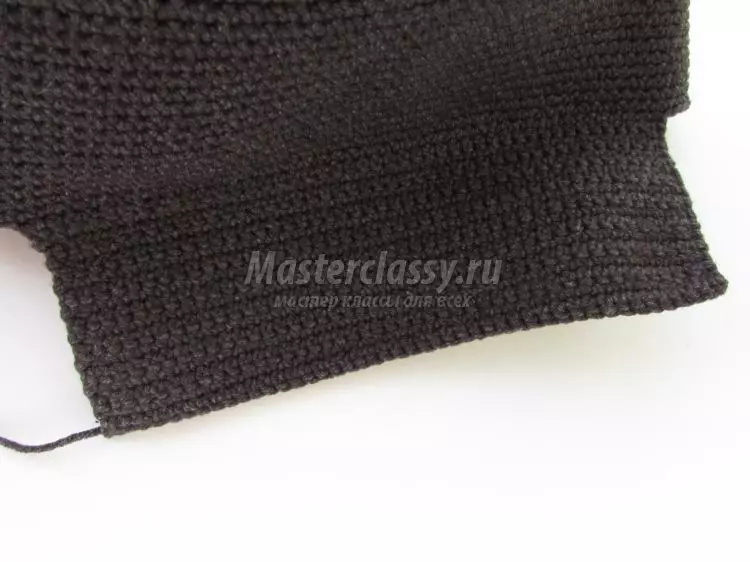
Next, proceed to knitting ears. The thread does not open up and knit the columns without a nakid to the point of bend near the temple, it is necessary to check 25 loops without a nakid, we make air and return to knit the same amount. And so they see 5 row, already in the sixth we start to make a rounding from two sides. Now they are tied to the line to the other side of the cap, namely the point of the temple, and knit the second ear. At the moment when the knitting of the ears is over, the string must be cut off, and the remaining tip is hidden.
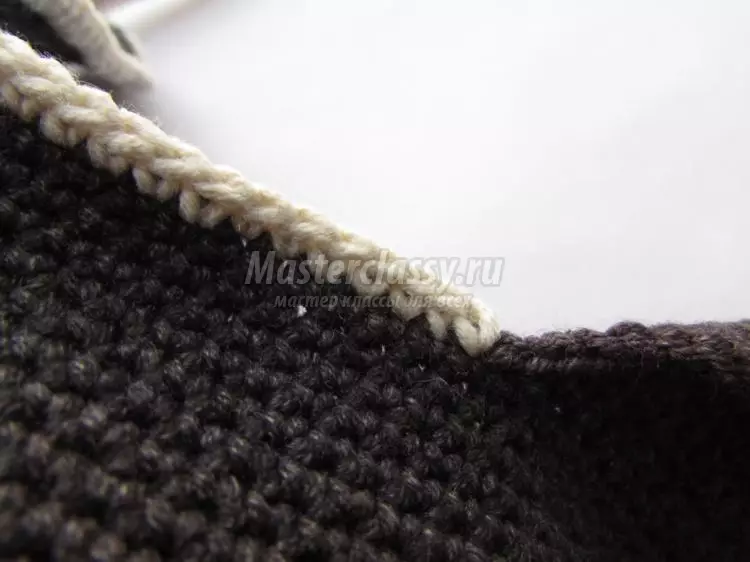
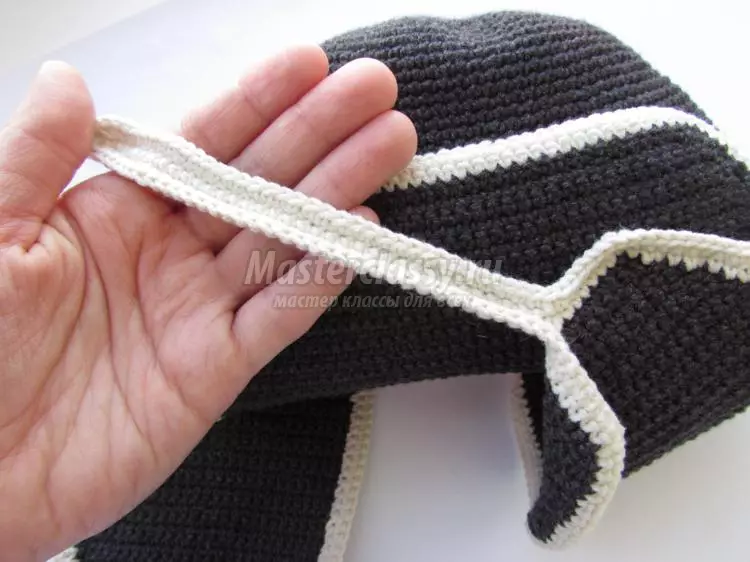
We take a bright thread and taking it the edge of the product. When processing the edge, the columns without an attachment must be captured and the thread that was hidden. To make a string on the middle of the lower ear, you need to push 35 air loovers. After we do air and columns without a nakid knitting a laugh. We are moving further around the perimeter of the cap and in the other ear knit again the lace. Once again, I pierce the columns without Nakid all over the header.
It remains to tie the decoration in the form of butt. We make 3 aircraft, wept in the ring and now in a circle, knit column without a nakid and so 4 row, and on each second buttercamation we must add one loop. So to the desired length. And after we take string of another color and we are tied up the resulting column without a nakid. Now the butchers are sewn to the corners of the visor and the visor himself with the help of a filament to the header. And here is our hat ready!
Article on the topic: Origami from money: Shirt with tie and flowers with a diagram and video
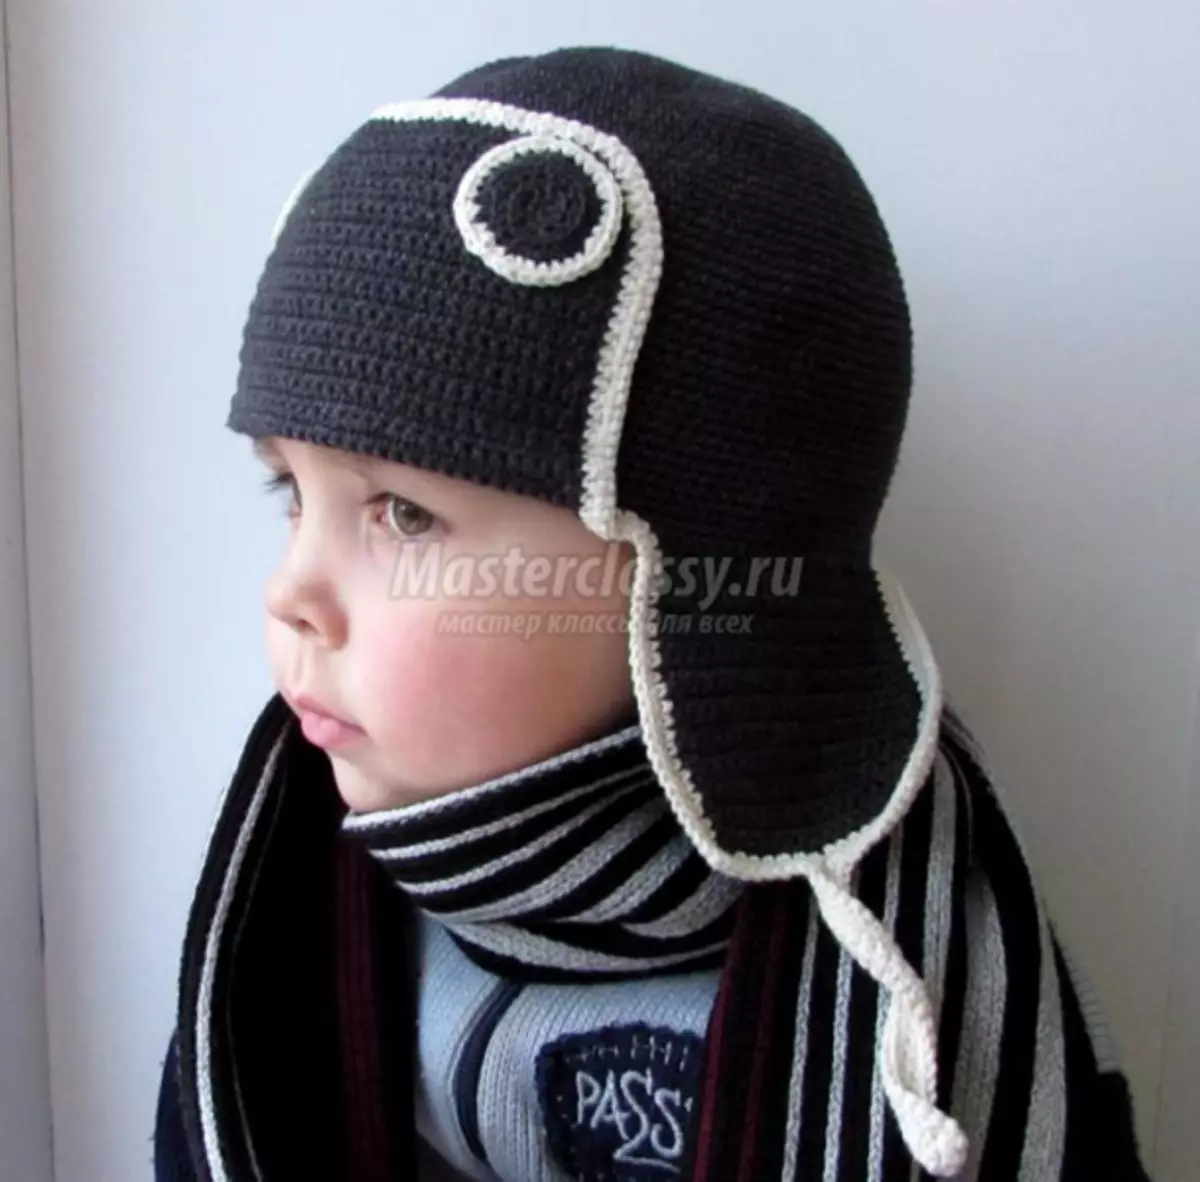
Such mesh caps are very warm, an important rule is to knit the child's head. In addition, such hats can be knitted, which is much faster. Children's models can be decorated with various applications made of threads alone. These hats are also called the aviators, as such wore pilots of aircraft.
Video on the topic
This article presents a video selection, with which you can learn to knit the headers-Ushanki yourself.